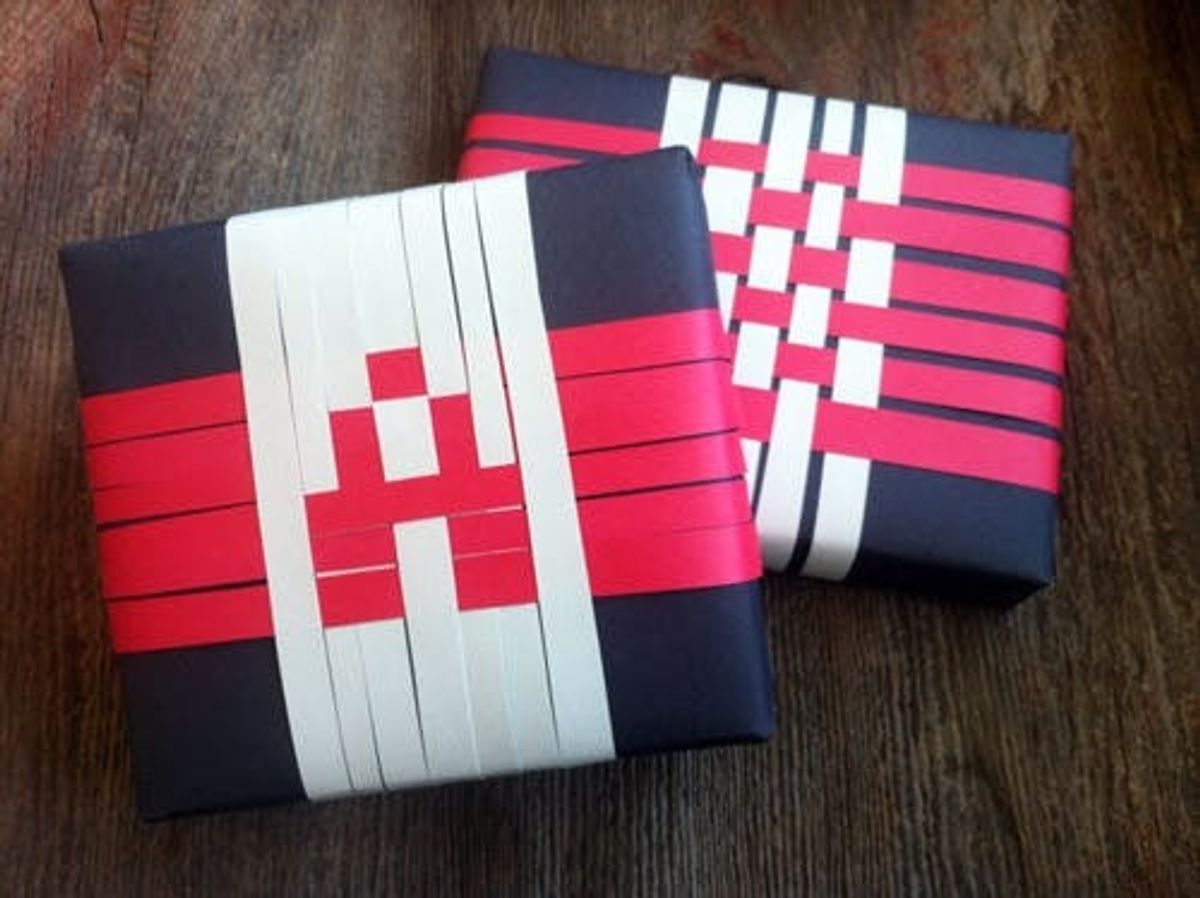
12 Days Of Wrapping: Pixel Weave

Speaking of nerding out, today’s DIY wrapping project combines two of our favorite things: pixels and crafts. If you haven’t done a basic weave, trying it out around a gift box is the easiest way to start! We started out with a simple yarn wrapping weave, then used ribbon, rubber bands and embroidery floss, and finally construction paper for some pixelated goodness.
Materials:
– string for weaving (yarn, ribbon, embroidery floss and rubber bands)
– construction paper
– scissors
– wrapped presents or gift boxes

For the yarn wrap, start with a piece of yarn or string and wrap it in stripes around your package. Secure it temporarily on both ends using tape (you’ll tie off these ends later). With your second piece of yarn, quickly wrap it around your box several times based on how many stripes you want. This is our shortcut for measuring, since all gift boxes are different. Cut off the yarn, and unwrap so you can start weaving. We recommend wrapping scotch tape around the end of your yarn so its easy to weave in and out. Once you’re finished, tie all the ends together on the bottom of your box and you’re done!
We did the same thing using construction paper, ribbon and a combo of rubber bands and embroidery floss with awesome results.
Then, our crown jewel: the Pixelated Letter Weave!
For a paper weave, cut out long strips and tape the first layer (the base layer) to the bottom of the package. Then, with the contrast color, you basically do the same thing as a normal weave, but you’ll want to pull the stripes more closely together. For some of the longer strips across (the middle of the A, for example), you may want to add a little glue or double stick tape to keep things together. And there you have it. A charming union of pixels and construction paper, all in the name of wrapping!
Got any geeky wrapping tricks up your sleeve? Send ‘em our way: hello@brit.co.


