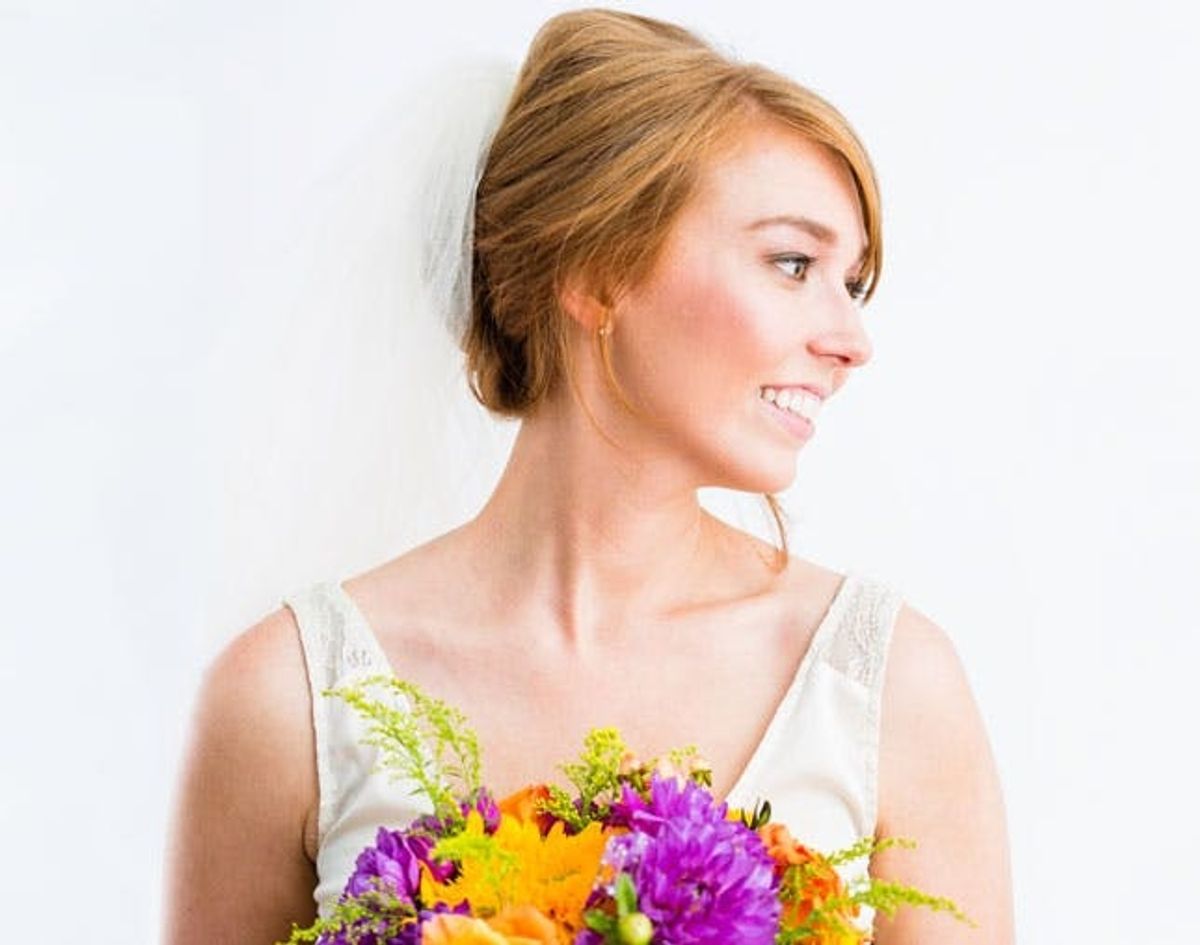
Even though you’re the OMG-it’s-my-big-day! bride, take it from me — the pro stylist — these trio of curled and pinned strands is totally doable day-of.
3 Timeless Bridal Updos You Can Actually DIY

These days with the whole DIY wedding movement in full force, brides are even hopping on the handmade train when it comes to hairstyles for their big day. If this rings a (wedding) bell for you, whether you’re feeling invigorated about actually creating your signature hairdo or are simply looking for ways to slim your budget, take a good look at these three timeless updos. Seriously, even though you’re the OMG-it’s-my-big-day! bride, take it from me — the pro stylist — that these trio of curled and pinned strands is totally doable day-of. Scroll through for the step-by-step — it’ll feel like I’m right there with you, proms! — and then once your hair’s up and at ‘em, mayyybe you’ll be ready to DIY the makeup to match ;)

Set Your Hair

The first thing you want to do before any updo is to set your hair. Sure it’s a good amount of extra steps, but this prep is priceless — you’ll give extra body to your hair and smooth any fly-aways at the same time so that you’re starting fresh with polished strands.
1. Start on one side of your head and curl a section of hair that is around two inches thick.

2. Roll into a pin curl and hold in place with a duckbill clip. Notice that the curls are going in the direction away from your face.
3. Continue curling and pinning. You’ll ultimately create your five rows of pin curls around your head: One on each side of your head, then one next to each of those sections and one directly in the center of your head. Keep the curls in place for at least 15 minutes.
4. Pull out the pin curls and comb through your hair with your fingers to shape the curls.
5. To get your hair completely ready for the updo, pin your bangs or the front section of your hair back to help shape this section of hair, or to make it easier to go back to this section to style later.
The smooth silhouette and tame pin curls scream traditional bride. This look is a way to have a creative, intricate design from behind (no veil required!), but from the front merely a simple shape that does not take away from the blushing bride’s face.
1. Pick up the top back section of your hair and pin this section up and away for now.
Pin Curl Chignon

2. Pick up the front top sections of your hair on both sides and put it into a ponytail with an elastic, so that your hair is half-up half-down for now.
3. Now pick up the two sections on both sides of the lower part your head. Cross each section over one another to cover the elastic and secure them in place with bobby pins.
4. Go back to the top section you pinned up and away earlier and roll it into a pin curl.
7. Place the pin curl in the upper back section of your head and pin it down.
8. Take half of the hair that is down and roll it up into a small chignon-like pouf and pin in place with bobby pins.
9. Roll the remaining hair into another pin curl and pin in place below the pouf.
10. Tame fly-aways with a TIGI Bed Head Stick ($15) by smoothing the front and sides of the hairdo — this look is all about being clean and refined.
This super glam look will stand up from the ceremony all the way through reception. Yep! It’s first dance-proof and perfectly polished to accompany those candid pictures.

A Gibson roll was a popular hairstyle in the early 20th century, and a fishtail braid is one of the most trending braids of our time. Together, these two elements of smooth-chic meets boho-plaits is a great look for the girl who wants to add a classic touch to her modern ‘do on her big day.
1. Separate your hair into three sections, leaving more hair in the back than on the sides.
Fishtail Gibson

2. Fishtail braid both of the outside sections of hair and secure with small elastics.
3. Pull the braids loose for a more playful look.
4. Loosely place another small elastic around the back section of hair, then pull the elastic towards the ends of your hair. This is going to help keep your ends in place for the next move.
5. Tightly roll up the hair to create a Gibson roll and pin in place using bobby pins.
6. Take one braid and lay it over the top of the roll and pin in place.
7. Now take the other braid, cross it over on top of the pinned braid, and pin it in place.
How stunning would this look dressed up with an elbow-length veil?

An effortless-feeling updo is both one of the most requested bridal looks ever and one of my personal favorites to do (you’ll feel the same soon!). The trick is to have that “I just threw my hair up but still look SO elegant” finish, which actually takes a little more work than it appears. But don’t worry, you can totally do it!
1. This look is ALL about the teasing! The trick to doing it right is to tease in very thin sections. This doesn’t look very bridal, but when completed it will be gorgeous — don’t freak out!
Tousled + Twisted
flower crown
 always altar-worthy.


