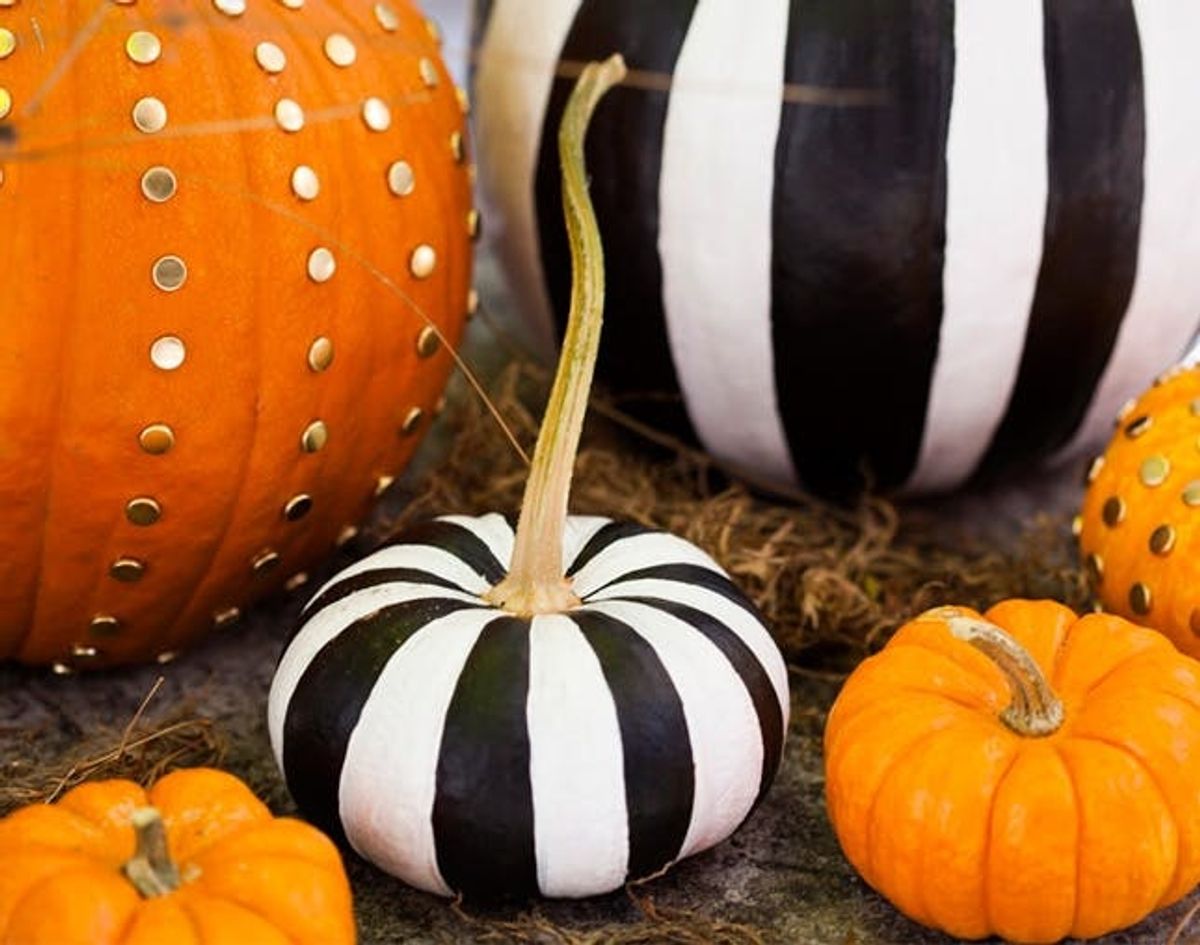
For this week’s chic take on pumpkins, we turn to two of our favorite DIY tricks: stripes and studs! By combining black and white stripes with gold polka dots (by way of studs), we’ve created a suite of pumpkins chic enough for the most sophisticated of soirees.
2 Ways to Make Chic No-Carve Pumpkins

For this week’s chic take on pumpkins, we turn to two of our favorite DIY tricks: stripes and studs! By combining black and white stripes with gold polka dots (by way of studs), we’ve created a suite of pumpkins chic enough for the most sophisticated of soirees.
Chic Halloween Party
Materials:
– black acrylic paint
– white acrylic paint
– gold round studs
Tools:
– paintbrushes
The materials for this are so easy to find, you might even already have them!
For the striped pumpkins, start by painting white stripes on every other ridge or section of your pumpkin. If your pumpkin is smoother than ours with less clean lines, just eyeball it. Let the white stripes dry for 30 minutes.
Next, it’s time to paint black stripes! The technique is pretty self-explanatory – simply fill in the areas that are still orange.
And that’s it! Now, onto the studs.
For this one, we’ll show you how to get studly with a mini-pumpkin! Simply create stripes with your studs that run parallel to the natural ridges on your pumpkin. You can press them right into the pumpkin – no hammer or special tools required!
And if you feel like talking to your pumpkin, you can feel free to quote Grease – Tell me about it, stud.
Here’s our little family of pumpkins, looking pretty darn chic if you ask me!
Set them up outside, on a dessert table, or as a centerpiece.
How do you decorate your pumpkins for Halloween? Talk to us in the comments below.


