Though there are countless tutorials online for how to paint the inside of a mason jar, we think it’s helpful to cover essential crafting basics every once in a while. These basics, after all, are the bread and butter of any budding DIYer’s repertoire. Plus, our take is just a little bit hackier. ;) Materials: […]
DIY Basics: Inside Out Painted Jars

Though there are countless tutorials online for how to paint the inside of a mason jar, we think it’s helpful to cover essential crafting basics every once in a while. These basics, after all, are the bread and butter of any budding DIYer’s repertoire. Plus, our take is just a little bit hackier. ;)
Materials:
– mason jars
– spray paint
– painter’s tape
– large ziploc bags
For a workspace, we simply took some cardboard and laid it out on our balcony. It’s always crucial to work in a well-ventilated space (outside if you can) when working with spray paint.
Wrap a ziploc around your first jar. Use painter’s tape to secure it around the top. This will make the glass remain glassy while you spray paint the inside.
Spray paint the inside! It will probably take two coats depending on the spray paint. Let one coat dry, see if you have any light spots, and spray again.
Let dry and unwrap.
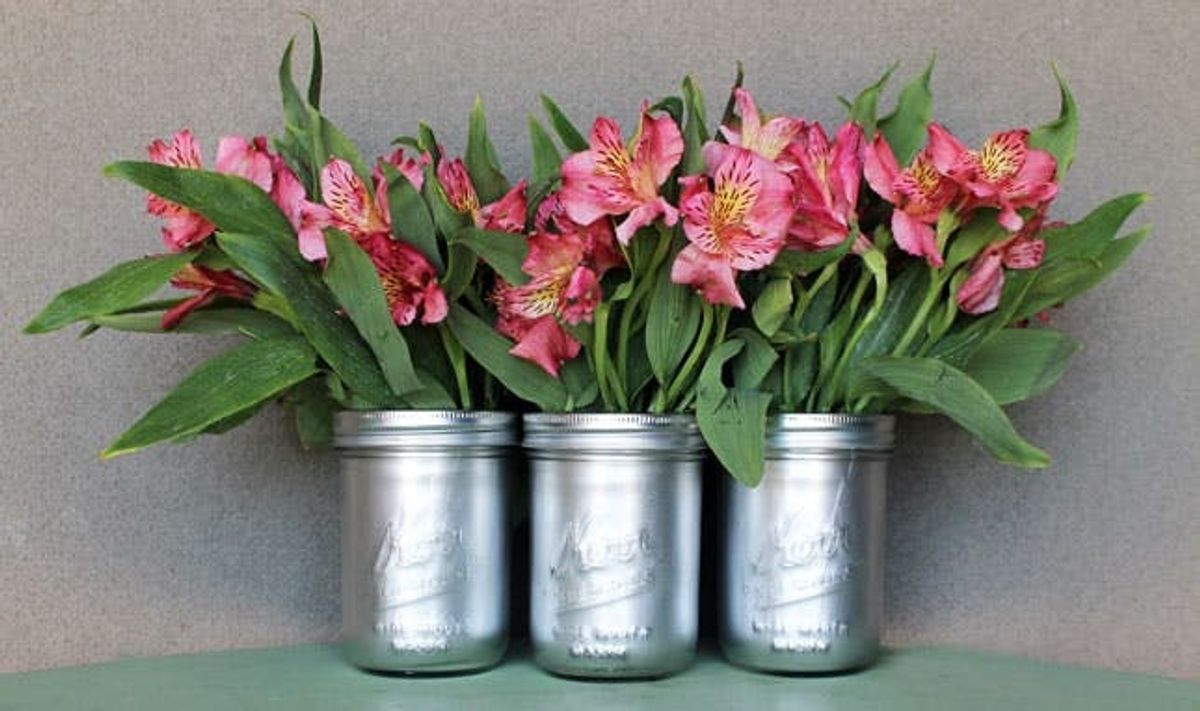
Since we were going with a metallic look, we topped each jar off with the jar rim it came with. This is definitely optional but is a nice accent even if using a non-metallic paint.
Throw in a bunch of flowers, and there you have it! So simple, and an easy way to get more out of all those jars you keep saving.
Are there any DIY basics you’d like us to cover? Let us know in the comments below or over on Twitter.


