Summer sunshine is a great way to show off a little more skin than usual, and no, we’re not talking about bringing back the ’90s trend of bare midriffs. Instead, go for the cutout! We’ve already shown you 20 classy cutouts you can buy – now it’s time to DIY.
Cut It Out: How to Create Hot Summer Cutouts
Summer sunshine is a great way to show off a little more skin than usual, and no, we’re not talking about bringing back the ’90s trend of bare midriffs. Instead, go for the cutout! We’ve already shown you 20 classy cutouts you can buy – now it’s time to DIY.
Materials:
– printable templates (download triangles, waves, and flower here)
– black cotton garments (t-shirt, tunic, dress)
Tools:
– contrasting color pen
– metal ruler
– xacto knife
– cutting board
– fabric scissors
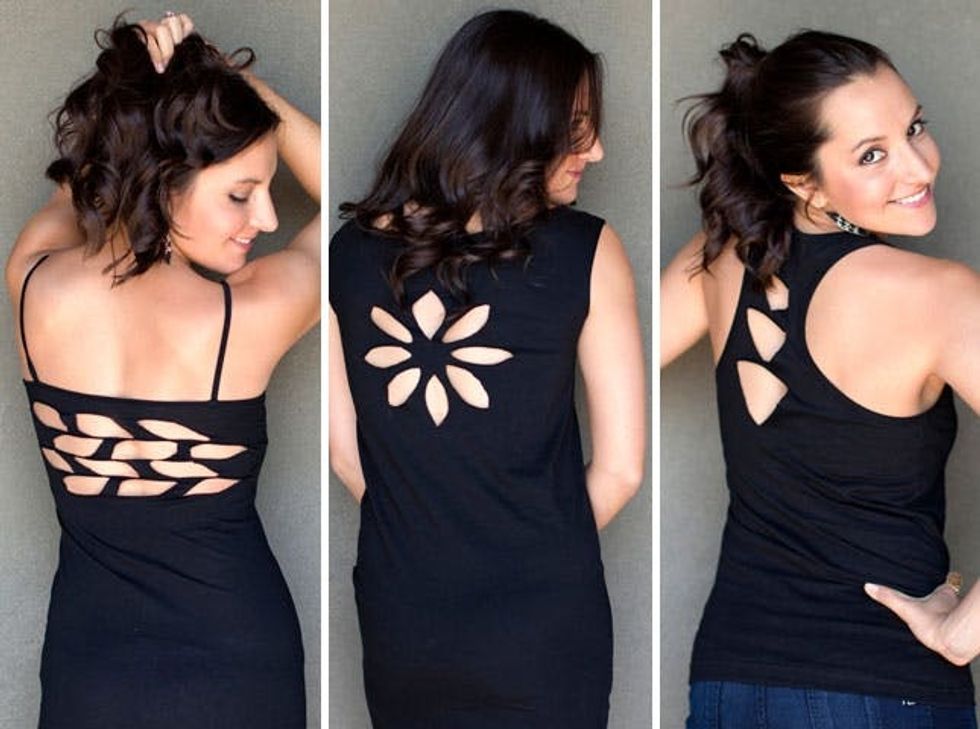
triangles
 waves, and a flower.
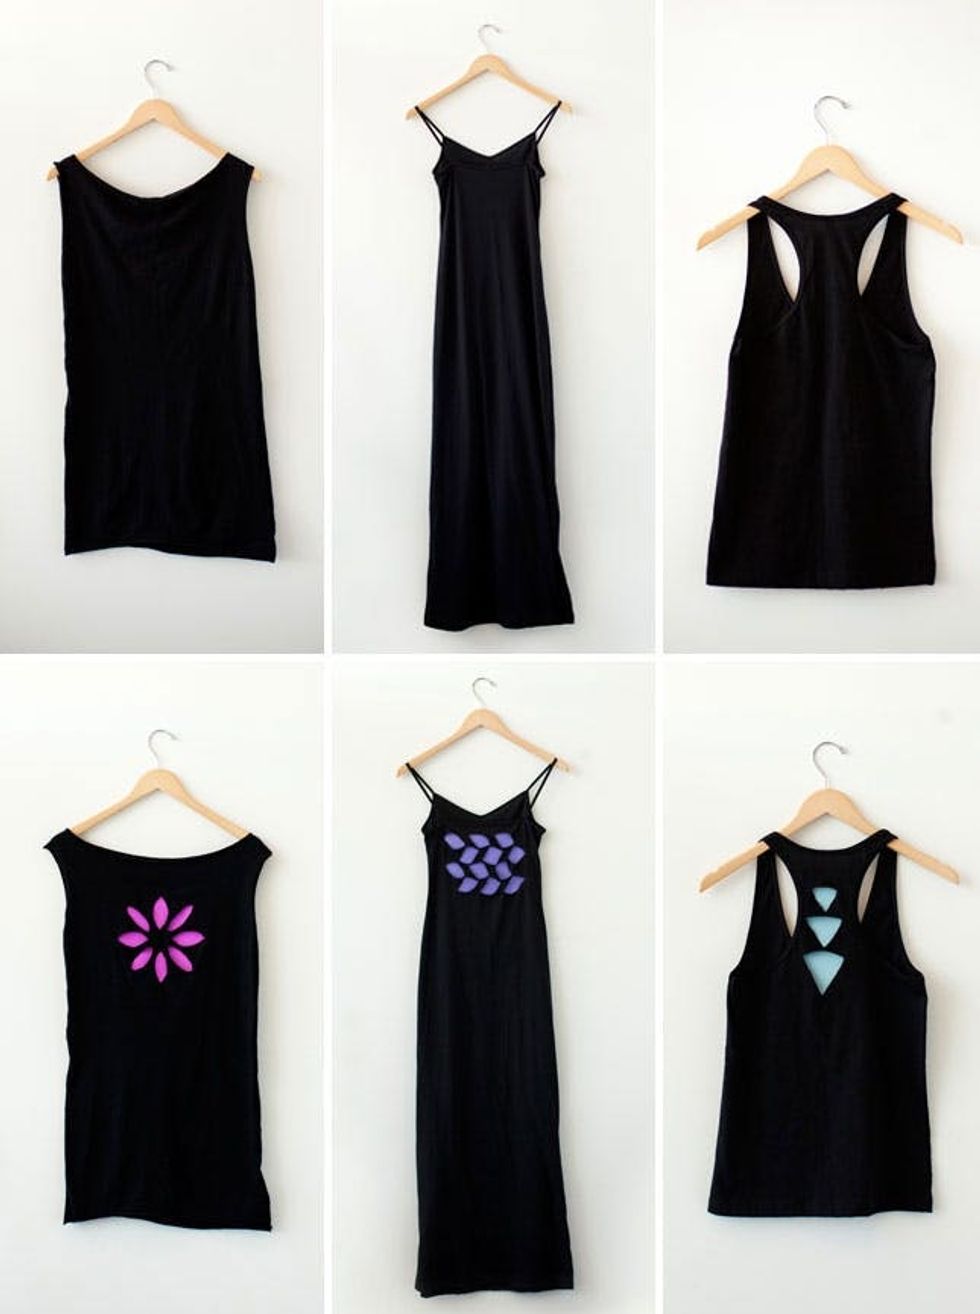
Before we get started, here’s a shot of the before and after for each of our garments. We used colorful paper to show you how the cutouts will look on.
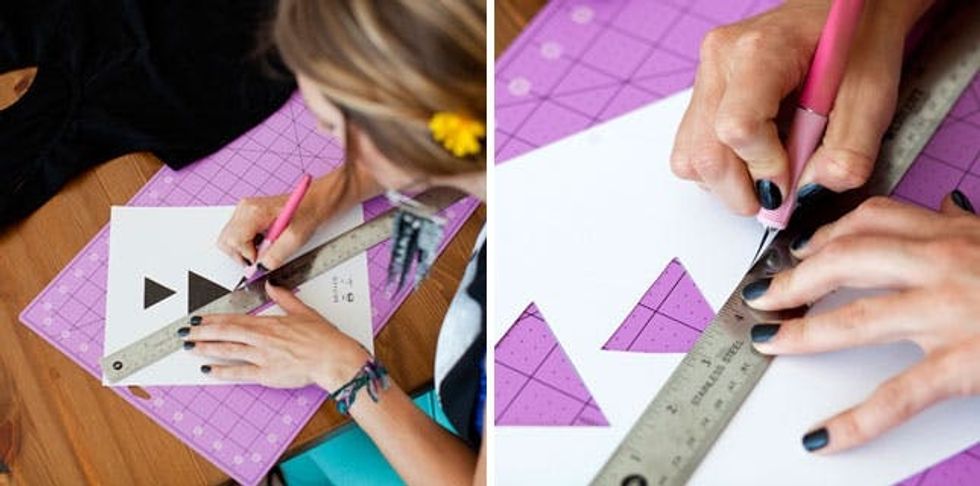
We’ll start with the triangles. Use an xacto knife and metal ruler to cut these out. The ruler will help you get straight lines.
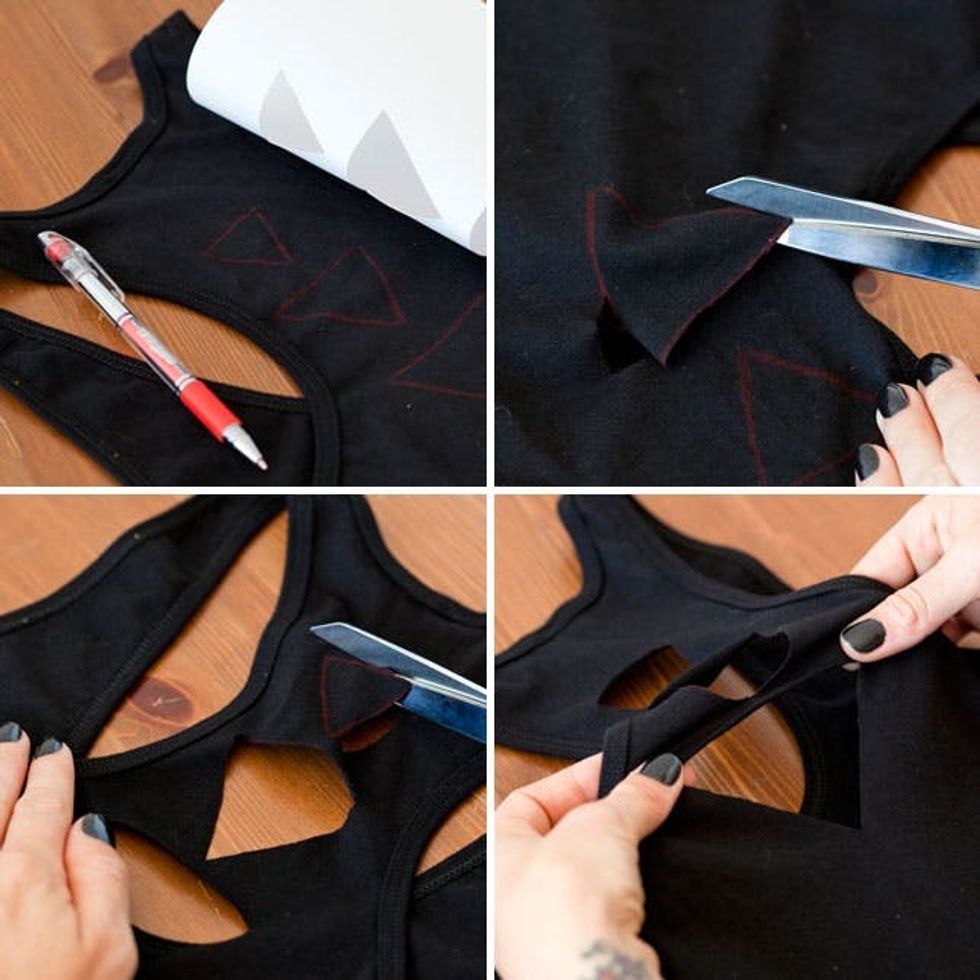
Trace your stencil onto your shirt using a pen or pencil that will show up on your fabric. We went with a red gel pen. Use fabric scissors to cut out each shape. Then stretch your fabric to seal each shape.
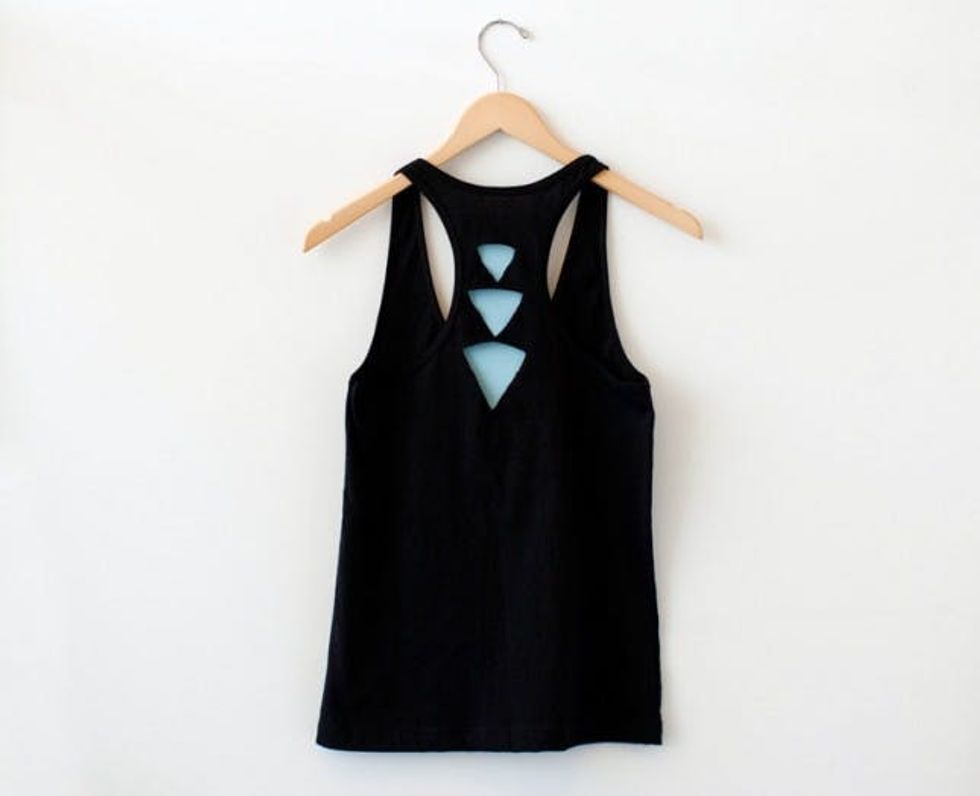
Here’s the final shirt.
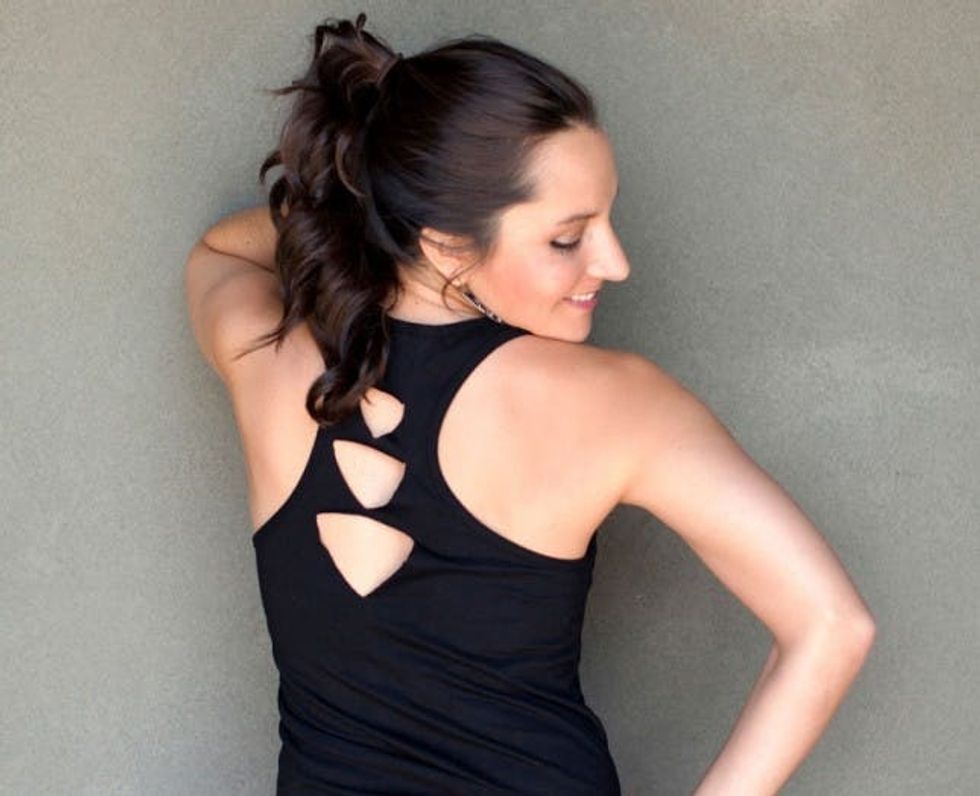
Now with Brit wearing it – so fun!
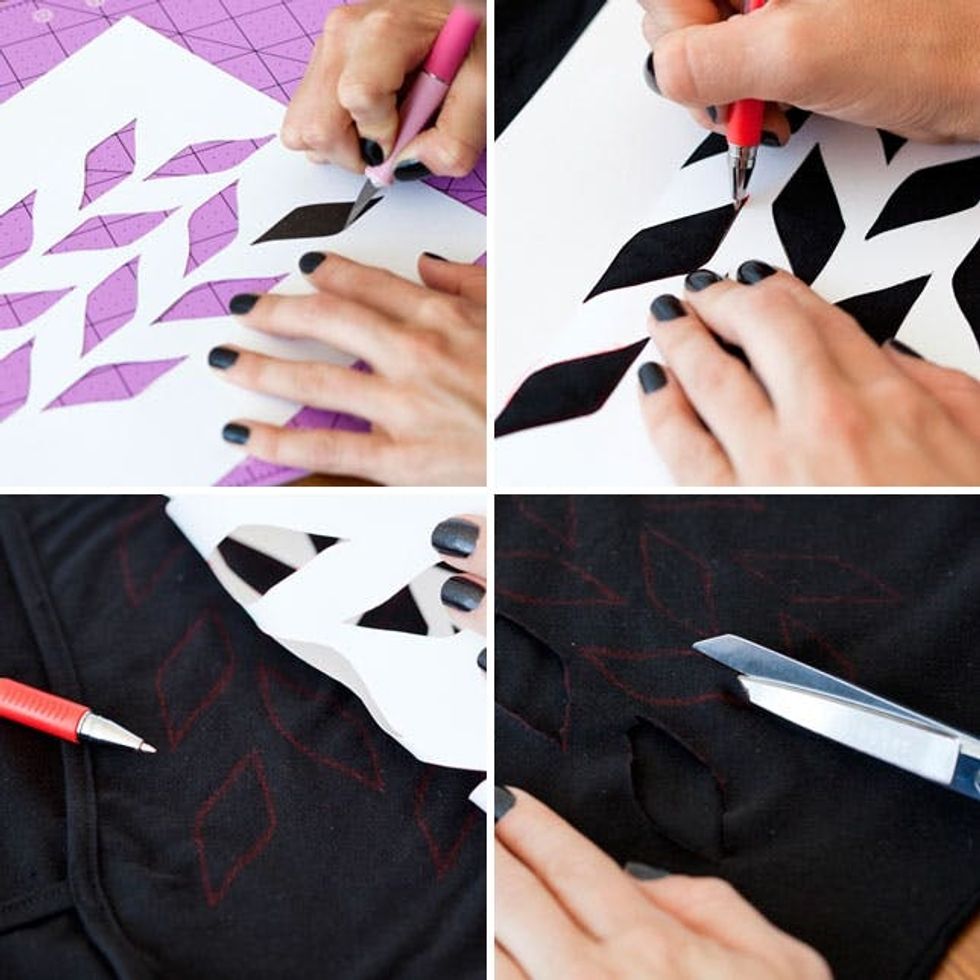
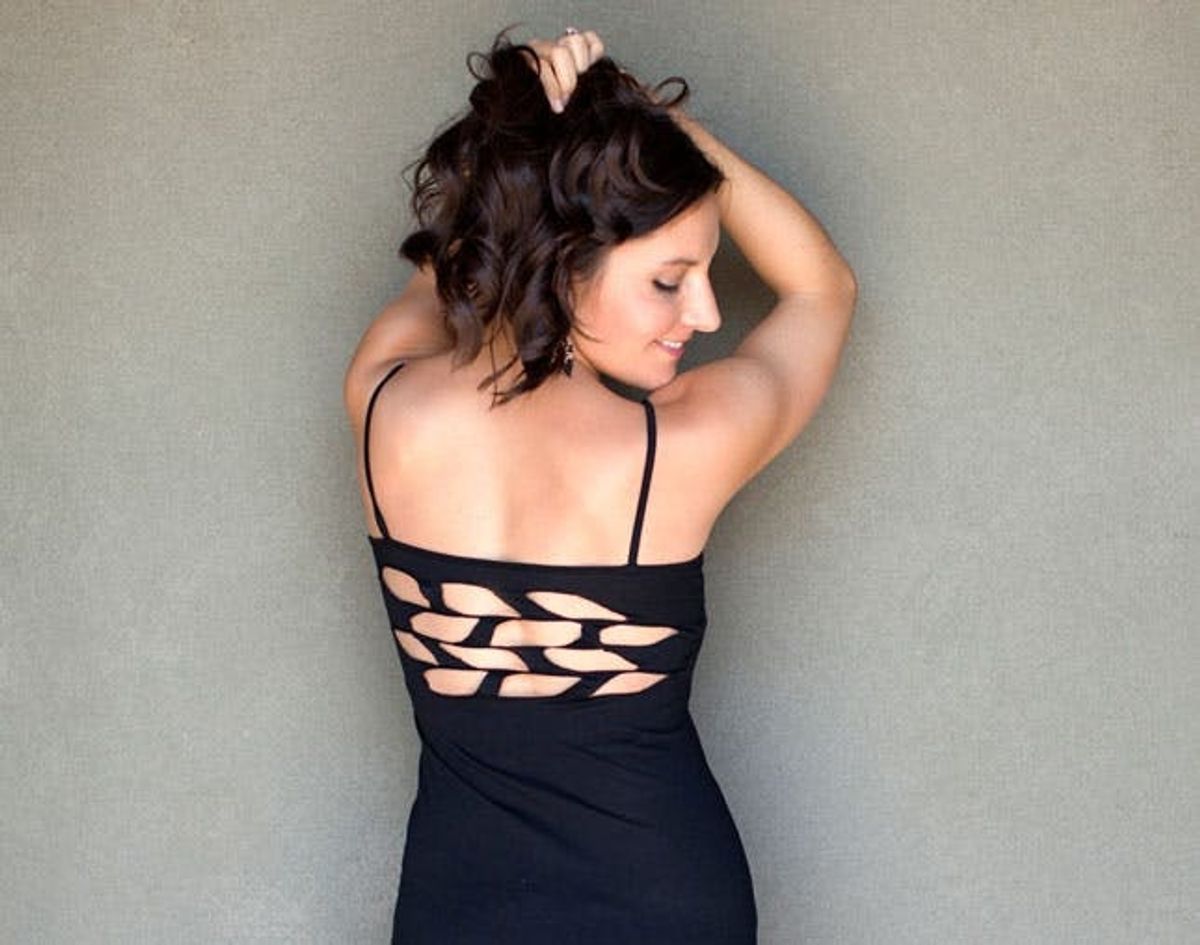
Next up, we created a cool horizontal wave pattern. The process for this is the same as the triangles. Cut out the paper stencil with an xacto knife, trace into your clothing, and cut with fabric scissors.
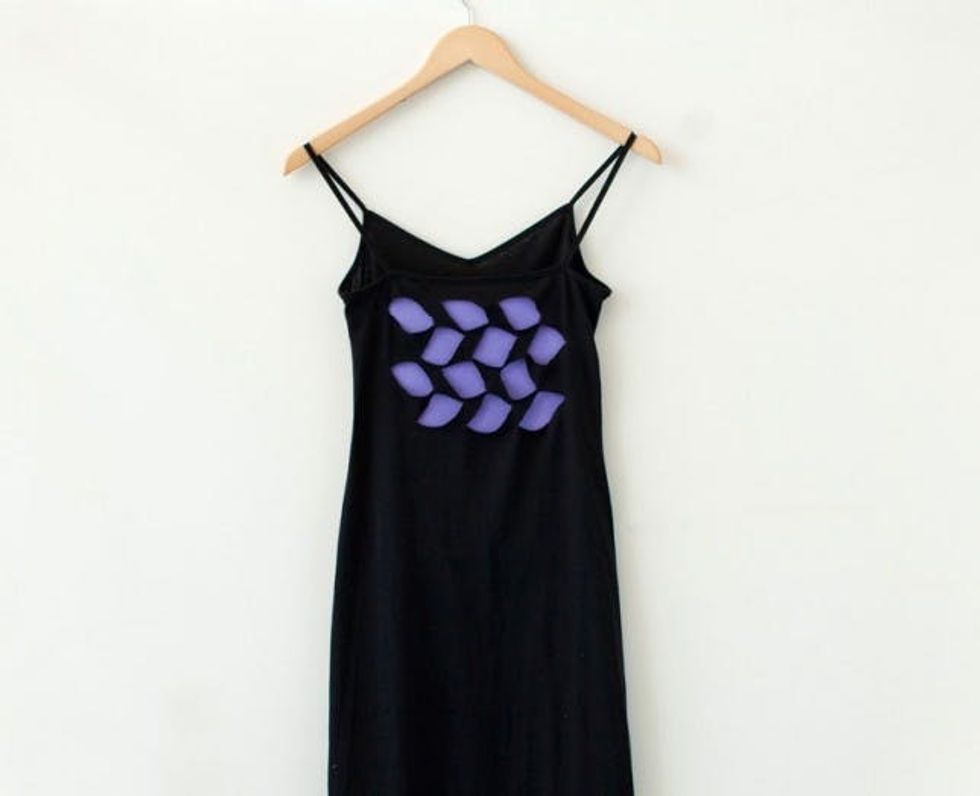
With this one, it looks pretty different on the hanger than it does when you actually wear it.
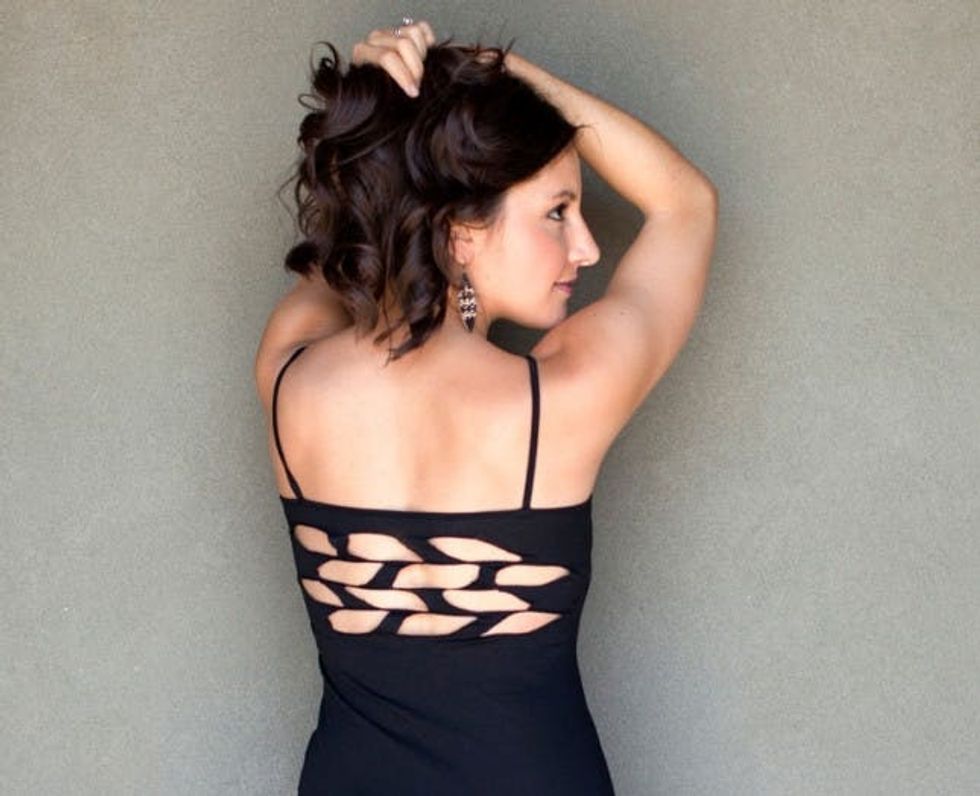
This is hands down our favorite cutout creation.
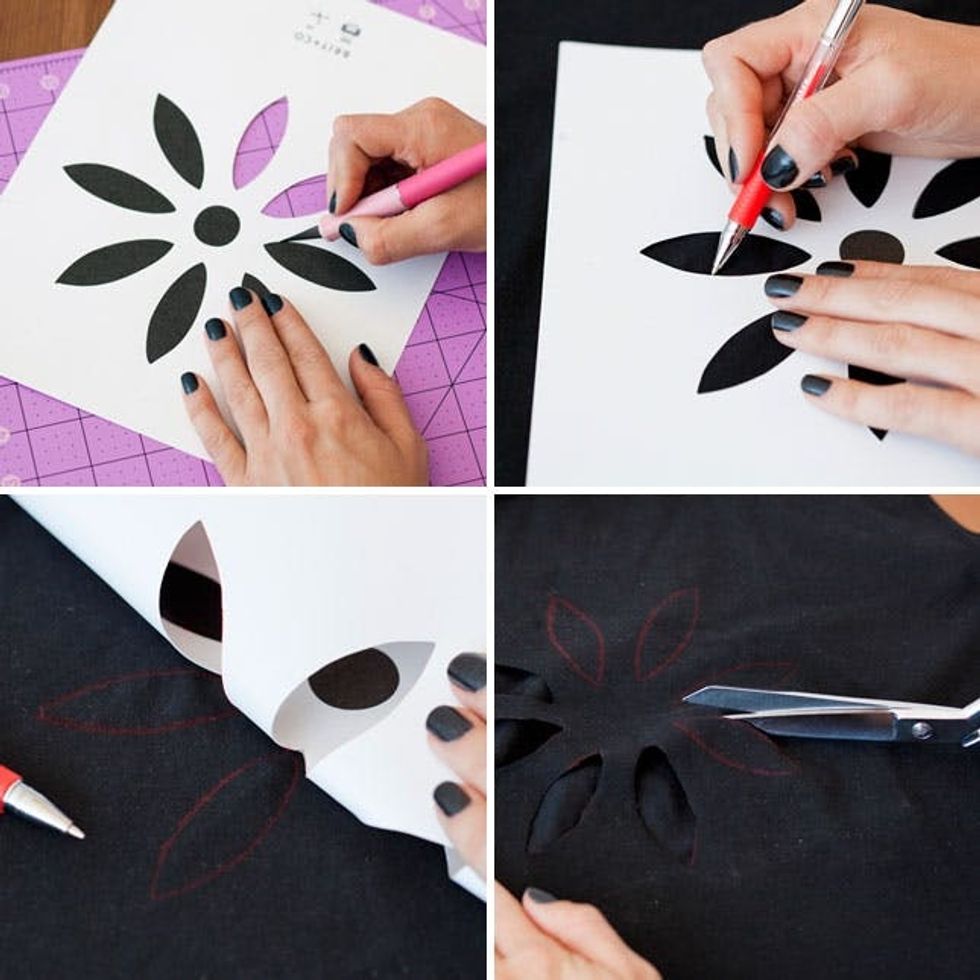
Last, we’ve got a sweet little flower. Follow the same process as with the previous designs.
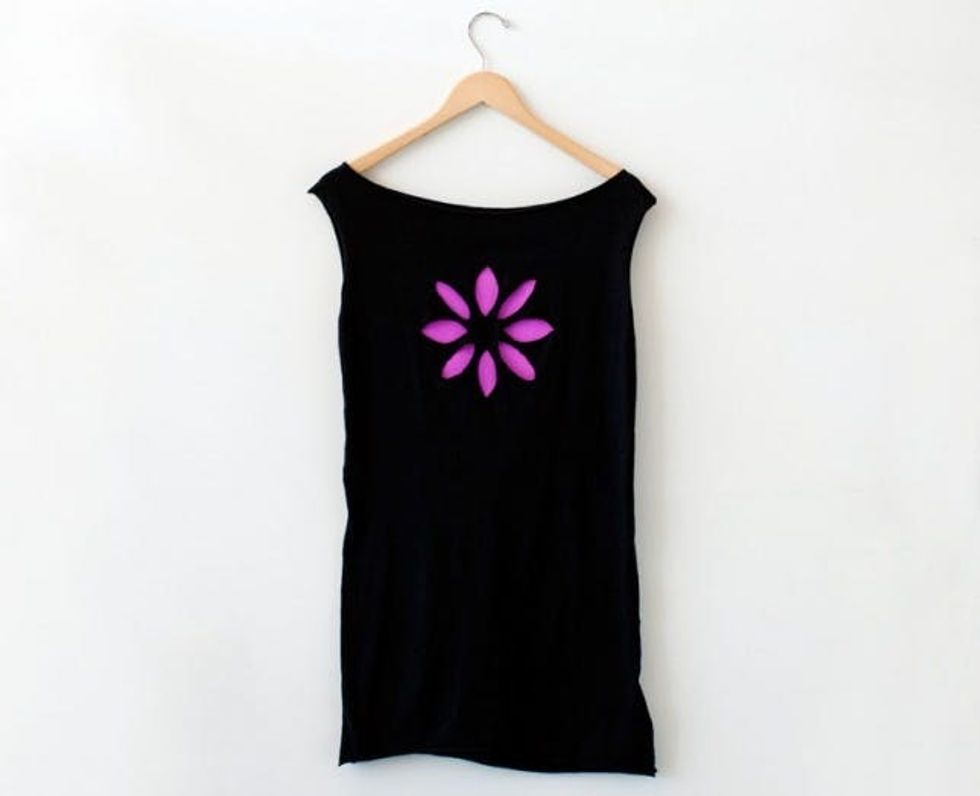
We actually love how the pink card stock looks behind this pattern – you might try adding a piece of fabric if the full cutout isn’t your jam.
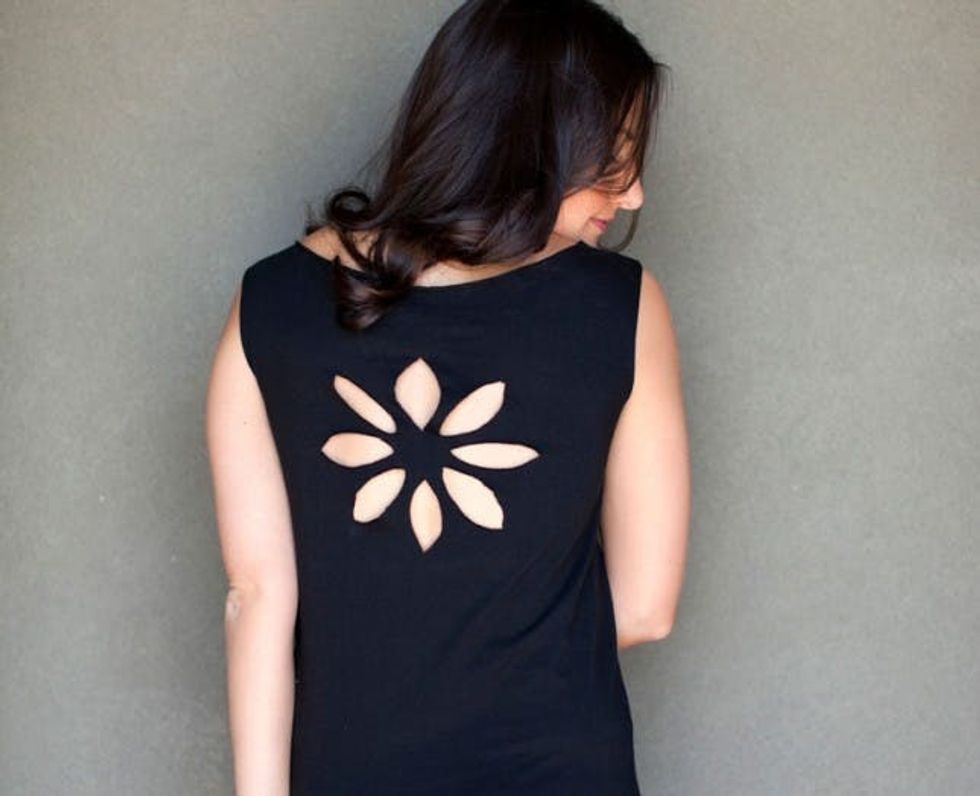
So pretty!
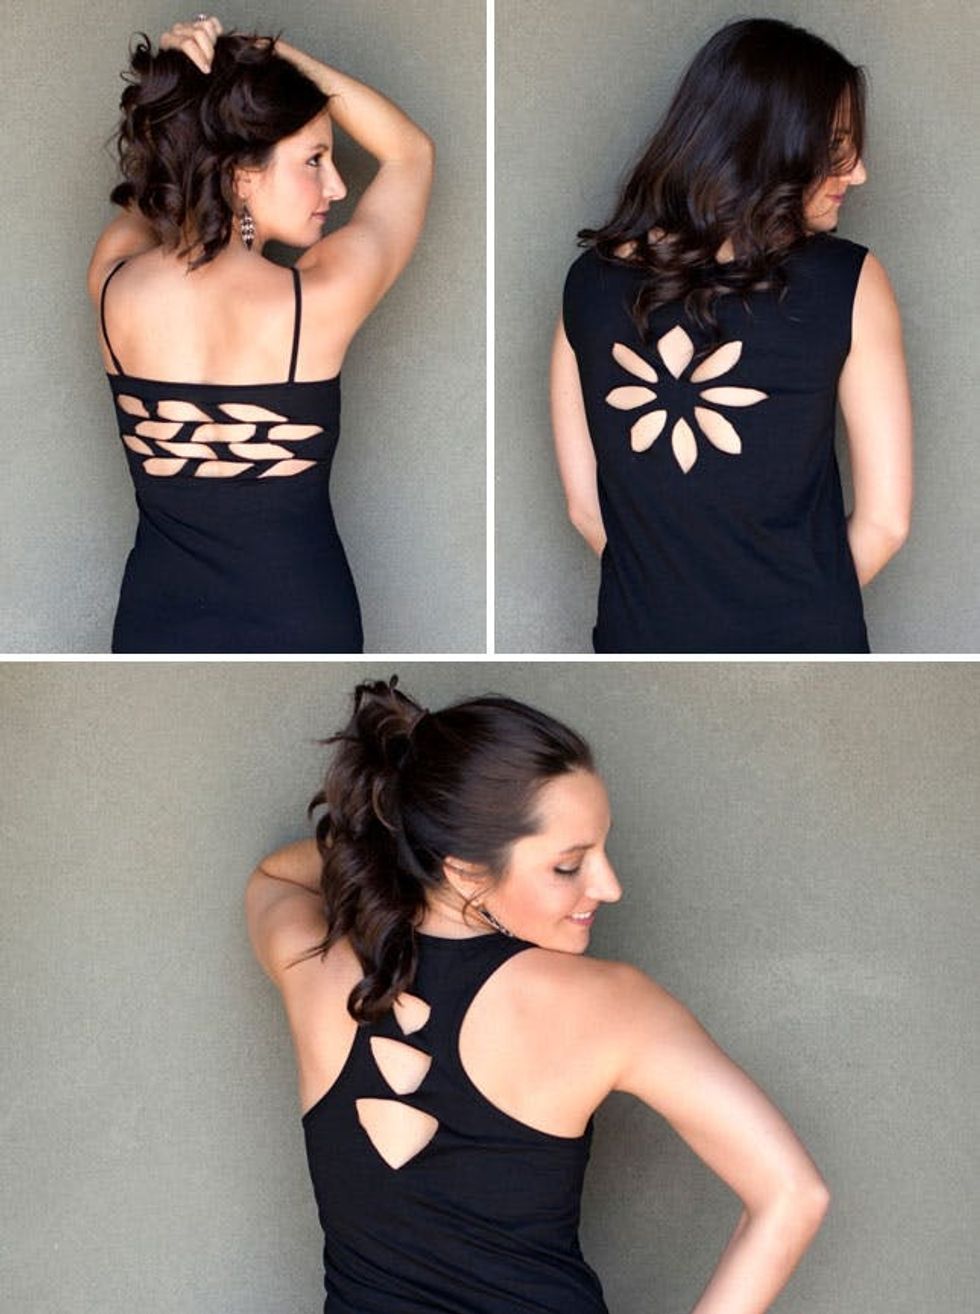
Which of these looks is your favorite? Do you say yay or nay to the cutout trend? Talk to us in the comments below.


