

 Recommended for you

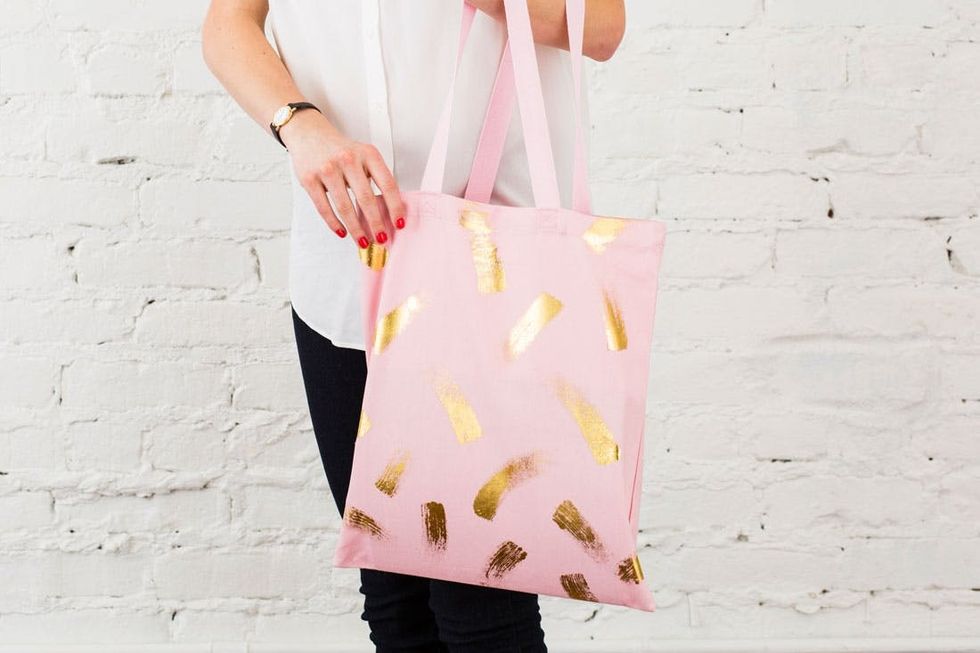
We’re in love. Gold transfer foil is the stuff DIY dreams are made of. You can add a touch of gold to a tote using transfer foil and brush-on adhesive, designed specifically for fabrics — all included in our handy dandy DIY Gold Foil kit.

This technique also works on wood, cork and some paper objects as well as an endless list of fabric items. So take a look around and start thinking of what objects in your home could use a metallic accent!
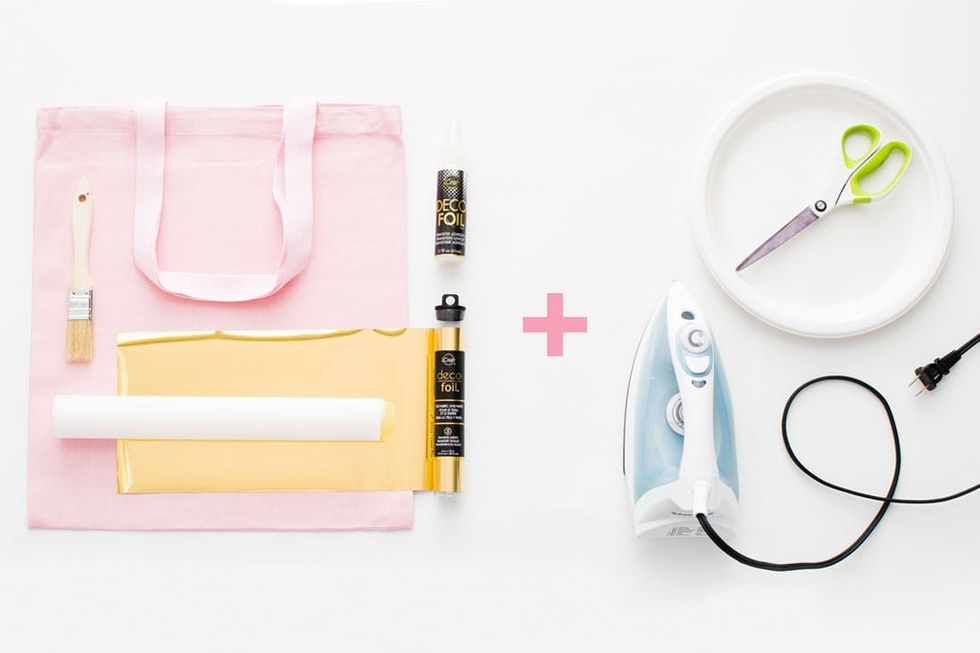
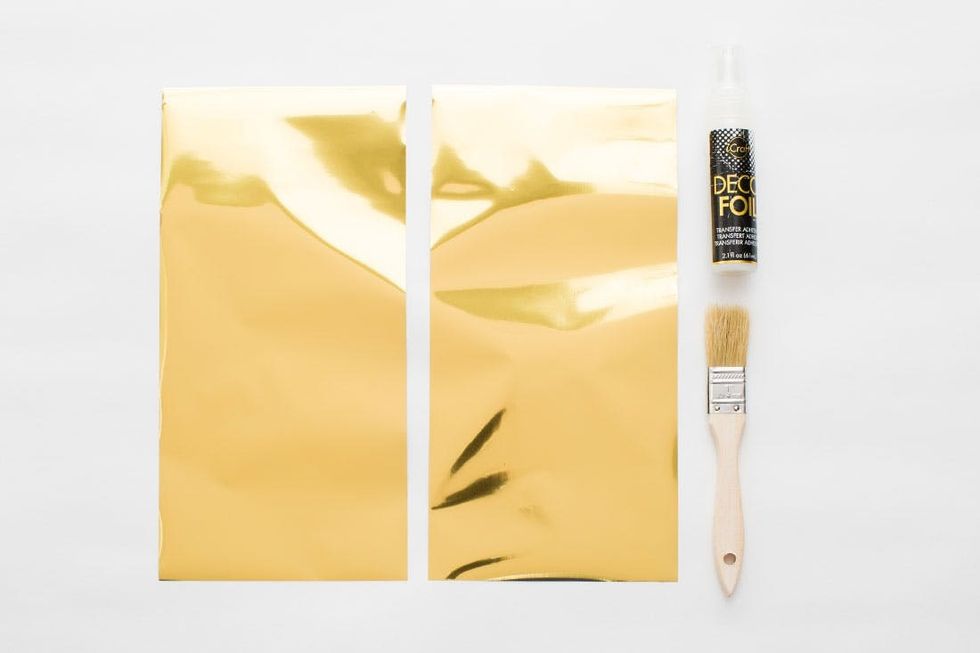
Materials:
– Cotton tote bag
– Gold transfer foil
– Foil transfer adhesive
– Paintbrush
– Parchment paper
(or get the kit here in one of four colors!)
Additional Tools (not included):
– Iron
– Scissors (optional)
– Paper plate
Instructions:
1. Squirt some glue onto a paper plate or other surface not used for food.
2. Brush a thin layer of glue onto your tote bag.
3. Let glue dry slightly for 30 seconds.
4. Place one sheet of gold transfer foil on top of the glue, silver side down.
5. Lay a sheet of parchment paper on top of the gold foil and iron for 20 seconds.
6. Let sit until completely cool to the touch, and peel away the gold foil.
7. Repeat this process until you are happy with your design.
8. Let gold foil cure completely for 72 hours before use.
Grab your main materials (pictured left) and some additional household supplies (pictured right) and let’s get started!
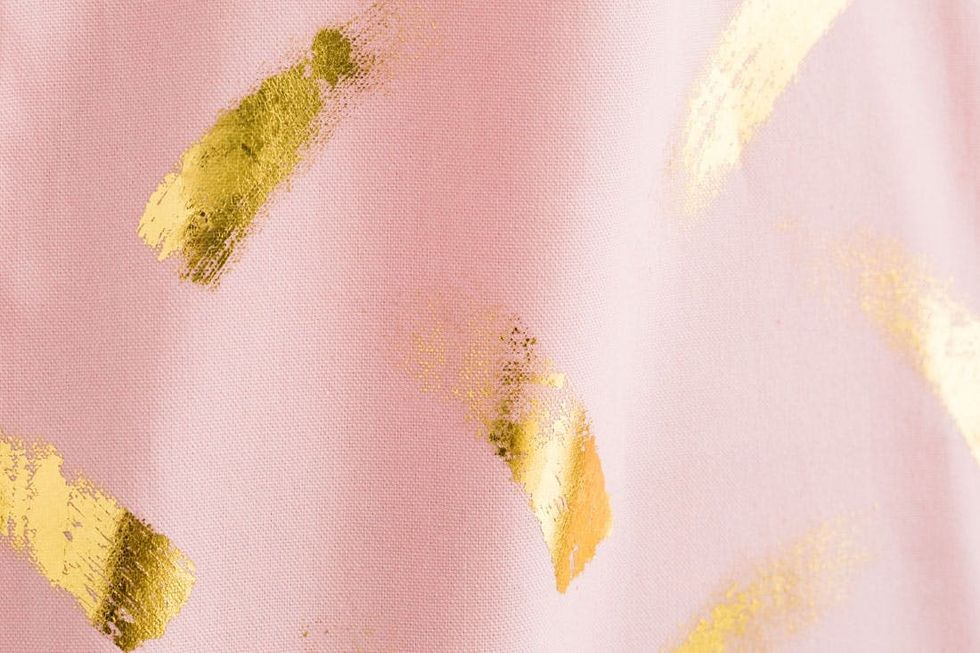
This first technique is a fun, no-fuss brushstroke for a painterly look!
The Brushstroke
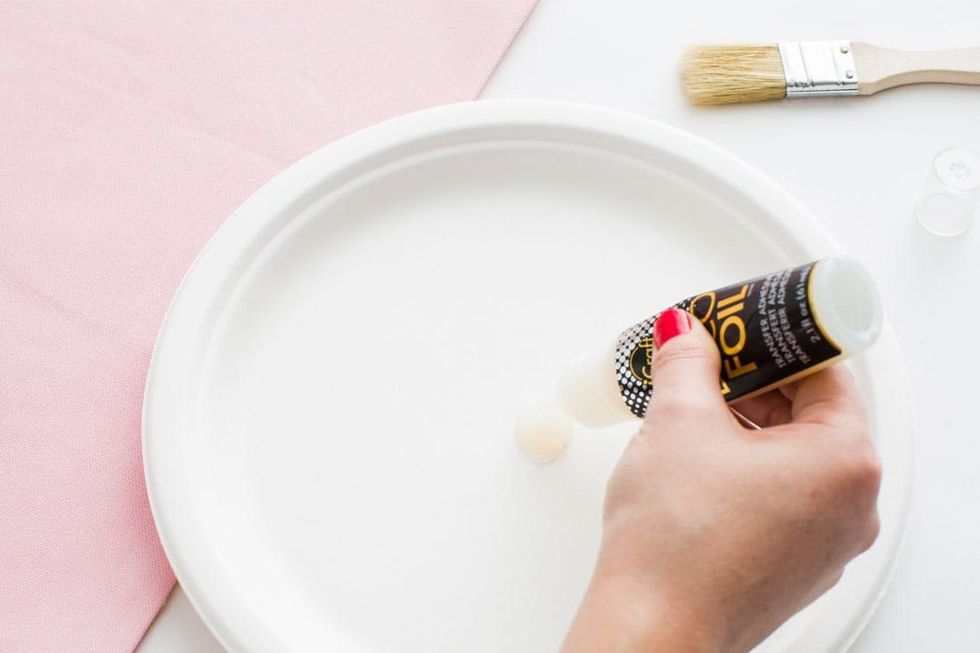
First things first — squirt out some transfer adhesive onto a paper plate or other surface that will not be used for food.
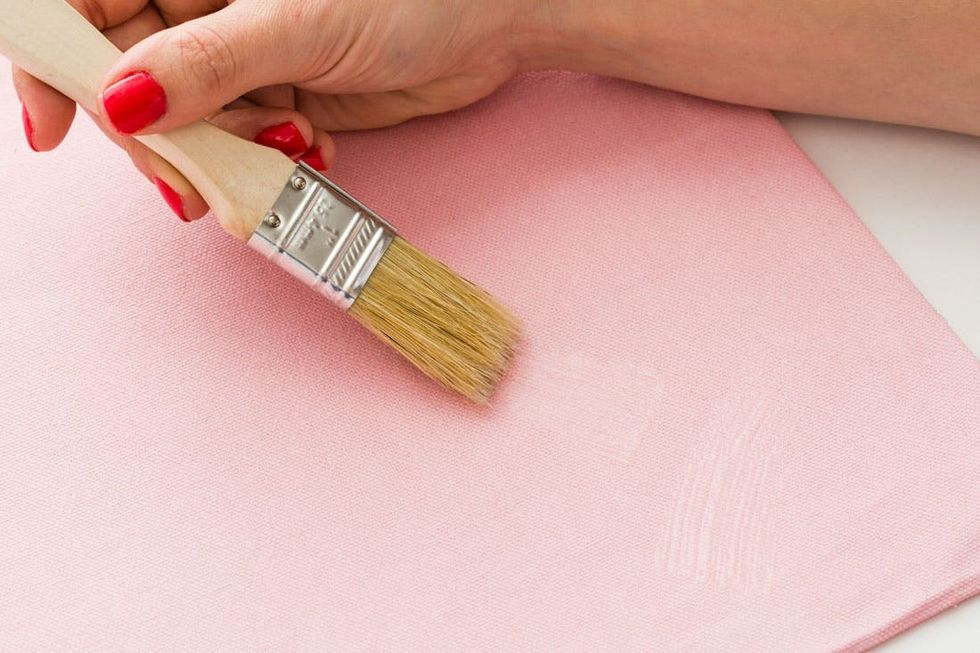
Brush on a thin layer of adhesive in a sweeping motion, loading on more glue at the beginning of the brushstroke and lifting your brush up and away from the fabric at the end. If you’re nervous about this step, turn your tote bag inside out and do a practice run on the inside first!
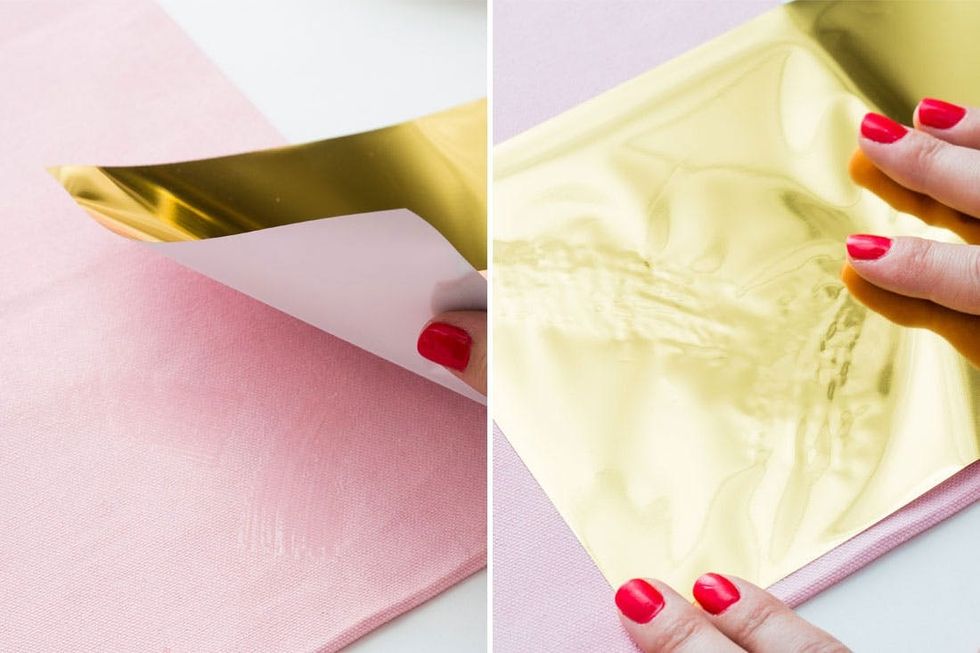
Let the adhesive dry slightly for 30 seconds so that it becomes tacky, and then place one foil sheet, silver side down, on top of the adhesive. Gently smooth down the foil with your fingers so that you can see the adhesive shape beneath.

Place a sheet of parchment paper on top of the gold foil and iron for 20 seconds on medium heat. Make sure to get the whole surface of your design heated.
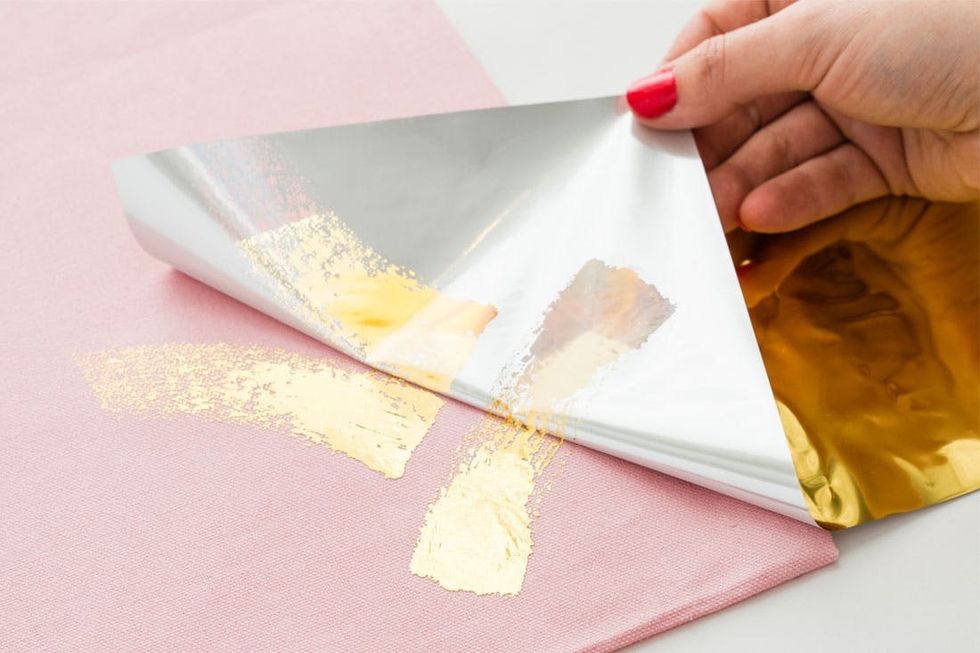
Let the foil cool down completely so that it is no longer warm to the touch, and then peel away to reveal your gold brushstrokes!
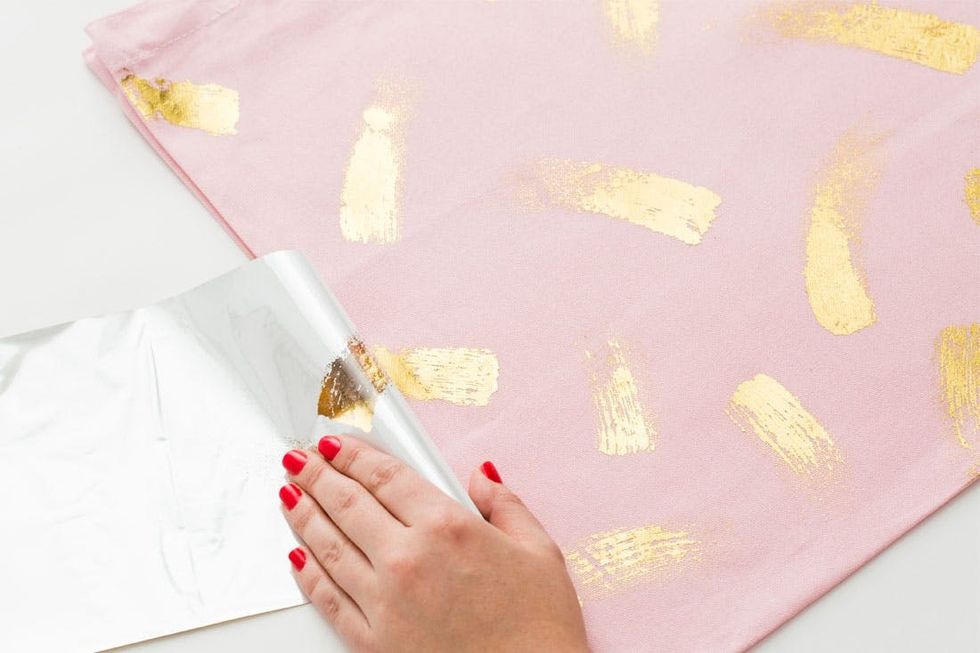
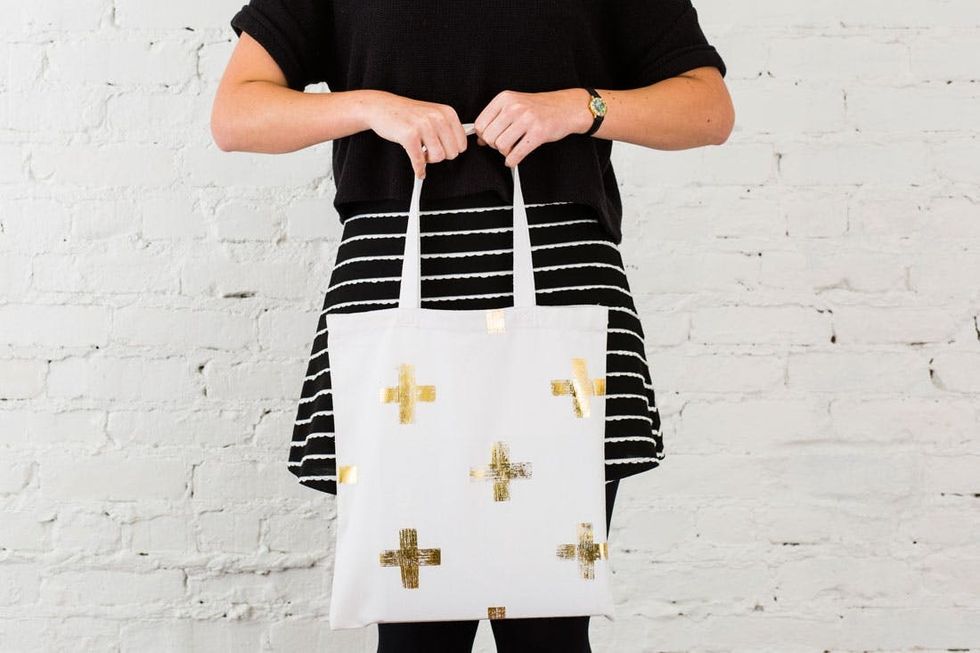
Repeat this process until you are happy with your design! We covered the entire bag for an all-over pattern.
Check out that shine! Let your gold foil design cure completely for 72 hours before use, and hand wash if necessary.

Start a new creative project this weekend. Try one of our FREE online classes today!
The Cutout Cross
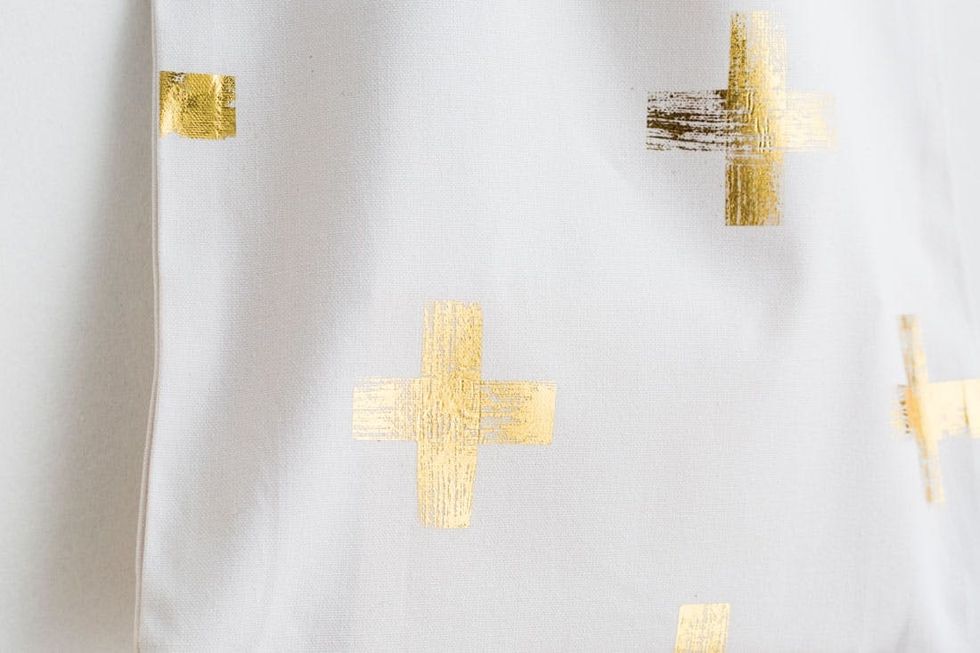
Next up is a much more controlled technique for those sharp geometric folks!
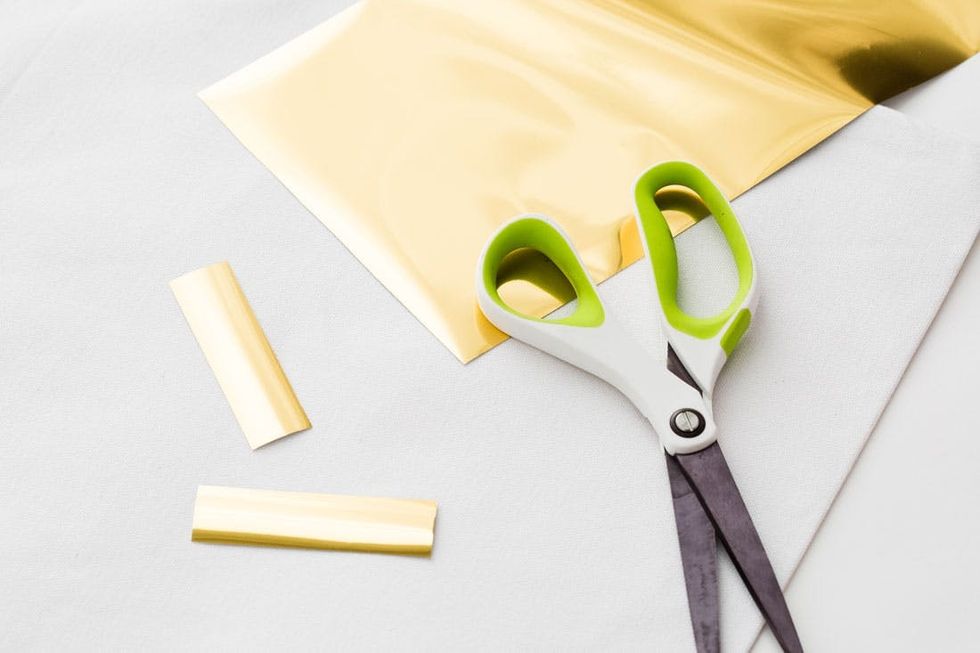
Instead of letting the glue decide where the gold sticks, control your gold foil destiny by cutting out thin strips first.
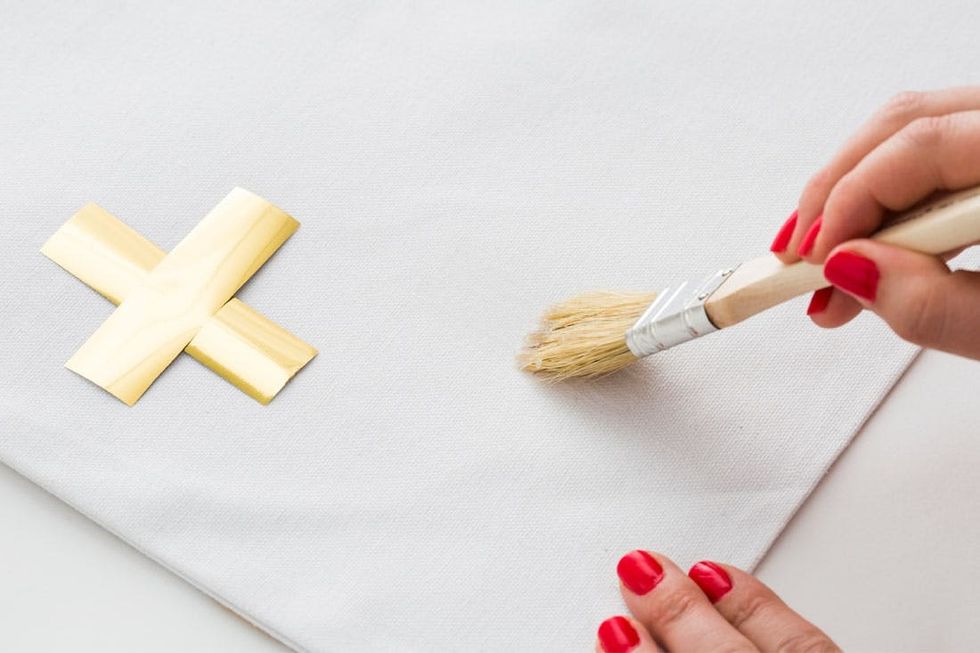
Brush on a thin layer of adhesive in the general shape and size of your foil cross. It helps to make your brushstrokes a little bit longer and wider than the actual foil strips, to make sure that the whole shape definitely sticks.
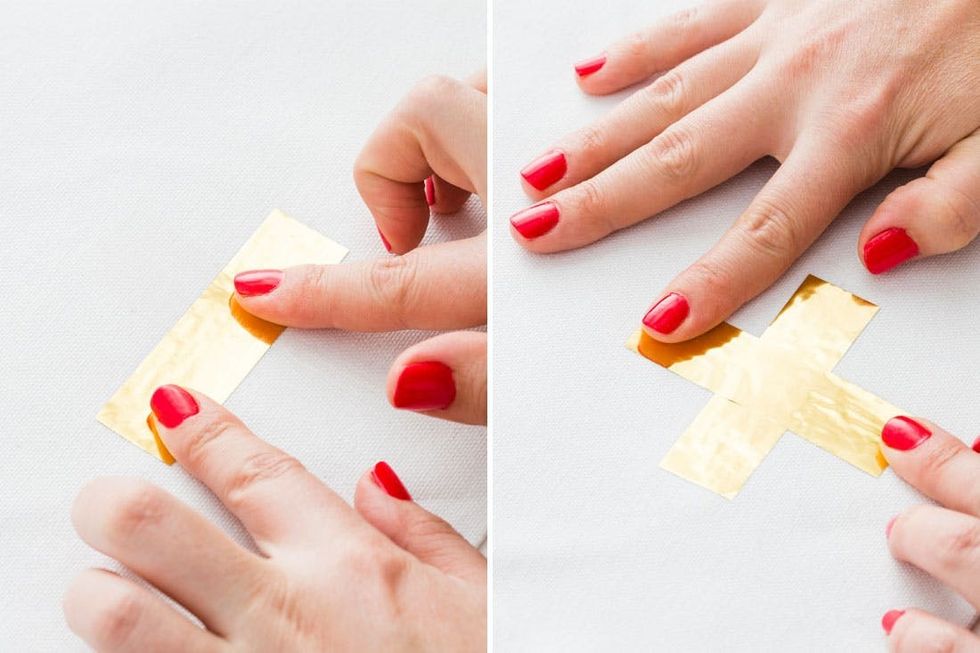
Let your adhesive dry for 30 seconds and then press down both strips on top of each other to form a cross.
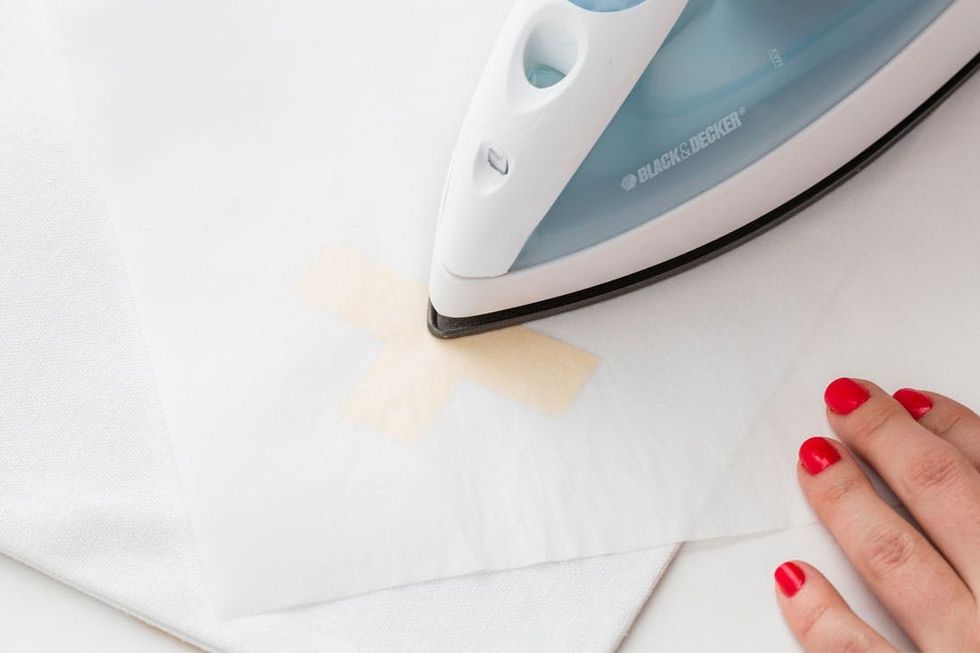
Place that sheet of parchment paper over the whole cross and iron evenly for 20 seconds on medium heat.
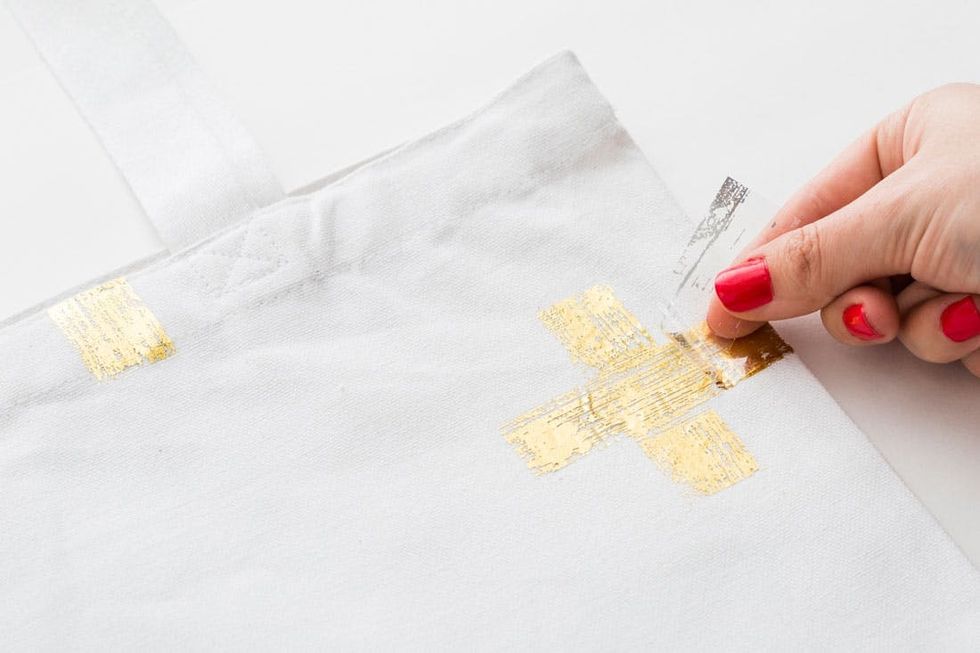
You know the drill. Let those babies cool and then peel away the foil.
We’re loving the added brush stroke texture in this controlled geometric pattern.
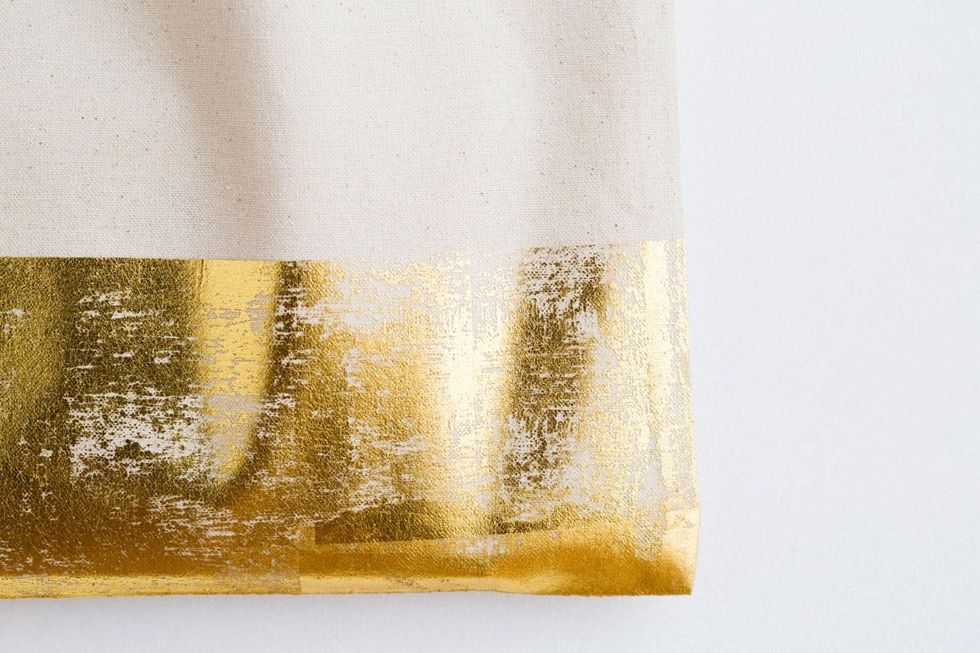
This third technique is as simple as it gets! This isn’t your average solid gold dip – here you get the added effect of a rough natural texture.
The Quarter Dip
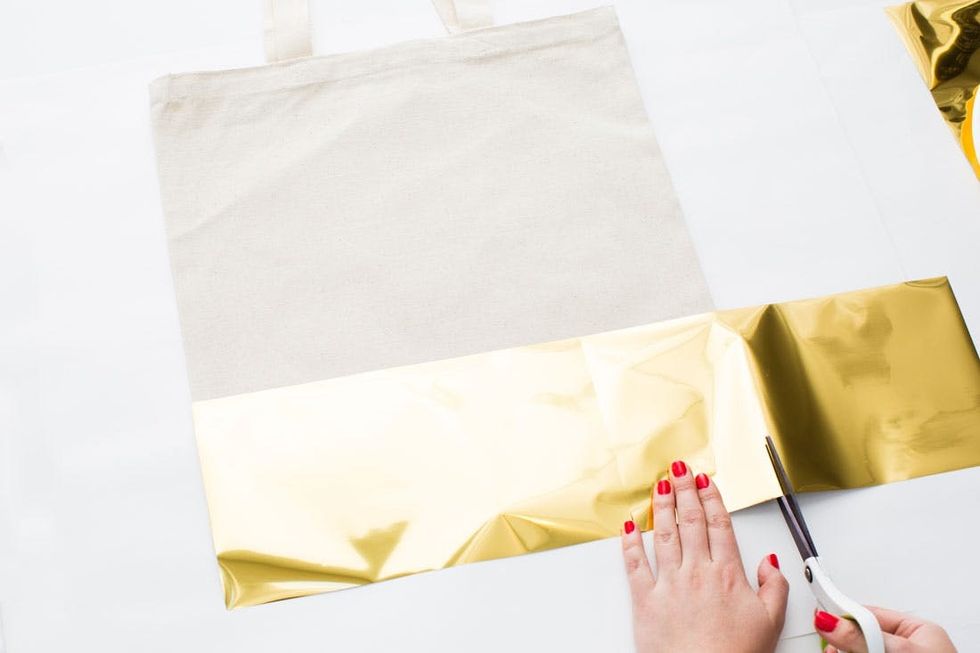
Brush on adhesive all over the bottom 1/4 of your bag, and cover with solid pieces of gold foil. This should take more than one piece, so just overlap two sheets and cut off the excess.
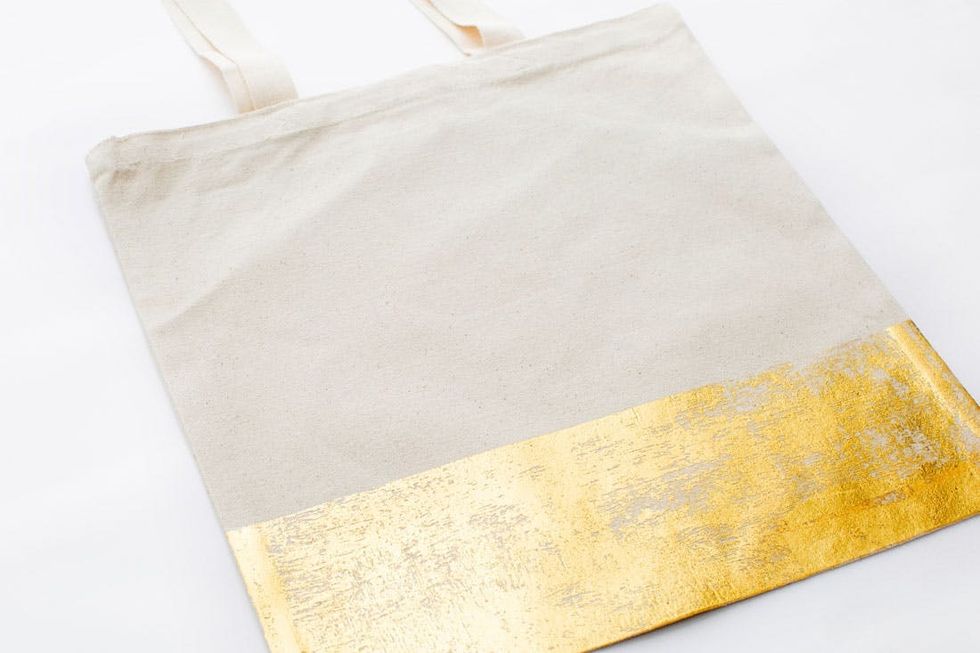
Same deal, different bag! Iron, let cool, and peel to reveal.

You can never go wrong with a good classic dip!
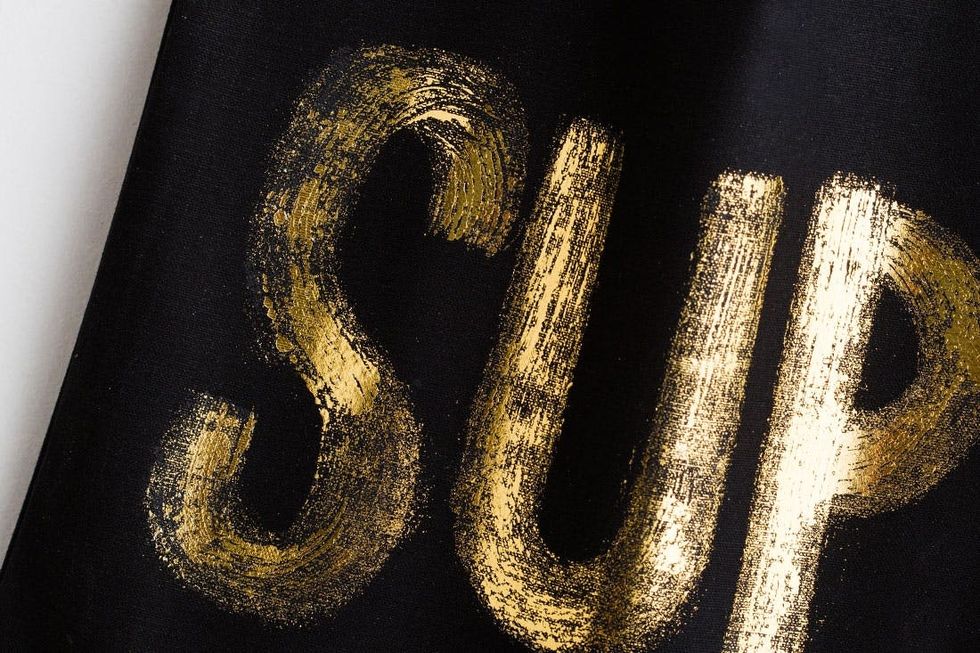
Our fourth and final technique packs a serious verbal punch.
The Wordsmith

Brush on large letters in adhesive, making sure to get a good even coat. You could also use stencils for this one (and really any other design) but we decided to tackle it freehand to keep that quick-brushed look going.

Let dry for 30 seconds, cover your adhesive letters with gold foil, and iron away.
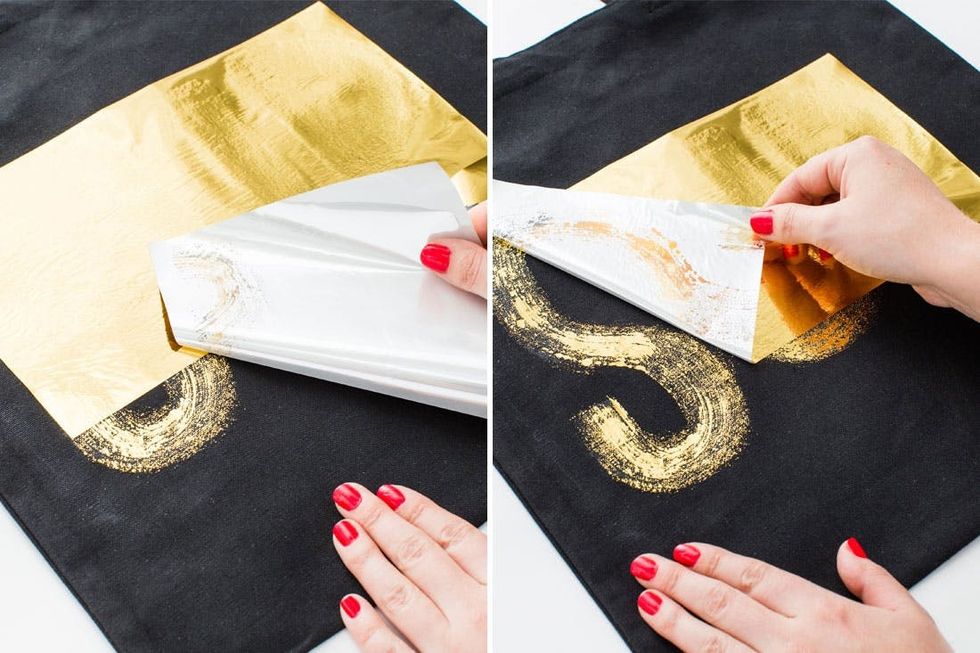
Once cool to the touch, peel away and see what you’ve got! If you don’t love the coverage, you can always brush another layer of adhesive on over the top of your existing letters, and iron on more foil to fill in any significant bald spots.
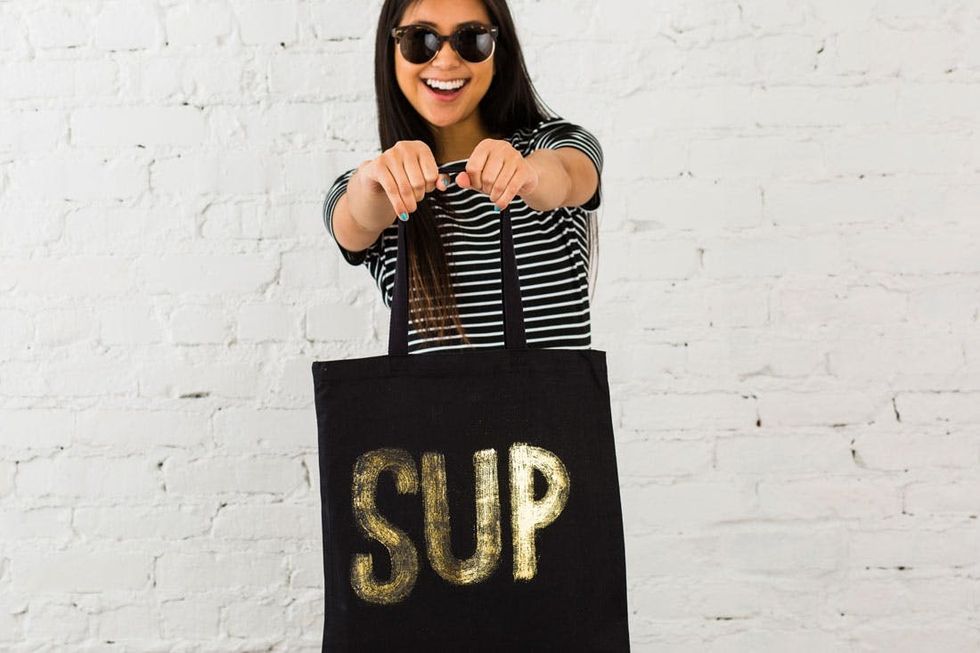
Get ready to turn heads out there!
Psst — we’ll let you in on a secret here. Our kit comes with TWICE the gold foil and adhesive you need to make one tote bag. That means its time to start looking around your house and closet to see what other things you can get your gold foiling hands on!
But wait, there’s more!
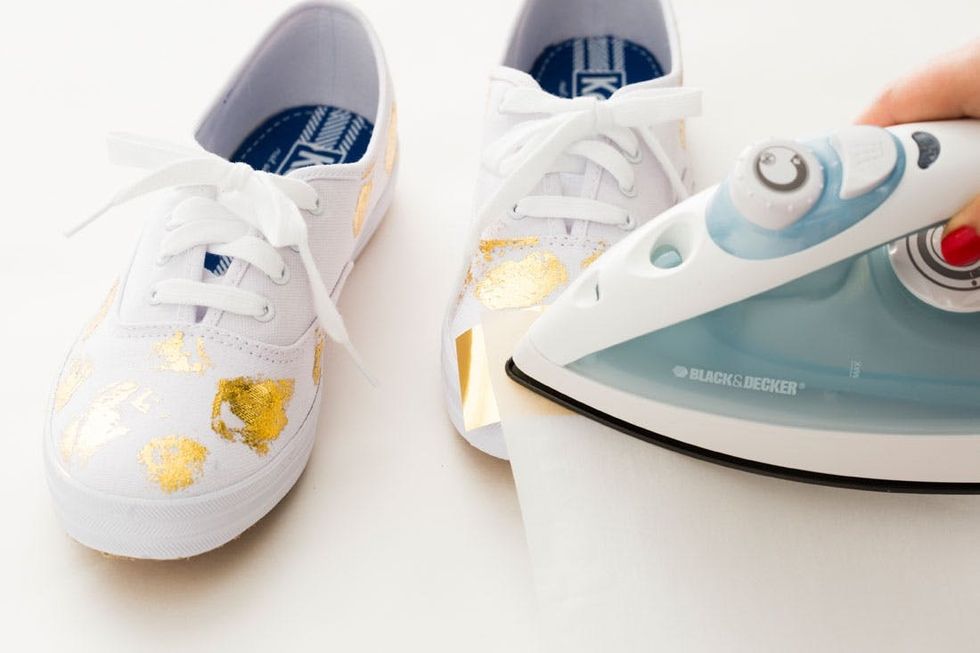
We couldn’t resist adding some quick gold spots to a pair of white sneakers. This follows the same brushstroke technique as before (just be extra careful with the iron on this one).
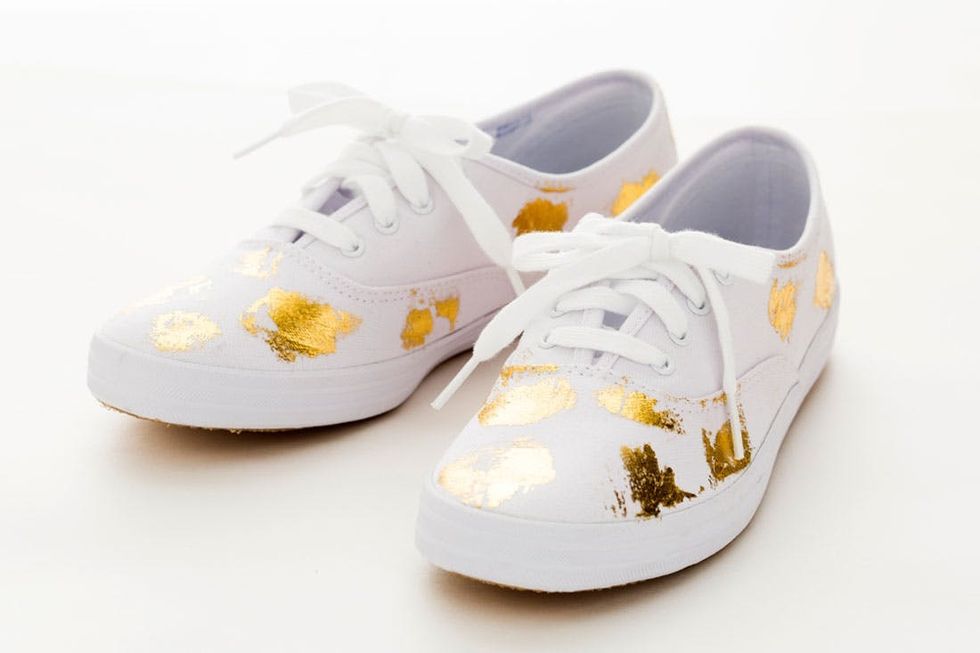
If these shoes could talk…
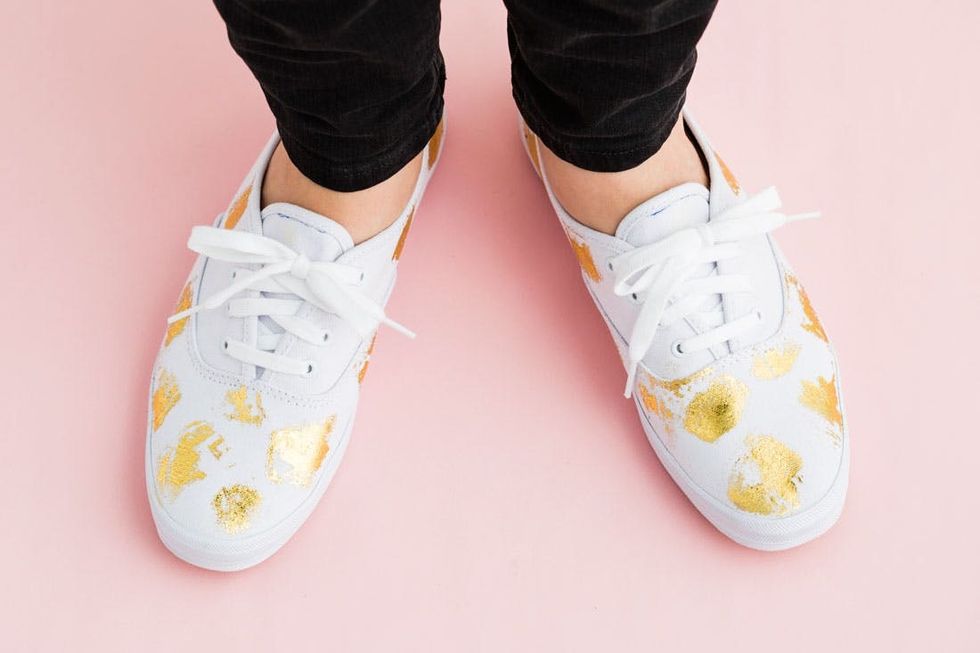
…they’d be full of sass.
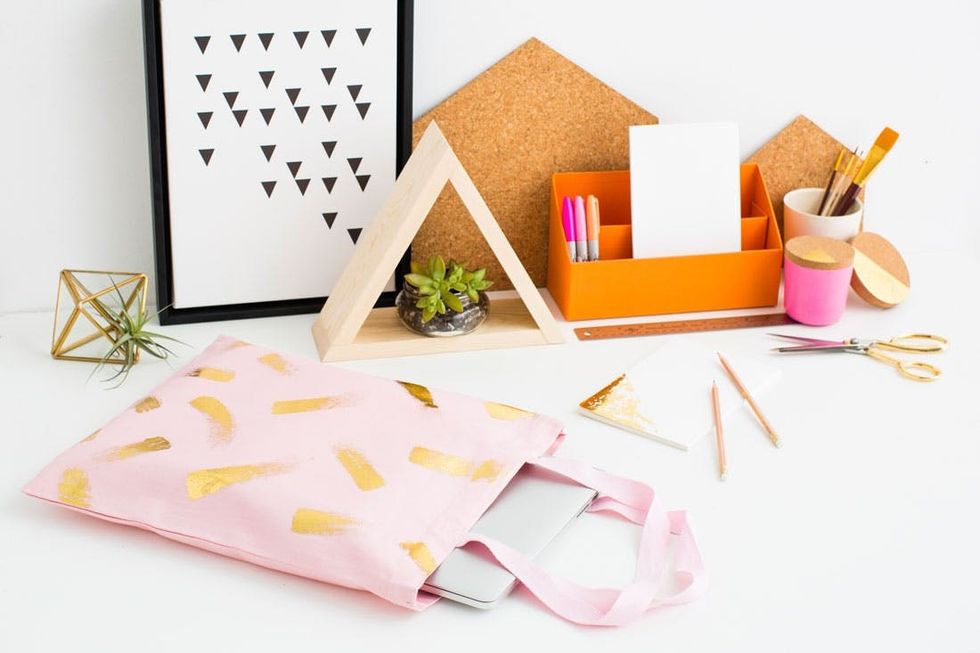
Seeing as this technique also works on wood, cork, paper, and most porous surfaces, we looked to our workspaces to jazz up cork-topped pencil cups and paper notebooks.
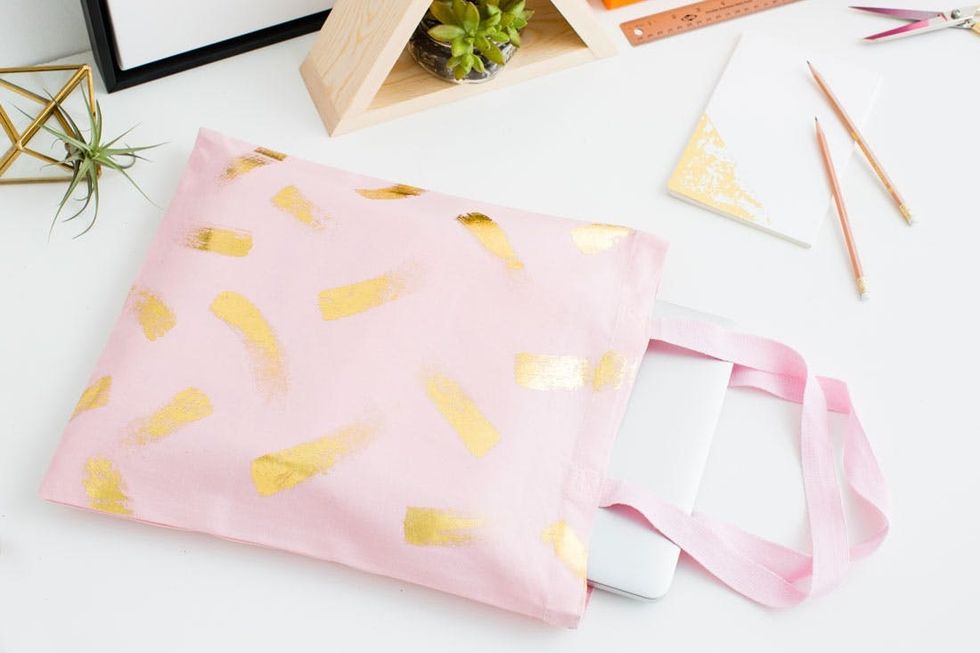
But let’s not forget our lovely tote friend — the perfect canvas for a whole mess of gold foil, customized to your own style and personality.
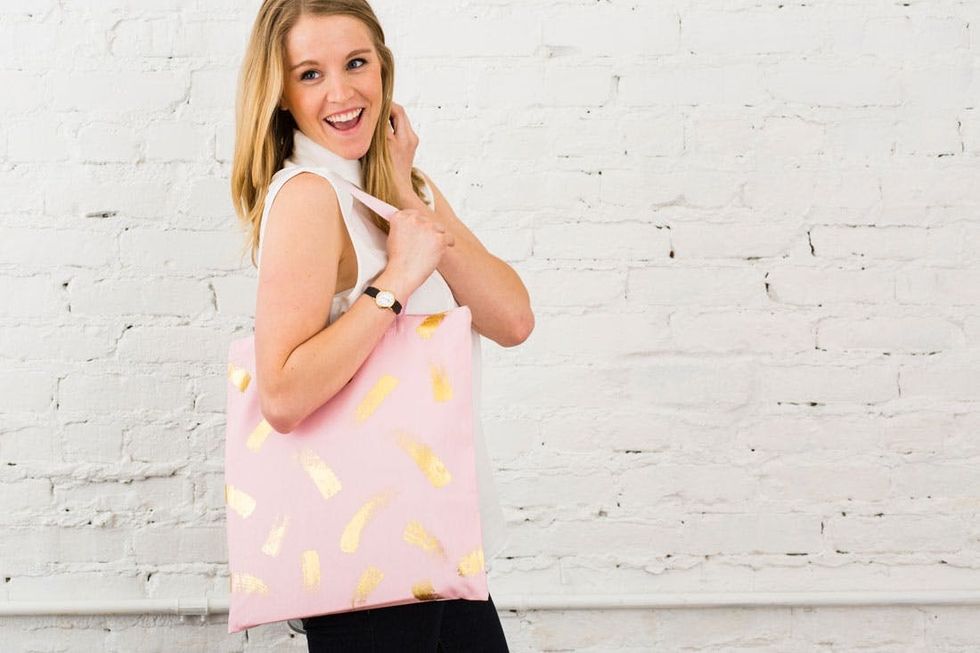
Maddie, our creative coordinator, is all over this flirty pink and gold tote.

And visual designer Marisa is bringin’ the sass back with this black typographic number.
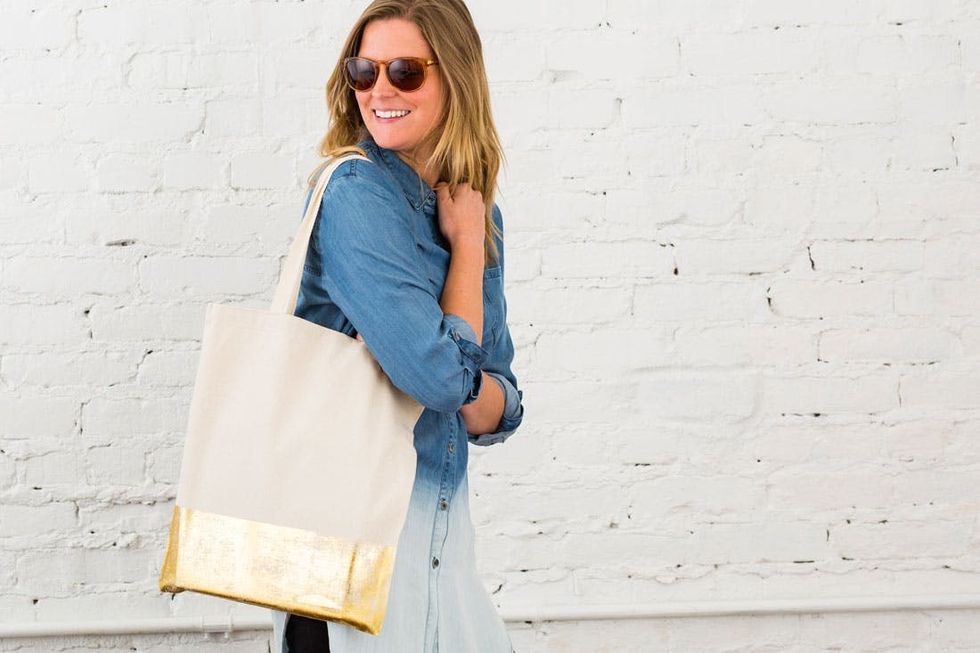
Our rockstar buyer Alicia grabbed the classic dipped tote that goes with absolutely EVERYTHING.

And last but not least – associate editor Cortney is rockin’ this classy patterned white tote.
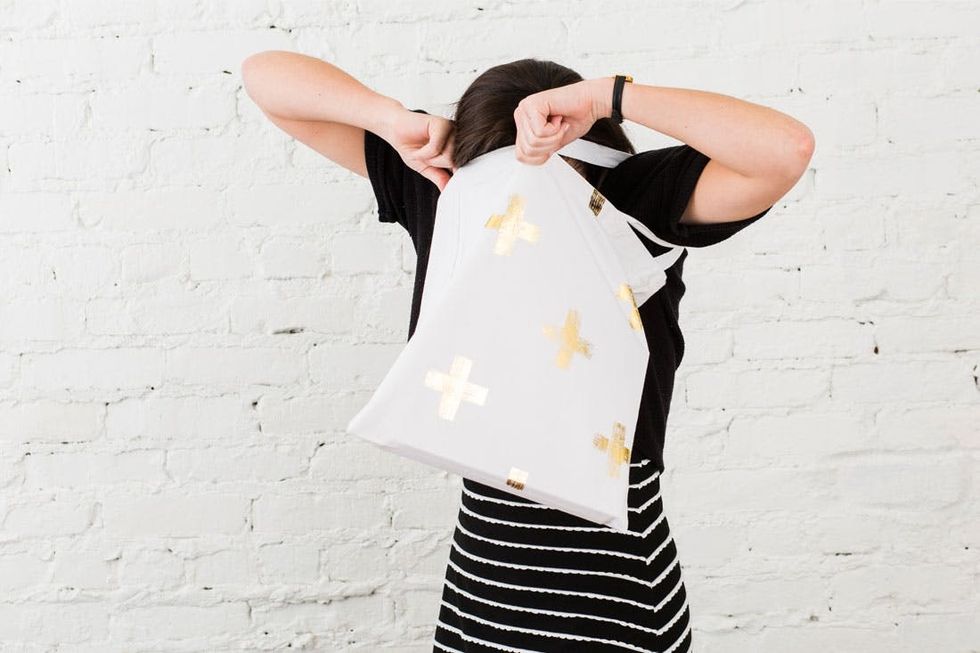
Whatcha got in there, Cort? ;)
What other gold foiling projects are you dying to get your hands on? Tell us in the comments below.


