Perler beads + emoji = a ’90s kid’s dream come true.
Your Favorite Camp Craft Is So Hot Right Now
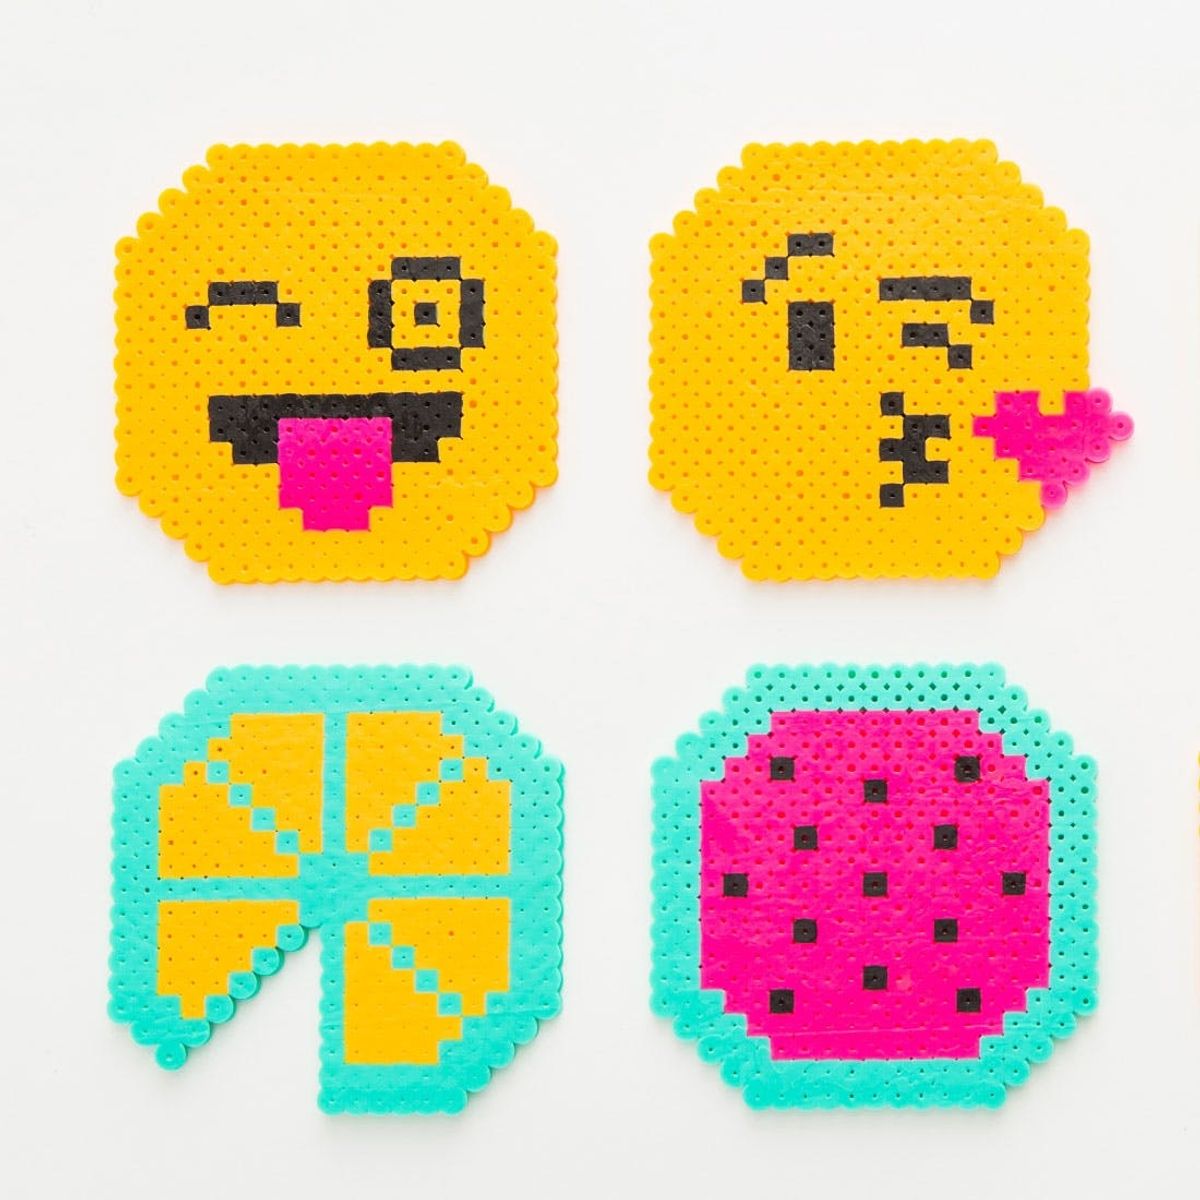
We have to admit our obsession with camp crafts has never really died. We’re the ones who are still making friendship bracelets for our adult friends, after all ;) Combined with our current obsession with all things emoji, it was a no-brainer to fire up the iron and make these crazy fun DIY perler bead coasters with our kit!
printable templates
 Perler Bead Coasters Kit to get your creations started!
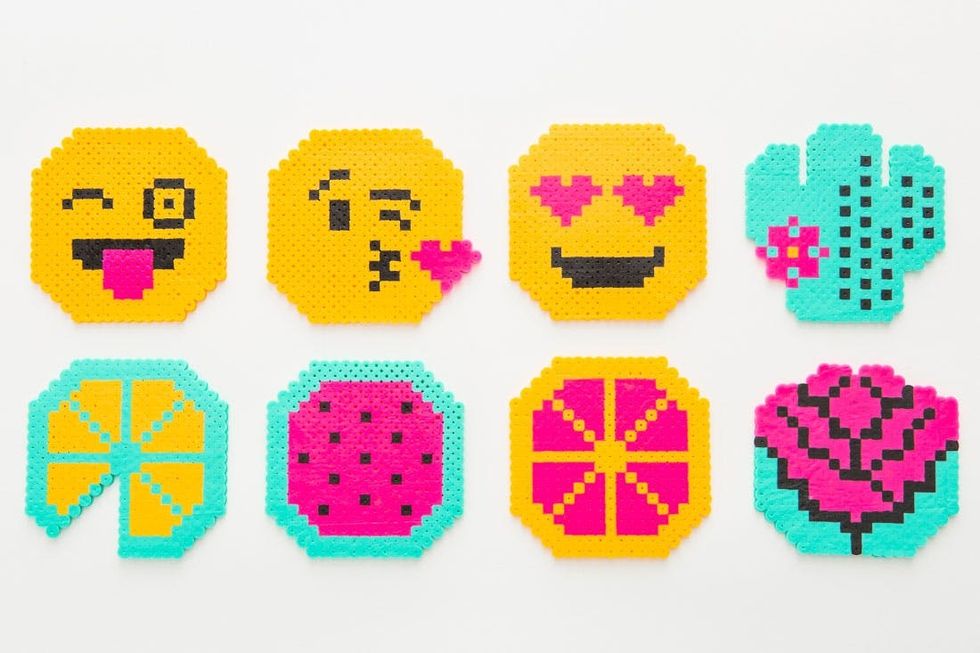
Make a fun set of emojis, fruits, florals, or whatever else you can come up with and show those babies off at your next bbq or brunch. Or, win the ultimate bff award and give a custom set to your #1 soul sister.
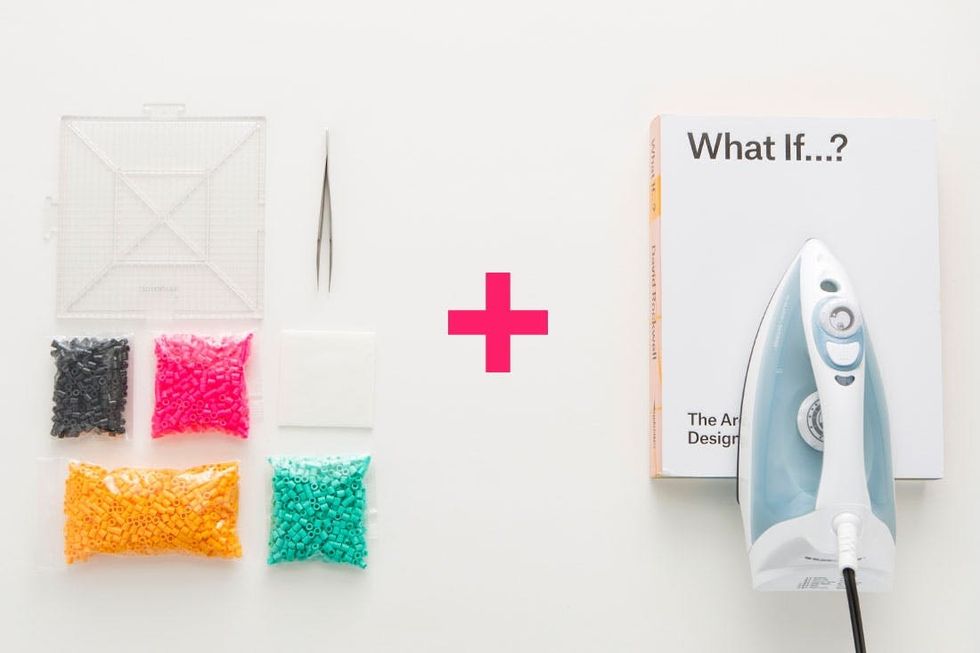
Materials:
– Perler beads
– peg board
– tweezers
– parchment paper
(or get everything you need here to make up to eight coasters!)
Additional Tools (not included in kit):
– iron
– heavy book (to flatten coasters)
Instructions:
1. Print out a template and place underneath your peg board. Skip this step for an original design.
2. Place perler beads onto your peg board using tweezers.
3. Carefully place parchment paper over your perler bead design.
4. Iron evenly on medium heat for 30 seconds or until beads melt together, and let cool.
5. Remove from peg board, flip over and iron the other side over parchment paper.
6. Let cool slightly until just warm, and place underneath a heavy book to flatten until completely cooled.
Grab your main materials (pictured left and included in our kit!) and some additional household supplies (pictured right) and let’s get started.
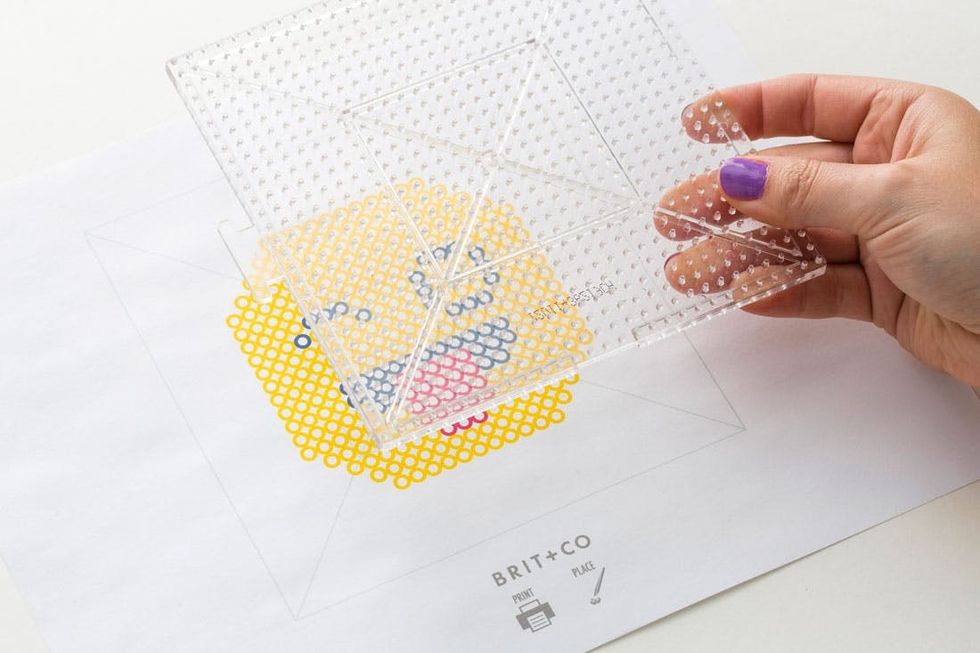
Print out one of our eight templates and place underneath your peg board. You can skip this step if you’re going in with an original design of your own.
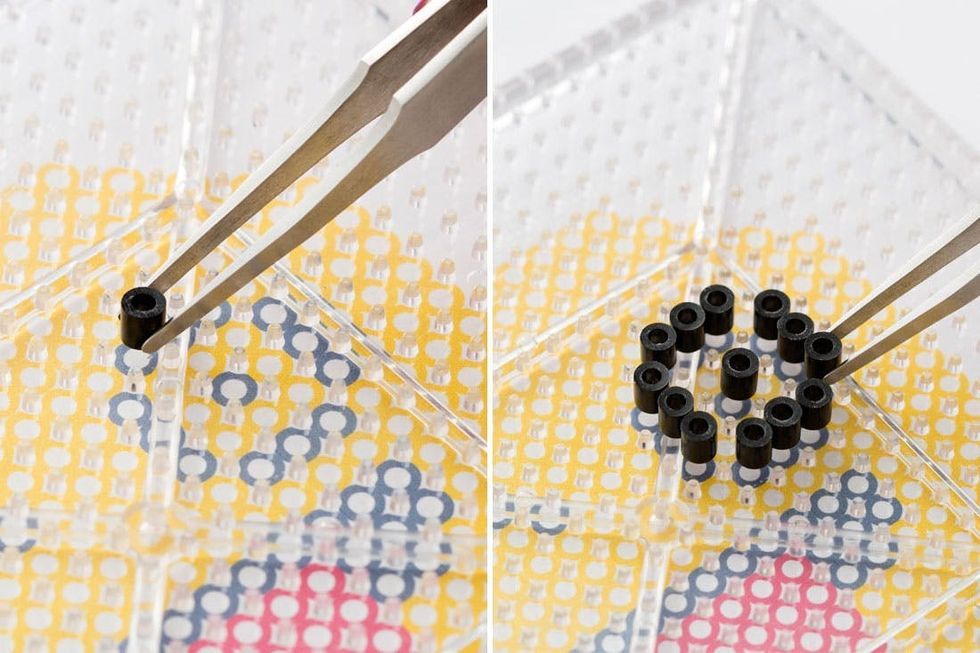
Place perler beads onto your peg board using tweezers, matching beads to the corresponding colors printed on the template.

Put on some good tunes and keep placing those little beads until you’ve finished the whole design.
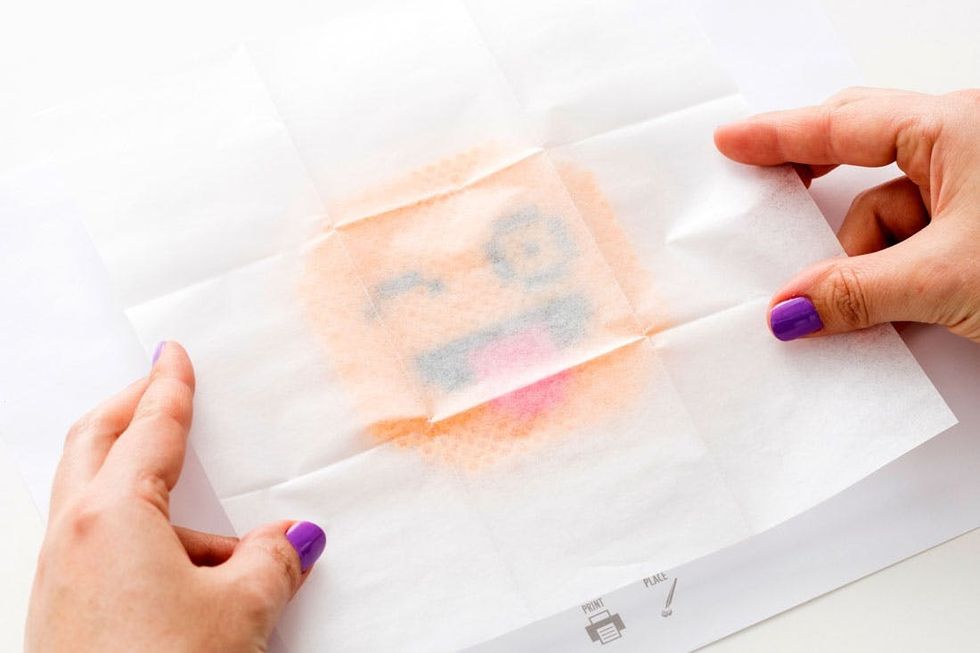
Place a piece of parchment paper over your perler bead design, being careful not to move any beads.

Iron evenly, using a circular motion, on medium heat for 30 seconds or until beads melt together.
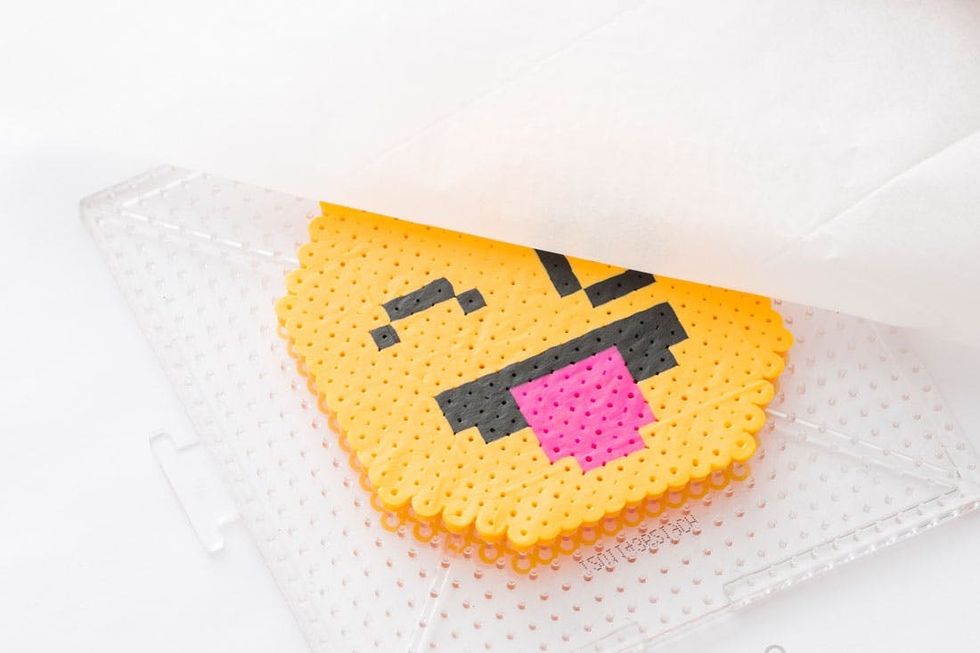
Let cool and then peel away the parchment paper to reveal your heat-fused design!
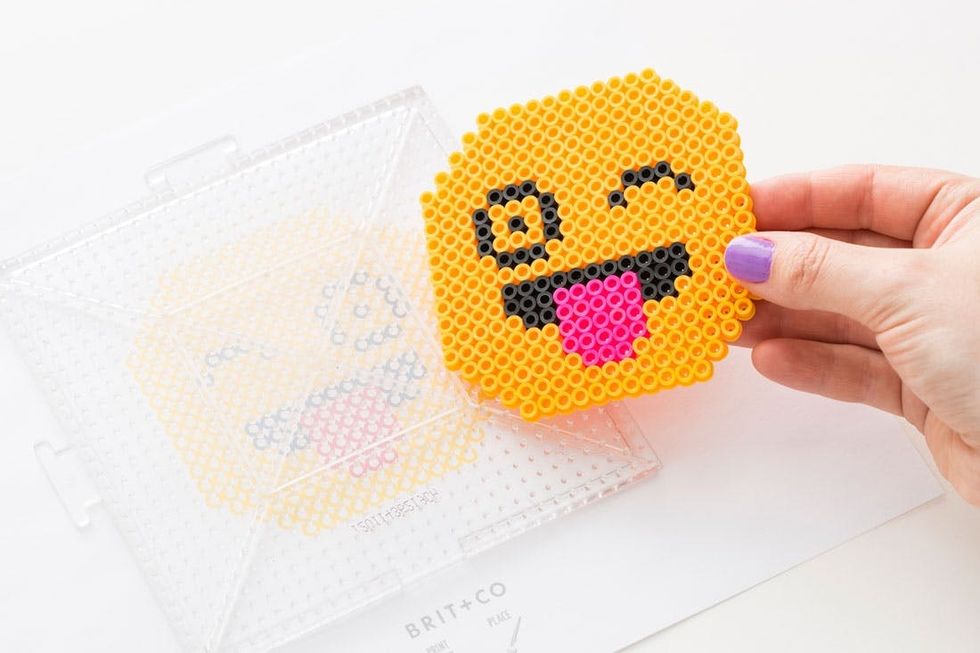
To take this coaster from child’s play to a next-level adult DIY, we ironed both sides! Remove your coaster from the peg board, flip over and iron the other side over parchment paper until fused.
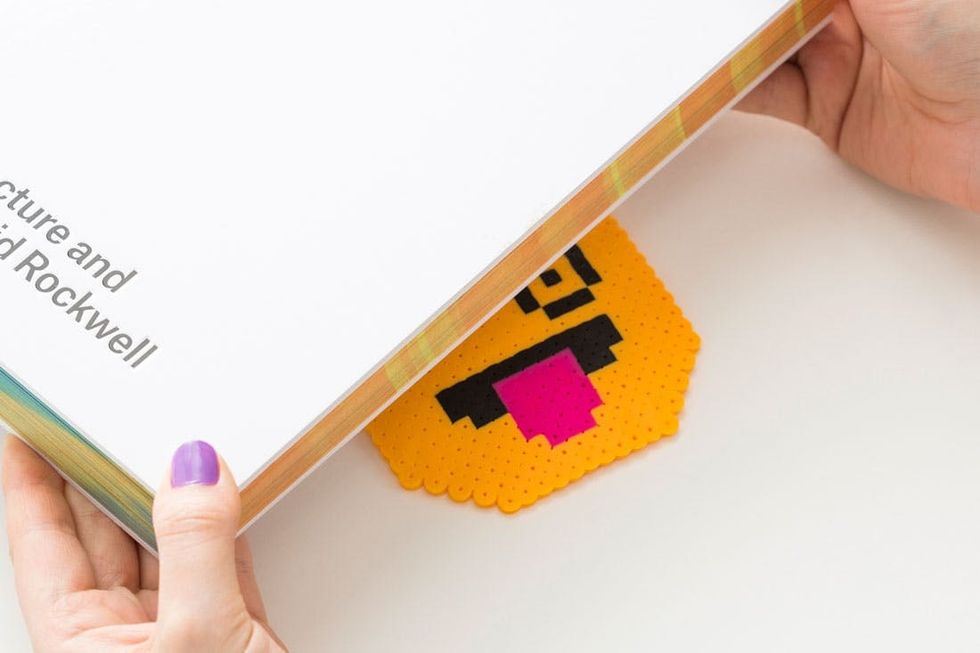
Let your twice-ironed coaster cool slightly until just warm and then place underneath a heavy book to flatten it until completely cooled.
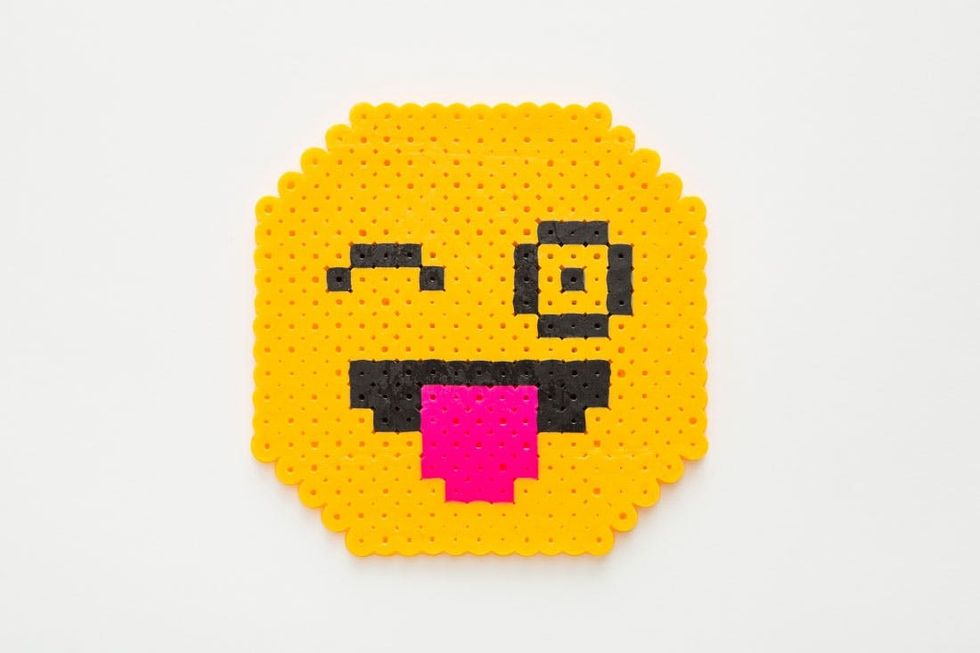
Check out that silly smiley ;)

The fun doesn’t have to stop there. Repeat this process for a full set and try out a mix of designs.
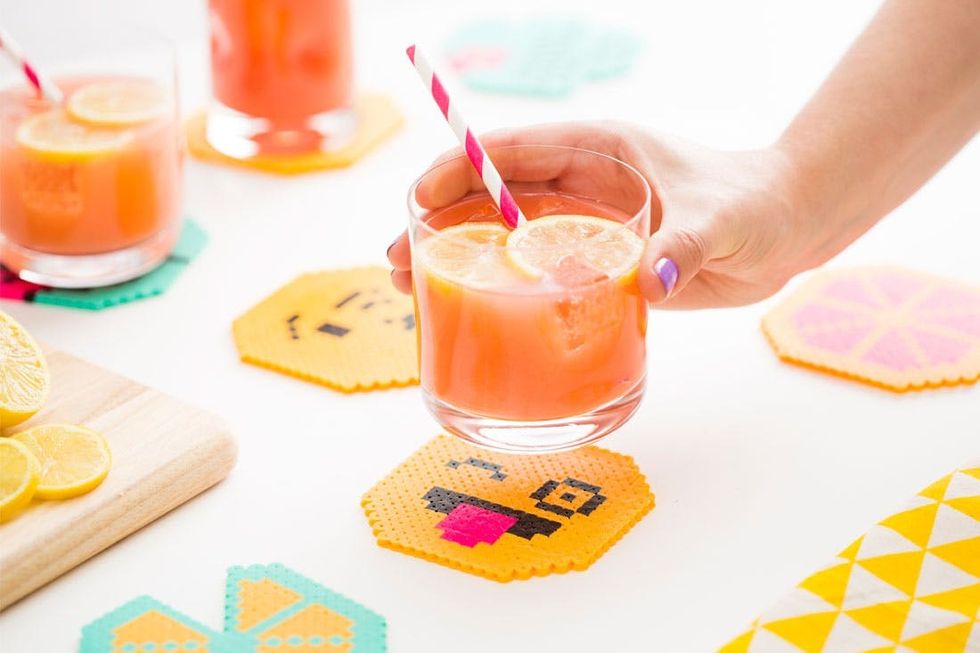
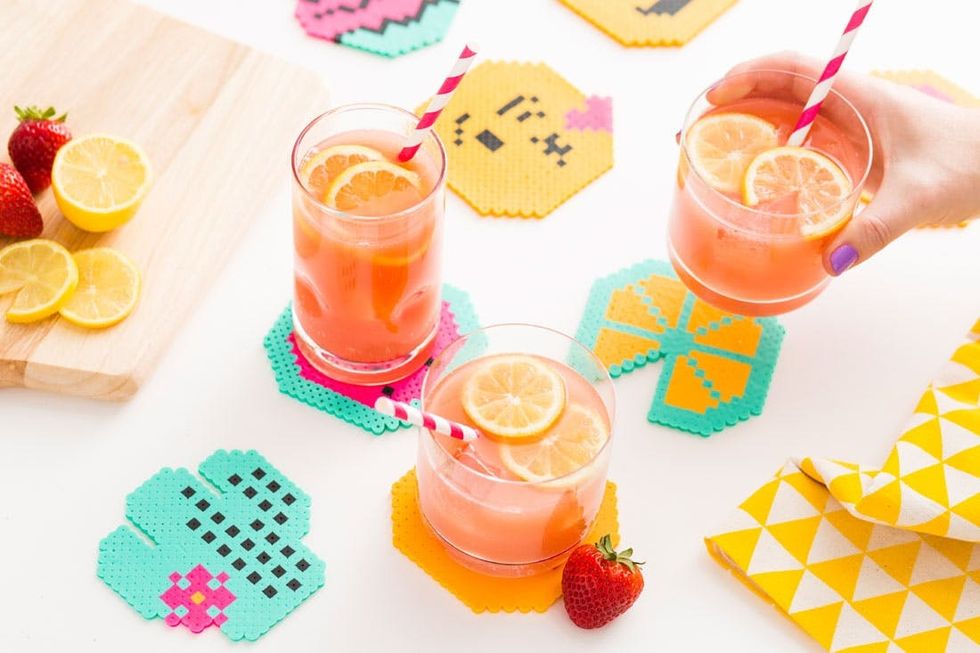
After all your careful work with those tweezers, pour yourself a cool drink and put your coasters to work.

Cheers!


