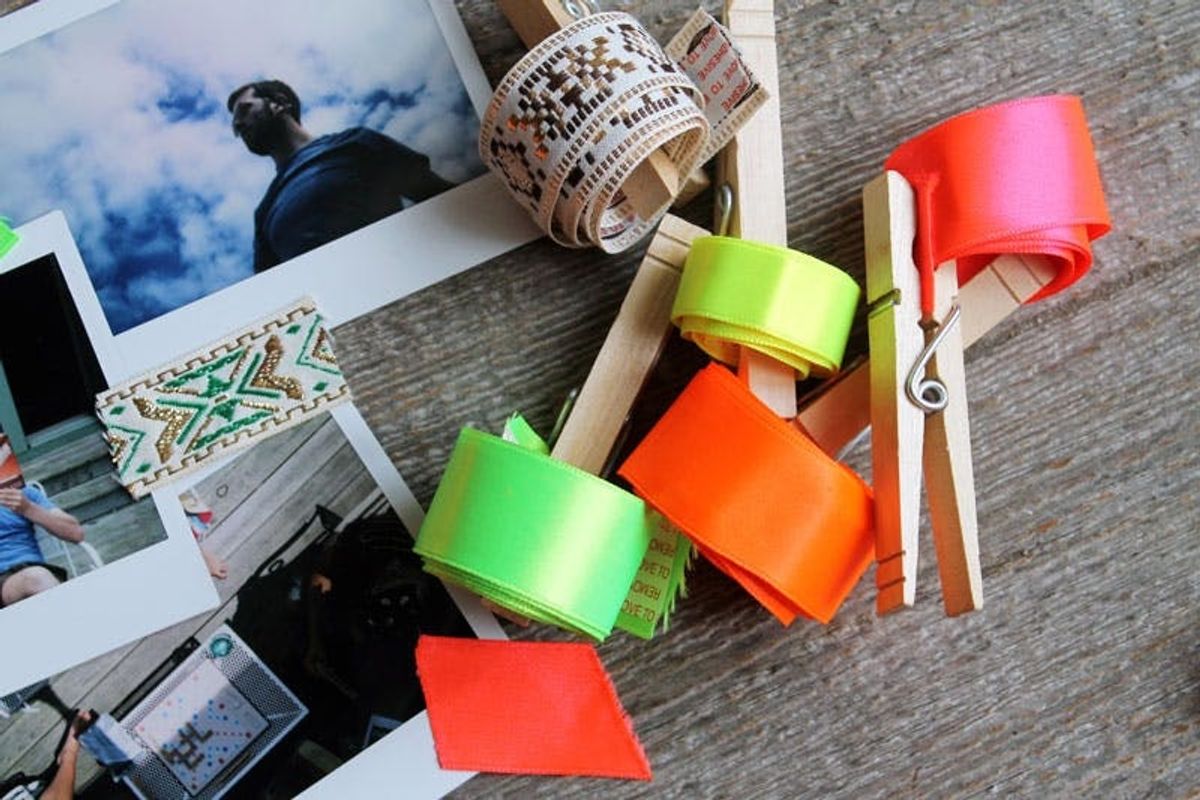
How to Make Your Own Neon Ribbon Tape

Between our hardware ribbon statement necklaces and washi tape workspace, we’ve definitely had both ribbon and tape on our minds. The only natural thing to do is combine them! You might be thinking to yourself, what on earth is ribbon tape? Well, it’s a beautiful way to decorate packages, tack things up on the wall, tape things into photo albums, and, well, it’s NEON!
When we saw this tutorial on fabric tape on The Red Thread, we knew we had to create our own take. Instead of painstakingly cutting perfectly straight pieces of fabric, we used neon ribbon and trim with fun patterns. So easy!
Materials:
– ribbon and trim
– double-sided tape
– scissors
To make ribbon tape, take double-sided tape (we used scrapbooking tape) and attach one side to the ribbon. Keep going until you’ve got all the ribbon tape you want, and cut with scissors.
Love it! To spool your tape, use clothespins or paper clips.
Love the combo of neon brights with geometric patterns.
Next, it’s time to use it!
Snip off the amount of tape you need and peel off the backing.
Use it to decorate the front of a photo album.
Or to attach photos to the inside of a journal or up on the wall.
It’s so easy, and adds a really special something just about anywhere.
How might you use ribbon tape? Maybe for some good old fashioned mail? For a Polaroid guest book? Talk to us in the comments below.


