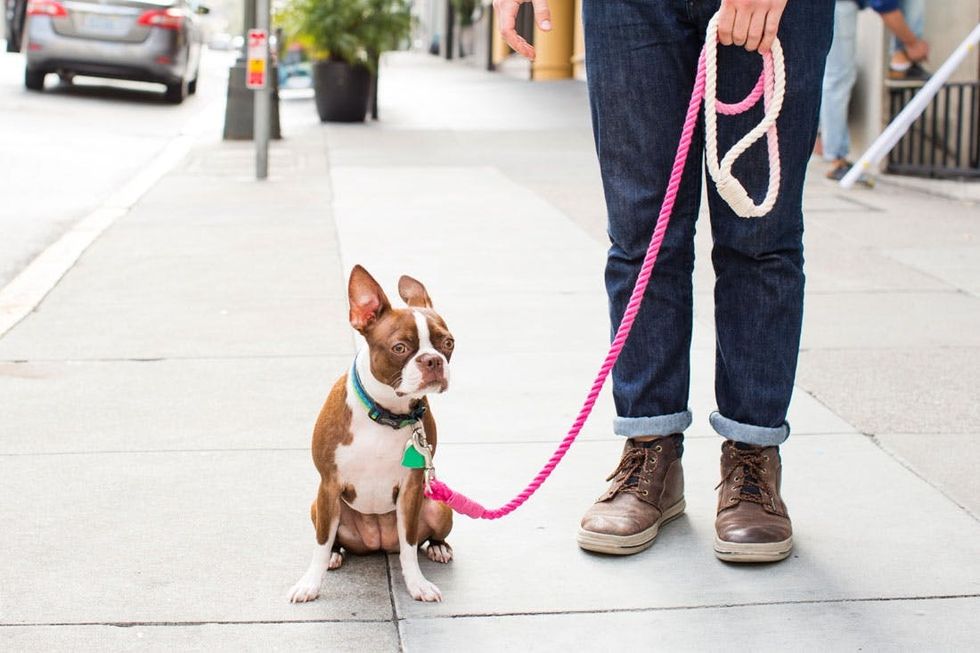
These pups got style.
DIY This Ombre Rope Leash for Your Stylish Pup
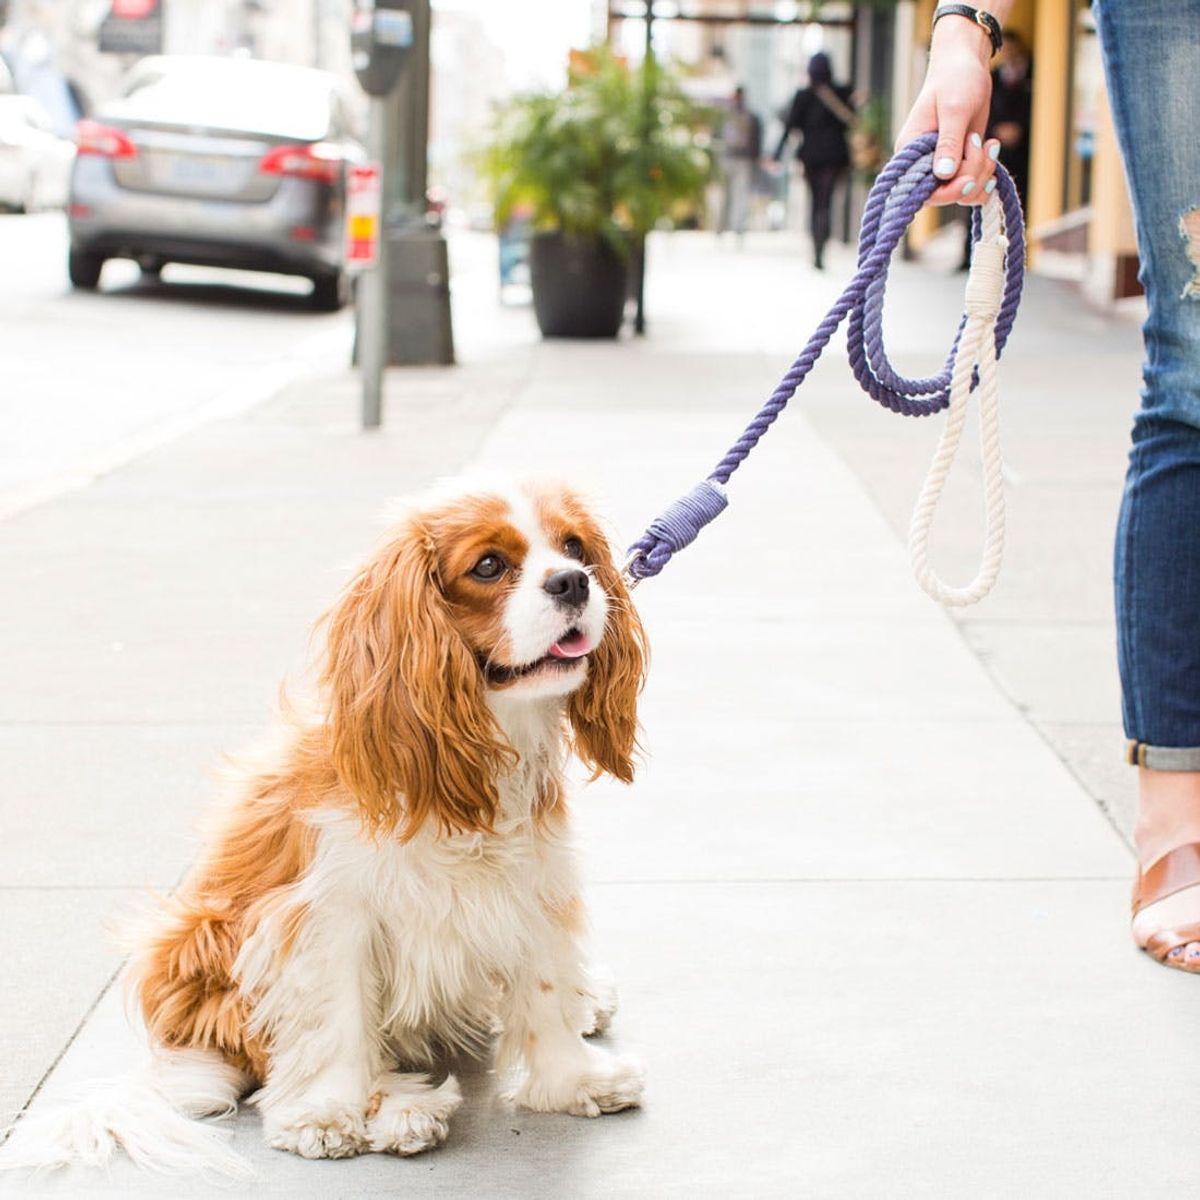
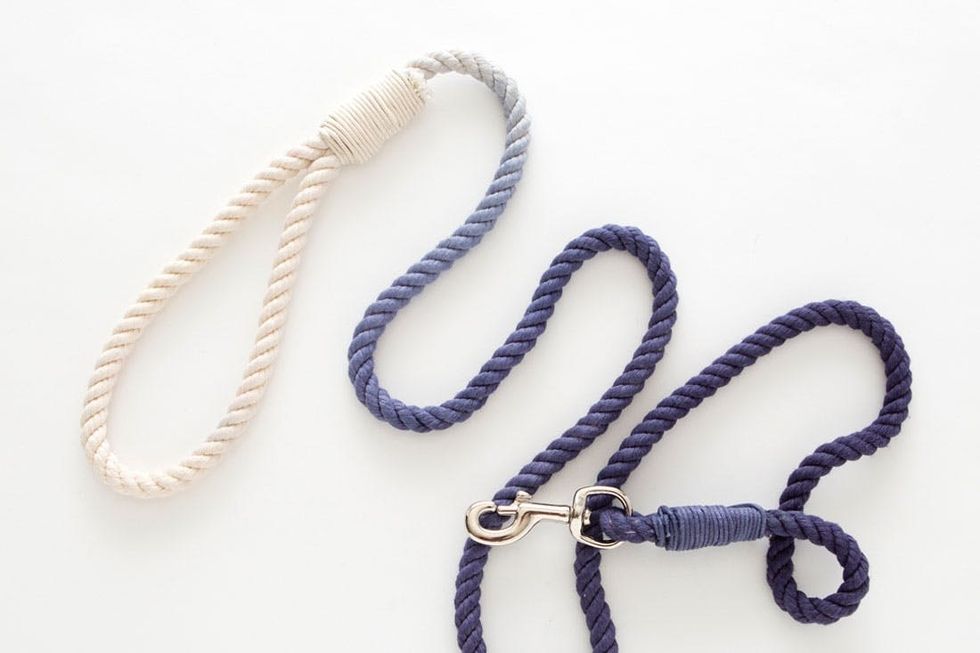
The pups of Brit+Co have been sniffing around our craft supplies lately and we thought they may be trying to drop us a hint :) It’s high time we had another doggie DIY, so we made these gorgeous dip dyed leashes! Durable metal rope clamps hold the whole thing together to make sure your pup is both stylin’ and secure. Get the kit to keep your dog looking snazzy here!
Materials:
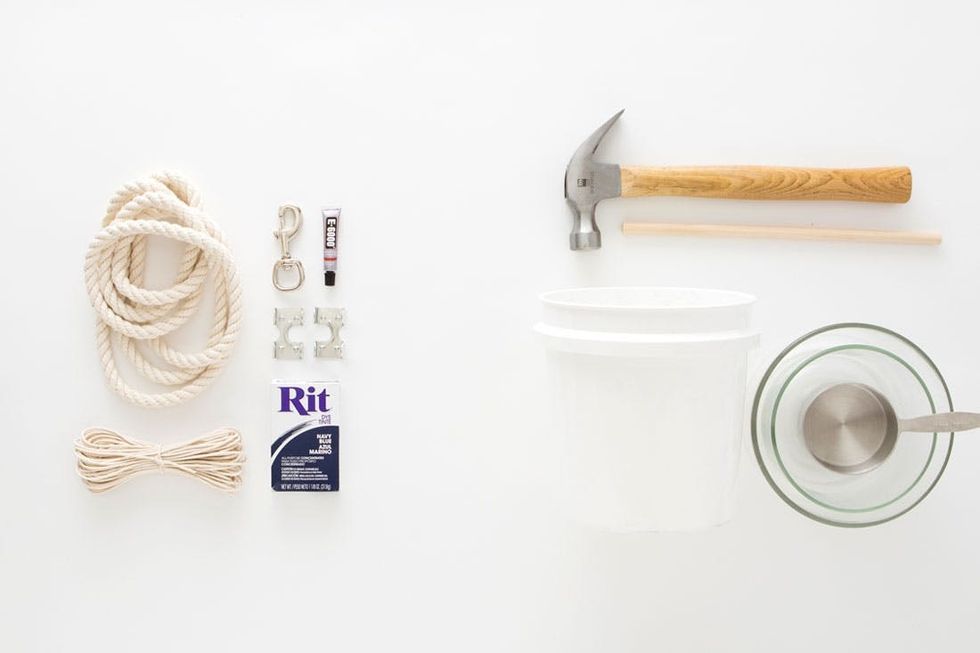
– Cotton Rope
– Waxed Cord
– Fabric Dye
– Snap Hook
– Rope Clamps
– E6000 Glue
(or get everything HERE in the kit!)
Additional Tools and Materials (not included in the kit):
– Hammer
– Gallon Bucket
– Dowel (or other mixing instrument)
– Mixing Bowls
– 1 Cup Measure
– Scissors
Instructions:
1. Soak the cotton rope and half of the waxed cord in a large bowl of water.
2. Mix ½ the packet of powder dye into 1 cup of hot water in a small bowl, and mix until dissolved.
3. Fill a gallon bucket with cold water, add your dye and hot water mixture and stir together.
4. Place the soaked half of your waxed cord and all but about 2 feet of rope into the dye bath.
5. Immediately pull out another foot of lightly dyed rope and hang it over the side.
6. Let it sit for 5-10 minutes and then pull out 1 more foot of rope at a time, waiting 5-10 minutes for each section.
7. Leave the last couple feet of rope in the bucket for an additional hour to let it turn the darkest version of the color.
8. Hang up your rope in the garage (or outside) or lay flat on cardboard overnight until completely dry.
9. Once dry, thread one end of your rope through the snap hook, loop it back around and secure it with a rope clamp.
10. Hammer down all four tabs on the rope clamp so that they overlap each other.
11. Trim off any excess frayed rope using scissors.
12. Repeat this process at the other end, but this time make a large loop for a handle before securing.
13. Tie your waxed cord at the top of one clamp and then draw a line of glue along either side of the clamp.
14. Tightly wrap your cord to cover the entire metal clamp and secure with a knot and some extra glue to hold the knot in place.
15. Wrap around the other clamp with matching color cord and let the glue dry for an hour.
16. Hook it onto your pup’s collar and take this new leash for a spin!
Itching to get started? Grab your main materials (pictured left and available in our kit!) and some additional supplies (pictured right), and you’re almost ready to run!
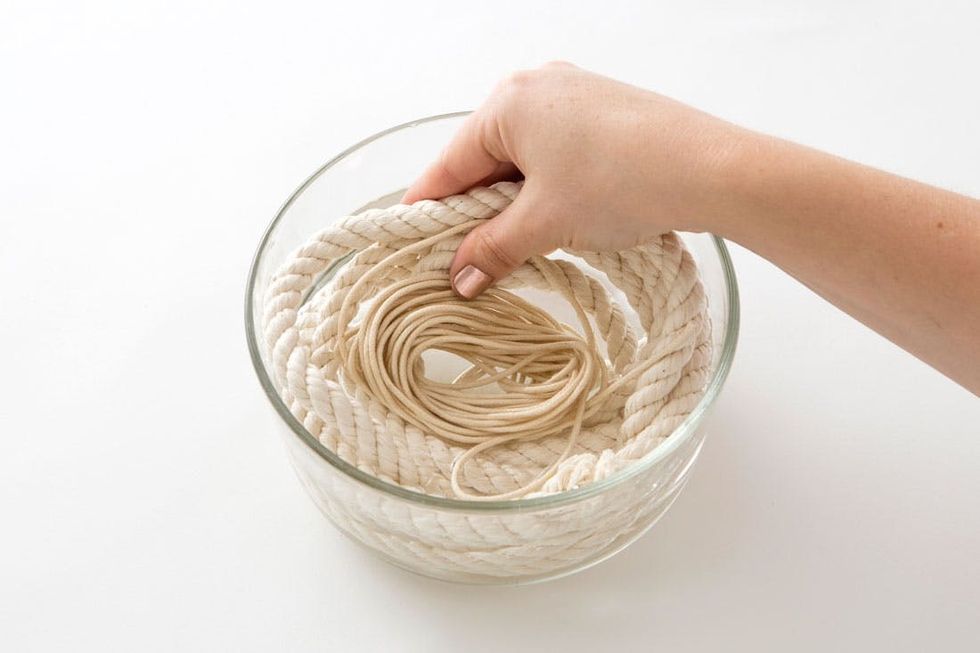
First off, soak your cotton rope and half of the waxed cord in a large bowl of water.
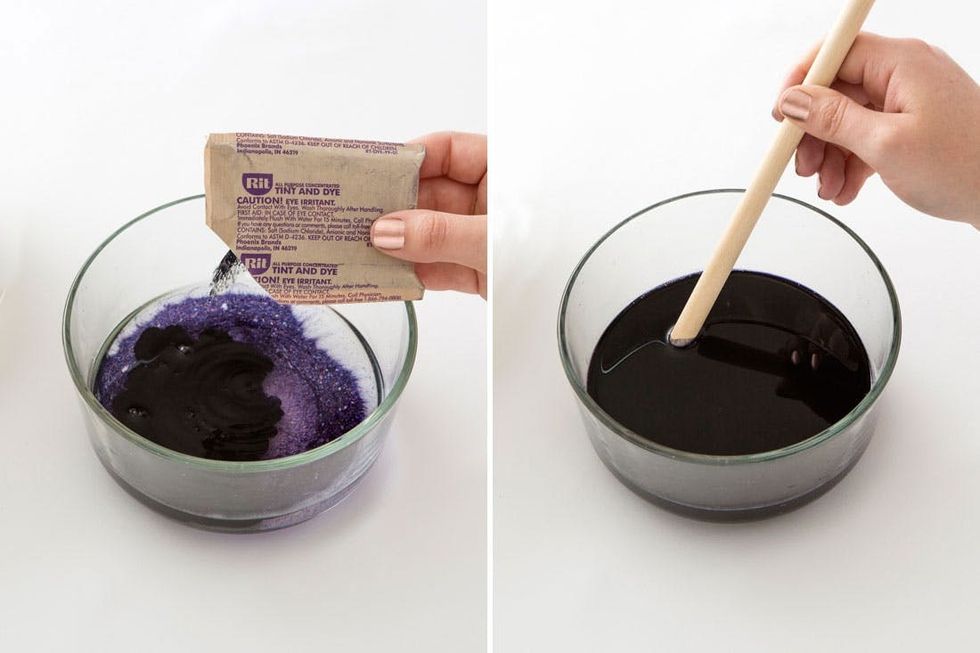
Pour half the packet of powder dye into 1 cup of hot water in a small bowl and mix until dissolved.

Fill a gallon bucket with cold water, pour in your dye and hot water mixture and stir together to make your dye bath.
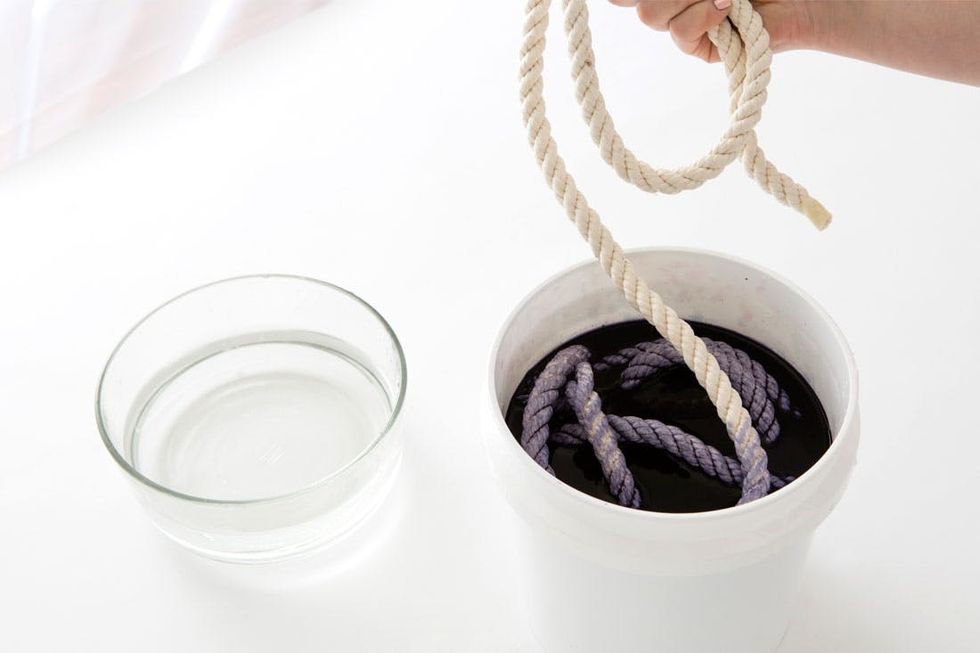
Place your soaked waxed cord and all but about 2 feet of rope into the dye bath.

Immediately pull out a foot of lightly dyed rope and hang it over the side. Pro-tip: Blend the color on this lighter section by dipping it into clean water. This will help it blend into the white section.
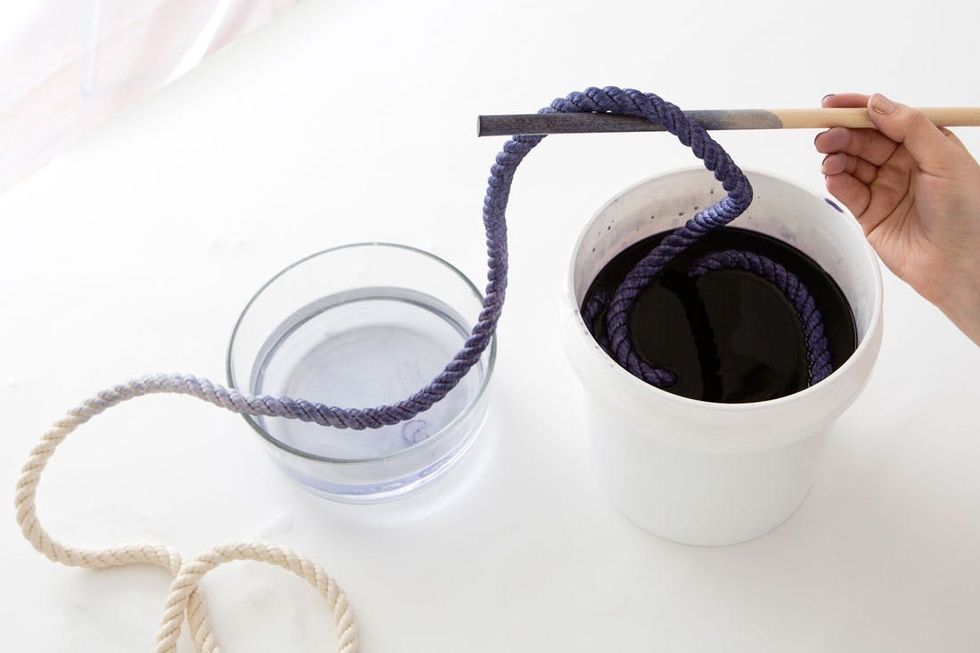
Let the rope sit in the dye bath for 5-10 minutes and then pull out 1 more foot of rope at a time, waiting 5-10 minutes for each section. To get a really dark color at the end, leave the last 2 feet of rope in the dye bath for an hour or so before removing it from the bucket and leaving it to dry overnight.

Once dry, thread one end of your rope through the snap hook, loop it back around and secure with a rope clamp.
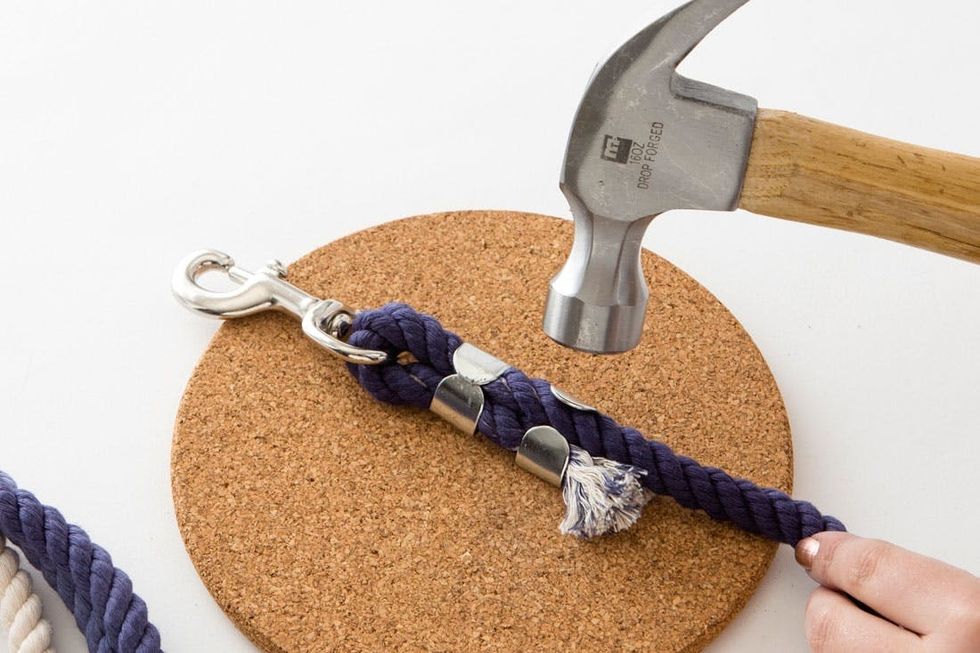
Hammer down all four tabs on the rope clamp so that they overlap each other, holding the loop tight. You may want to hammer on top of cork or another protective surface to save your tabletop.
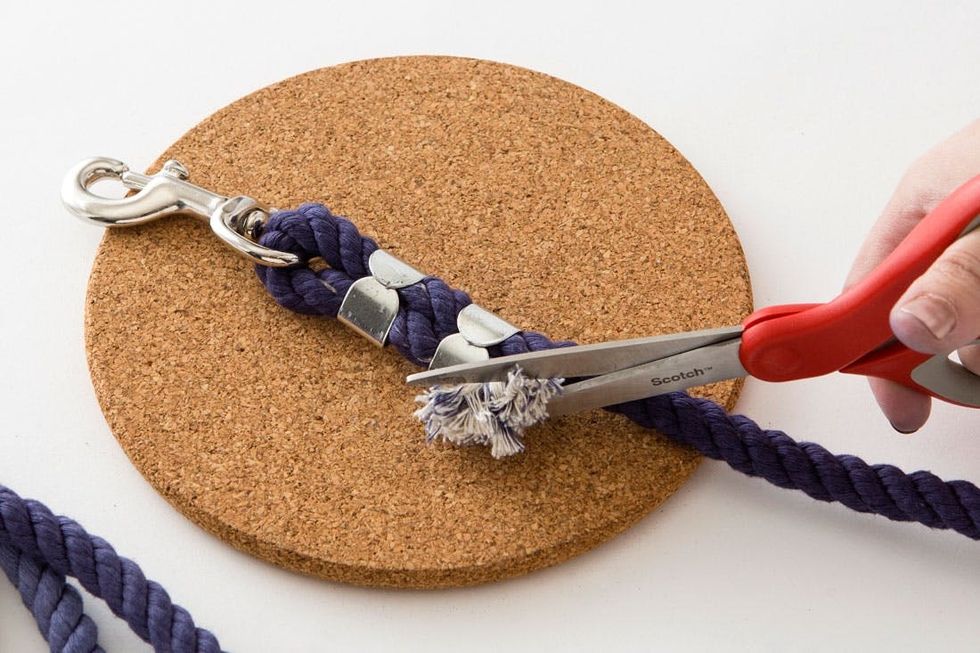
Once all four tabs are hammered down, trim off any excess frayed rope using a pair of scissors.
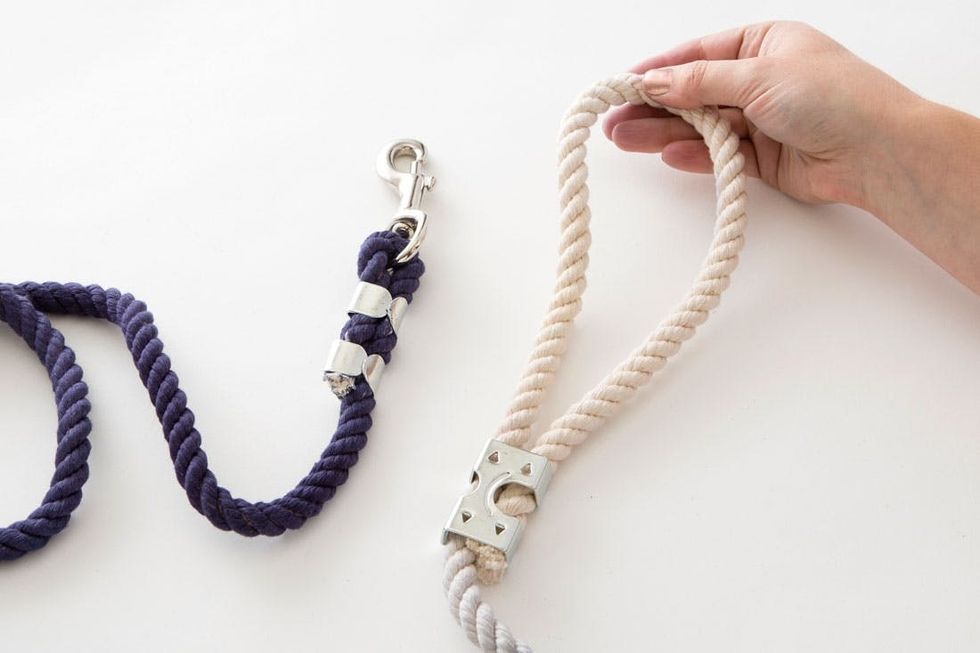
Repeat this process at the other end, but this time make a large loop handle before securing the end in your second clamp.
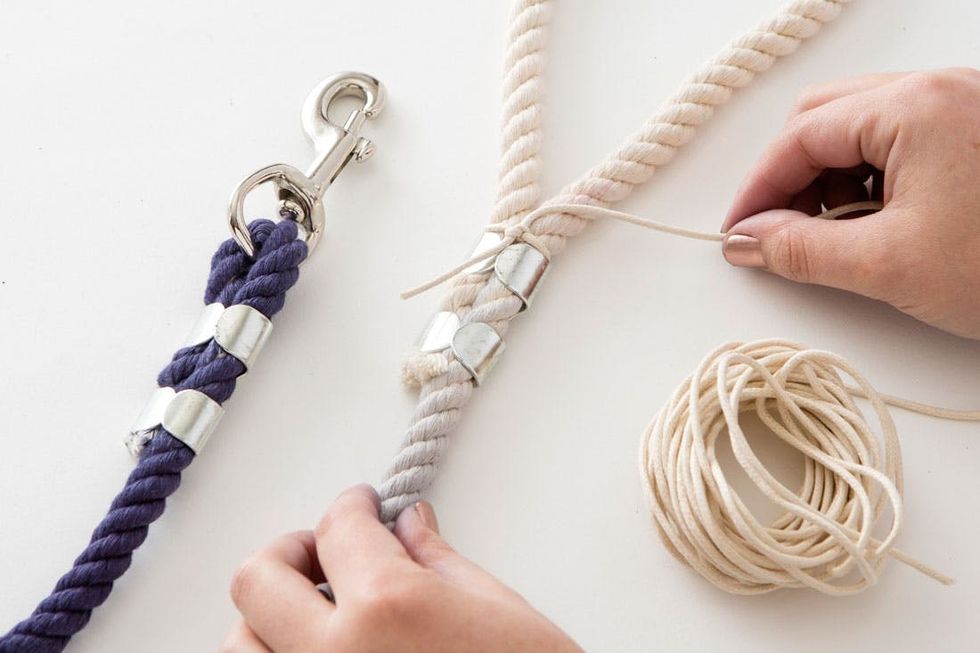
Tie your waxed cord at the top of one clamp to hold it tight while you wrap cord around the metal clamps.
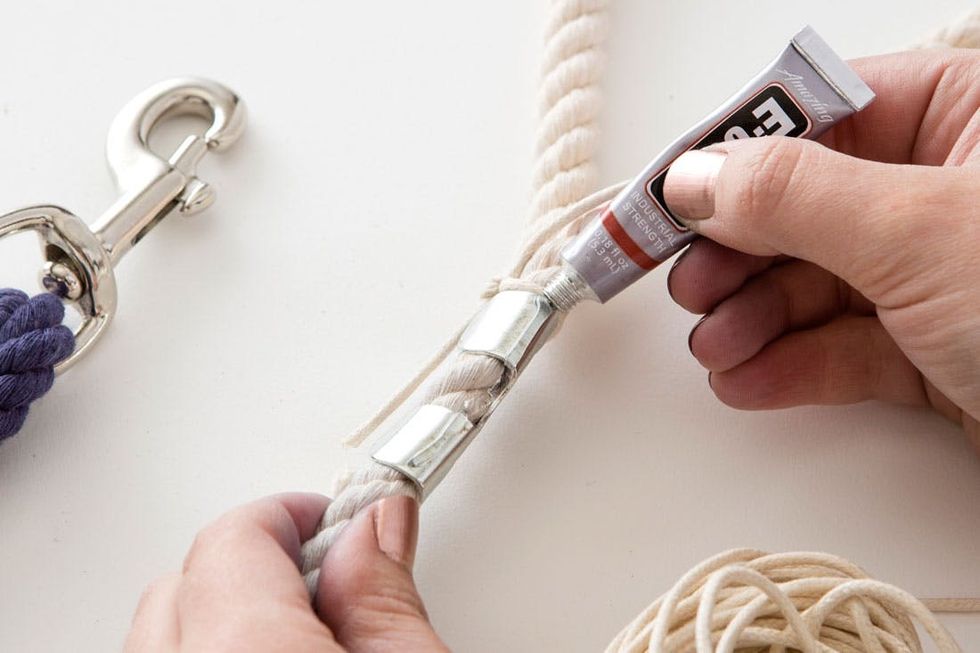
Draw a line of glue on either side of your rope clamp to help the cord stay in place.
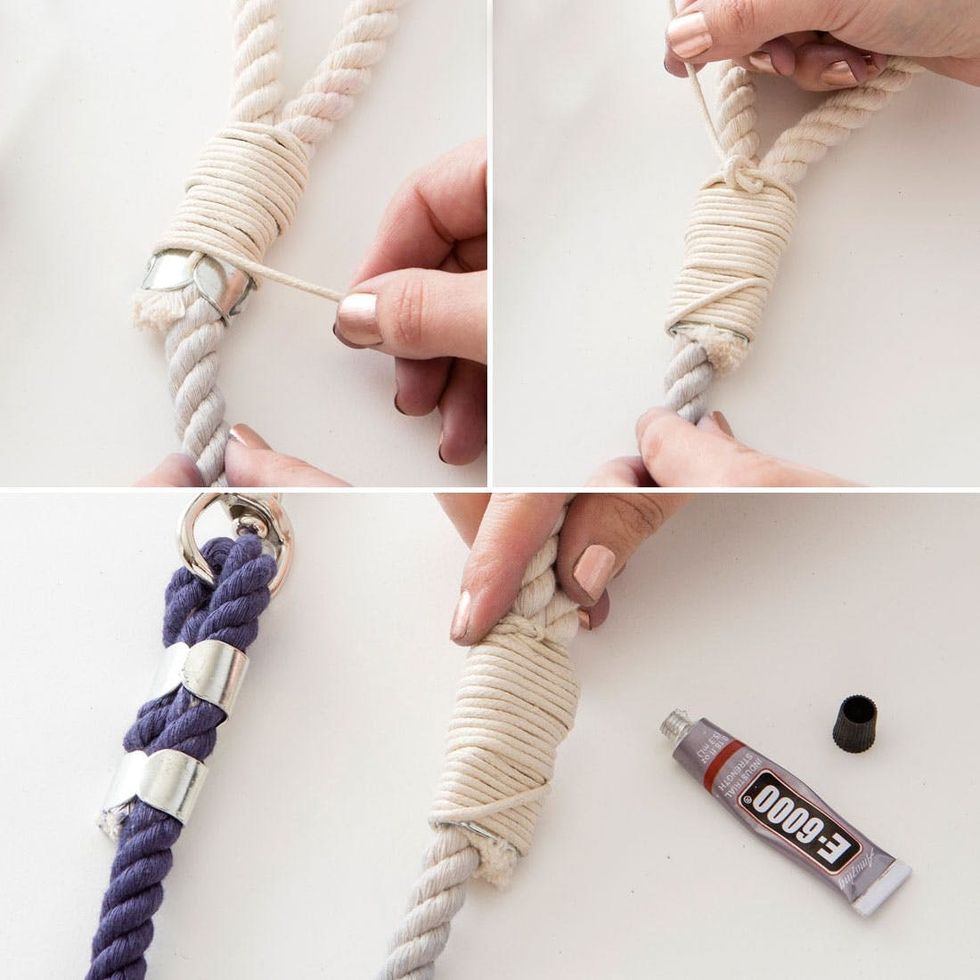
Tightly wrap cord around the clamp to cover it. Then secure it with a knot and some extra glue. Repeat this process for the other clamp using matching color cord, and let the glue dry for an hour before use.
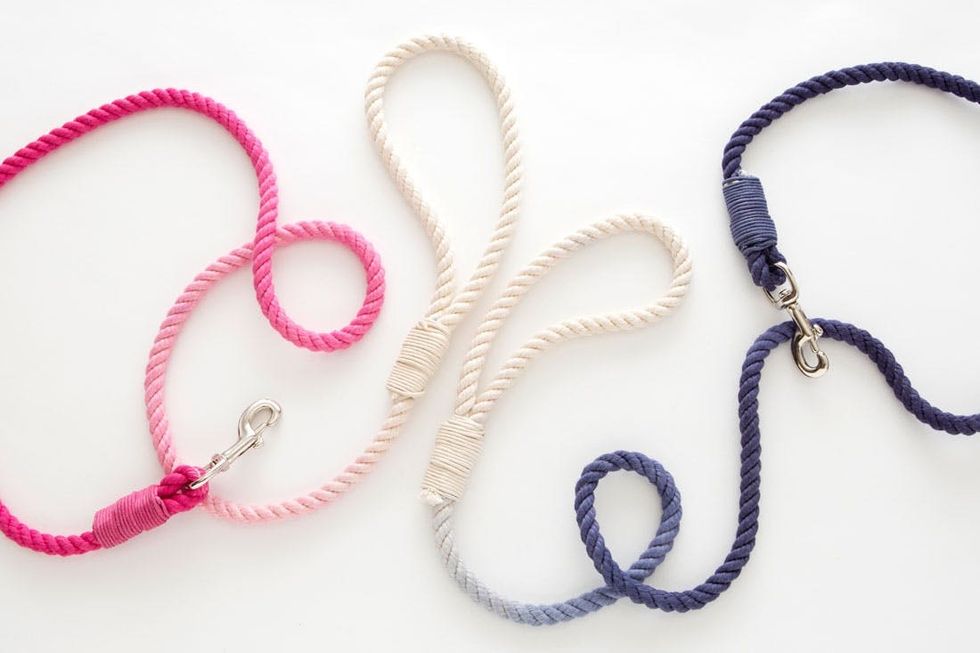
Check out that ombre action! We offer both classic Navy and vibrant Fuchsia options in our kit to fit your pups personality!
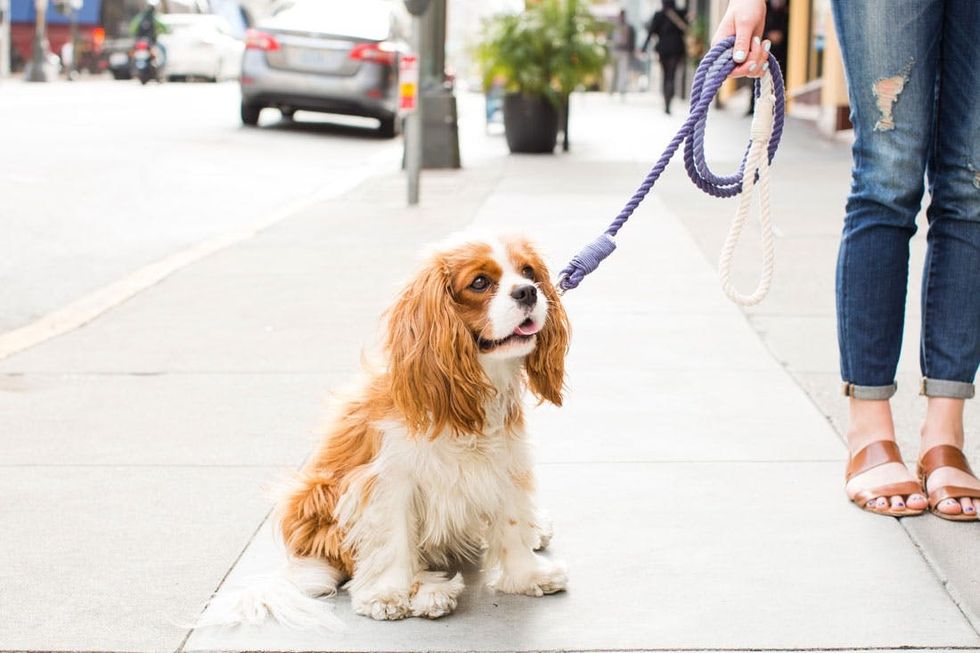
Turkey Temple is looking fly with his new Navy blue leash.
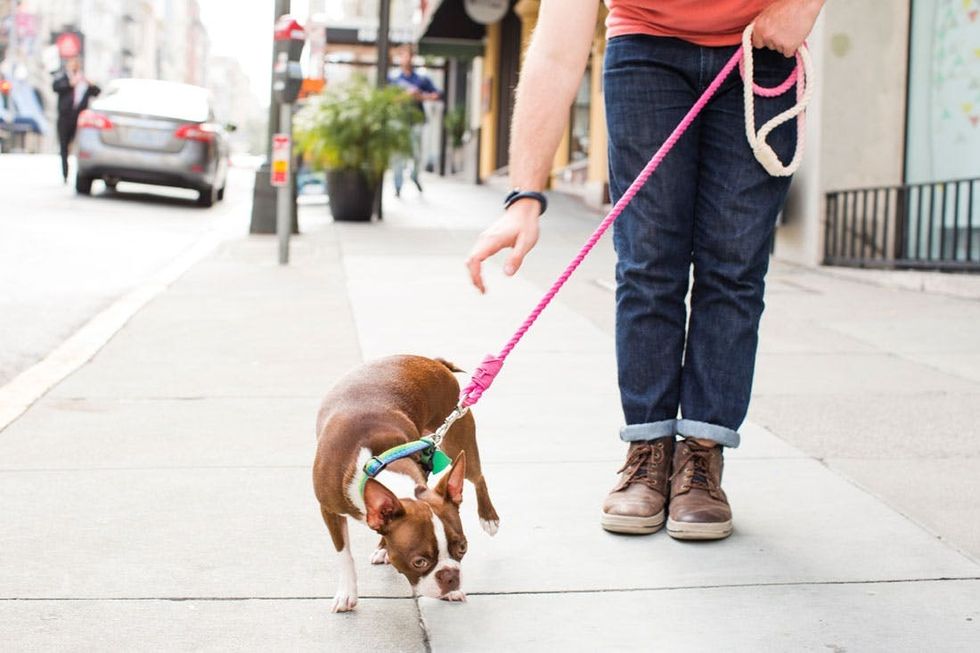
And miss Brie is ready to run in her Fuchsia leash!
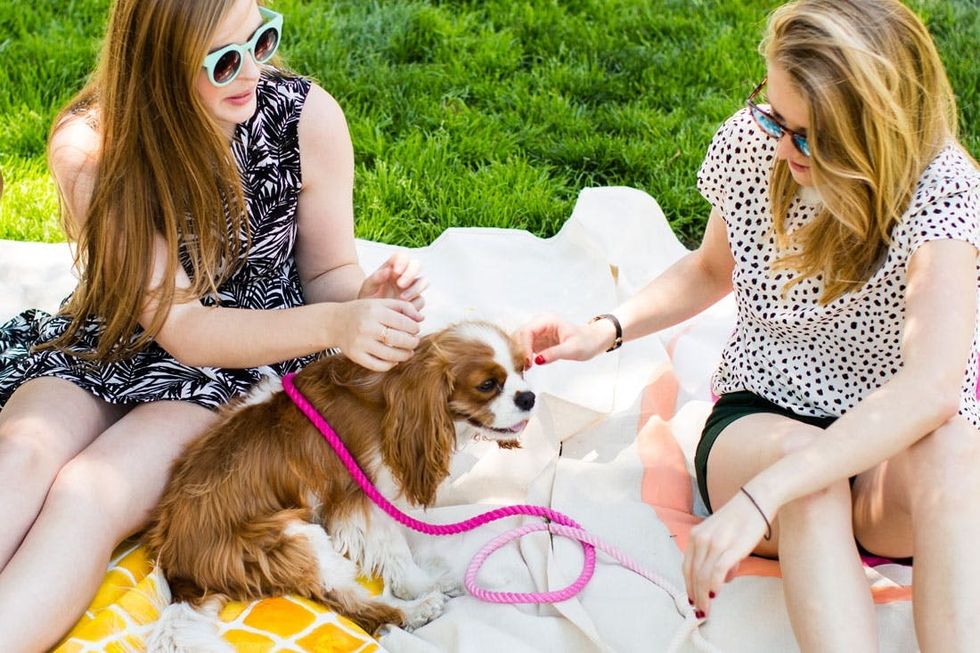
These lucky pups got an extra walk out of this DIY day AND a bonus picnic in the park.
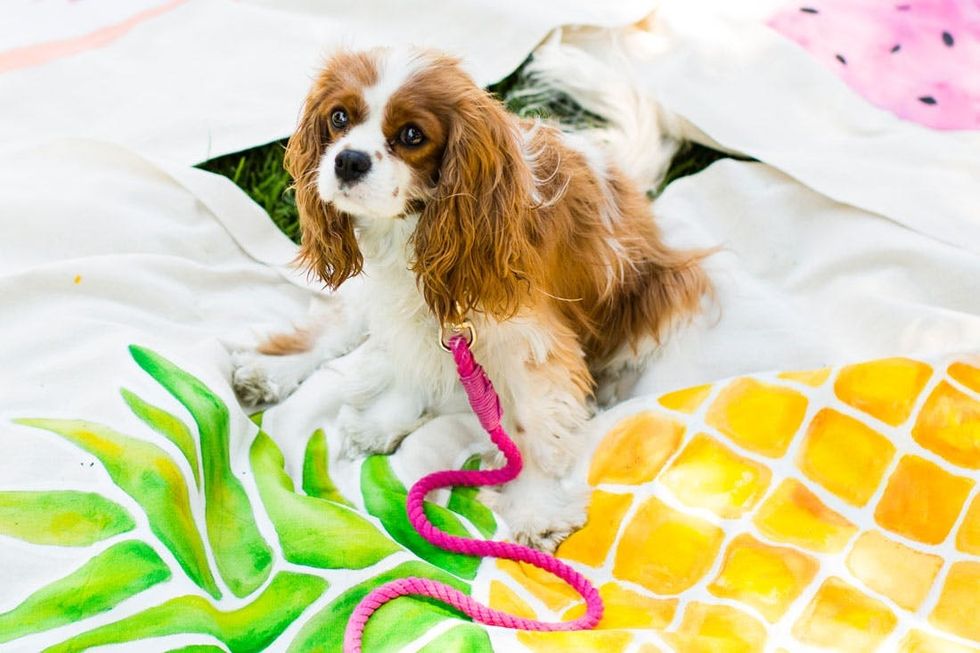
Life is good, huh kid?


