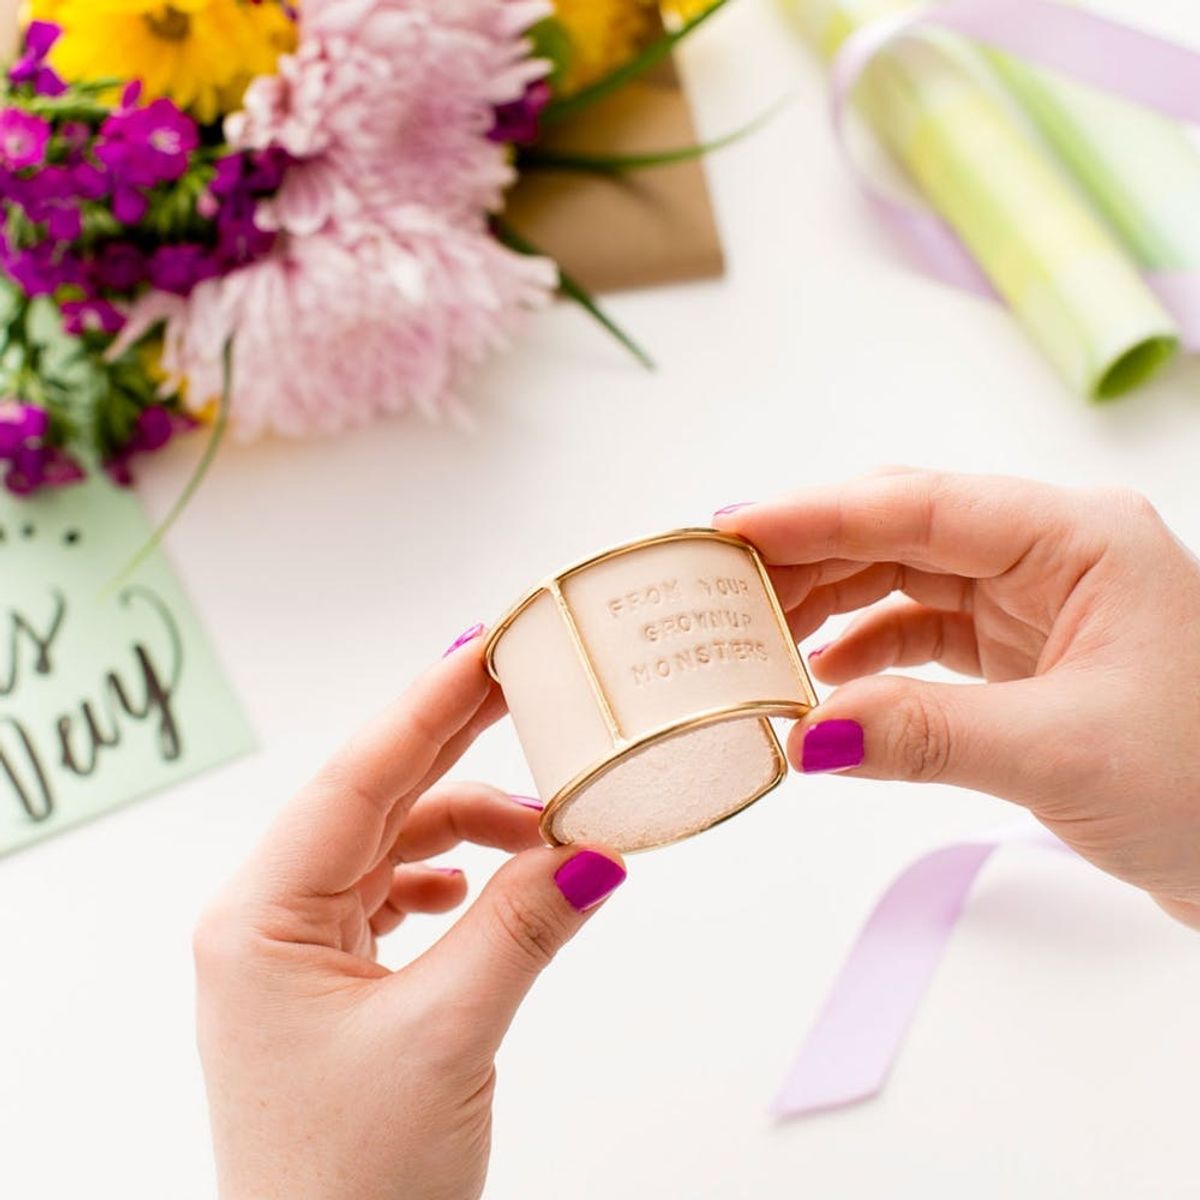
Personalized jewelry that Mom ACTUALLY wants.
Surprise Mom With a Trendy AND Personalized Gift This Mother’s Day

Mom’s gotten all the flowers. She’s had every style of brunch. She’s hung your drawings up on the fridge at every age. But what she might not be expecting this year is a DIY Mother’s Day gift that is both on trend and made by her favorite person — her kid. Surpass all her gift expectations this year with this stylish and easy-to-make stamped leather cuff bracelet. Scroll on down to see how we put the perfect amount of personalization into this classic, wear-with-everything accessory.
Metal Stamping Tool Kit
 Leather Cuff Kit. So grab one of each and get everything you need to get started!

Stamping Materials:
— alphabet stamps
— stamping hammer
— stamping block
— vinyl tape
(included in our Metal Stamping Tool Kit)
Leather Cuff Materials:
— brass cuff bracelet
— leather
— X-ACTO knife
— G-S Hypo Cement glue
(included in our Leather Cuff Kit)
Additional Supplies:
— cutting mat
— ruler
— pencil
(not included in either kit)
Instructions:
1. Trace the width of your brass cuff onto the backside of the leather at various points using a pencil.
2. Trim your leather to the width you measured, or about 1 5/8 inches, with your X-ACTO knife.
3. Fit your leather strip, rough side facing out, into the brass cuff so that it fits like a lining.
4. Center your leather strip “lining” in the cuff and trace around the perimeter of the cuff in pencil.
5. With your X-ACTO knife, slightly round the edges to match the brass cuff’s rounded shape.
6. Use your pencil to lightly trace two lines onto your leather strip where the middle and side panels meet.
7. Wipe down the panel that you’d like to stamp with a damp paper towel.
8. Lay down a strip of vinyl tape to guide your stamps and keep everything straight.
9. Stamp your phrase onto your leather panels one letter at a time.
10. Next, draw a thin line of G-S Hypo Cement glue all the way around the edges of your leather strip.
11. Carefully slip the leather into your cuff, smooth side out, and line up the glued edges with the cuff.
12. Firmly press the leather against the edges of your brass cuff and let dry overnight.
Gather up your supplies, and let’s get making!

Trace the width of your brass cuff onto the backside of the leather at various points using a pencil.

Trim your leather to the width you measured, or about 1 5/8 inches, with your X-ACTO knife.

Place your leather strip into the brass cuff so that it fits like a lining, and check that it fits the cuff. Make sure to round off the corners of your leather strip to go with the curve of the brass cuff.

While your leather is temporarily fitted into the cuff, use your pencil to lightly trace the line where the middle and side panels meet.

Wipe down the first panel that you want to stamp on with a damp paper towel. We started with the left panel.

Lay down a strip of vinyl tape to guide your stamps and keep everything straight. Then, while holding your stamp letter side down, give the opposite end one good solid tap straight down with the hammer. If you’re nervous about this step, do a couple practice stamps on your leftover leather scraps.

Keep stamping one letter at a time and moving the tape line down as you go.

Repeat on any other panels that you’d like to stamp, remembering to wipe the section down with a wet paper towel before stamping in your phrase. Erase any stray pencil lines, and you’re done with the leather prep!

Turning this stamped leather strip into a finished bracelet is a piece of cake in this next step! Simply run a thin line of glue around the edges of your leather strip (on the smooth front side) and then carefully fit it into the brass cuff. Press the leather and brass together firmly in various spots and then set aside to dry overnight.

And there you have it! Two simple DIYs resulting in one awesome personalized gift!

Wrap this pretty cuff up, tie it with a bow and gift to Mom with a card and a fresh flower bouquet!


