Put your hand-lettering skills to good use and make every day Motivation Monday.
Give Your Gallery Wall a Typographical Upgrade With 10-Minute DIY Wall Art
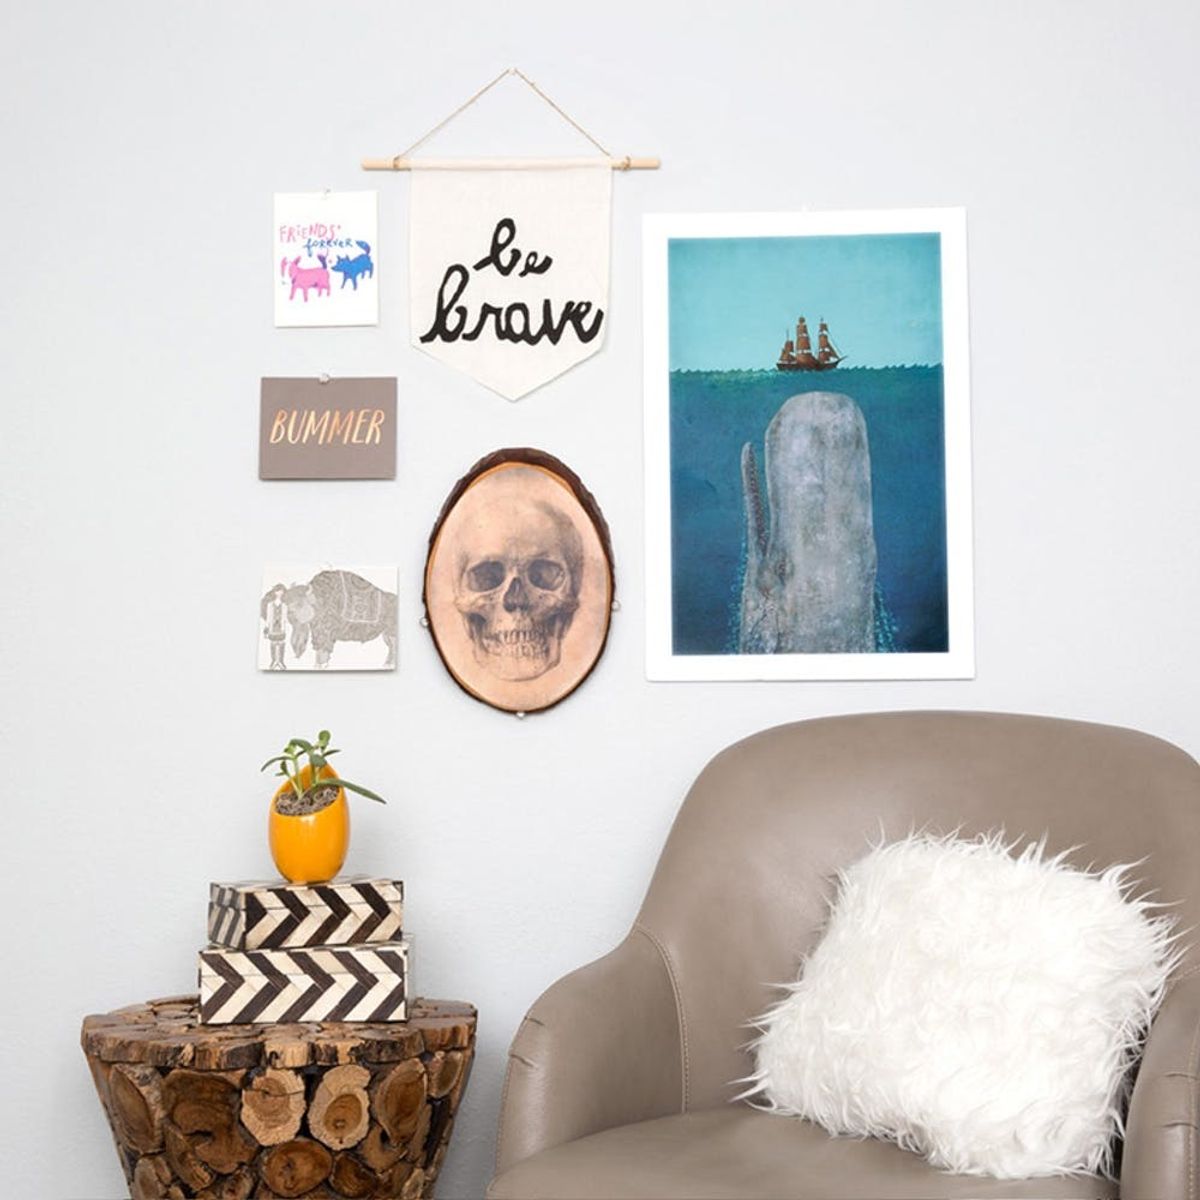
Ah, mini typography banners — though they be but little, they certainly make a fierce statement. These decorative objects are small things that can make a big impact on a wall, and with their little inspirational messages, you can’t help but feel a little more pep in your step upon looking at them. Bring some pretty, uplifting type to your wall at home via this DIY created by the the team at nousDECOR.
Materials:
— 1-foot-long wooden dowel
— 1 square of black felt
— 1/4 yard canvas
Tools:
— hot glue gun
— burlap string
— scissors
— pencil
— “Be Brave” Template
Instructions:
1. Print out the “Be Brave” template.
2. Cut out your letters.
3. Use your paper letters to guide your scissors on the felt and create black felt letters.
4. Place your phrase on the canvas.
5. Use the dowel as a ruler to trace a banner around your phrase.
6. Cut out the banner.
7. Glue down your letters.
8. Glue the top of your canvas onto the wooden dowel.
9. Tie your burlap string on each side of the dowel, adding as much slack as you’d like at the top.
You can put any saying on your banner. Use your hand lettering skills and come up with any phrase that inspires you. Draw it out on paper, cut out the paper, then use those letters as your template.
You can make the banner as big or small as you’d like. The dimensions we stuck to are 8 inches across, where the banner meets the dowel, 8 1/2 inches long, and the point sides are both 2 inches long.
Use ribbon, fabric, burlap or string to hang your awesome creation on your gallery wall or above your desk.
Mixing in typography with pictures and paintings adds more dimension and interest to a wall that would otherwise be filled with square and rectangular frames.
Then do as the banner says and own your day.
Will you be embarking on this DIY? Share your creations with us below or tag them on Instagram with #iamcreative.


