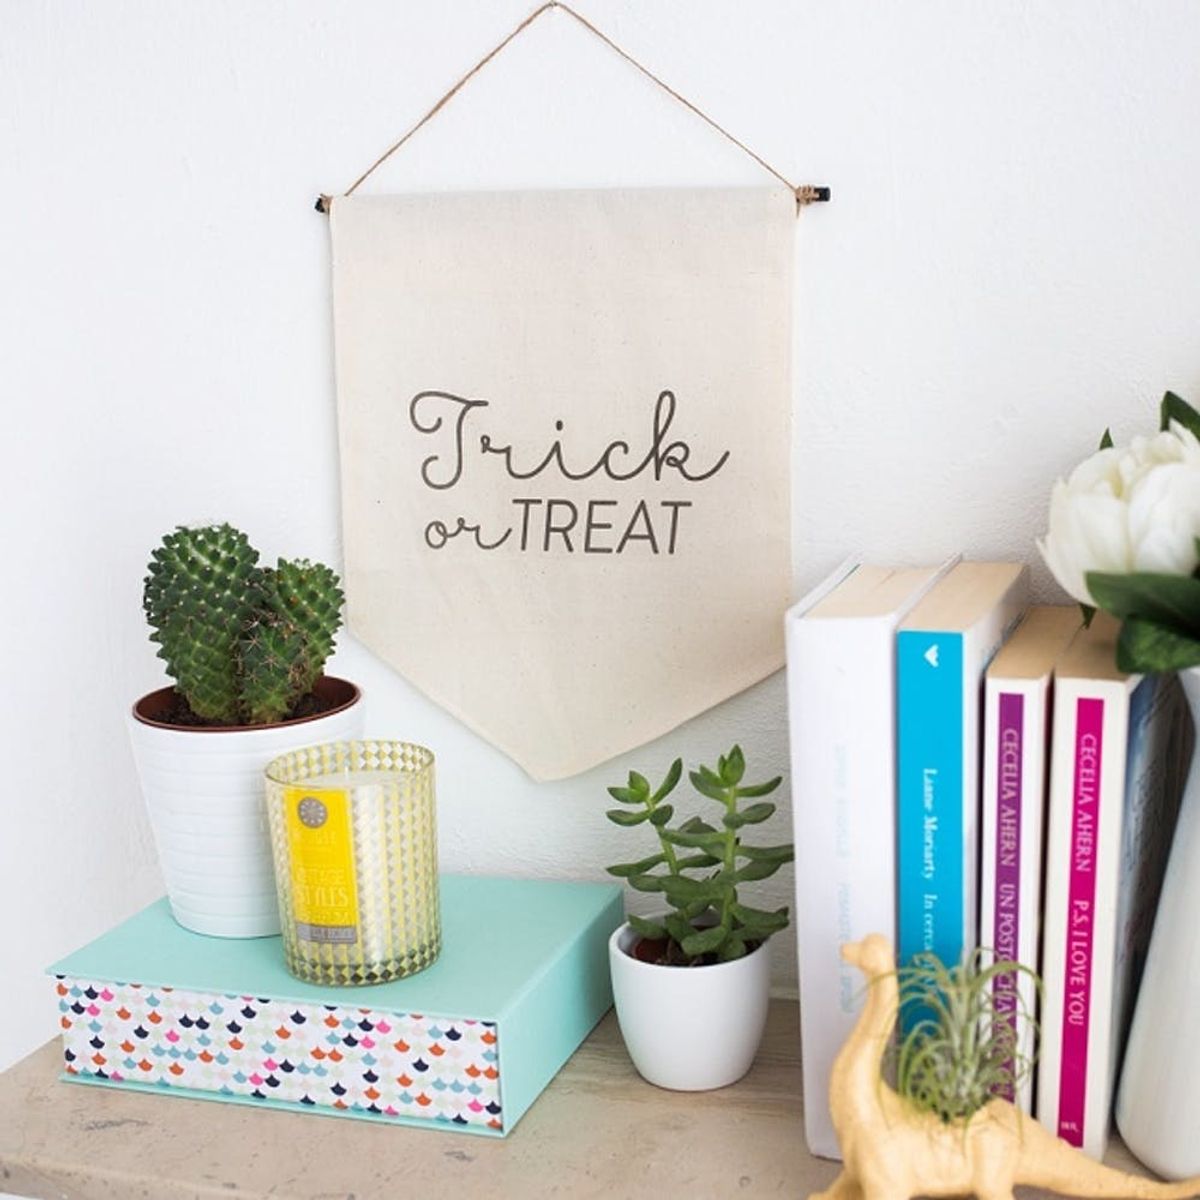
How to Make an Easy Halloween Banner That’s Cuter Than It Is Spooky

We’ve officially welcomed October, and the Halloween countdown has begun. This means it’s time to choose the perfect costume and think about yummy food to prepare and funny ways to decorate your house. Speaking of decorating, today we’re going to show you the easiest way to decorate your space without getting too spooky or gloomy because, you know, all those spiders and monsters really don’t go with our lovely home decor :P
Materials:
– fabric scrap
– matching thread
– iron-on transfer paper
– twine
– wooden dowel
Tools:
– iron
– ruler
– sewing machine
– tailor’s chalk
– scissors
Instructions:
1. Lay out your fabric scrap and use a sheet of paper as a template to trace the outline. Then cut it out.
2. Use your ruler to find the center of the bottom edge and mark it with your tailor’s chalk.
3. Then fold the two bottom corners in so that they meet in the middle.
4. Now take your piece and fold the left and right edges over about one inch, then sew the hems.
5. Fold over the top edge about two inches and sew again to create a loop for your wooden dowel.
6. Now print your Halloween quote or illustration on a sheet of transfer paper or download our template. Make sure the image is in reverse before you print and check the manufacturer’s instructions for the best results.
7. Now cut your image, leaving a teeny tiny border.
8. Next, place the transfer paper, image-side down, onto your banner and iron.
9. Let everything cool for a while, then gently peel off the transfer paper.
10. Lastly, insert your wooden dowel and tie the twine on each side of the dowel sticking out. You’re done!
First, it’s all about creating your banner shape. I’m using a piece of A4 paper as a template, tracing its outline with tailor’s chalk and cutting it out. Next, find the middle of your rectangle and fold the two bottom corners in so that they meet in the middle.
Fold the left edge over about one inch. Pin it in place, then repeat with the right edge and sew. Now fold the top edge over a couple of inches and sew again. You’ve just made the perfect loop for your dowel!
At this point it’s time to add your design. You can print your fave quote or download our template. Just remember to reverse print your design and set “photo quality” on your printer for the best results. Now cut your quote, leaving a 1/4-inch border, and place it onto the banner. Iron it (image side down) for at least 30 seconds, then let everything completely cool and slowly remove the paper. Lastly, fit the dowel through the sleeve and tie your twine around each side to hang. Ta-dah! You now have a pretty fabric banner.
Once you get the how-to, you can make many different banners, experimenting with colors and fabrics. The options are endless!
How are you decorating for Halloween? Let us know in the comments below


