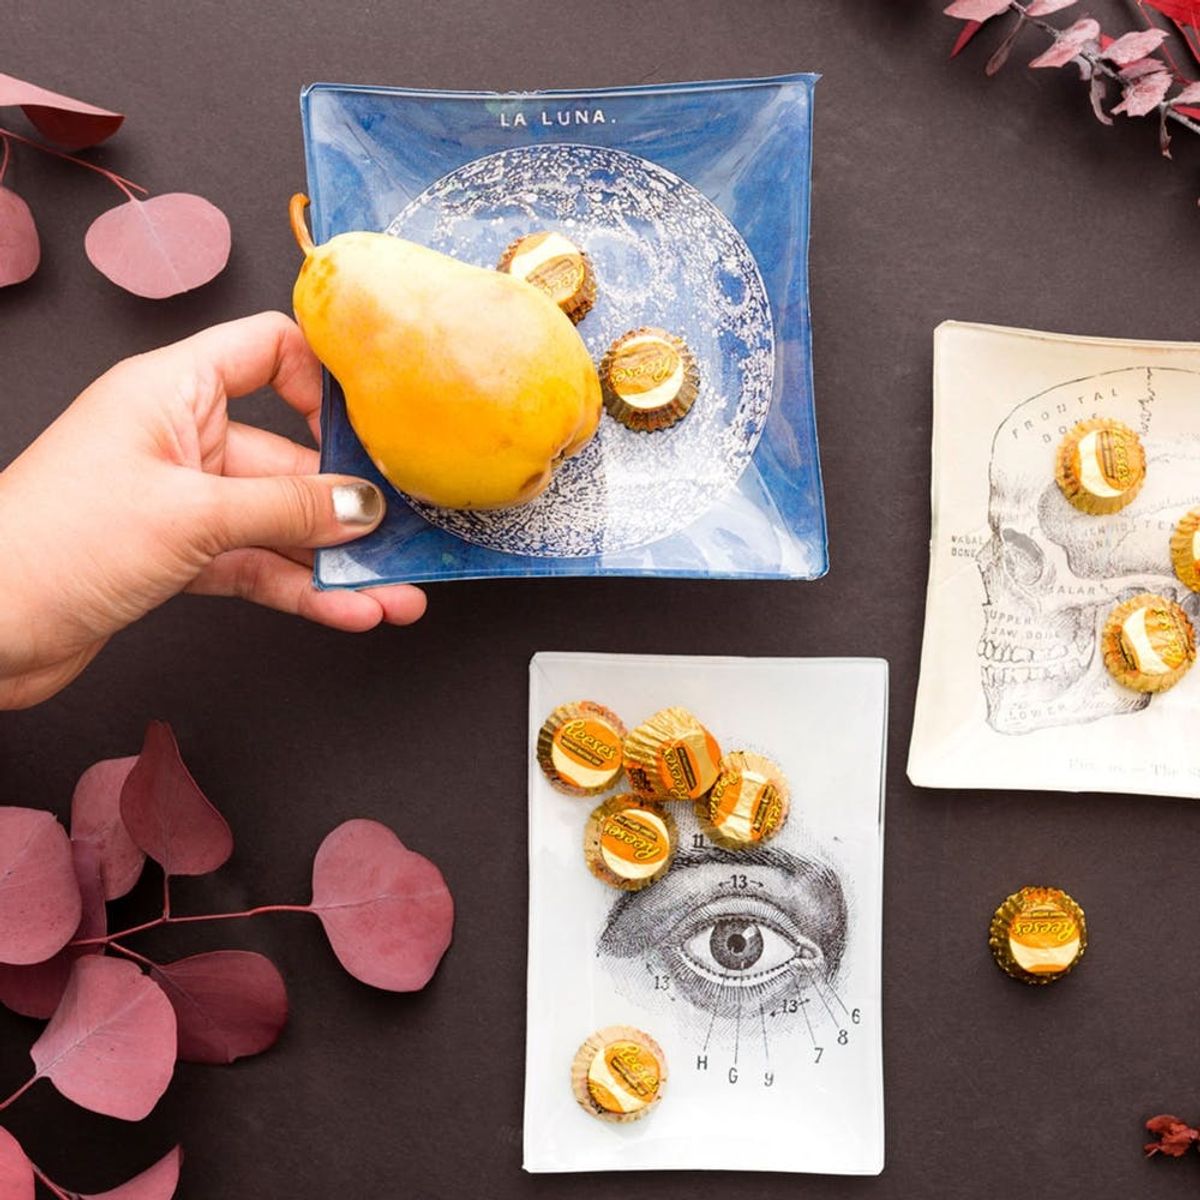
DIY Halloween trays you can use year round!
Make These $158 Fornasetti Halloween Trays for $10

Anyone else find it difficult to decorate for Halloween? While I wish I was more excited about draping faux spider webs around my home, I just can’t bring myself to dive headfirst into cheesy Halloween decor. What’s more enticing for me is a seasonless item that I can incorporate into my Halloween decor. I want something a little spooky that I can keep on my coffee table all year, you know? Enter the Fornasetti tray: perfectly creepy without being too specific to Halloween. Not to mention, the perfect accessory for handing out candy to trick-or-treaters.

A Fornasetti tray will set you back a cool $158, but for about $10 you can DIY your own version with your choice of creepy imagery.

The internet’s your oyster! Get digging through those vintage prints.

Materials and Tools:

Get your materials together and let’s get started!
When printing out your images, make sure to print them as close to the dimensions of your tray as possible. We’ll make relief cuts in the paper to accommodate the curvature of the tray. To make relief cuts, place your ruler along one diagonal of the paper and make a one-inch cut in each corner. Repeat this with the other side.
- glass trays
- Mod Podge
- X-ACTO knife
- vintage prints
- cutting mat
- ruler

Paint Mod Podge onto the underside of the glass tray. We painted our trays in small sections to make things easier. Line up the top edge of your printout with the top edge of the tray and smooth the paper over the Mod Podge. Work your way down the tray until you’ve finished attaching the paper.

Allow your tray to dry overnight before use.

Sometimes it’s easier to print your images slightly larger and then trim the excess paper. For this technique, repeat the Mod Podge application outlined earlier.

Allow the tray to dry overnight before trimming the excess paper. The easiest way to do this is to angle the edge of the tray onto a cutting mat and run your blade along the edge of the tray.

So easy, right? These trays are timeless, so you’ll want to keep them out all year-round. Keep one on your nightstand for loose jewelry or by the entryway for your keys.

Sit back and enjoy spooking your trick-or-treaters with this haunted imagery.


