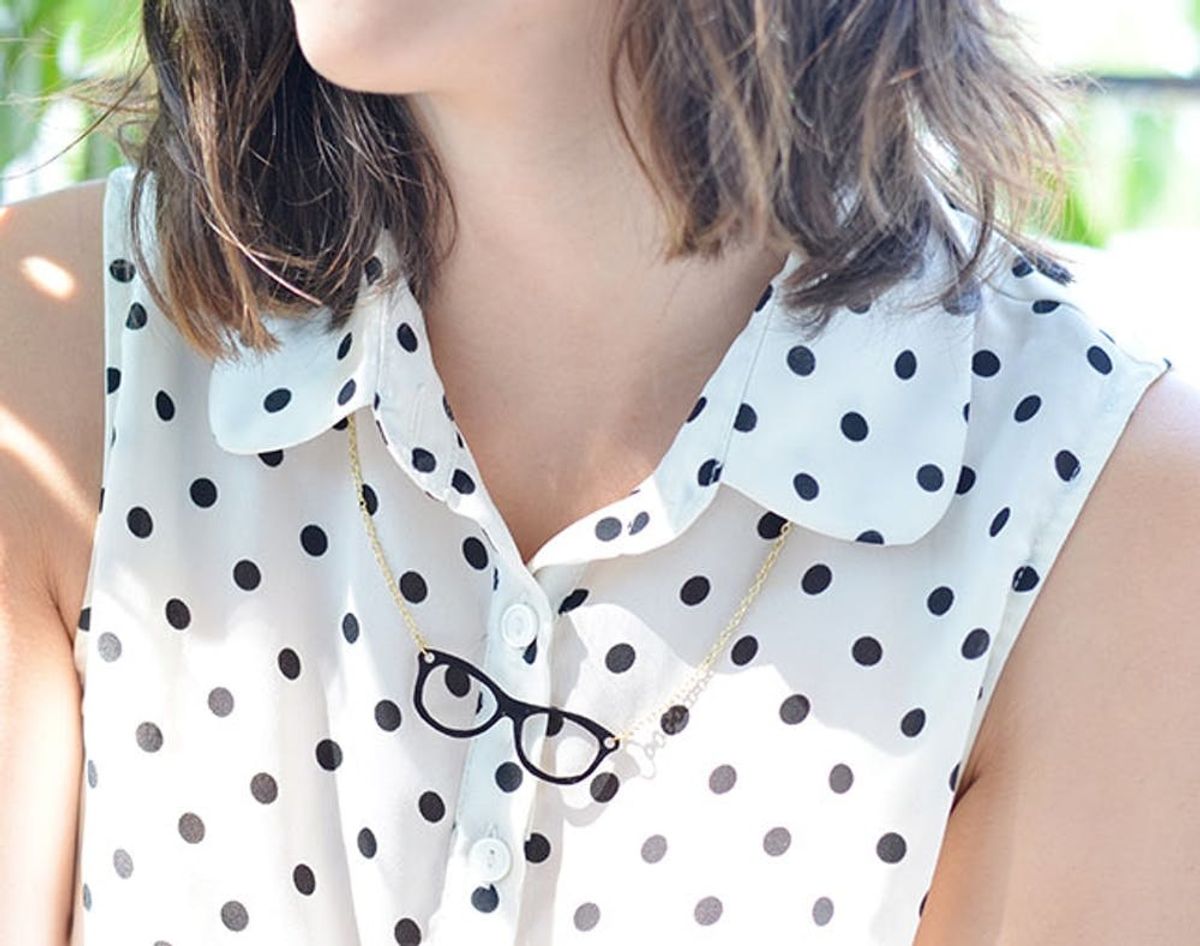
In our search for a quick and easy way to make custom accessories, we went back to one of our favorite childhood crafts: Shrinky Dinks. You can make anything you want with these mini marvels, including designs you’ll actually want to wear now that you’re not pining over teen heartthrobs (Joe Jonas aside).
How to Wear Shrinky Dinks Like a Grown-Up

If you’re anything like us, your lifelong love of making began way back when with friendship bracelets, woven potholders and a few too many bedazzled items of clothing. You may want to hold off on digging out your chunky plastic rhinestones now, but why not pull a little DIY inspiration from some of your projects from back in the day? In our search for a quick and easy way to make custom accessories, we went back to one of our favorite childhood crafts: Shrinky Dinks. Remember, you can make anything you want with these mini marvels, including designs you’ll actually want to wear now that you’re not pining over teen heartthrobs 24/7 (Joe Jonas aside). Scroll through to see how you can style Shrinky Dinks like a grown-up.
Materials:
– Shrinky Dink paper (we like using the “Bright White” paper the best)
– permanent markers
Tools:
– scissors
– an assortment of jewelry hardware and hair clips
– hot glue gun or a strong jewelry adhesive
– hole punch (optional)
Instructions:
1. Draw or print out your image on some scrap paper. It should be 2 to 3 times your desired size (you may want to bake a test strip of Shrinky Dink paper to see exactly how much it will shrink). Make sure that you leave plenty of space for hole punches if you plan on making a necklace or bracelet.
2. Trace your image on to the Shrinky Dink paper.
3. Cut out your Shrinky Dink and punch any holes.
4. Bake your Shrinky Dink according to the directions on the package. Keep an eye on your pieces to make sure they don’t fold in on themselves. If you are making a bigger piece we would suggest laying a piece of parchment paper or paper bag on top of the Shrinky Dink, as well as underneath it.
5. Be ready to shape your piece once it comes out of the oven. Remove the piece carefully while still on top of the paper. If you need the piece to be flat, put another piece of parchment paper on top of it and press it down with a spatula before it cools. If you need the piece to be curved for a hair clip or bracelet, carefully shape the piece over the clip (or a rounded item) while still on the piece of paper as soon as you take it out of the oven. Just be very careful you don’t burn yourself!
6. Put your piece together using jewelry hardware or hot glue or a strong jewelry adhesive like E-6000. Let dry completely before wearing.
Start by drawing your desired image on the Shrink Dink paper a lot larger than you want the design to be. I’m turning this diamond sketch into a pair of earrings, to give you *some* sense of just how tiny they’ll get (you may want to bake a test strip of Shrinky Dink paper to see exactly how much it will shrink). Make sure that you leave plenty of space for hole punches if you plan on making a necklace or bracelet. If you don’t trust your drawing skills, don’t fear! There is printable shrinky dink paper. If you use this, just print your image right onto the paper.
Once your designs are baked, shape them while they’re warm (if you need to!) or let them dry, then add on your jewelry hardware, from earring backs to chains to hair clips to whatever you want to dress up your daily look.
Now wear it out on the town!
Get creative! We love the idea of making fun custom pieces for special occasions — make a set especially for a friend’s bridal shower, or maybe some “Birthday Gurl” clips for your bff. The possibilities are endless!
Have you DIY-ed with Shrinky Dinks since you were a kid? What designs would you wear now that you’re all grown up? Tell us in the comments below.


