Take Note! This Is How to Make a DIY Notebook
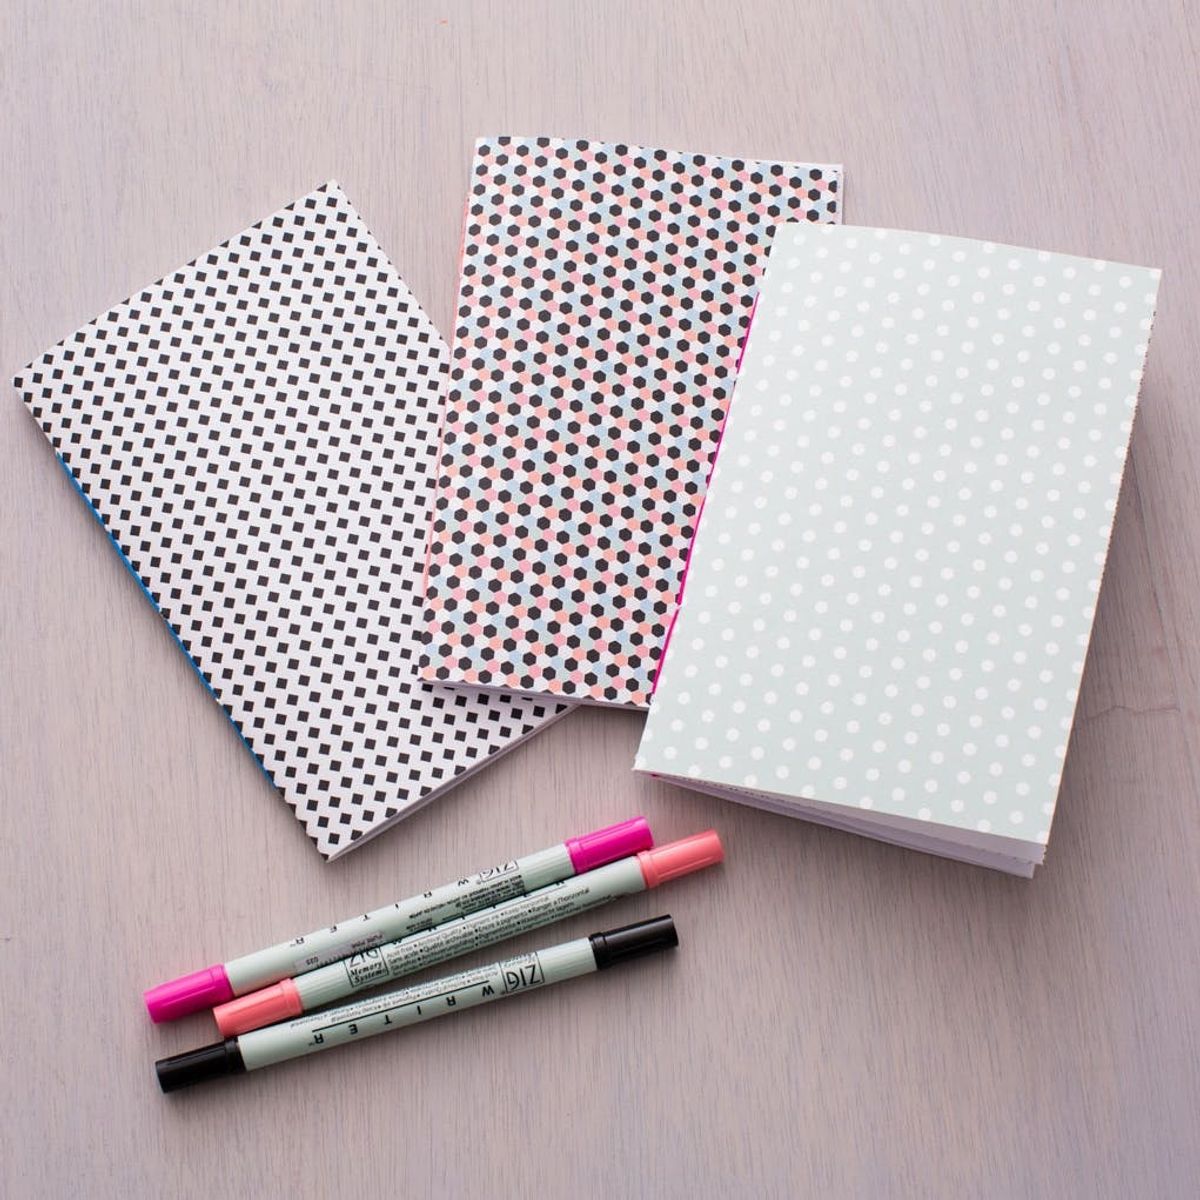
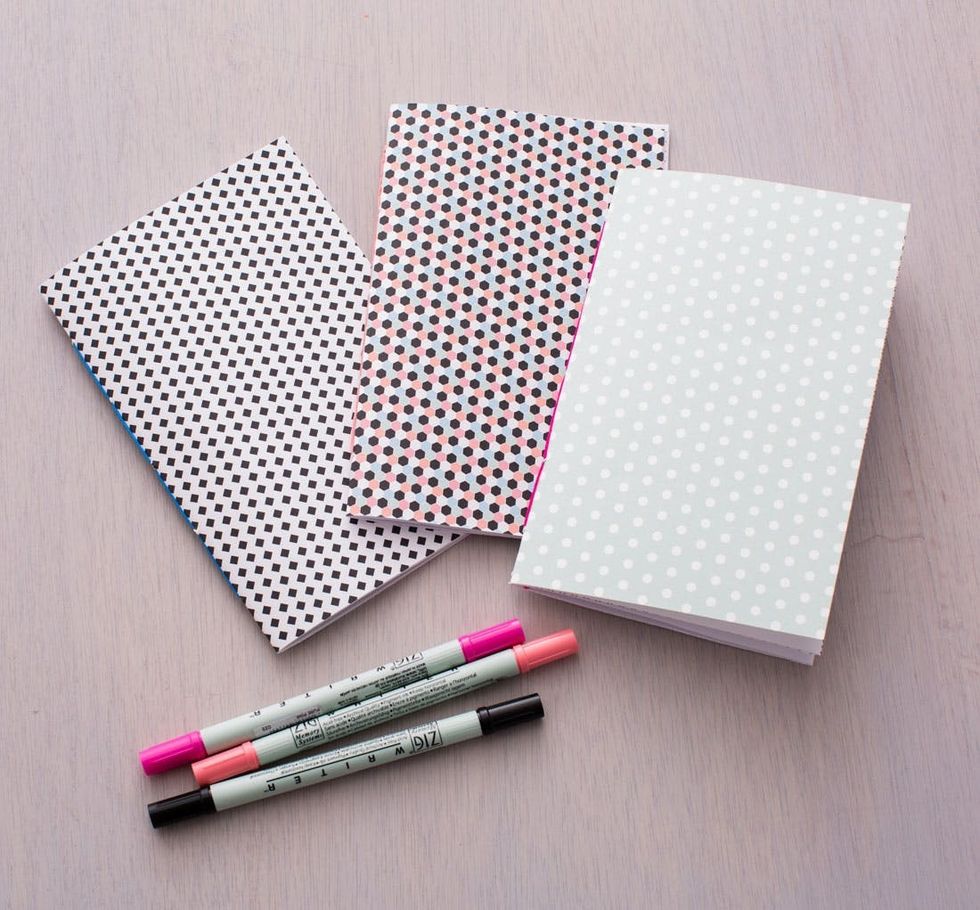
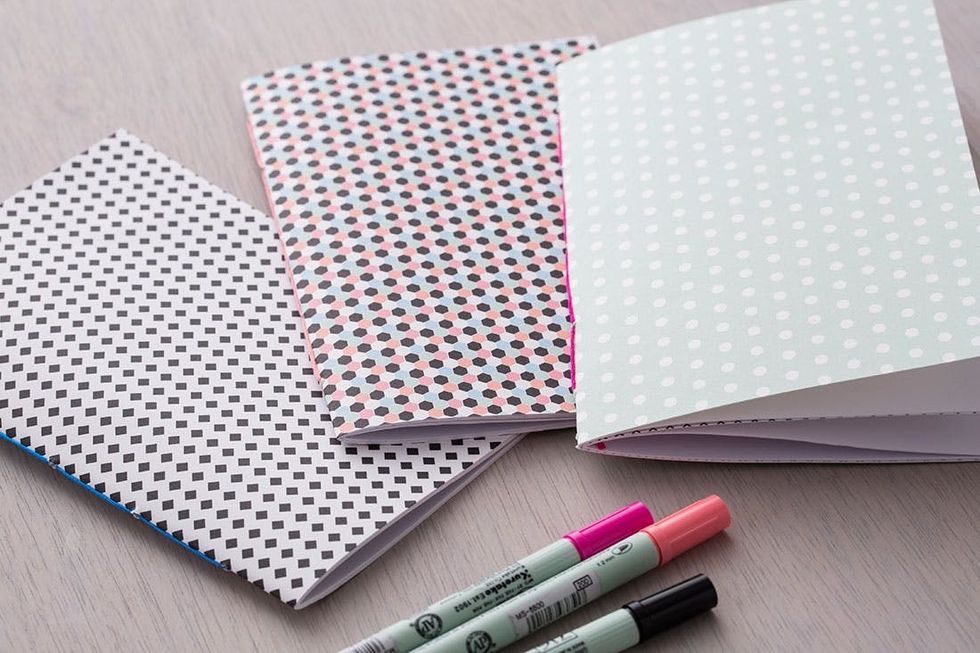
Whether you like to sketch, journal, write down your grocery list, or capture your dreams on paper, a blank notebook is a great item to have in your purse, on your nightstand, or at your desk. Today for our #31DaysofDIY project we are making adorable notebooks, and we’re including three printable covers with some fun Brit + Co patterns!
No idea what #31DaysofDIY is? It’s a brand new tradition here at Brit + Co that’s all about kicking off the new year right. We’ve challenged ourselves to make or learn something new every single day for the month of January, and we’re inviting all of you along for the ride. From DIY basics like Sewing 101 to learning to design and laser cut our own stencils, we hope this month of making inspires you to get creative all year long.
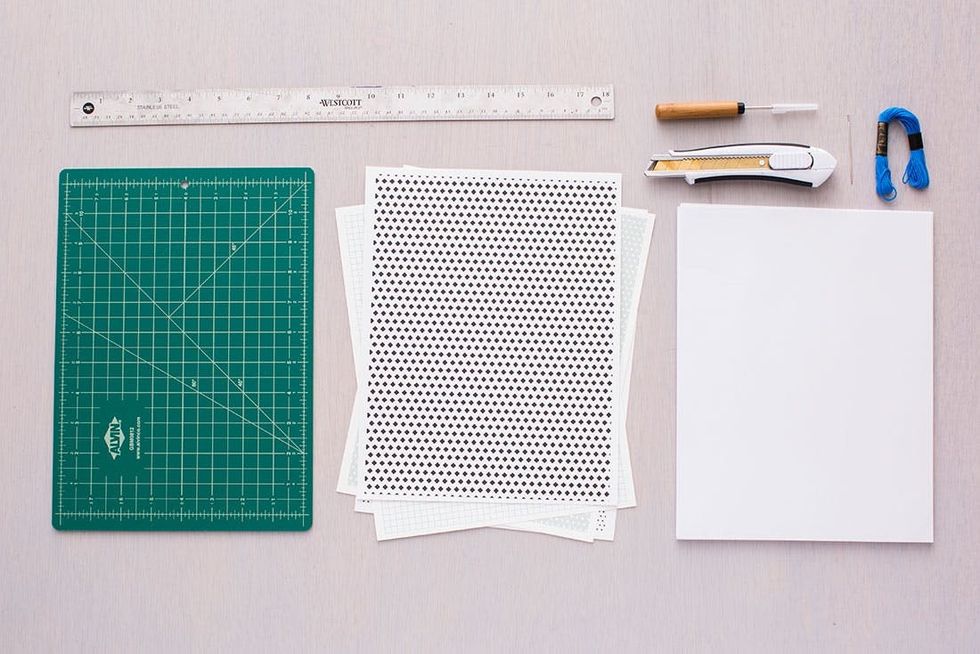
Materials:
– Brit + Co printable covers (download here)
– printer paper
– card stock
– embroidery floss
Tools:
– cutting mat
– box cutter
– embroidery needle
– awl
– straight edge
Instructions:
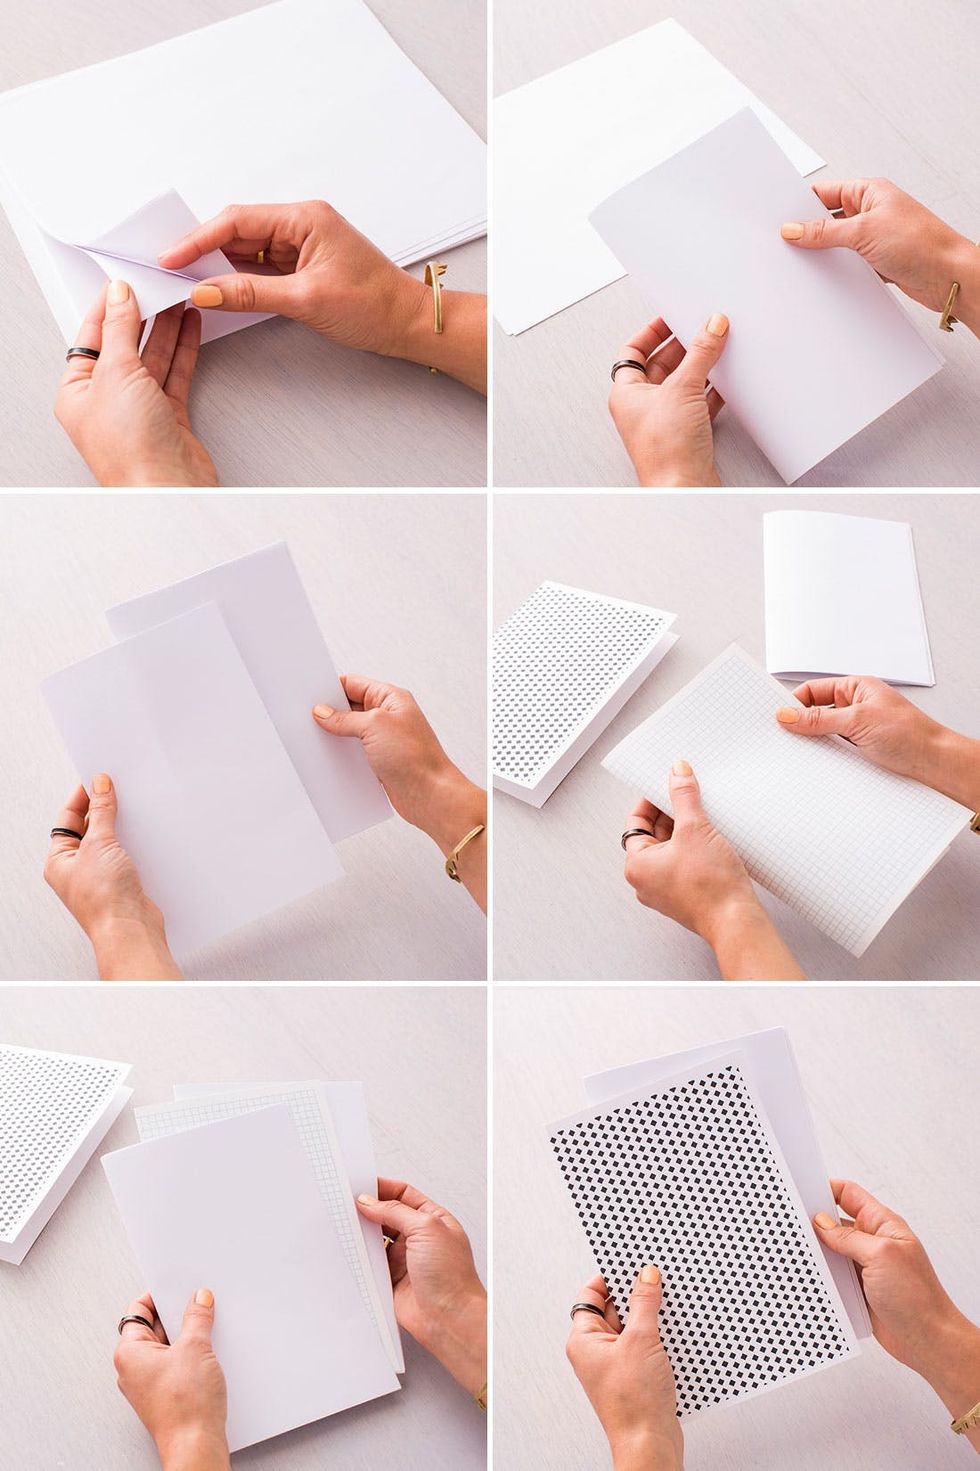
First prepare your paper. Take seven pieces of printer paper (or heavier paper if you want to write or draw in your notebook with markers) and fold them in half. With such a thick pile, you might need to fold them individually and then stack them, lining up the folds so that they’re spooning ;). Next, print your patterned Brit + Co printables and fold them in half. One is for the cover and the other can be a secret fun page inside.
- Count seven pieces of printer paper and fold them in half. You might need to fold them separately and then stack them together.
- Print your Brit + Co printable patterns and fold them in half. Insert one into the middle of your stack of white paper, and use the other one as the cover of your notebook.
- Poke five evenly spaced holes along the spine of your notebook.
- Thread your needle, tie a knot at the end, and then bring it through the first hole starting from the inside of the notebook.
- Bring the needle through the second hole and then out through the third.
- Poke the needle down through the second hole again and then bring it through the fourth. Repeat this stitch until you have the needle on the inside of the notebook (it will have just come through the fourth hole).
- Tie the end to the loose thread at the other end of your knot.
- Place your journal on your cutting mat, and then using your straight edge and box cutter, slice off the uneven edges of paper. Do this to the top, bottom and side of your notebook.
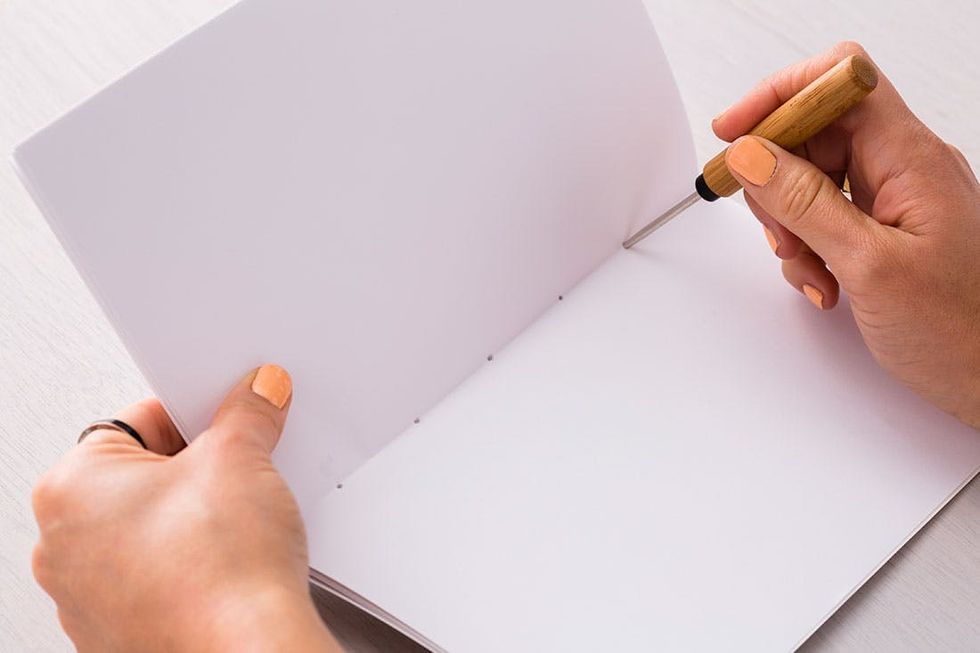
Now take your awl and poke five equidistant holes through your notebook. This will make stitching much easier.
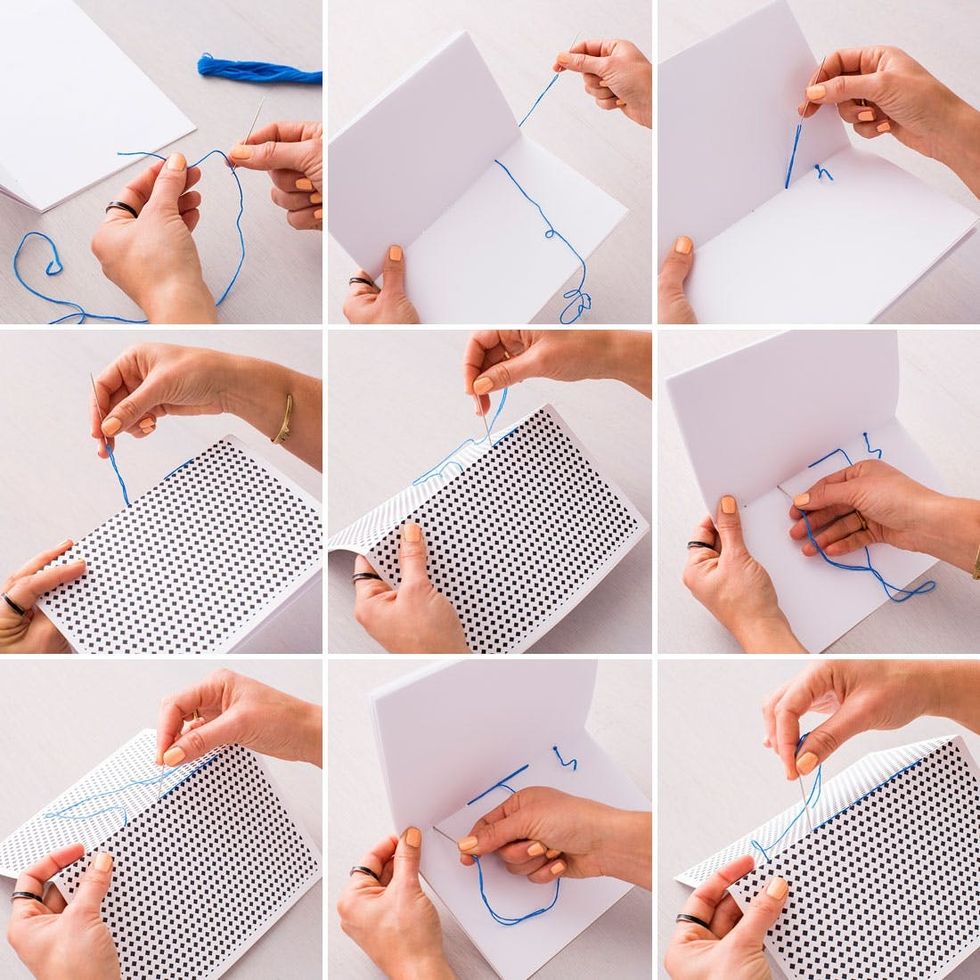
Following the photos above, weave your embroidery floss through the holes.
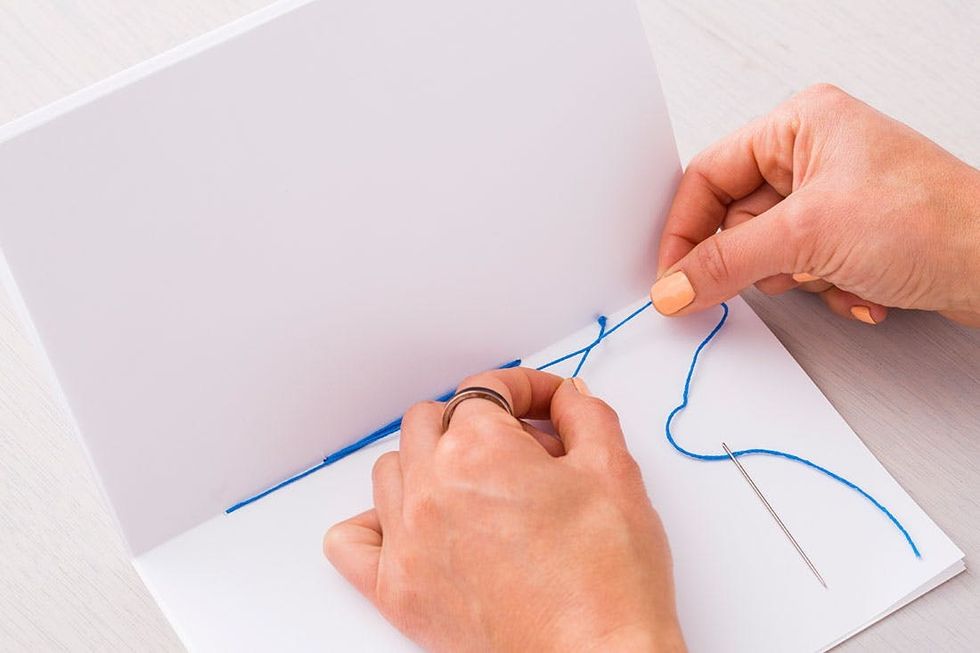
When you get to the end, tie the end of your embroidery floss to the loose piece on the other end of your knot.
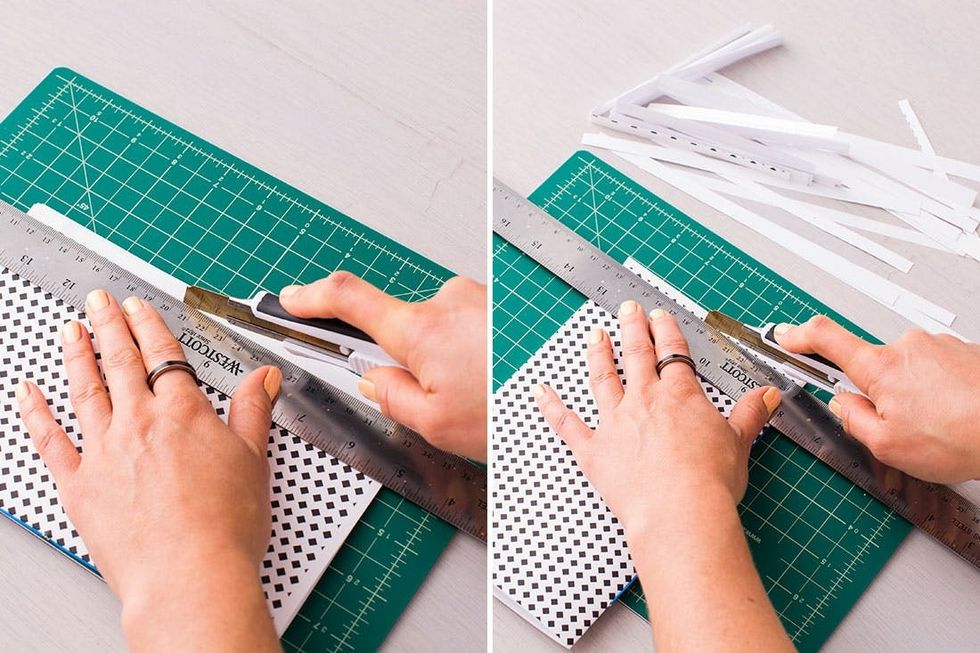
At this point you will notice that your edges are not lined up. Take your box cutter (or an X-acto knife) and straight edge, and cut through the notebook, creating an even edge. Do the top and bottom as well as the side. That’s it!
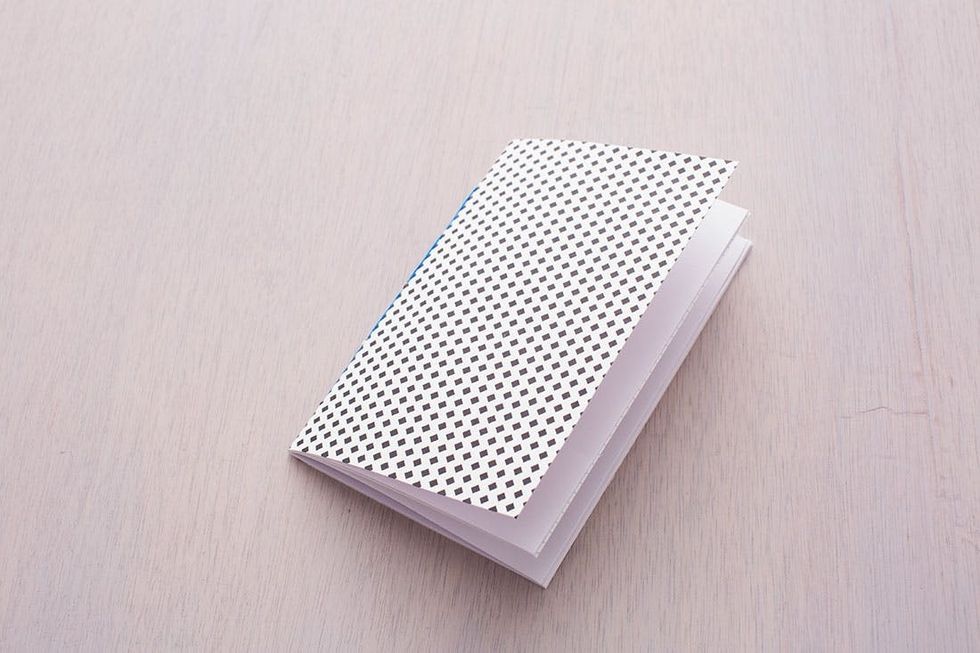
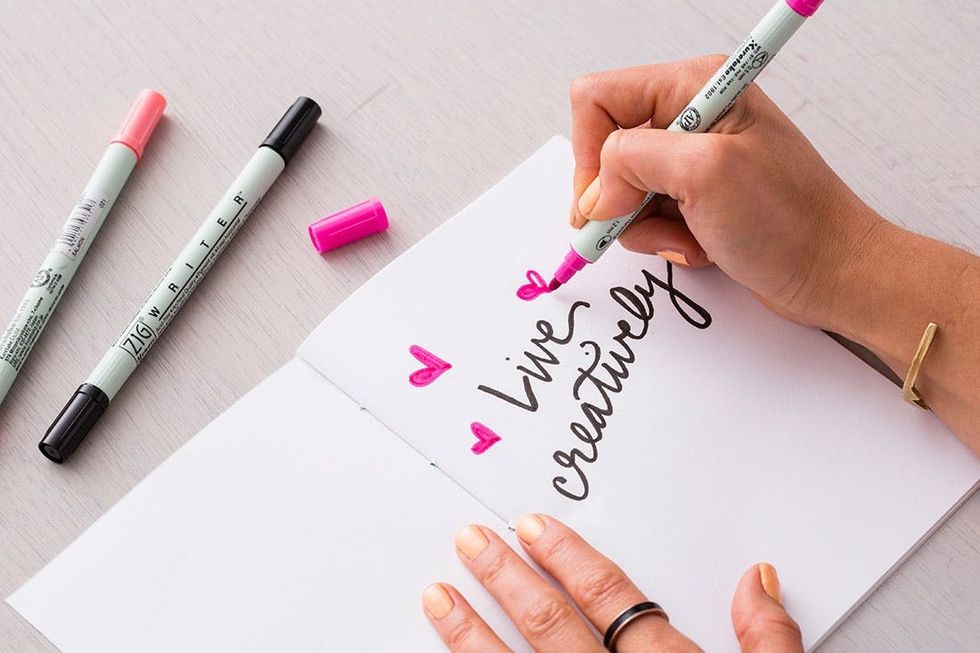
Time to get creative.
Or you can make a few more and give them to your friends.
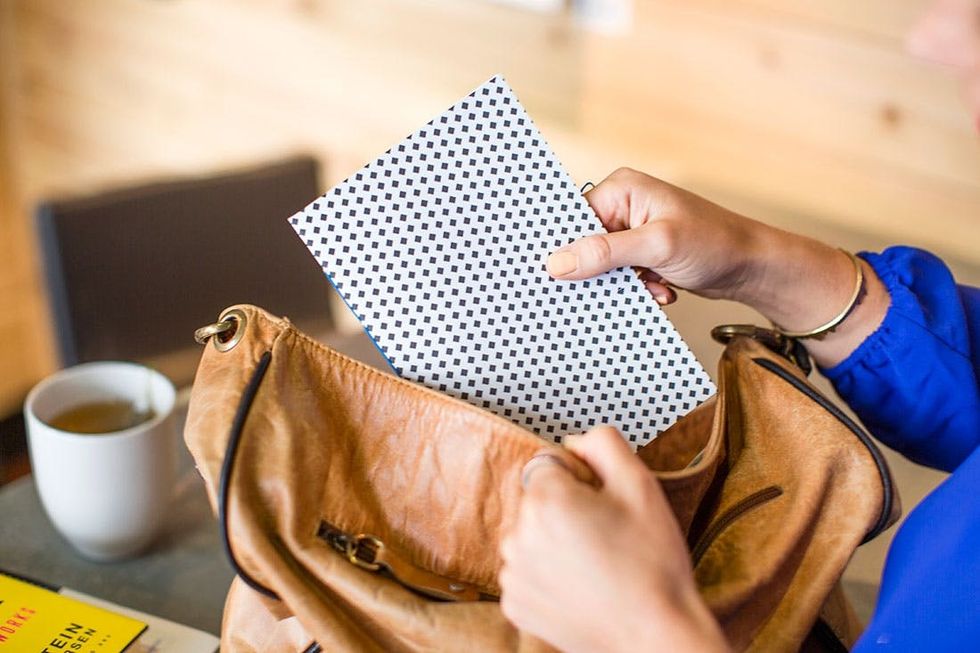
Throw this cutie in your purse and take it to a coffee shop for a writing sesh.
How do you use notebooks? Share with us on Instagram.


