Just in time for Coachella…
Give Your Sunnies a Floral Upgrade With the Easiest DIY EVER
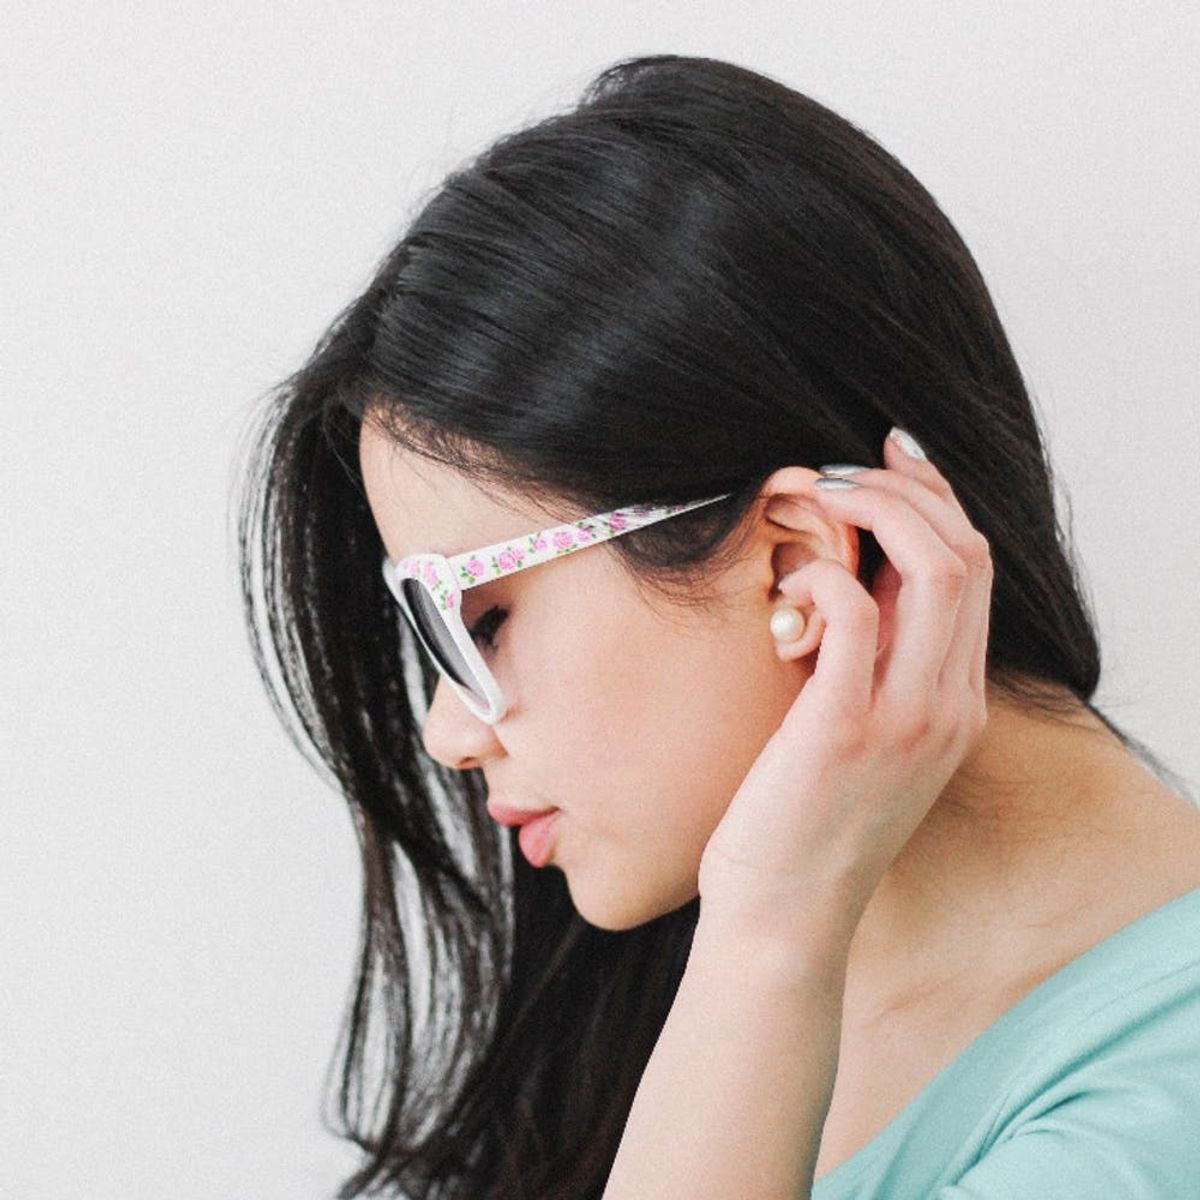
Year after year, florals always come back once spring hits. From your grandma’s tapestries to modern bold patterns, they have a way of changing with the times. No wonder we manage to cover everything in flowers, from our walls to our nails. And with these DIY flower sunglasses, you can bring the fun into your accessory collection. Besides, what says “spring” more than flowers and sunshine?
Materials:
— sunglasses
— floral nail decals
— rubbing alcohol
— clear nail polish
Tools:
— scissors
Instructions:
1. Clean the frames and arms of your sunglasses with rubbing alcohol.
2. Stick on the floral decals, smoothing out air bubbles as you go along.
3. If needed, trim the decals.
4. Add two layers of clear nail polish to seal the deal. Don’t forget to allow some drying time between each layer!
By trimming around the decals, you can create the impression that the pattern is continuous and seamless. For best results, add them along the edge of the sunglasses.
Your best bet is to use a pair of sunglasses that has thick frames and arms. Both cat eyes and wayfarers work perfectly. Keep an eye out for frames in lighter shades. We’re talking mint green, blush pink, light gray or tan. Flower decals on a crystal clear pair would make an amazing visual. If you’re feeling adventurous, try adding decals to a polka dot or striped pair of sunglasses. You’ll end up with the ultimate mixed-print accessory. So fun!
Readers, what color combo would you choose for your floral sunnies? Let us know below!
(Styled photos by Haruka Sakaguchi of The Denizen Co.)


