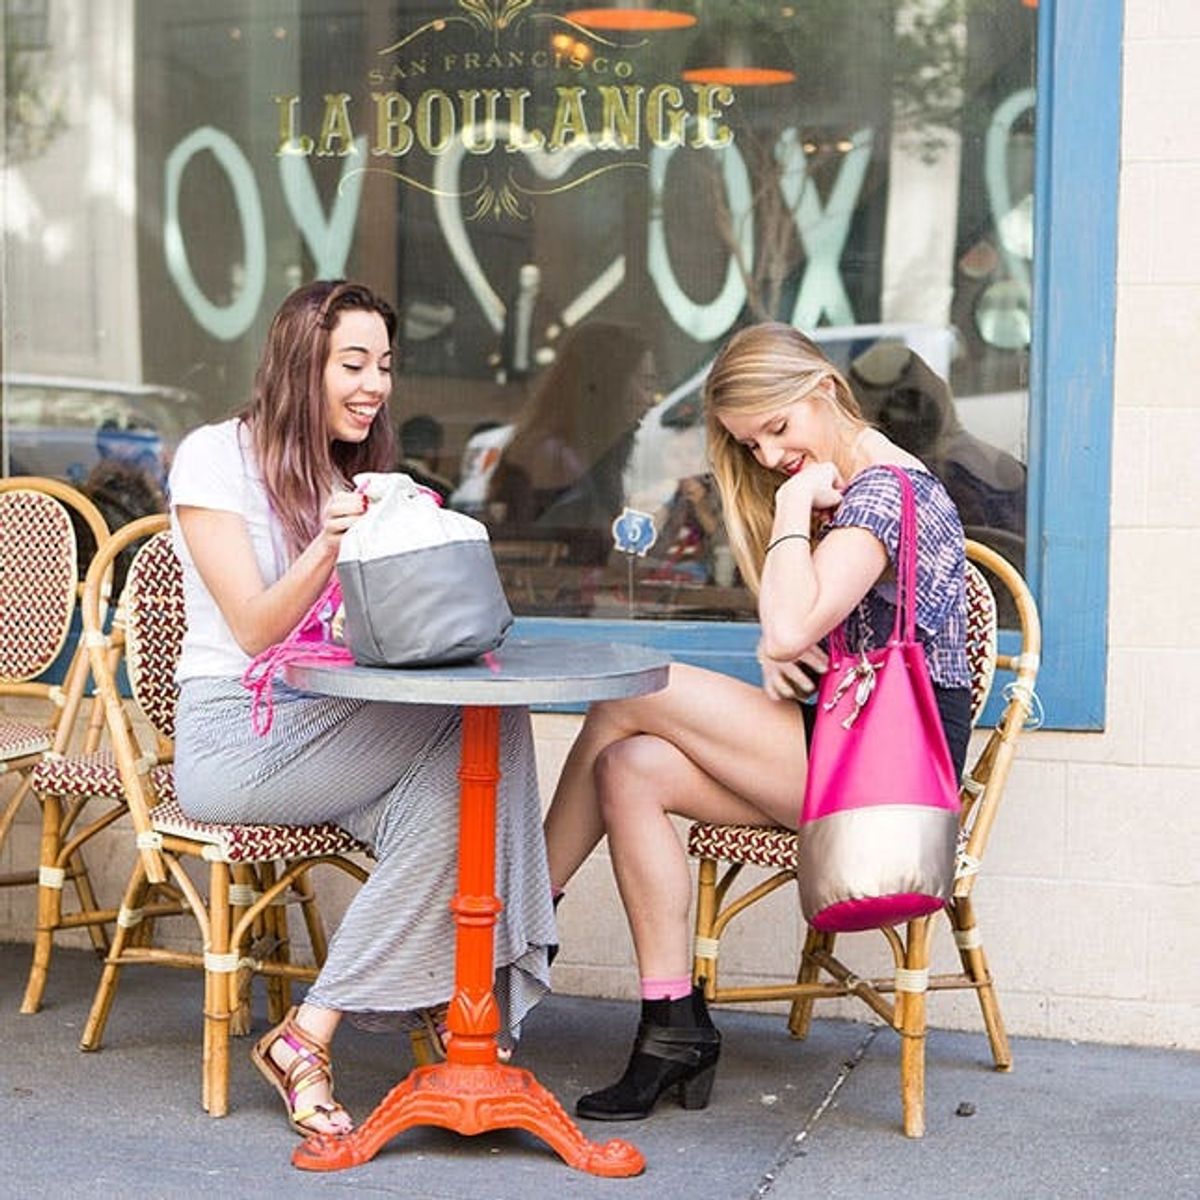
Now, obviously, here at Brit + Co we are all about DIY projects. But DIYing can sometimes turn out looking to crafty and not chic enough. No need to worry with this bag. One of the best solutions to avoiding craftiness is by investing in quality materials. Now if you aren’t a fan of real leather, there are great other faux leather and canvas options out there. Play around with color to create a dramatic statement bag just like our girl Kate Spade.
No One Will Believe You Made This Leather Bucket Bag

Here at Brit + Co we are all about DIY projects. But DIYing can sometimes turn out looking too “crafty,” or not chic enough to rock the runways. No need to worry with *this bag,* folks. One of the best solutions to avoiding the crafty factor is by investing in quality materials. To make a leather purse you would actually want to wear out and about, we chose a more luxe material… leather. If you aren’t a fan of real leather, there are great faux leather and canvas options out there. Play around with color to create a dramatic statement bag — just like our girl Kate Spade.

Materials:

– leather in two colors
– grommets
– rivets
Tools:
– plate
– sewing machine
– ruler
– leather awl
– scissors
– pen
Instructions:
1. Grab a plate and trace it onto your leather. Cut out and measure the circumference of the circle.
2. Measure and cut a rectangle of leather for the body of your bag. Use the circumference measurement as the length of your rectangle; the height should be around 16 inches.
3. Cut another rectangle from your second color of leather that measures the same length but with a height of six inches.
4. Pin the leathers ontop of each other and sew.
5. With good sides facing in, pin the two edges together and sew. This will turn your rectangle into a cylinder.
6. Pin the cylinder to the leather circle bottom, then sew.
7. Cut three 1.5 x 24-inch straps, one from one color and two from the other color. Fold in half and stitch together.
8. Turn the bag inside out and mark holes for your grommets. Ours were about 3 inches apart.
9. Snip a small X shape and push the grommet through the leather. Using the grommet tools, hammer the front and back pieces of the grommet together.
10. Attach the two straps to the front and back of the bag using the rivets. Create a hole with the leather awl, stick the rivet through and attach the two pieces together using a hammer.
11. String the last piece of leather through the grommets to create the drawstring pull.
Grab a plate and trace it onto your leather. We used a paper plate that had an 8.5-inch diameter.

Now you’ll need to measure the circumference of the circle. Math isn’t my favorite, so I use a piece of string and then measure the string with the ruler. Ours measured 29 inches. This measurement will be the length of your rectangle.

Create a rectangle based on the circumference of the plate. Add an inch to the length for the seams. Our rectangle measured 30 x 16 inches.

This bucket bag needs some flair. Let’s add a two-toned component to really make it stand out. Cut a rectangle that mimics your first rectangle. Ours measured 30 x 6 inches.

Pin and sew your two leathers together. No need to sew around all four sides, —just sew the middle where they meet. *Pro tip: Sew extra slowly to make sure you get a straight stitch.

Attached and ready to turn into the cutest bag you have ever seen.

Fold good sides facing in and sew together. This will create your cylinder barrel for the body of your bag.

Pin the cylinder onto the circle bottom and sew.

Turn your bag right side out to reveal your beautiful (almost done) creation.

Cut two long rectangles from your base leather that measure 1.5 x 24 inches. Fold in half (lengthwise) and sew.

Do the same with your accent leather.

Measure out areas to attach your grommets. We found the middle of the bag and placed our two grommets about 1.5 inches from each other. We used those two to spae the rest of the grommets. We placed them each three inches apart. This difference will help make it clear which part of the bag is the front.

Grommets in place. Almost done.

Using your leather awl, poke holes through the bag’s strap and the bag itself. Slide the rivet through and secure both pieces together using a hammer.

We love the mix of the raspberry leather with the gold accents.

Weave the accent leather strip through the grommets to create the drawstring.

Bucket bag complete. We are obsessed.

Heading out for a day of Saturday activities? This bag will be your BAE. It will hold all your essentials, plus a sweater, and all the goodies you’re going to pick up at Forever 21.

Play around with color combos when picking out your supplies at your local store.

Ready for this bonus/ We created a bucket bag that is half leather, half fabric, and using paracord. Follow the same steps, just change up the supplies!

Ready for this second bonus?! We turned this bag into a backpack! Instead of attaching two straps to the top, attach one to the top and one to the bottom to create backpack straps.

Yes, these bags will be the center of attention at your next girly date.

And then you’ll talk about the new cutie that sat next to you on the bus =)

And then you’ll laugh about how you finally went on a date with him and it was awful.


