The bracelet is back. We're not sure that it went anywhere, but we've been seeing so many fun and creative takes on friendship bracelets, bangles, wrap bracelets, and more that we've decided that this summer is officially a DIY bracelet renaissance. Materials: – small washers – small key rings – lace trim or ribbon – […]
How to Use Key Rings, Washers & Lace to Make Chic Accessories

The bracelet is back. We're not sure that it went anywhere, but we've been seeing so many fun and creative takes on friendship bracelets, bangles, wrap bracelets, and more that we've decided that this summer is officially a DIY bracelet renaissance.
Materials:
– small washers
– small key rings
– lace trim or ribbon
– scissors
– tape
The materials for this one couldn't be simpler. In fact, you probably have a few spare washers in your toolbox and ribbon in your sewing box.
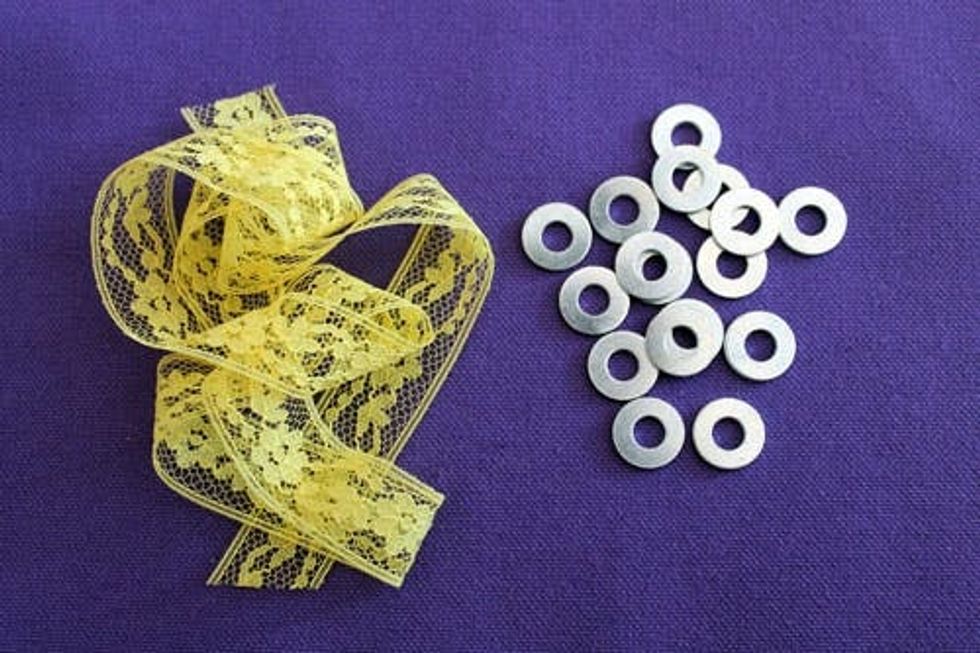
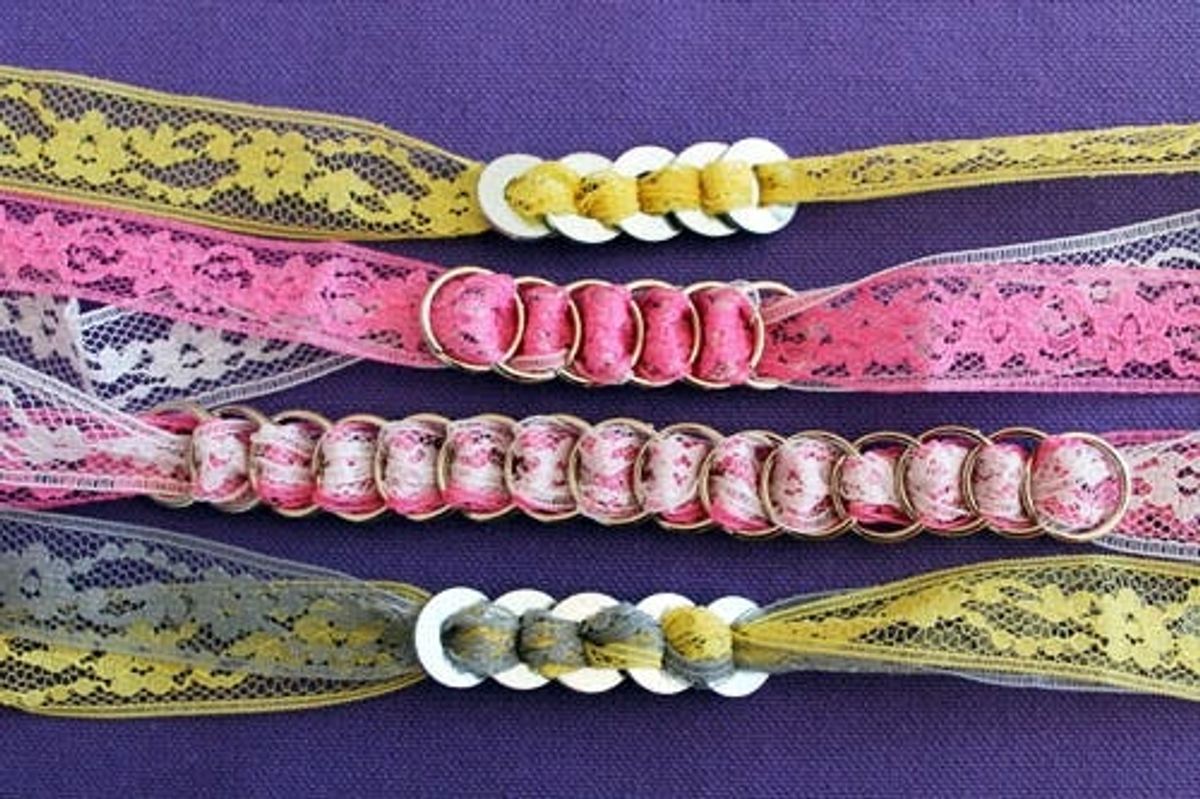
For this bracelet, we'll use 5 washers and about 12 inches of lace trim.
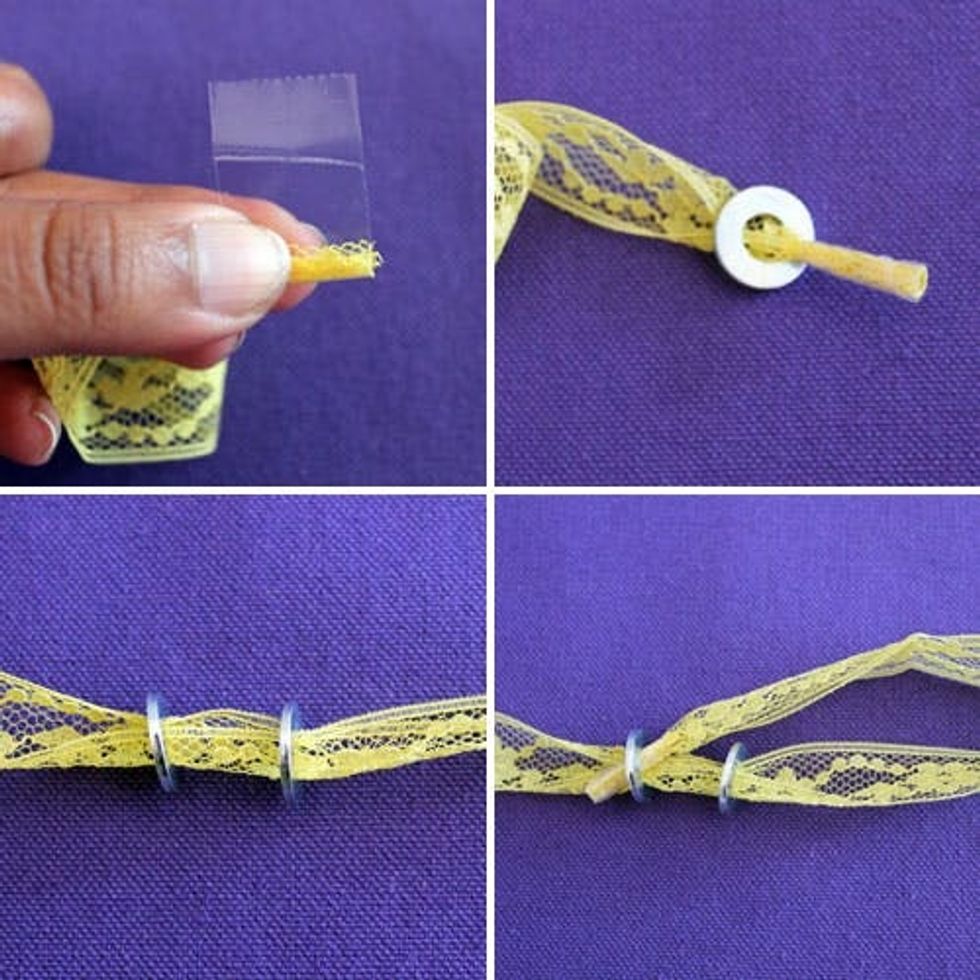
Use tape to create a needle or shoelace end on one end of your trim. Loop your first washer through, then the second one.
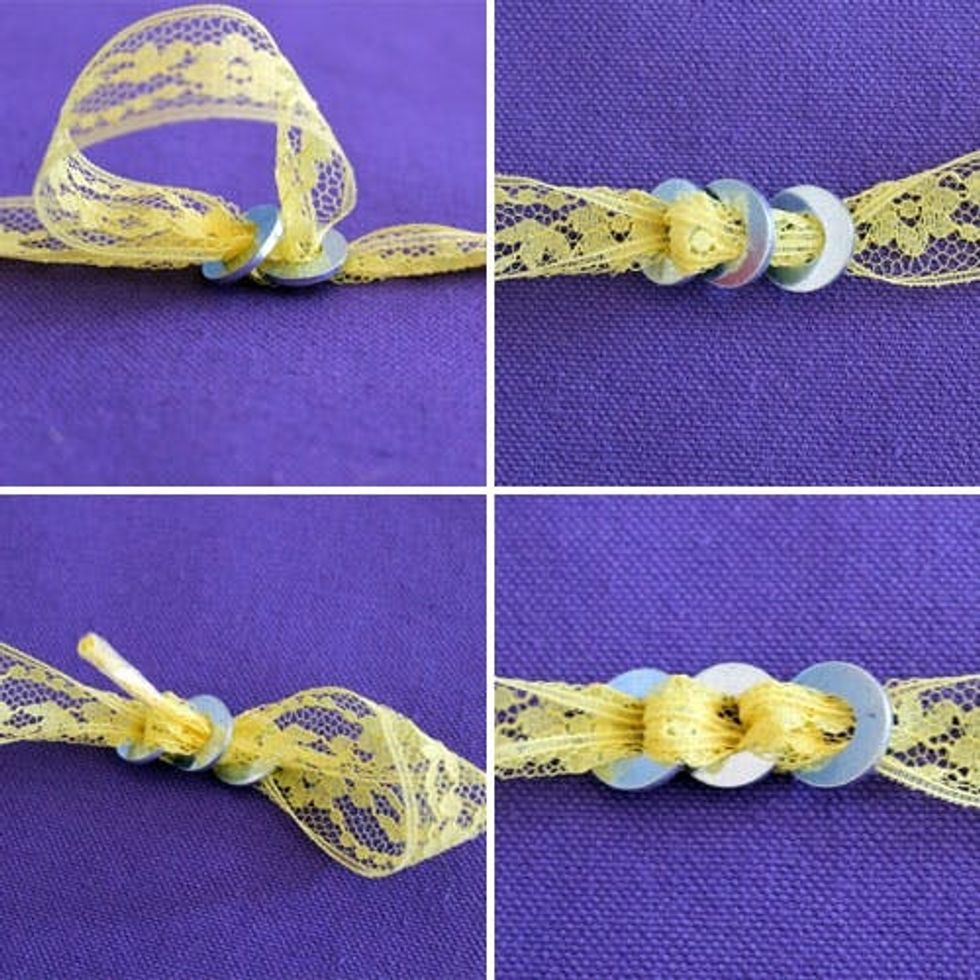
Now, pull your ribbon up over the second washer and weave it through the first washer.
Pull it all the way through, and then weave back through your second washer. Pull tight. Repeat with all of your washers and you'll get a nice little pattern.
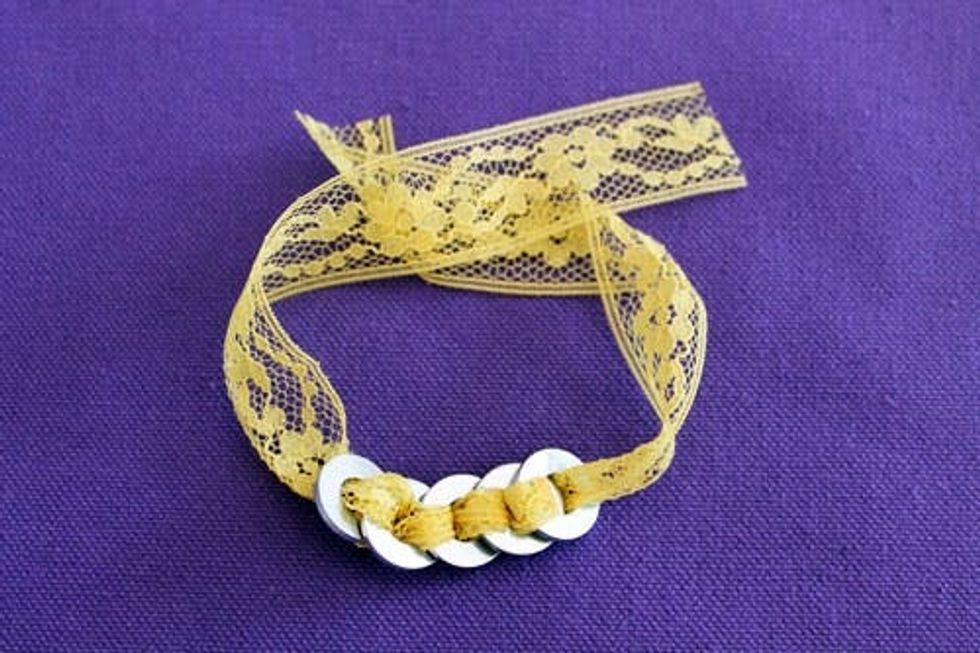
To fasten, simply tie an adorable bow around your wrist.
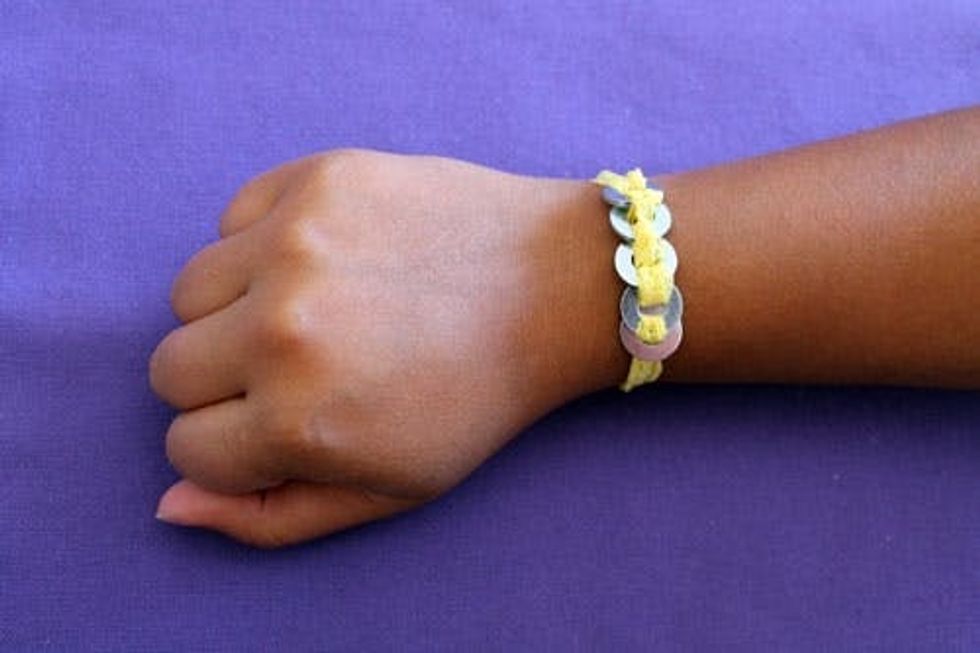
Done! Took less than 2 minutes and with items that are easy to find.
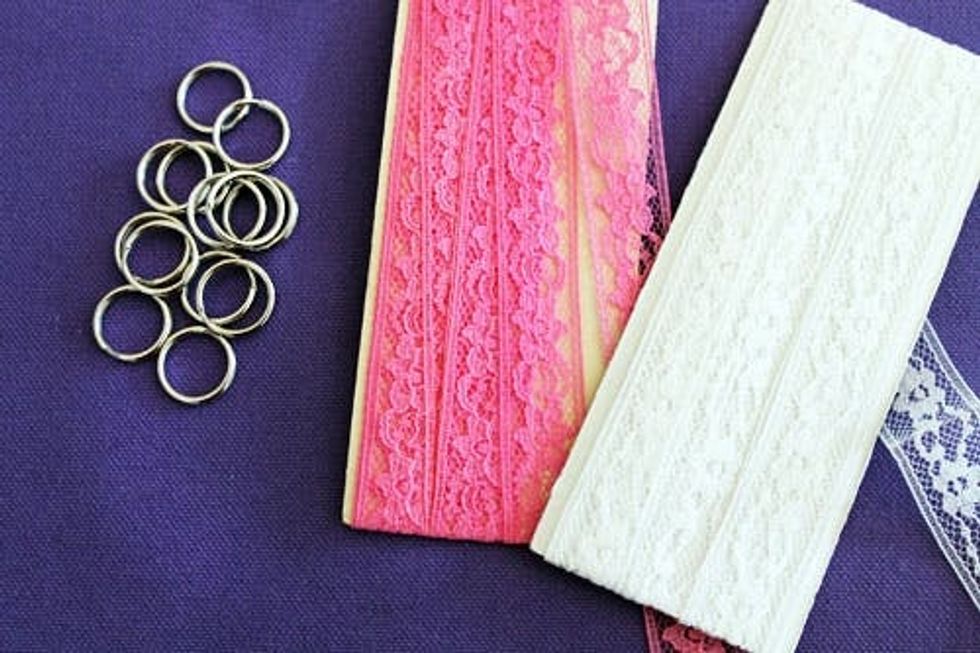
For the second bracelet, we used two pieces of lace trim and some extra small key rings leftover from our DIY Camera Strap.
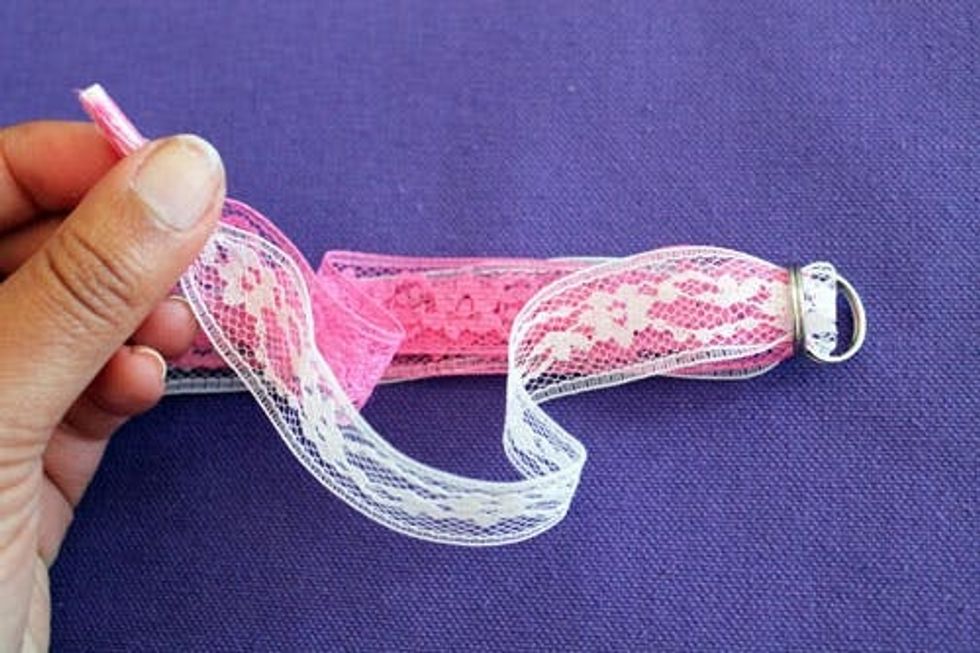
Use the tape to attach the two pieces of trim together, and repeat the steps above.
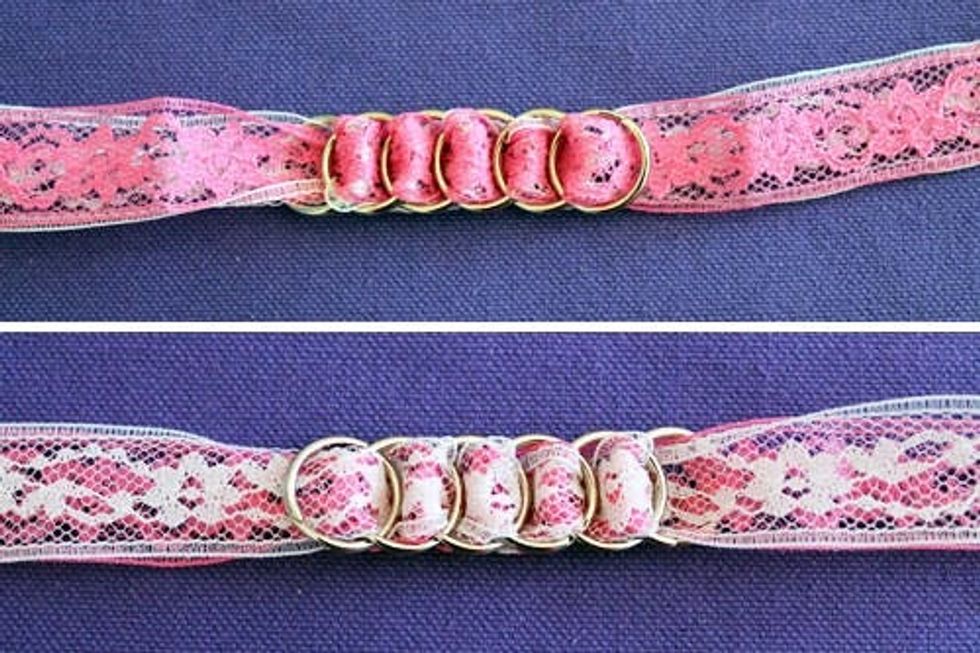
We love that this one is reversible – two looks in one!
Faceless Watch
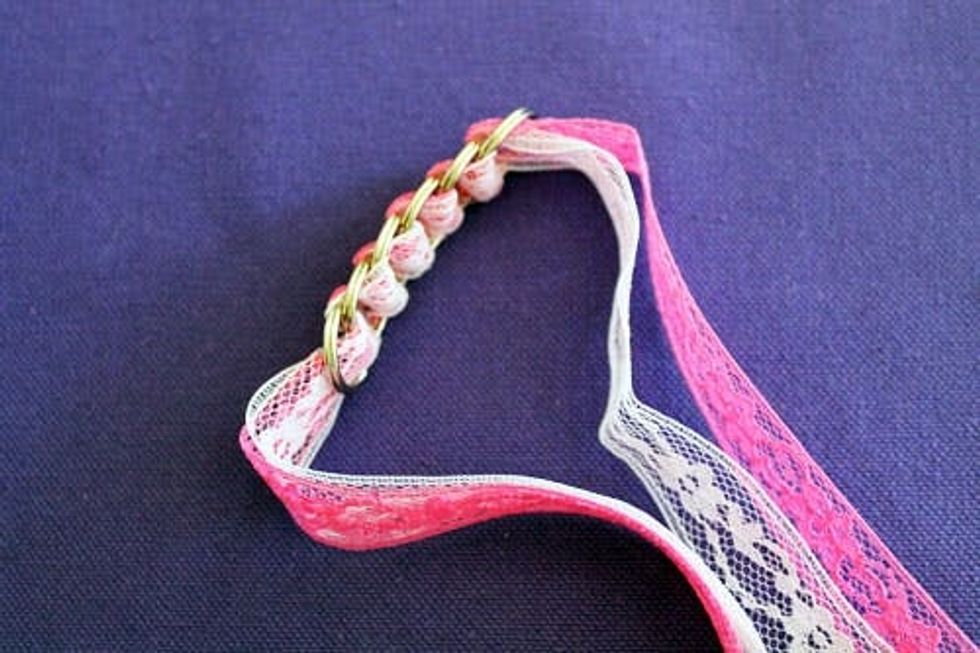 DIY Wrap Bracelet. We couldn't resist making a necklace with this same method as well.
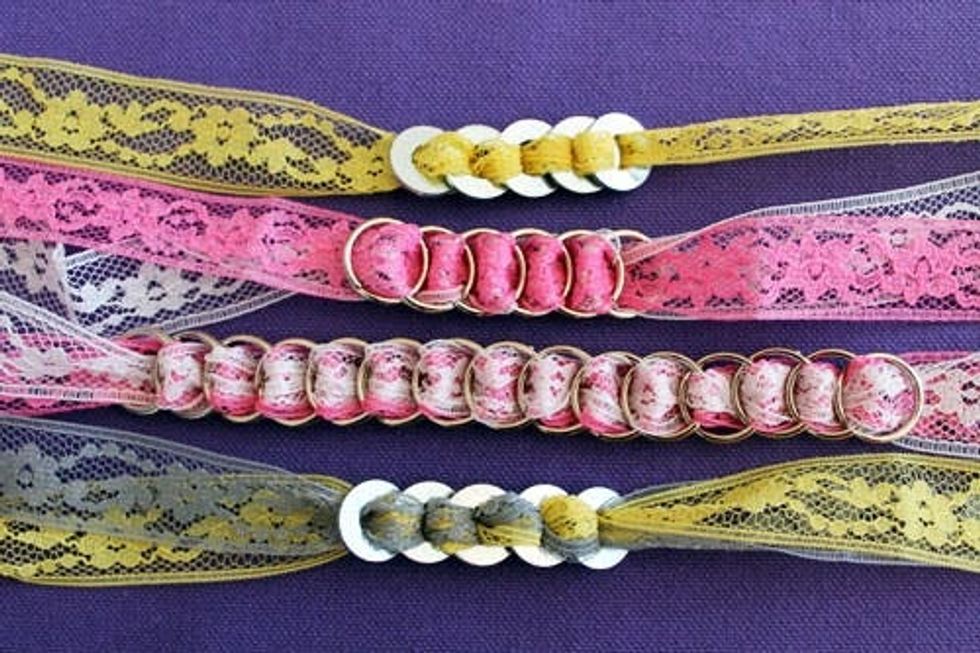
How do you turn hardware store finds into wearables? If you give this a try, we'd love to see photos! Send 'em our way on Twitter or Facebook, and be sure to leave a note in the comments below if you have any questions about this tutorial.


