The winter months are not a kind season for your skin. Frigid temperatures paired with excessive indoor heat leaves it dry, chapped, and even flakey. So since your skin is extra thirsty during this time of year, give it some TLC with a whipped mango body butter that you can DIY. This recipe is a go-to for soothing your winter skin woes, leaving it glowing and soft to the touch— perfect with Valentine’s Day just around the corner! ;)
Want Silky Smooth Skin? DIY This Whipped Mango Body Butter

The winter months are not a kind season for your skin. Frigid temperatures paired with excessive indoor heat leaves it dry, chapped, and even flakey. So since your skin is extra thirsty during this time of year, give it some TLC with a whipped mango body butter that you can DIY. This recipe is a go-to for soothing your winter skin woes, leaving it glowing and soft to the touch— perfect with Valentine’s Day just around the corner! ;)
To make this whipped body butter, you’ll just need a few ingredients that you can pick up from any health food store. Because this version is all-natural, it won’t have the same texture as store bought moisturizer: like true butter, it melts into your skin, much like butter on toast. You’ll find that it’s absorbed it quite quickly, leaving you with soft, even-toned skin. So set aside about 30 minutes to make, though you can bet your skin will be thanking you for much longer than that.
Ingredients:
– 1 cup shea butter
– 1/2 cup mango butter
– 1/2 cup almond oil
– mango essential oil (20-25 drops)
Tools:
– electric mixer or whisk
– glass bowl
– mixing bowl
– pot
– storage jar with lid
Instructions:
1. Fill your pot with water so that your glass bowl sits half immersed. Measure out your two butters and place them in glass bowl. Turn your stove on to medium heat and bring the water to a low boil to melt your butters.
2. When the butters are completely melted, carefully remove your glass bowl from the pot of hot water. Stir in the almond oil and 20-25 drops of mango essential oil.
3. Chill the mixture in the fridge for about 20 minutes.
4. Once the mixture has cooled, whip it with an electric mixer or whisk until you have soft peaks and a creamy texture.
5. Massage it into your skin for some body butter bliss. To store, place in an airtight container and set in a cool place—it should keep for about 4-6 months.
Don’t be intimidated by making your own skincare products at home. As you can see, this silky mango body butter is achievable in five easy steps (we must interject—how Pinnable is this process picture?). Once your butters are melted and you’ve added your essential oil and almond oil, you chill it, you whip it, and voila! You’ve made your own homemade whipped body butter. Of course, that’s not the only the instruction you’ll get from us! Ready for some pro tips?
Having your mixture chilled to the right consistency will make the whipping process a lot easier—we recommend checking on it every 5 minutes once it reaches the 10 minute mark. Once it reaches a soupy consistency, it’s ready to whip! It’s helpful to have an electric mixer on hand for that, but a regular whisk will do just fine (see how we kicked it old school? Bonus: you’ll get a mini arm workout!). If you’ve left your mixture in the fridge for too long, don’t worry, just place your glass bowl in warm water and stir till the mixture has softened. If you ace that part but over whip, there’s also an easy fix: melt it back down and repeat the process. It’s pretty much a fool-proof recipe.
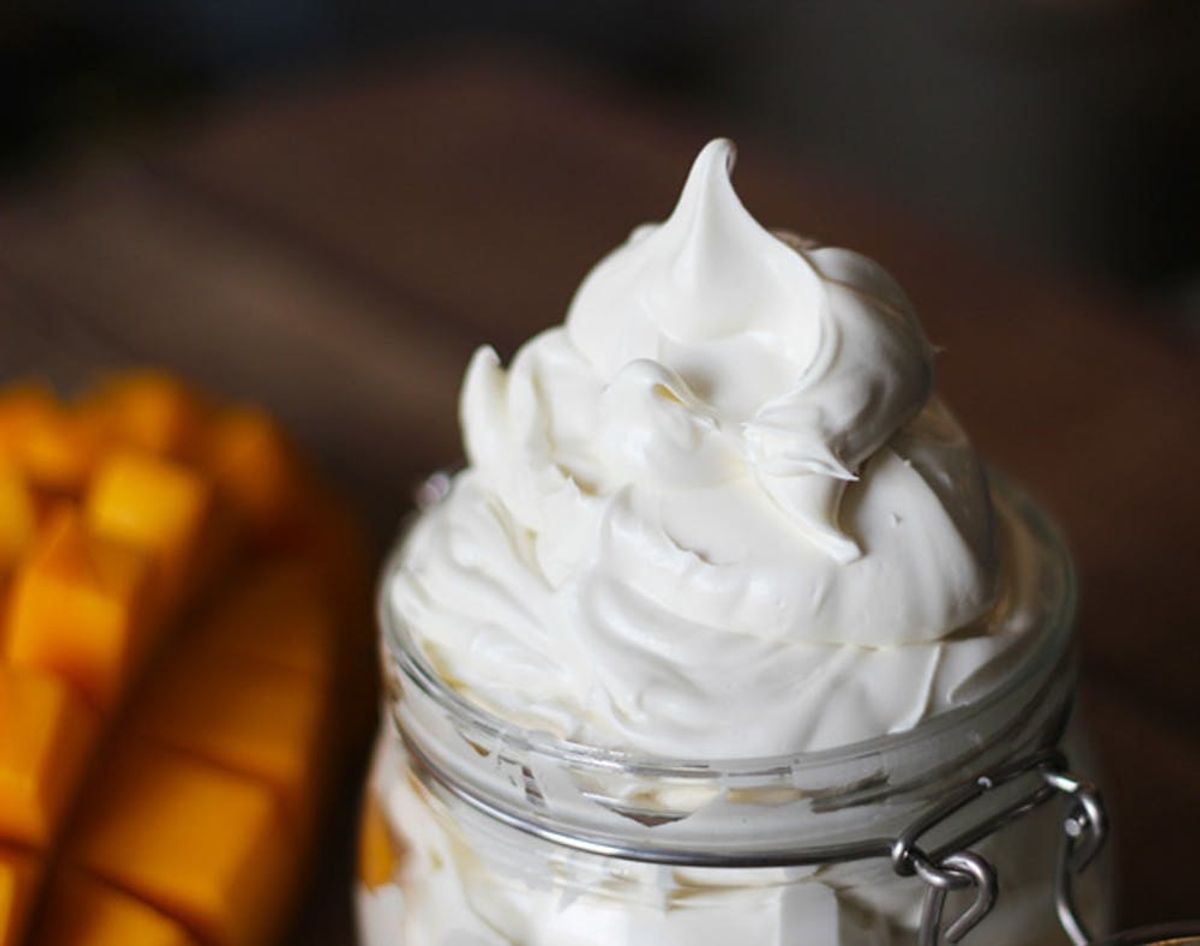
This body butter is whipped to perfection—see those soft peaks? How could you not want to rub this all over your skin? But first things first, let’s talk storage: an airtight container like a mason jar will do just fine. It should keep about 4-6 months if stored in a cool area—that should be long enough to get you through the polar vortex and then some. If you live in a warm climate over 75 degrees, you may want to keep it in the fridge to prevent it from melting anywhere but on your beautiful skin!
What DIY beauty products do you make to get through the winter? What skincare tips and tricks do you swear by? Share with us in the comments below!


