Ready to up your furniture-making game? How about turning pallets into a bookshelf-meets-table in under an hour?
How to Turn Pallets Into a Table in Under an Hour
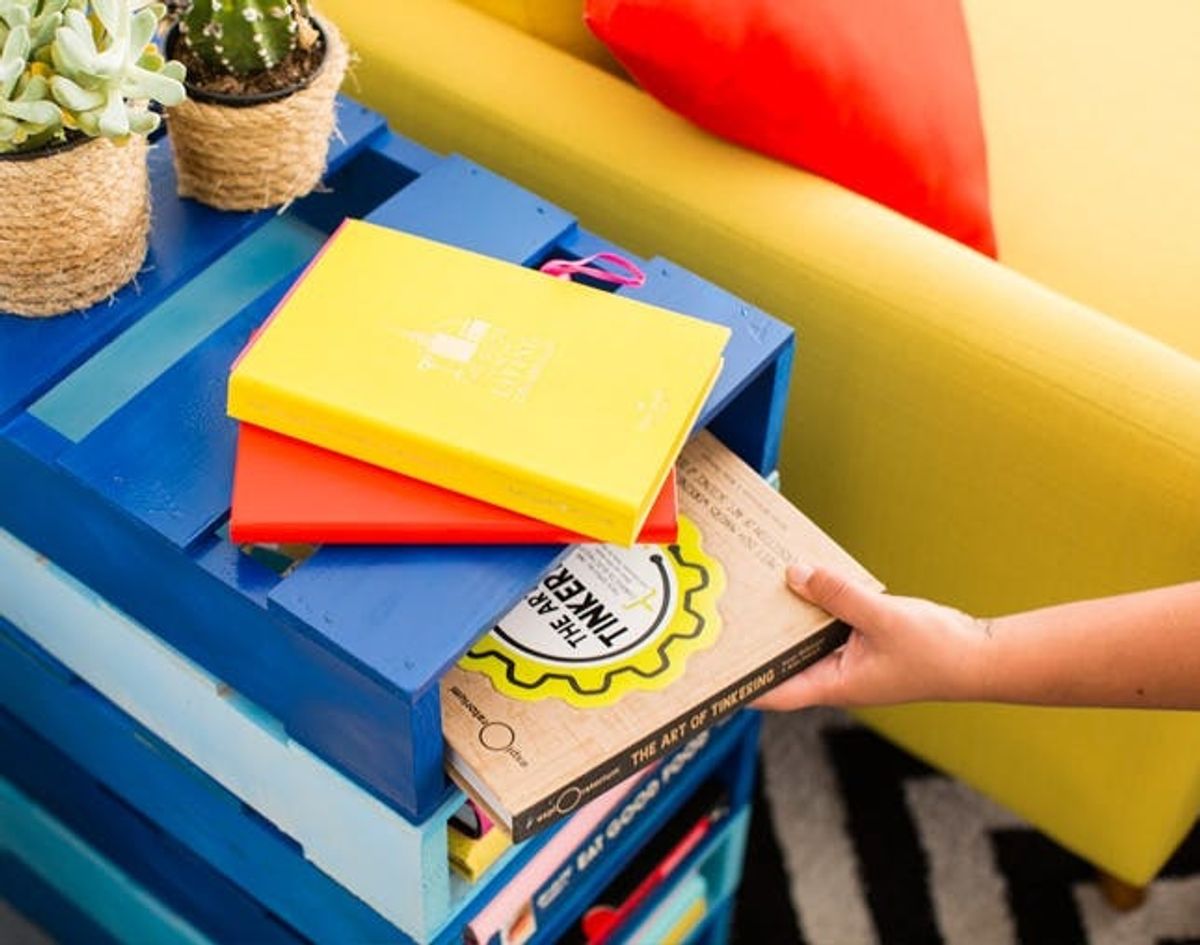
You know when you see something that is so simple and so on point that you wonder why you didn’t think to make it sooner? That’s the experience we had with this pallet project, created in partnership with Michaels. If you followed all the Re:Make activity, you probably noticed a few different moments of creativity thanks to Michaels Raw Bar. But what is a better example of a raw material just waiting to be repurposed than the classic wooden pallet?
In this super slick hack, we’ll show you how to turn six mini pallets into a 2-in-1 bookshelf and side table. All you need are pallets, spray paint and glue!
Materials:
– mini pallets (about 12 inches x 24 inches)
– spray paint (we used three shades of blue)
– E-6000 adhesive or wood glue
Before we get to this tutorial, we’ve gotta take a moment to tell all of you SF-ers to mark this Thursday, October 9th on your calendars. We’re teaming up with Michaels to host a Pumpkin Decorating Event at Brit + Co SF (550 Sutter Street, SF) from 5:30-7:30pm. We’ll have glitter, paint pens, chalkboard paint and, of course, plenty of pumpkins. It’s the perfect way to kick off Halloween. Head to Eventbrite to RSVP.
Now, onto this tutorial. Like we said, the materials for this couldn’t be simpler.
Head outside and set up some cardboard or a drop cloth, and start spray painting those pallets.
Make sure to get the inside as well as the outside. A couple coats of paint creates the sort of wash effect you see here. You don’t want to totally cover up the natural texture of woodgrain.
Two bright blue ones!
And then two navy ones and two sky blue ones. Almost done.
Now, it’s time to stack ’em up. Adhere pallets to each other using E-6000 adhesive or wood glue, depending on your timeline. Both are an overnight affair, so we recommend setting this up in a place that won’t be disturbed.
Find a spot in your home worthy of this colorful number and get your books and magazines in order.
How fresh is that?


