These nautical knotted key chains will keep your keys organized and looking good.
How to Make a Nautical Madewell Key Chain in Under 15 Minutes
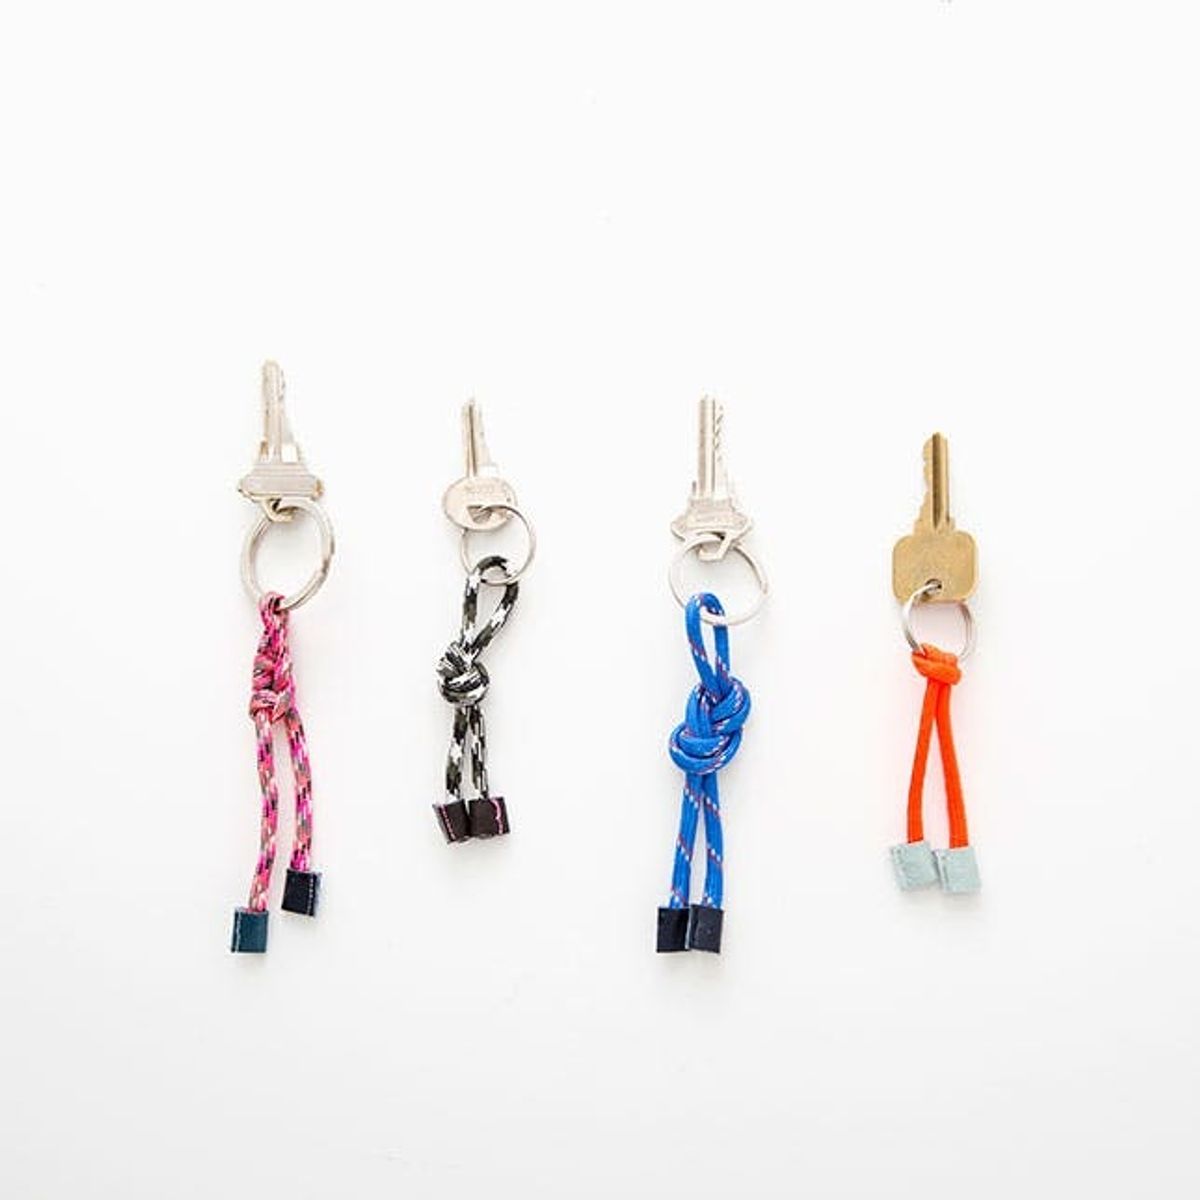
Sometimes we walk around a store or peruse our favorite shops online and we see something and think, “we could totally make that!” Today we’re going to show you how to hack the paracord key chains from Madewell. They’re a perfect DIY Copycat. And guess what — it’ll only take you 15 minutes to make! These key organizers are simple yet stylish, and we love how they turned out.
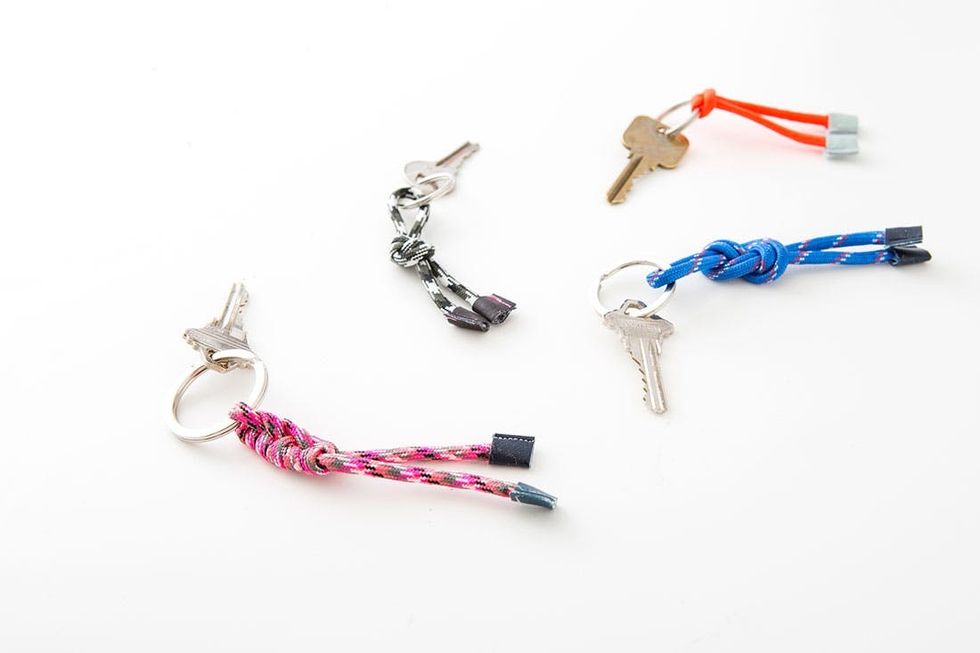
Materials:
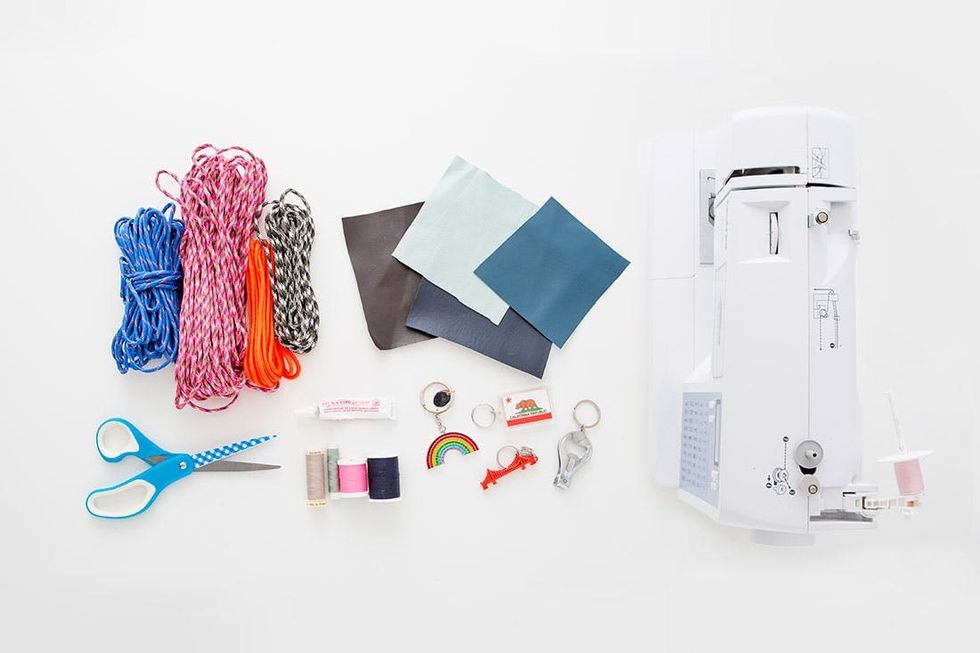
– paracord
– leather (or faux leather)
– thread
– old key chains
Tools:
– sewing machine
– GS Hypo Cement
– scissors
Before you get started with the knots, prepare your key chains.
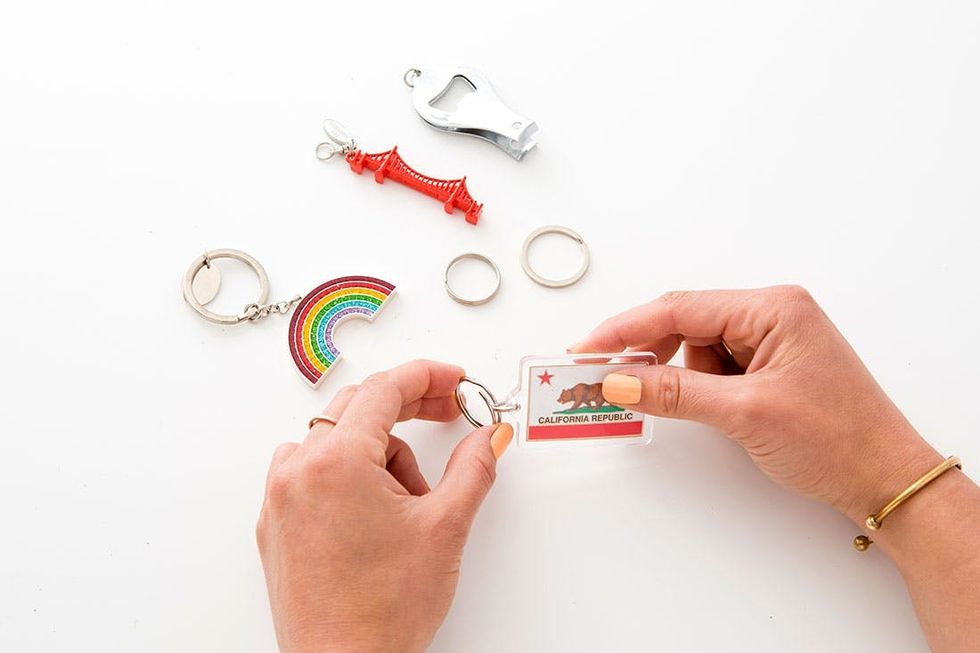
Slip the chain off of their hoops. Careful with your nails — some of these hoops are tight!
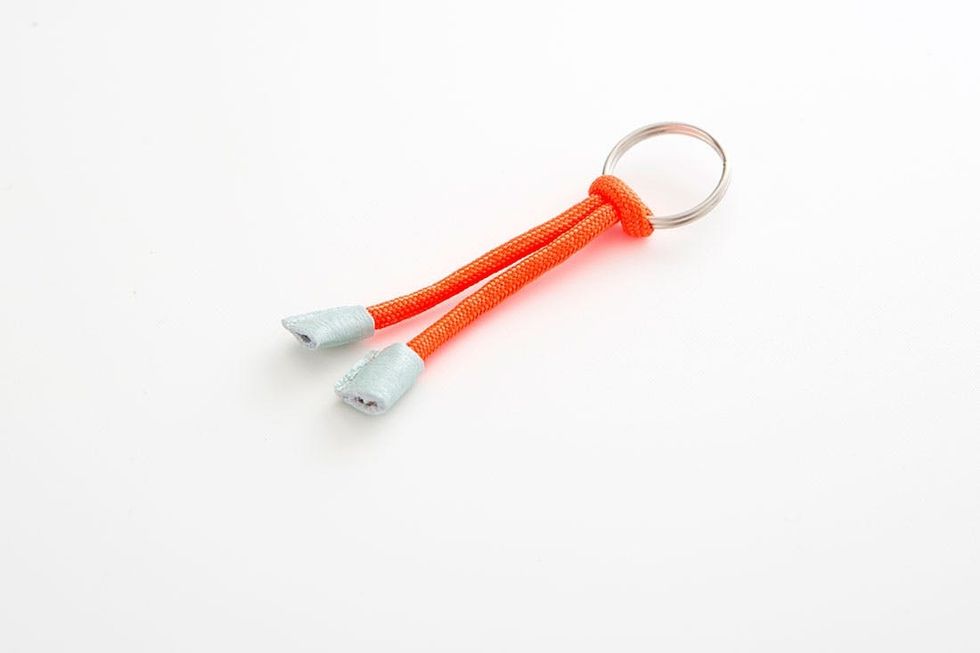
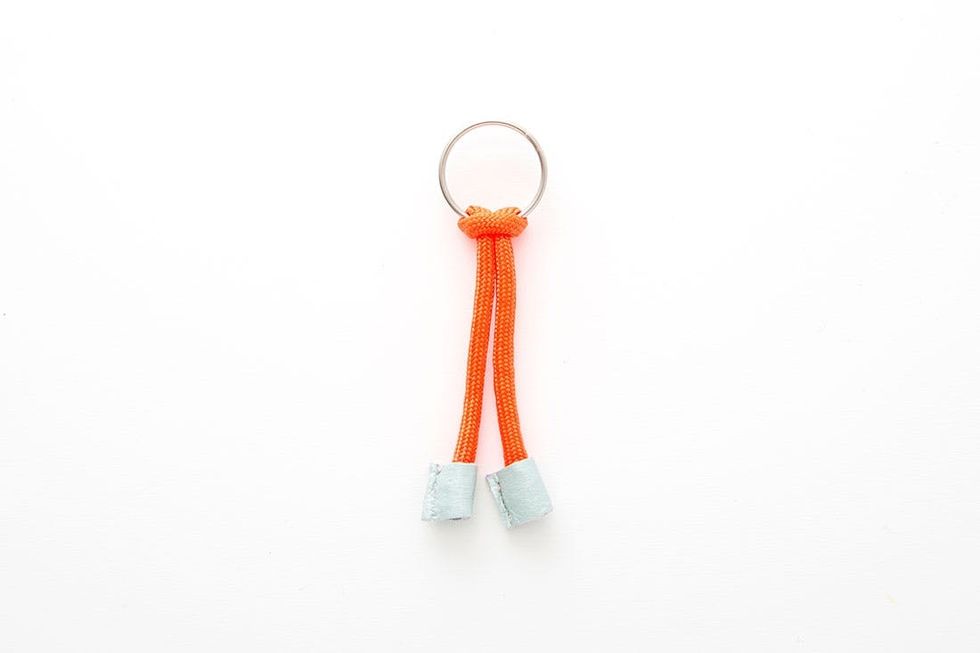
Okay, this one is barely a knot. It’s more like a loop through the hoop. But it’s so cute! Here’s how we made it.
Simple Knot
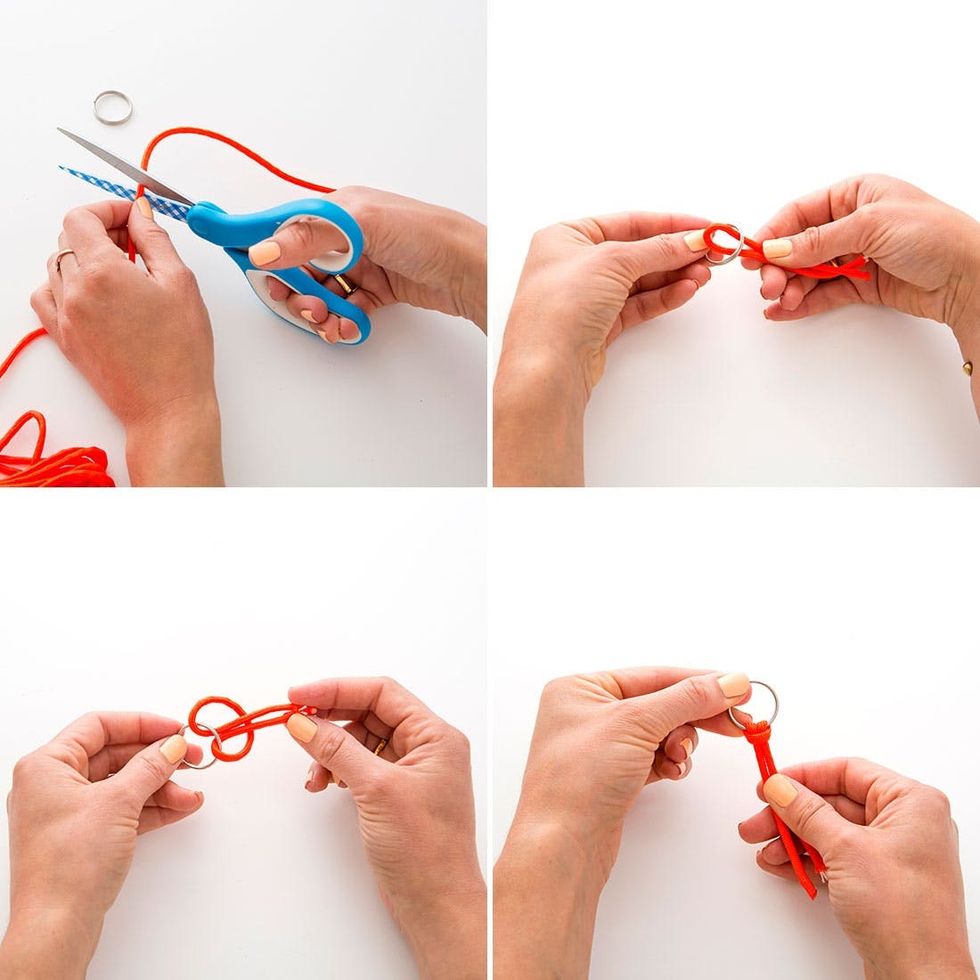
Cut a small length of paracord. Fold it in half and stick the folded end through the loop. Then pull the loose ends through the folded end and pull tight.
Overhand Knot
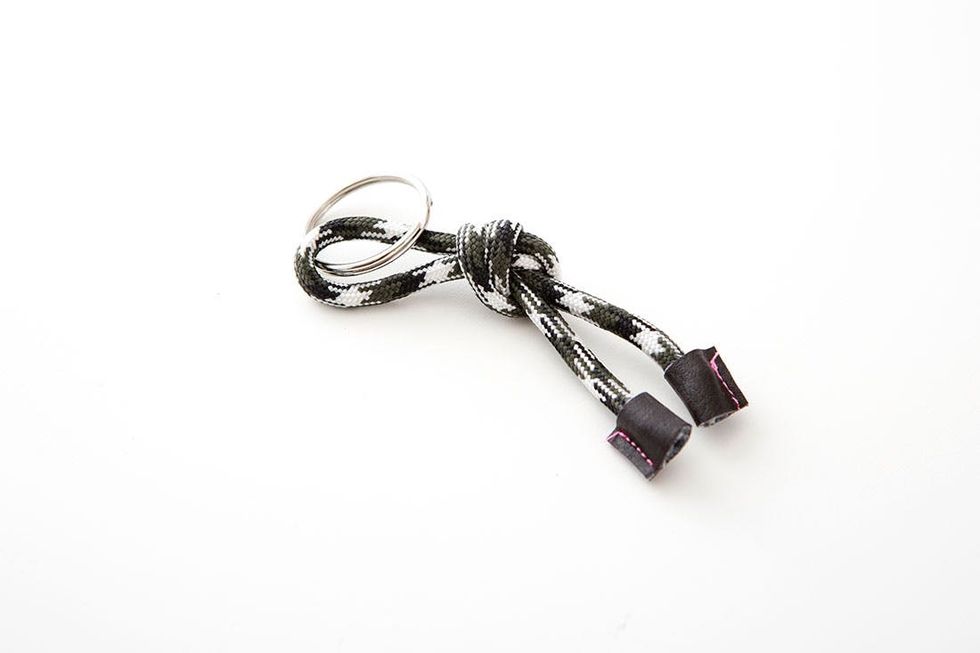
This one is also a walk in the park. It’s a basic overhand knot, so the sailors say.

Cut a piece of paracord about a foot long. File one end through your key ring. Then make sure both ends are even and wrap the end up and cross it over the paracord that is closer to the loop. Fold it over and then bring it through the loop you created on the end. Pull tight and trim the ends. Pro tip: the paracord frays really easily, so it’s a good idea to burn the ends with a lighter before working with it.
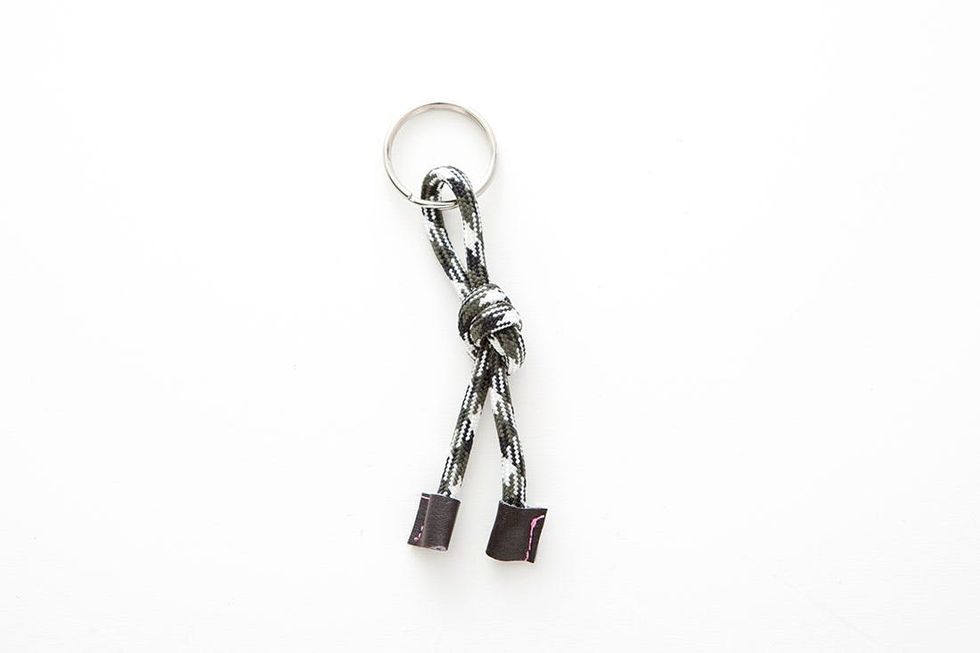
Figure Eight Knot
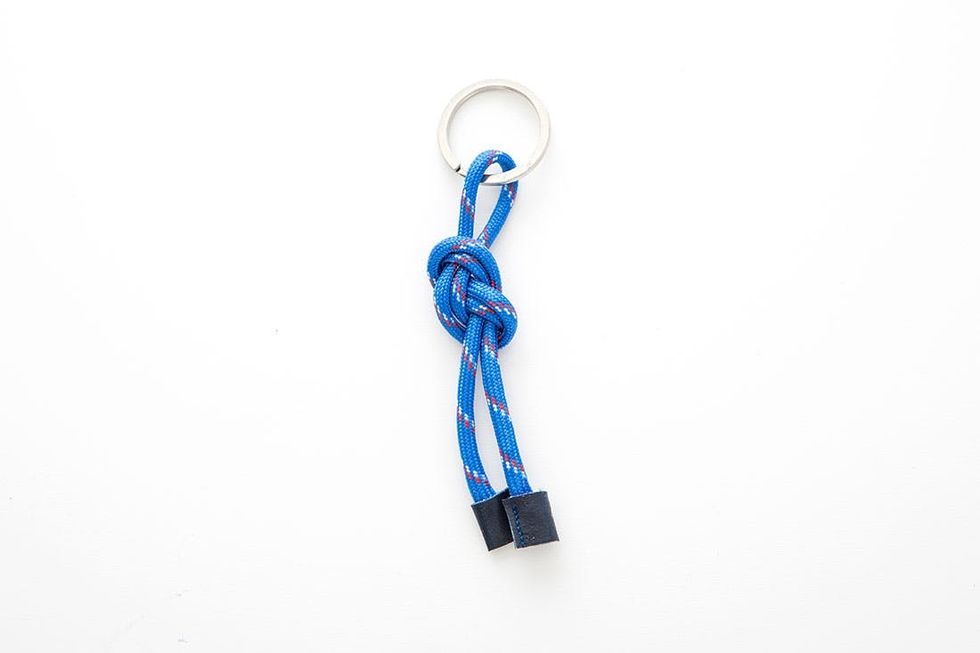
Now we’re getting a little bit more complicated. Put on your sailor hat and your surly attitude, and get ready to follow some knotting directions.
Knotters ready?
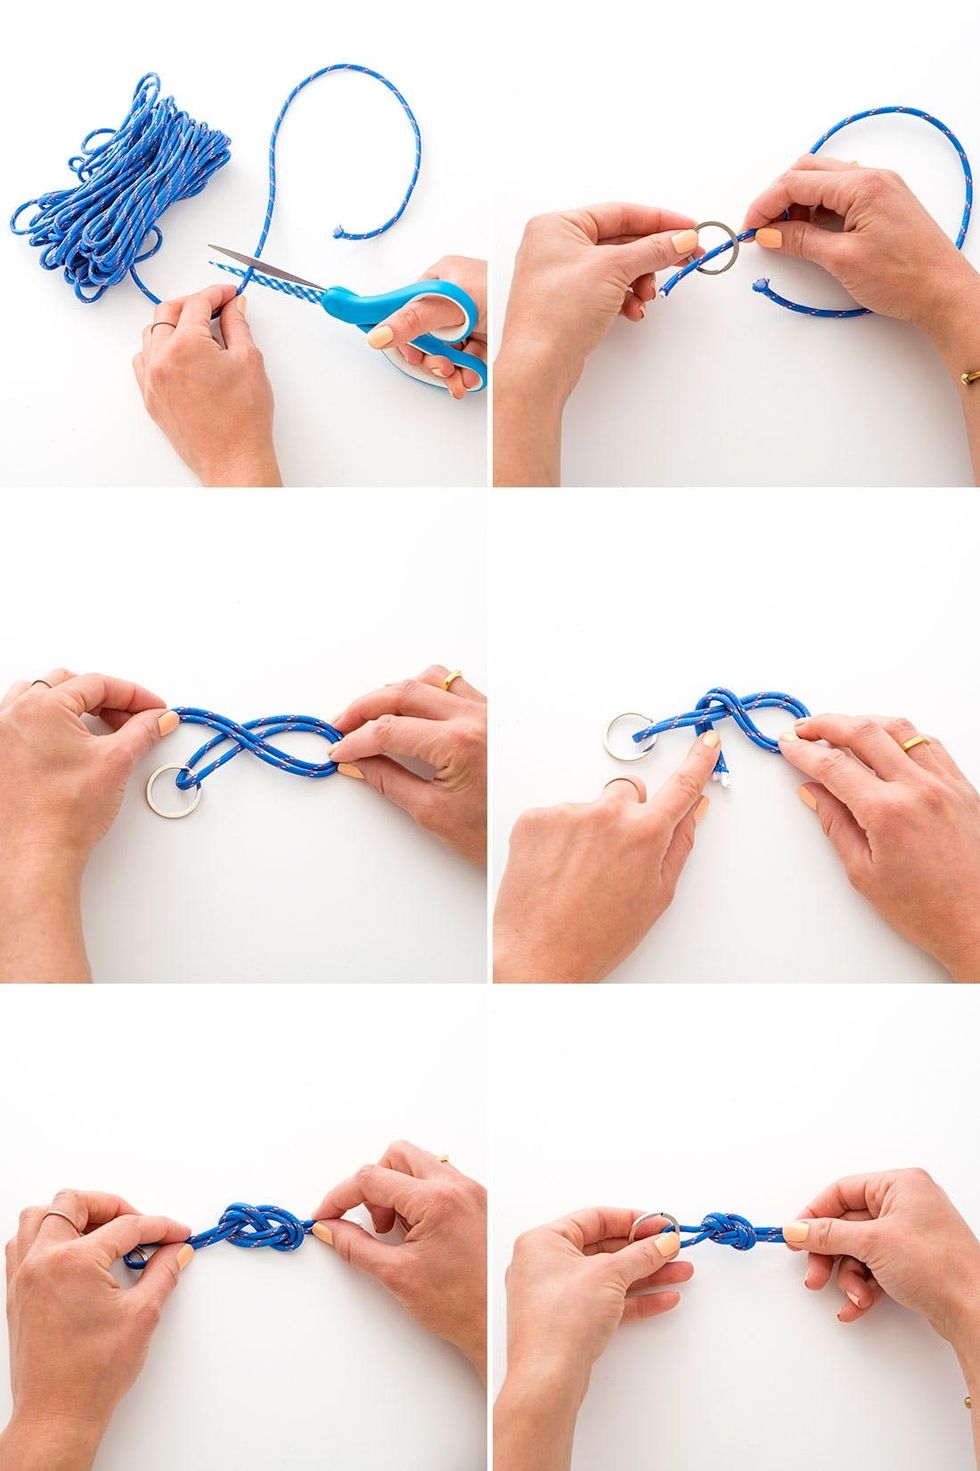
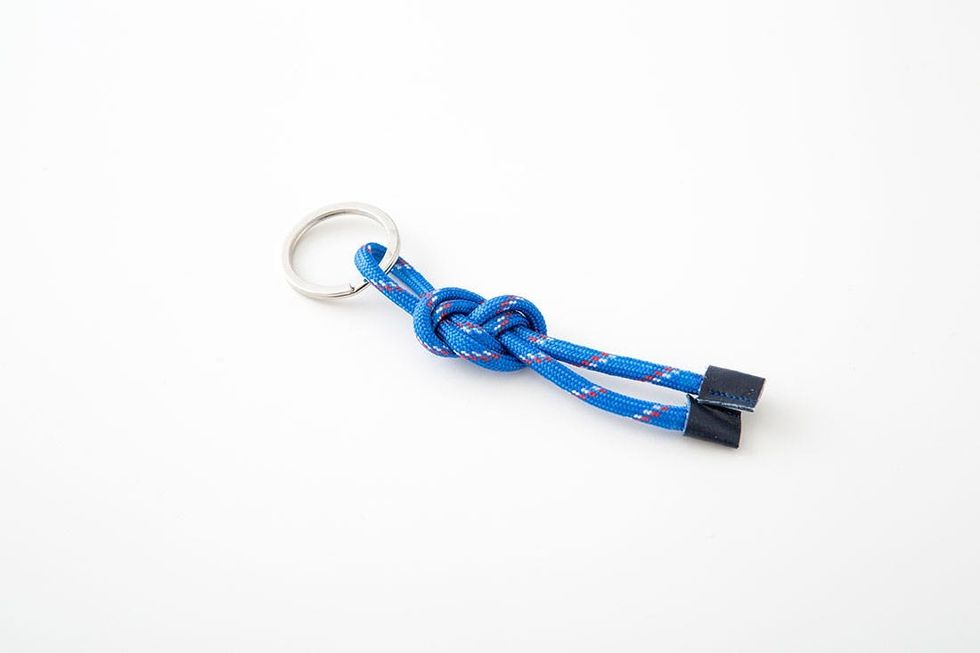
Cut a piece of cord about a foot long. Place one end through the key ring and then hold the ends so that they’re even. Swing the ends around, creating a loop and cross the ends over the cord. Tuck the ends behind and then bring them up and through the loop on the right side. Pull tight. Did you get it?
Taut-Line Hitch
This is the last knot, and no surprise, it’s the most difficult iteration. Rub your hands together to warm them up. You can do this.
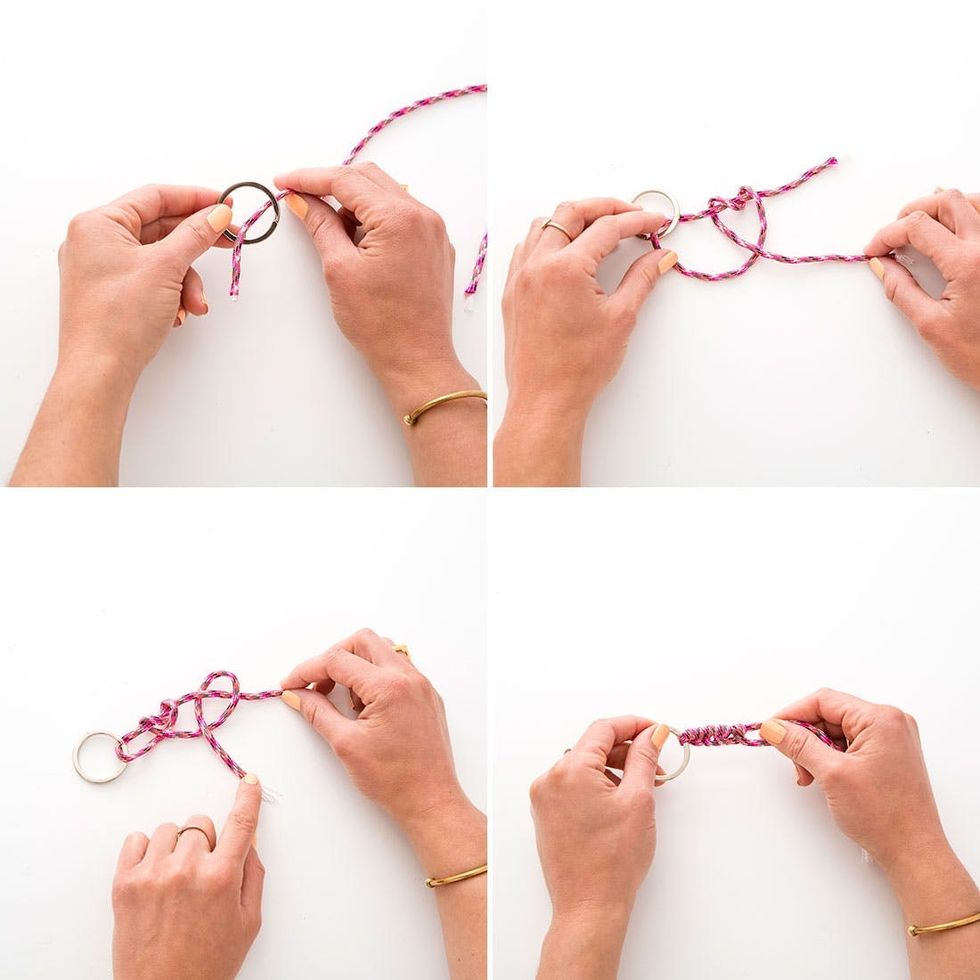
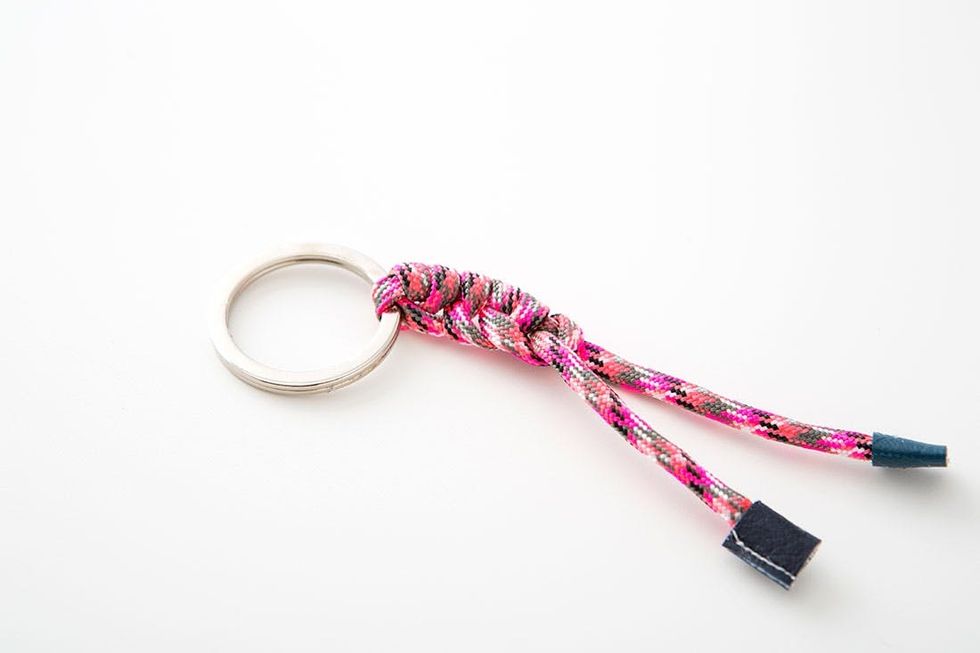
Cut a foot of paracord and bring one end through the key ring. Make the top end short (about three inches). Then bring the bottom end over the top and coil it around two times. Bring it down and then over itself. Loop it around the short end one more time, bringing the end through the loop you created. Pull tight and then repeat the steps a second time. Whew! That wasn’t so bad, right?

Now it’s time to add the leather cuffs.

Cut two small rectangles of leather. Fold them in half and then put them through the sewing machine. Make sure the hole in the center is about the right size for the paracord. Trim the ends. Then add GS Hypo Cement to the end of the rope and slip it in the leather cuff. Allow for it to dry and you’ve got yourself a new key chain.
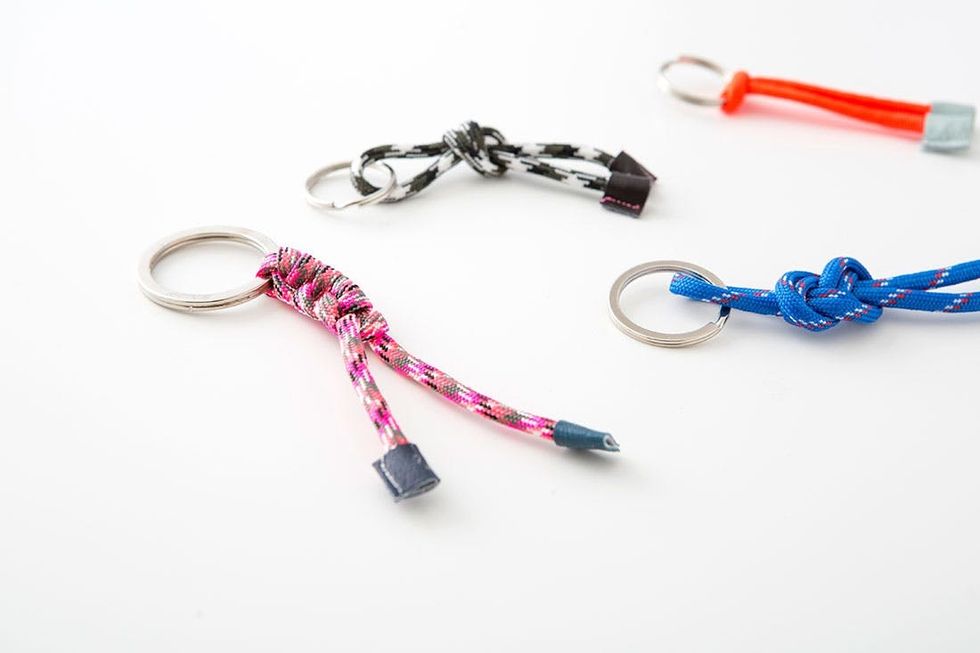
These would be great gifts for your friends! Or maybe that certain someone who always loses their keys?
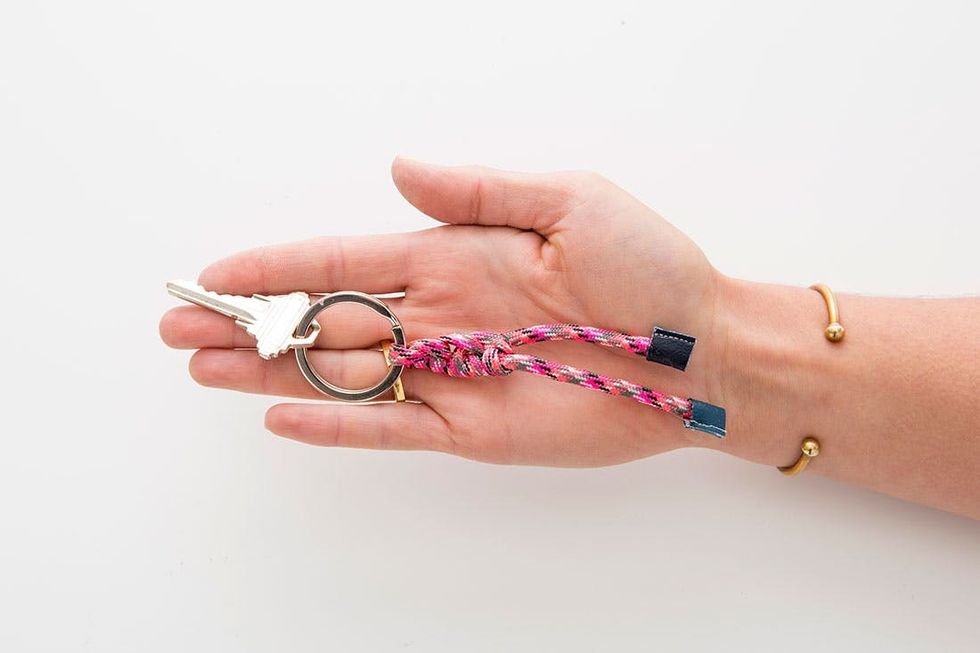
Key chain art!


