She’ll never suspect a thing.
3 Quick Tricks to Fancy Up That Scarf You’re Buying Mom
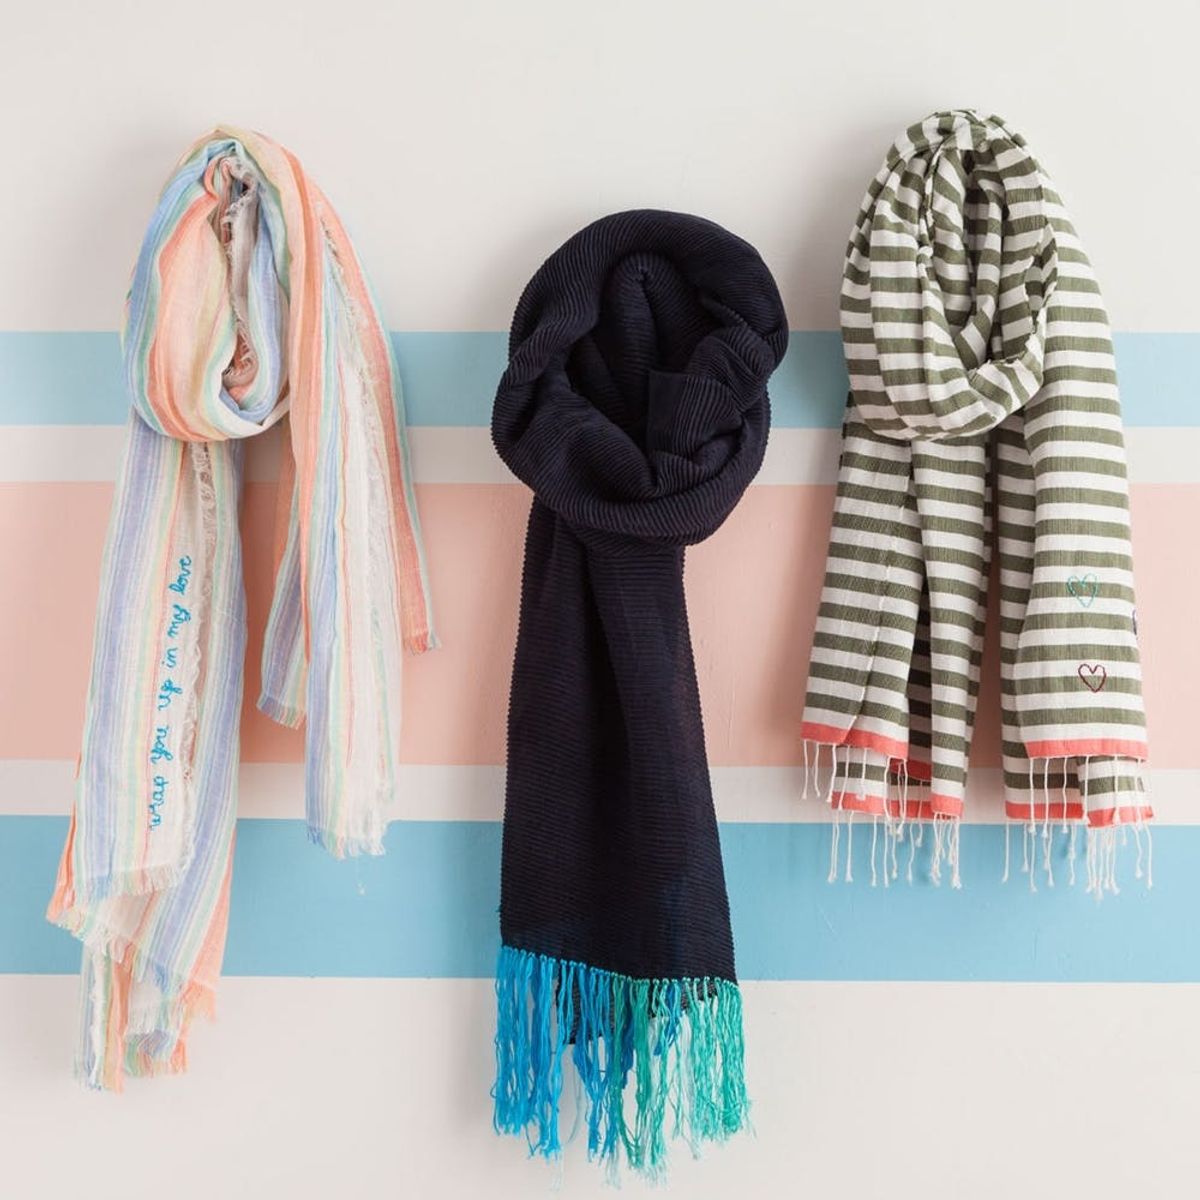
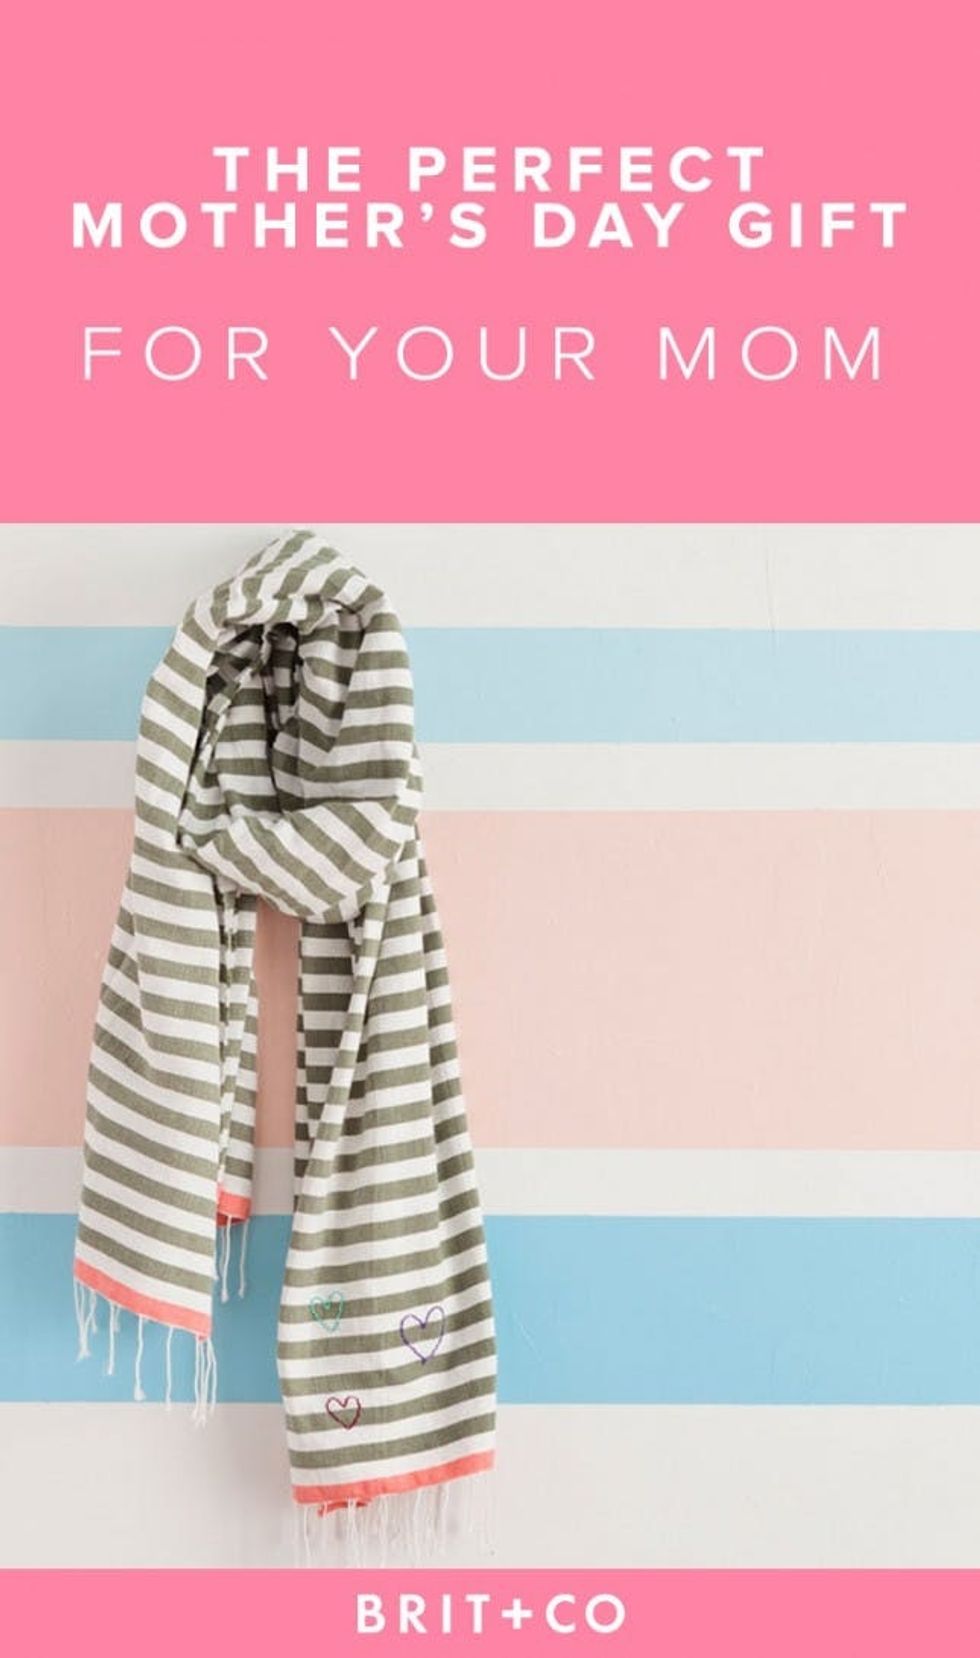
Mother’s Day is just around the corner and you may be frantically sifting through Mother’s Day gift ideas and round ups, but we already know exactly what you’re going to get your mom: a scarf. No judgement, we’ve all been there. There’s no guessing what size mom wears, or trying to remember which hair salon she actually wants a gift certificate to. I’m a repeat offender, and I have no plans to stop cashing in on this classic Mother’s Day gift. But I *do* want to take it to the next level. Follow along to learn three different ways to embroider and use embroidery thread to customize that store-bought scarf. Do do yourself (and mom) a favor and dress it up this year!
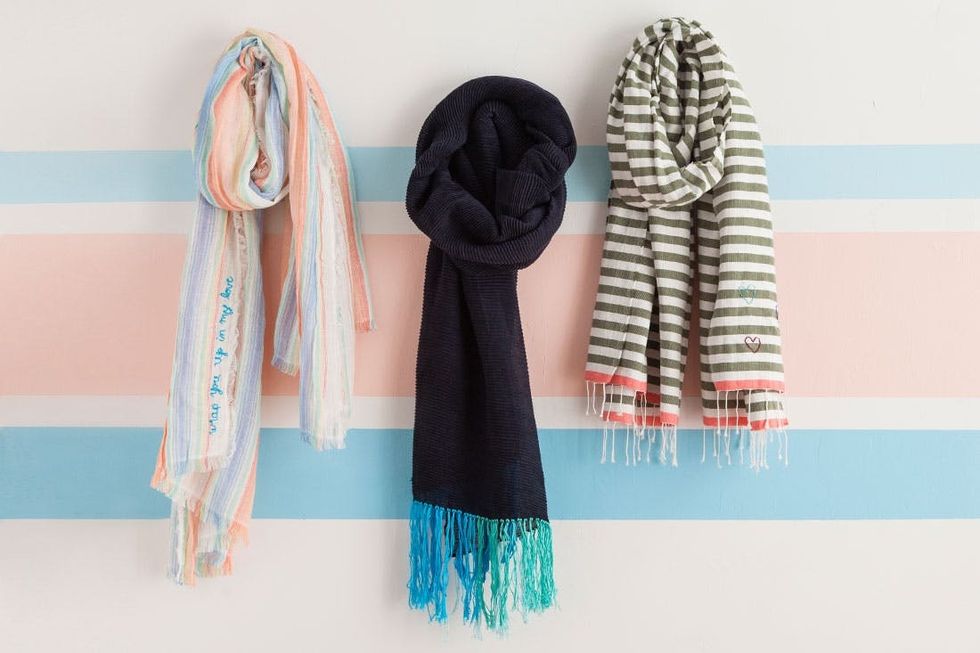
By the way, how cool is this wall? Learn how to make your own here.

Get brownie points from your siblings by letting them in on the gift to mom.
BIRTHSTONE HEARTS
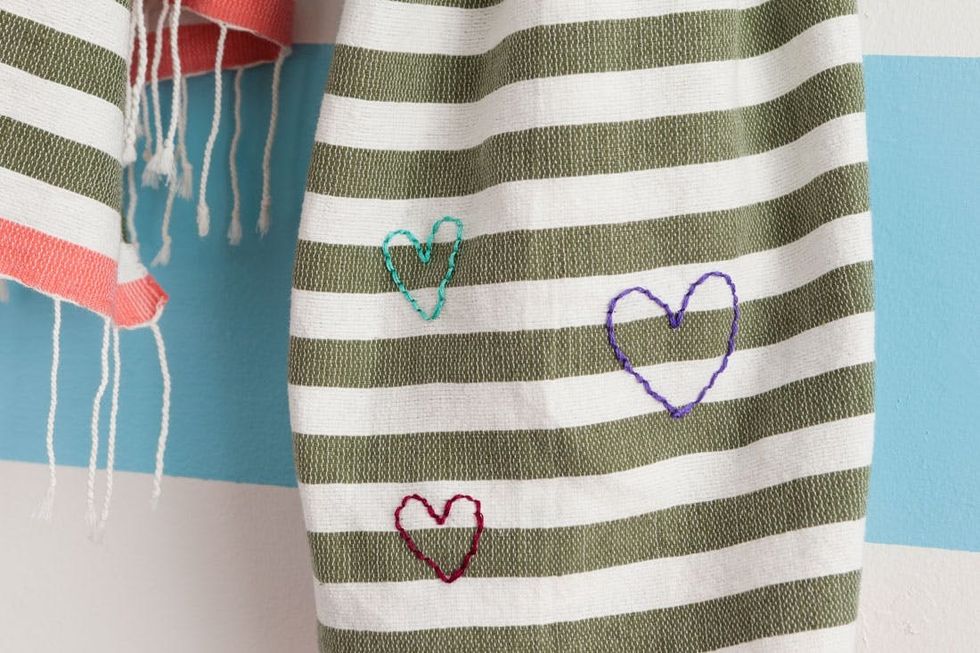
Change the colors and sizes of the heart to represent birthstone and age. This truly is teamwork at its finest.
<br/>
 – scarf
– embroidery hoop
– embroidery needle
– embroidery thread (in your siblings’ birthstone colors)
– scissors
Grab your materials and let’s get started!
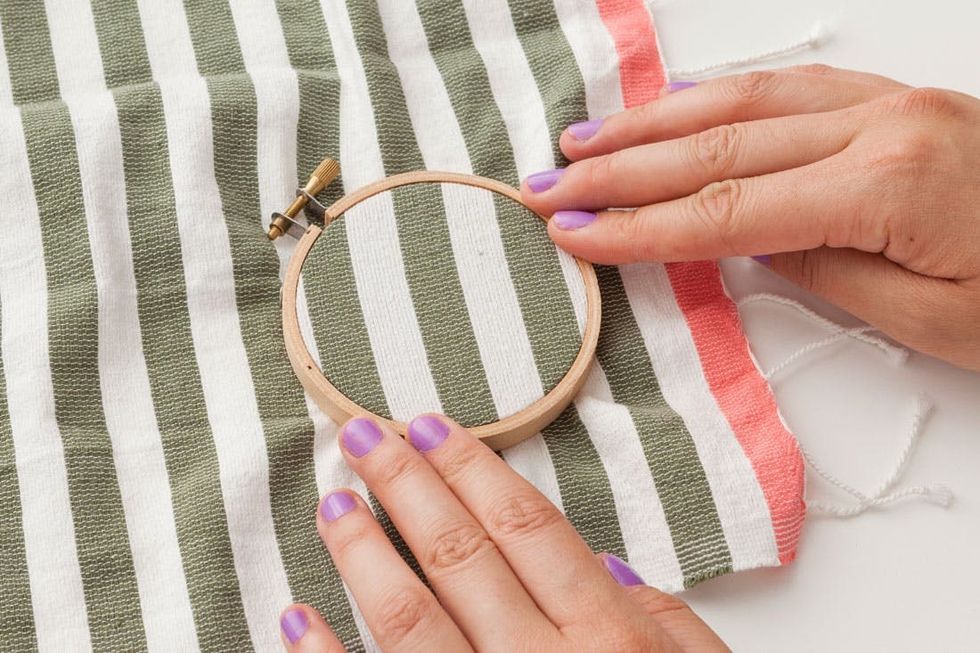
Place the inner ring of the embroidery hoop underneath the fabric, then sandwich the fabric by bringing the outer hoop over the inner hoop. Tighten the screw to secure the hoop in place.

We use a backstitch to create the heart pattern. If you feel more comfortable drawing the pattern first, do so lightly with a pencil. To backstitch, make one stitch about the size of a kernel of rice, and then bring your needle back up through the backside of the fabric as far as you’d like your next stitch to be. Then bring your needle BACK into the end of the previous stitch. Smaller stitches make smoother curves, so be patient and keep those stitches short!

Change the color of the thread and size of the heart to represent each one of your siblings.
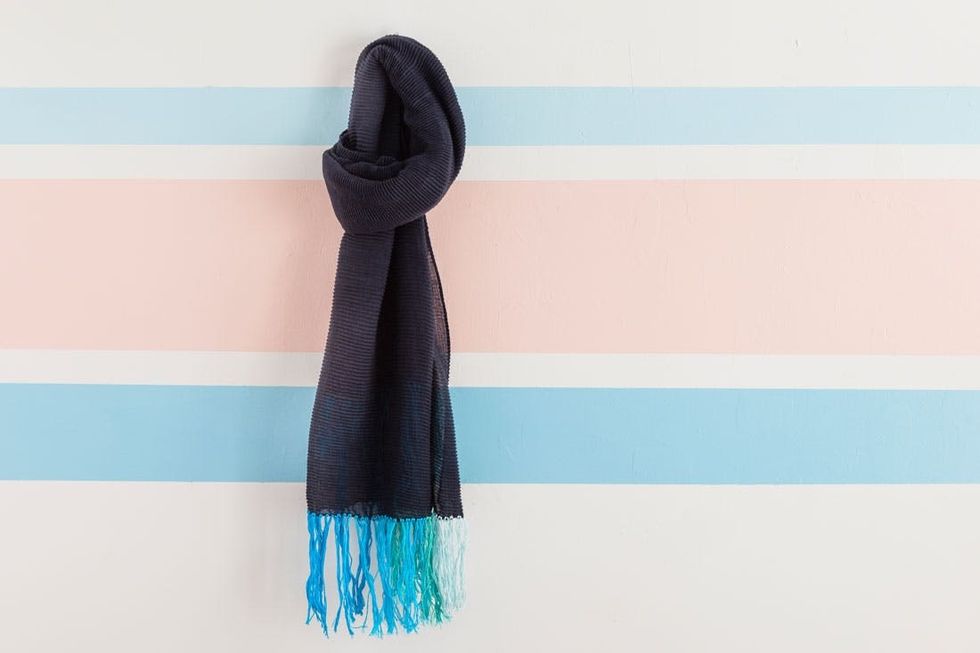
If you don’t have the skills (or confidence) to embroider, no worries. Add a personal touch to a store-bought scarf by tying ombré fringe in mom’s favorite color!
EMBROIDERY FLOSS FRINGE
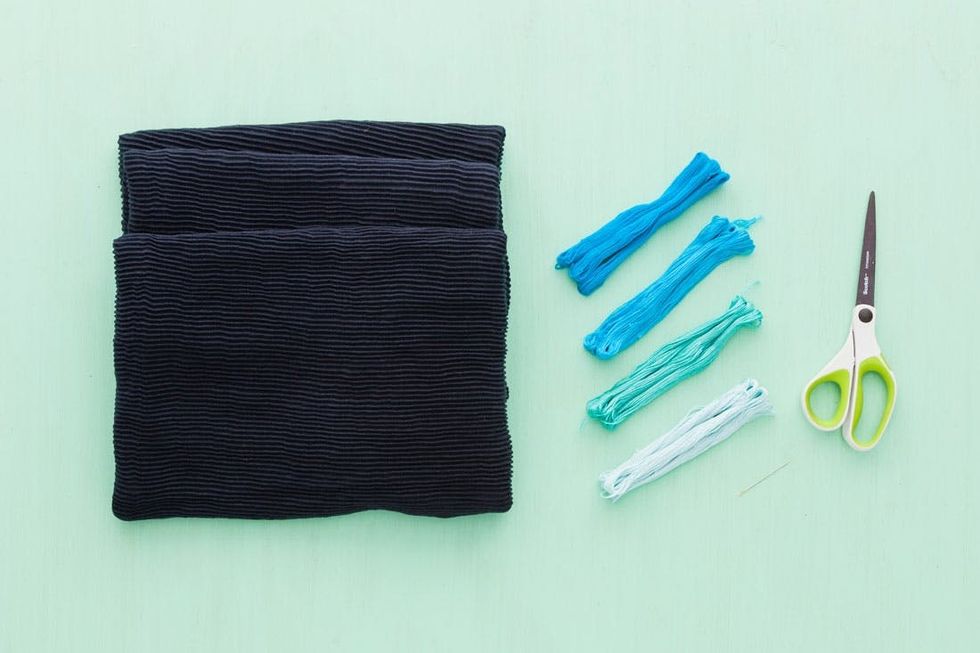
Materials:
– scarf
– embroidery thread
– needle
– scissors
Let’s do this.
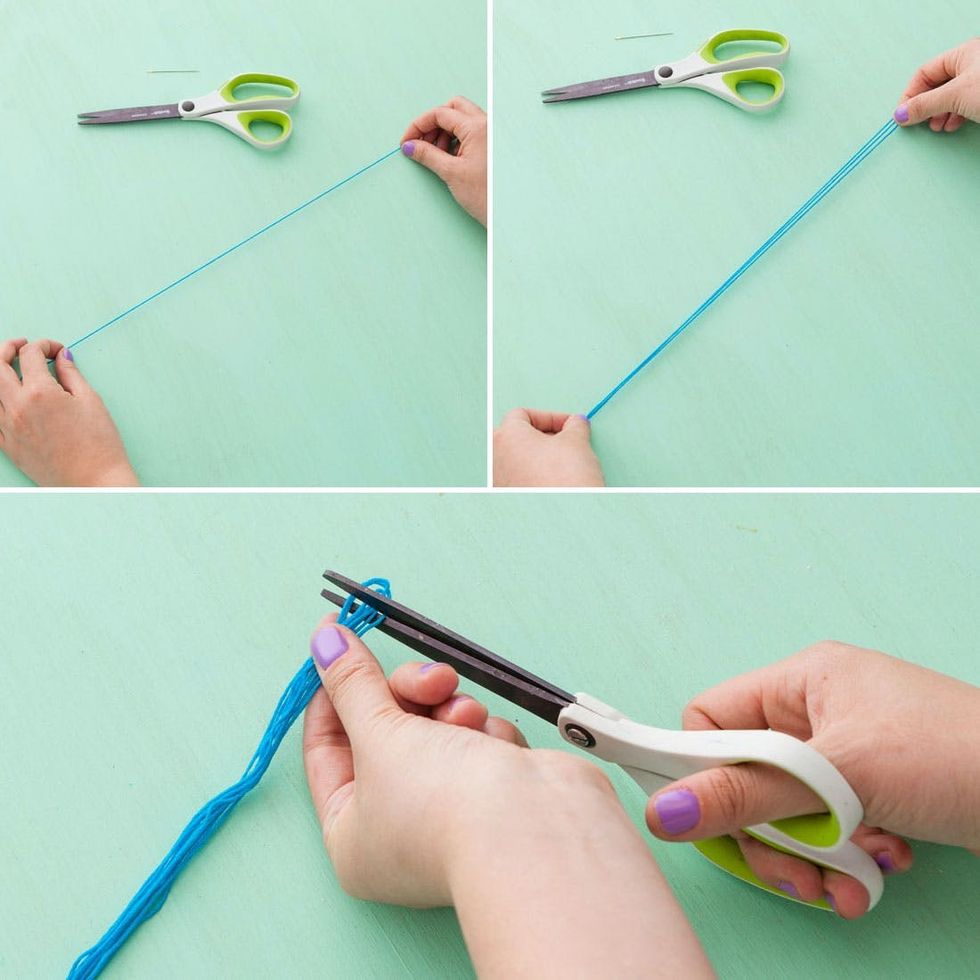
Cut about 3 dozen pieces of thread 12 inches long.
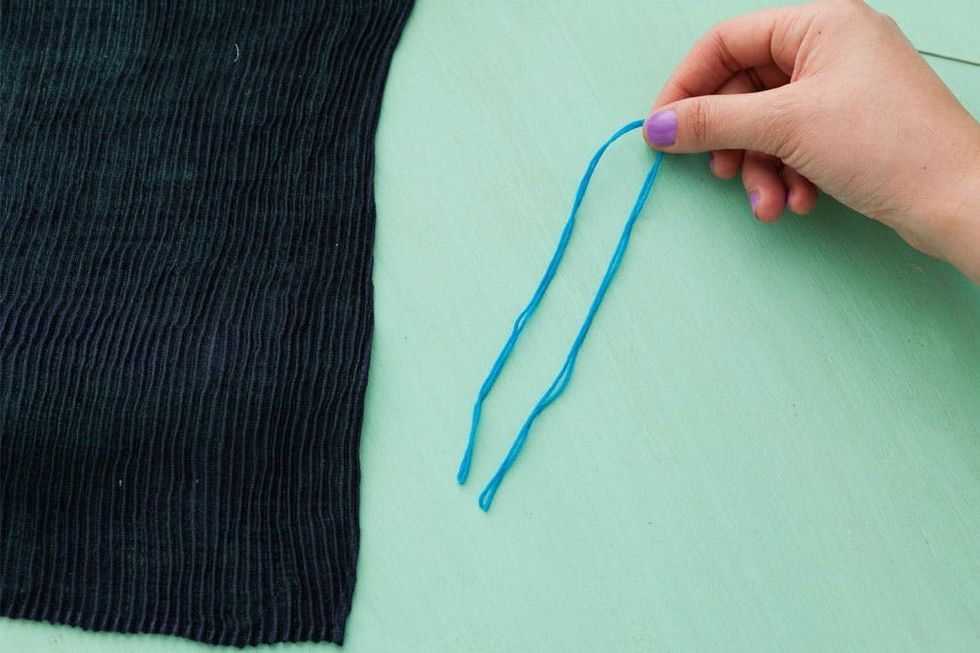
Take two pieces of thread and fold them in half.
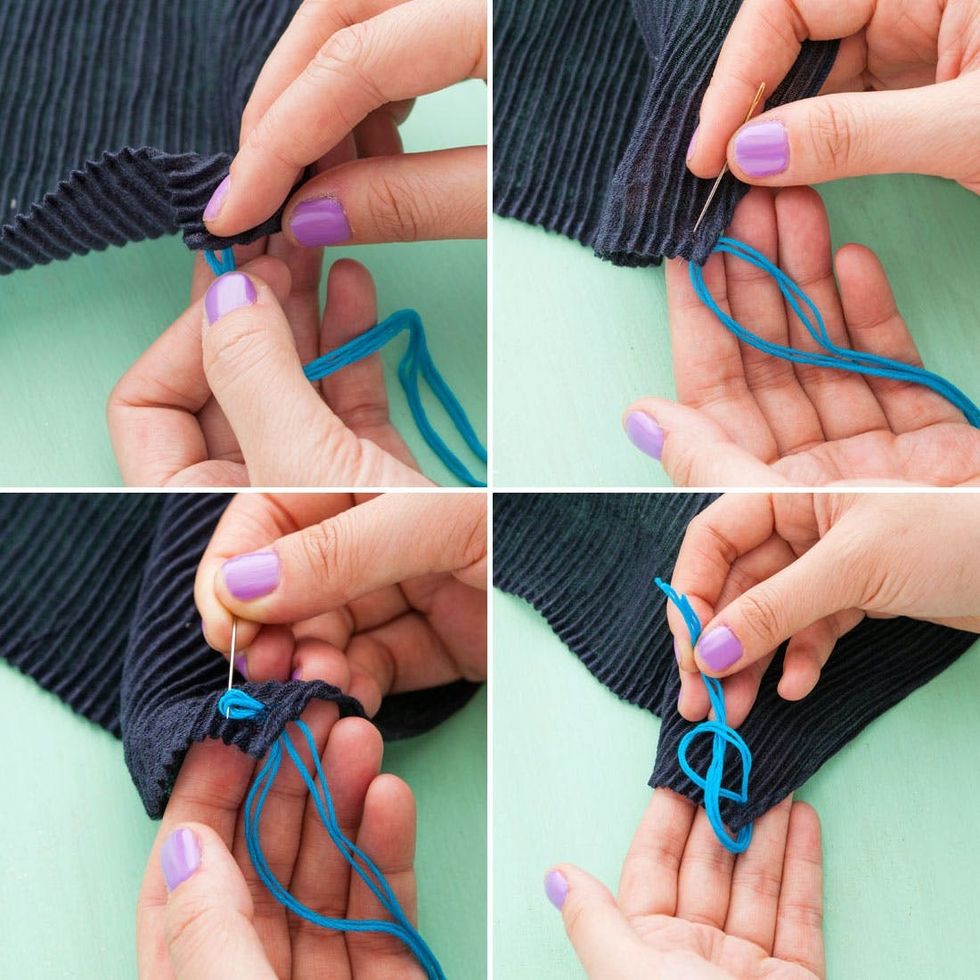
Place the looped end of the thread underneath the edge of the scarf, about a 1/2 inch in. Take your needle and pierce through the top of the scarf, and then use the needle to pull the looped end of the thread through from the bottom of the fabric to the top. Pull the thread halfway through, then pull the loose ends of the thread through the loop end to secure the fringe in place.
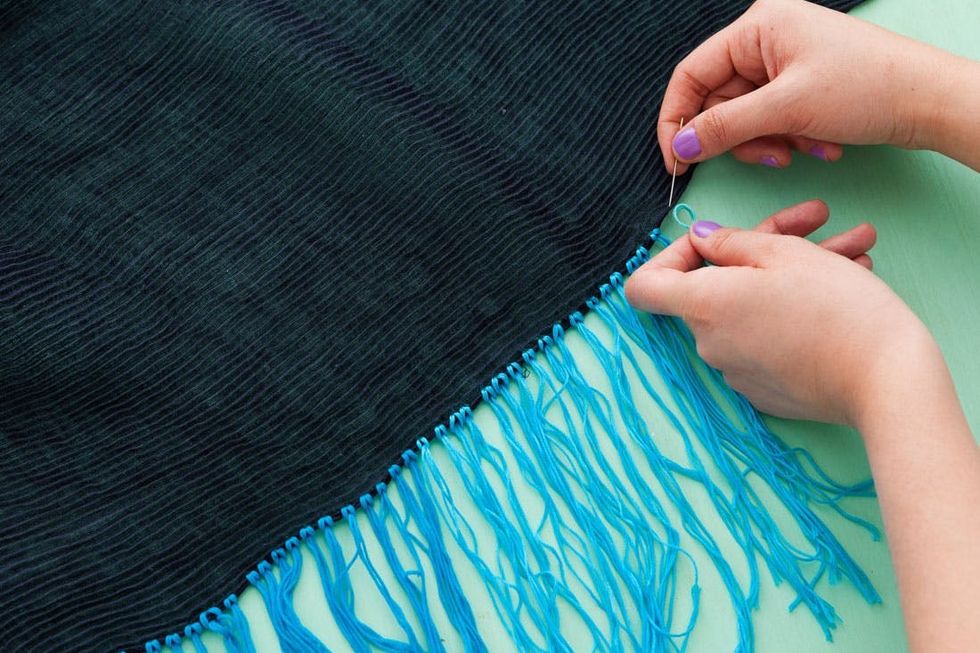
Finish tying the remaining pieces of thread, and then switch to the next color.
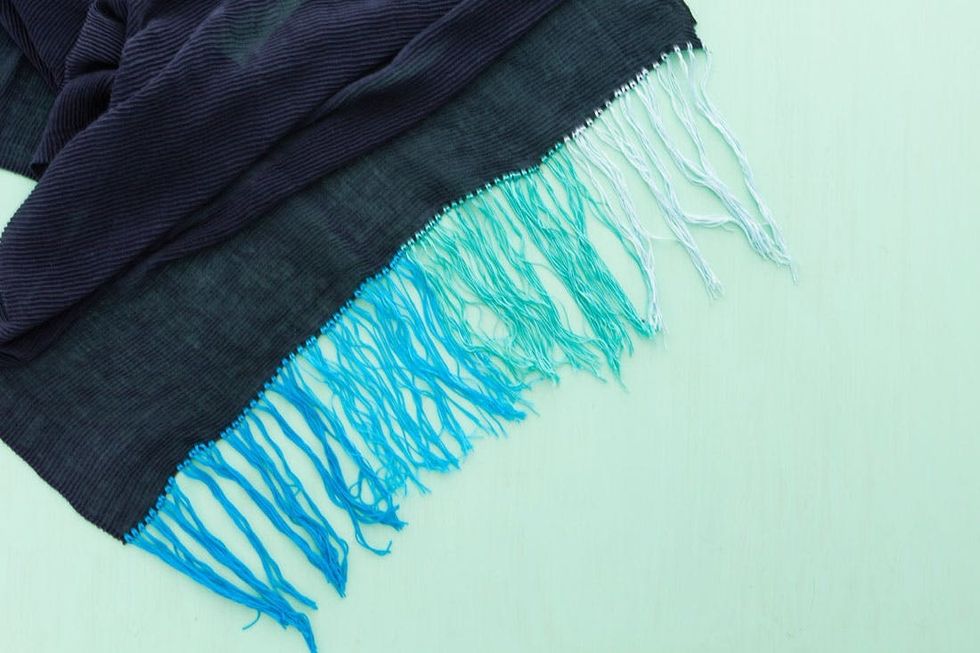
Be sure to step back and admire your work!
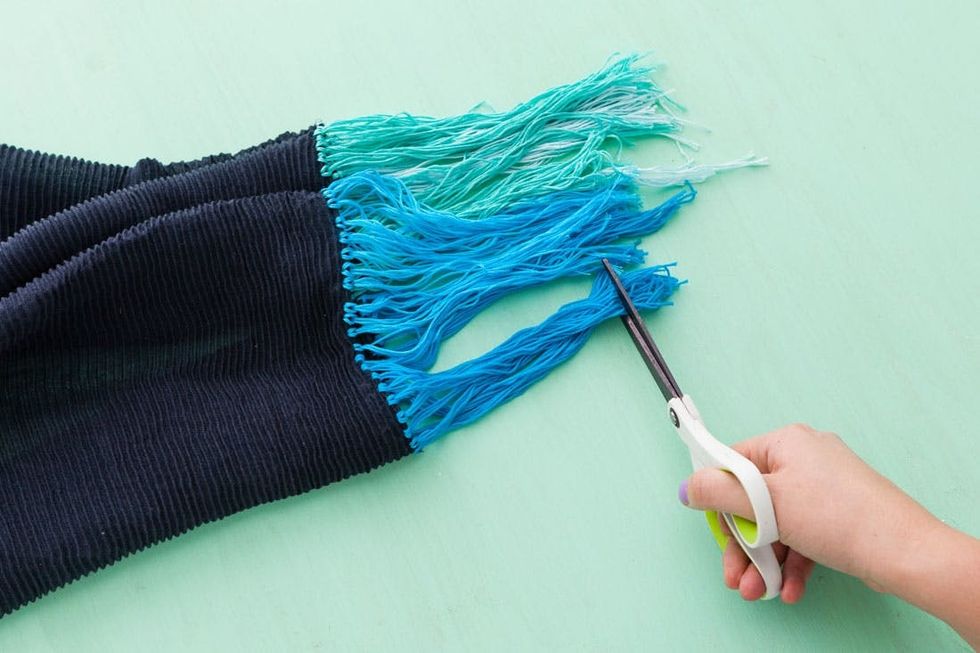
Trim the fringe to finish.
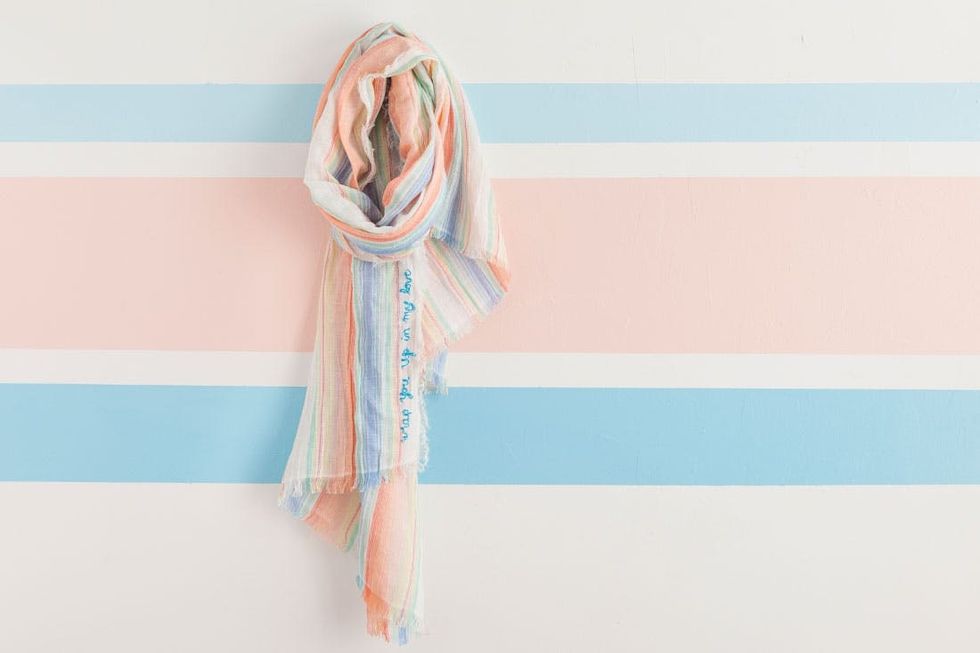
This year, combine the card and gift by embroidering a heartfelt message onto a scarf. It’s a sure-fire way to guarantee your mom will keep your message close to her heart.
LOVE LETTER TO MOM

Materials:

– scarf
– embroidery hoop
– embroidery needle
– embroidery thread
– scissors
– pen
Can we just take a moment to swoon over the stripes on this scarf?
Using a fine point pen, carefully write out your message to mom.
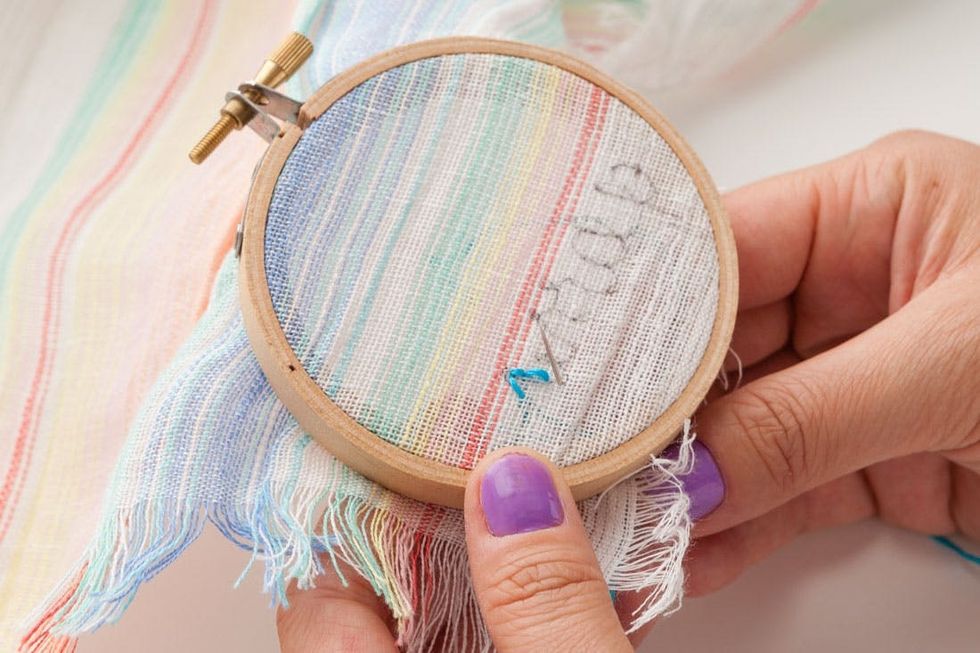
Stitch along the pattern using a backstitch. Create a backstitch by making a stitch and then poking your needle back up through the backside of the fabric where you’d like the next stitch to end (see an example in the Birthstone Hearts tutorial of the post). Finish the second stitch by bringing the needle back through the end of the last stitch.
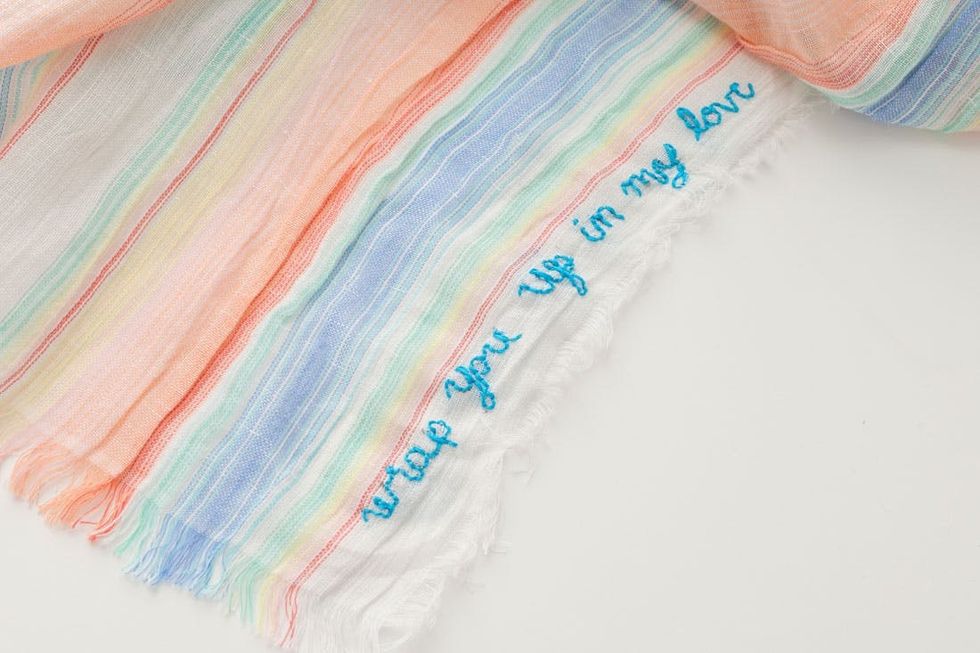
Pro Tip: Using smaller stitches will help the curves look more defined. Patience is a virtue when it comes to backstitching.
Move your embroidery hoop along the message until it’s complete. You’re all finished!
What are you making your mom for Mother’s Day? Show us your project by tagging us on Instagram and using the hashtag #iamcreative!
DIY Production and Styling: Marianne Koo
Photography: Brittany Griffin


