How we’re DIYing our nails for the rest of summer.
This Is the Trick to Getting the Easiest Manicure EVER


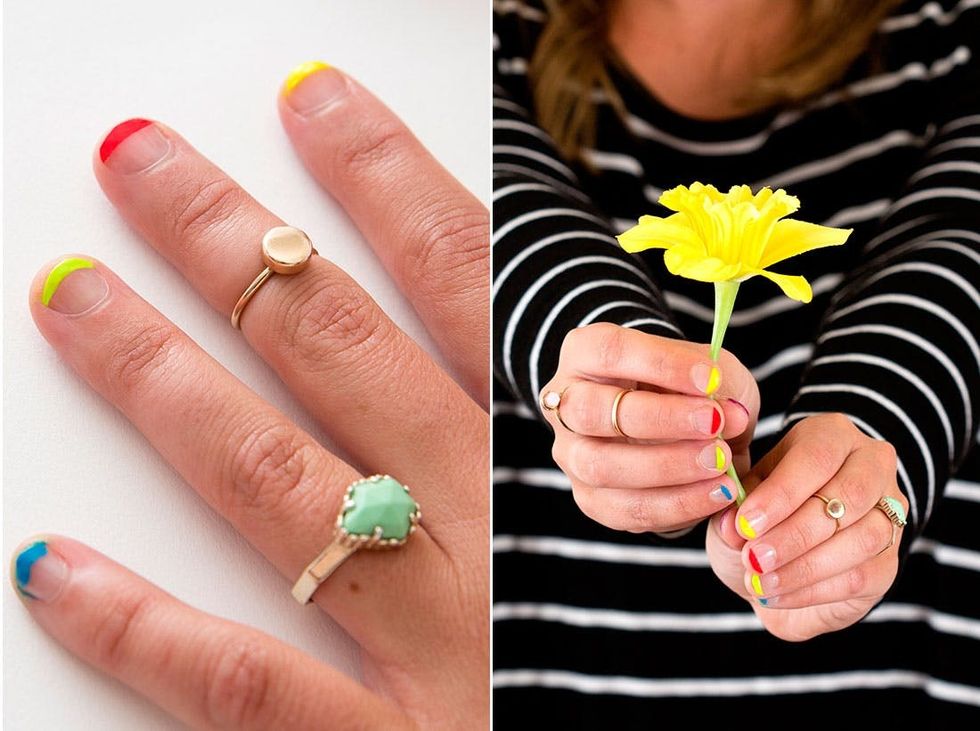
Summertime is peaking, and we are living in a world where we can tap into our inner ’90s teen selves and get down with the neon accents! With such a bold effect, neon nail polish often can cause a love-it-or-hate-it reaction. But with this sweet French manicure hack, you can guarantee the love all around! It’s a sweet, subtle design, and even the most beginner DIY nail artists can handle this look.
The Goodies
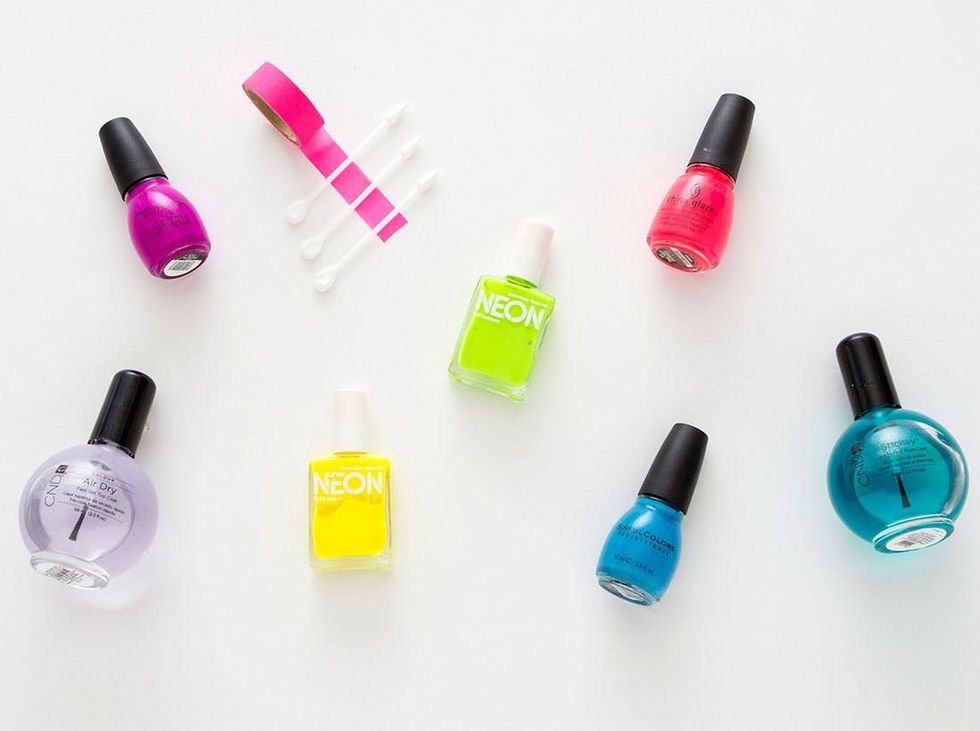
– neon nail polish
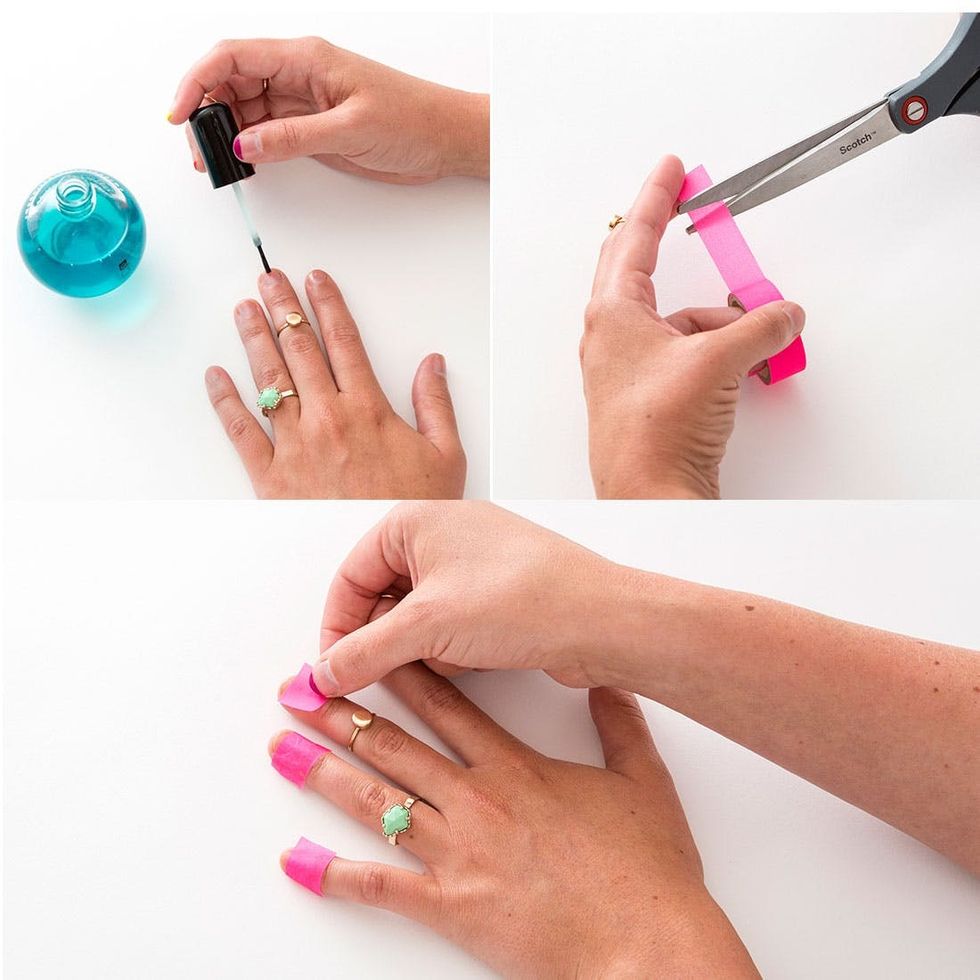
– base coat + top coat
– pointed cotton swabs
1. First paint a base coat on your nails. I love Creative Nail Design Stickey Base Coat ($9) because of its sticky texture that seems to make the pigment in your nail polish pop. Plus, it helps the polish stay on longer without chipping.
Prep: Base Coat + Tape
2. Cut 1-inch strips of washi tape.
3. Cover all of your nail execpt for the tips with the washi tape — that’s the part that’s going to be painted.
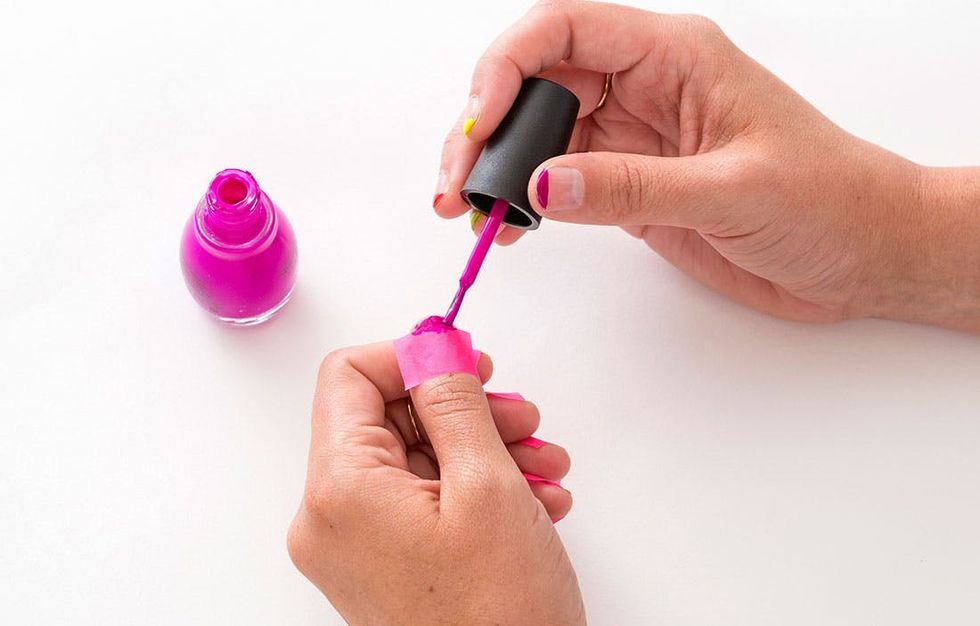
4. Grab your favorite neon colors and paint the tips. We went with a different color on each nail for a playful look.
Tasteful Neon Nail Polish
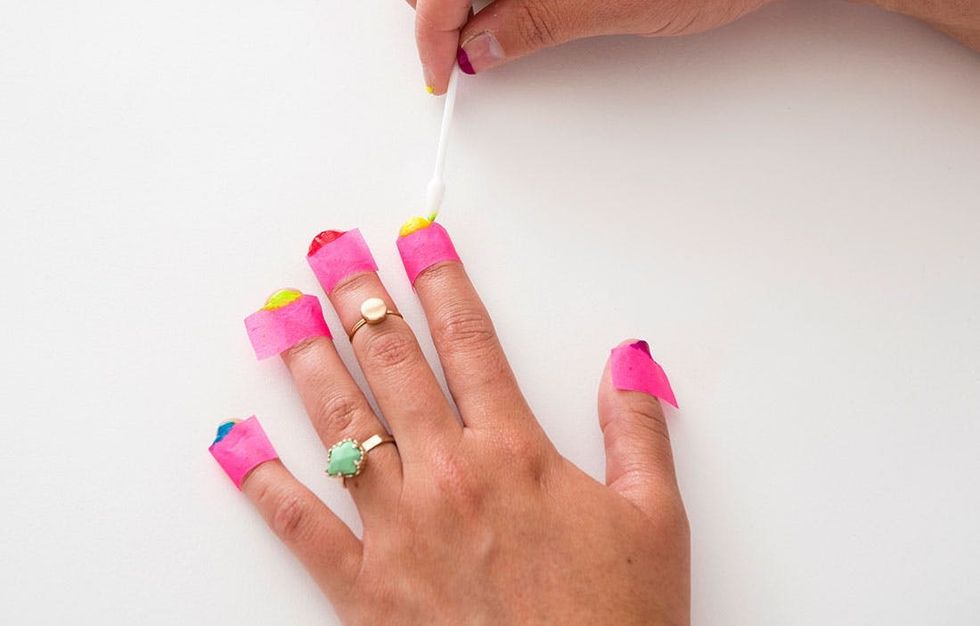
5. Clean up any polish that you may have gotten on your fingers using the pointed cotton swabs and a little nail polish remover.
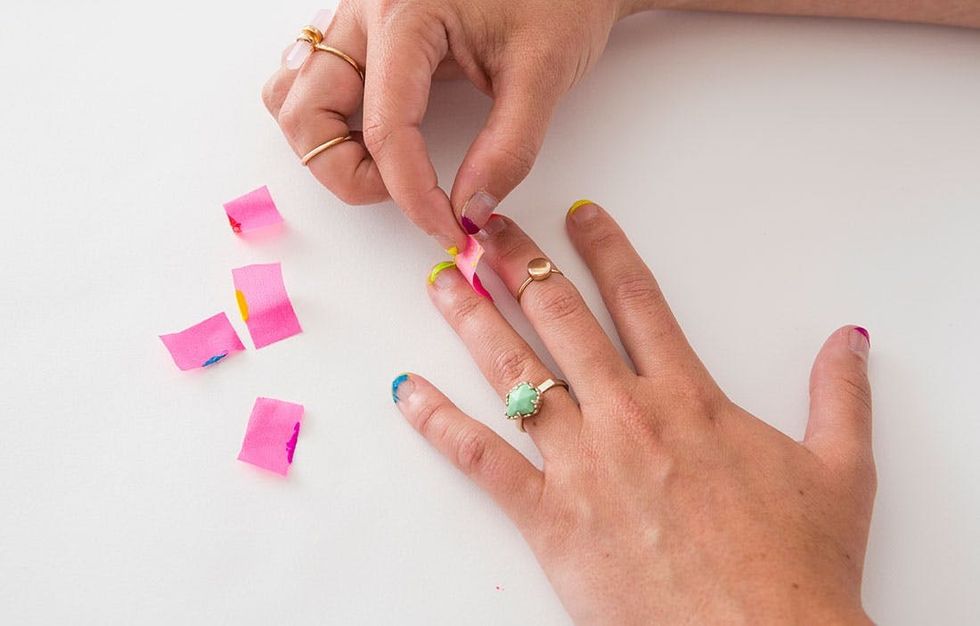
6. You want to peel the tape off *before* the polish dries. If you let the polish dry, the paint may chip off the tips of your nails when you take off the tape.
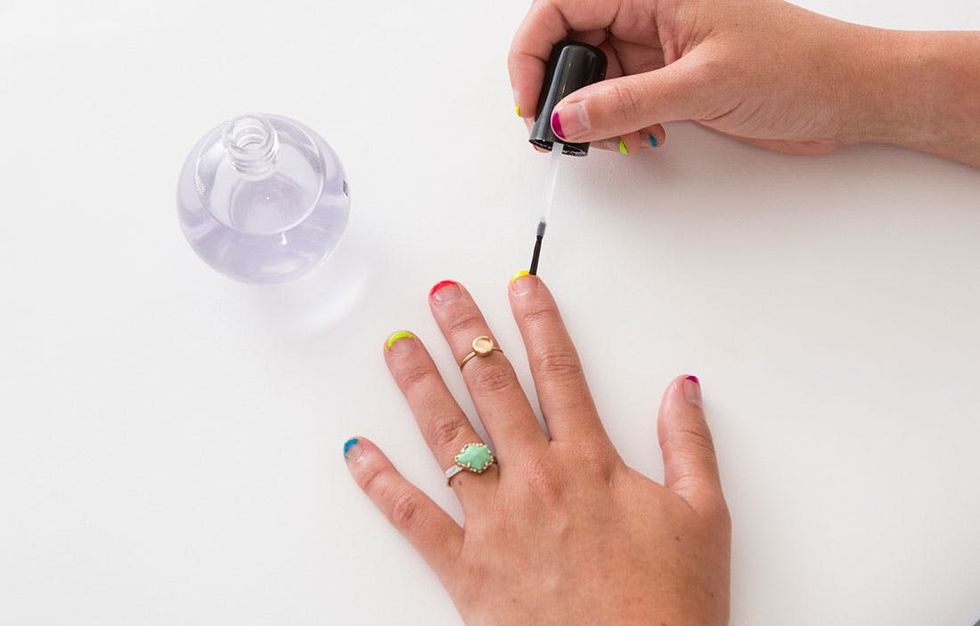
7. Finish off with a clear top coat. The Creative Nail Design Air Dry Fastset Top-Coat ($21) is hands down one of the best nail products I have ever used. It will make any polish shine, and it definitely cuts the dry time in half at least!
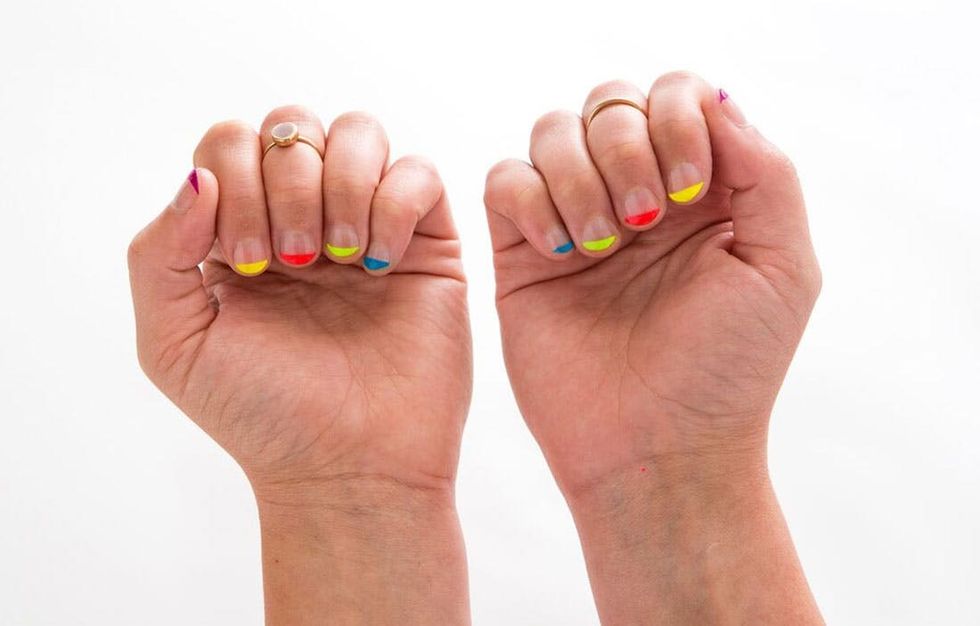
There you have it! Neon done in an understated way that will still give you that summery pop of color.

Tape is definitely a DIY manicurist’s best friend. Get crazy by placing the tape on at an angle or switching up the colors, OR go bold on your whole nail, then do this French manicure hack in a contrasting color on top of it. The possibilities are endless!


