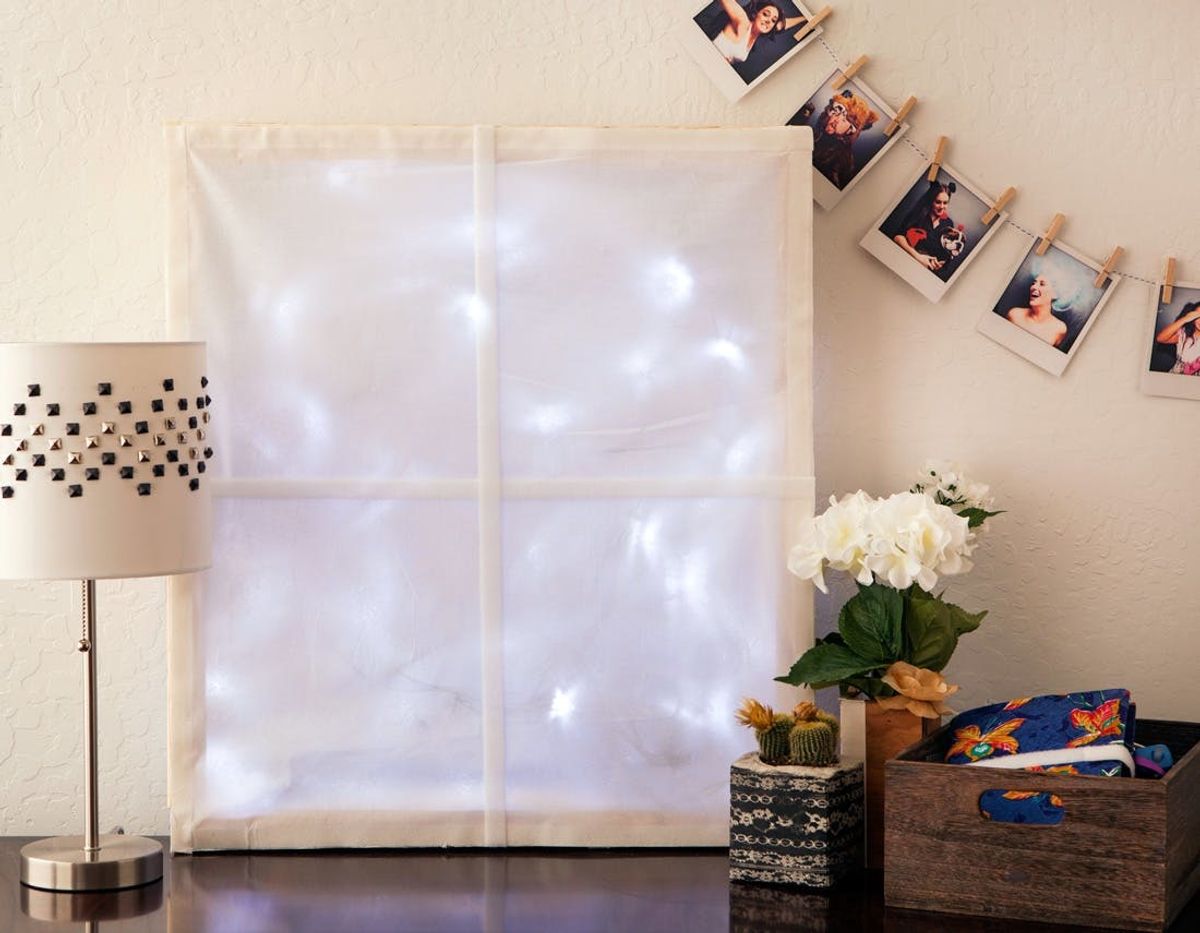
Create a Wintery LED Window for Your Home

Dreaming of a white Christmas? Maybe you’ve got a windowless wall that could use a little love? We’ve partnered up with The Home Depot ® and Velcro Industries to create a wintery illuminated window, perfect for bringing a little magic into your holiday decor. Read on to see how it’s done.
<br/>
– 1 2×4 cut into 4 24-inch sections
– 1 27×24-inch square of the caprice paper
– 1 box of lights
– 8 nails
Tools:
– hammer
– scissors
– staple gun + staples
Instructions:
1. Cut your 2×4 into 4 24-inch sections. Usually, someone at The Home Depot ® can do this for you!
2. Create a frame with your wooden pieces, and nail them together. We recommend two nails at each joint.
3. Use a staple gun to attach your netted lights to the inside border of the frame. Just be careful not to staple through any wire.
4. Cut a 27×24-inch piece of from your roll of Caprice sheer paper.
5. Cut your VELCRO® Brand Sticky Back White Tape into 4 24-inch pieces.
6. Stick the loop side (aka the “soft” side) of your tape onto all four edges of the paper. Trim off any overlapping tape.
7. Stick the hook side (aka the “hard” side) of your tape onto all four edges of your wooden frame.
8. Attach the paper to your frame.
9. Now, it’s time to add some window panes. Cut a piece of VELCRO® Brand Sticky Back White Tape that is 24 inches, and another that is 27 inches. Use a ruler to find the midpoint of your window, and attach your panes to create 4 window sections.
10. Finally, plug it in!
Gather your materials. Cut your 2×4 into 4 24-inch sections. Usually, someone at The Home Depot ® can do this for you!
Create a frame with your wooden pieces, and nail them together. We recommend two nails at each joint.
Use a staple gun to attach your netted lights to the inside border of the frame. Just be careful not to staple through any wire.
Make sure your lights are evenly spread throughout the frame.
Cut a 27×24-inch piece of from your roll of Caprice sheer paper. Cut your VELCRO® Brand Sticky Back White Tape into 2 24-inch pieces and 2 27-inch pieces. Stick the loop side (aka the “soft” side) of your tape onto all four edges of the paper. Trim off any overlapping tape.
Stick the hook side (aka the “hard” side) of your tape onto all four edges of your wooden frame.
Attach the paper to your frame.
Now, it’s time to add some window panes. Cut a piece of VELCRO® Brand Sticky Back White Tape that is 24 inches, and another that is 27 inches. Use a ruler to find the midpoint of your window, and attach your panes to create 4 window sections.
Finally, plug it in!


