How to Make Illuminated Yarn Lanterns

If you’re an avid crafter, you’ve likely seen the classic Yarn Glue Lantern is some form or another. If you haven’t, well it’s time to get in the know. All you need is yarn, corn starch, glue, and a balloon to create a sweet piece of ceiling candy. The twist? Add a hanging light bulb to take things to a much more illuminated level.
<br/>
 – corn starch (1 cup per 2 lanterns)
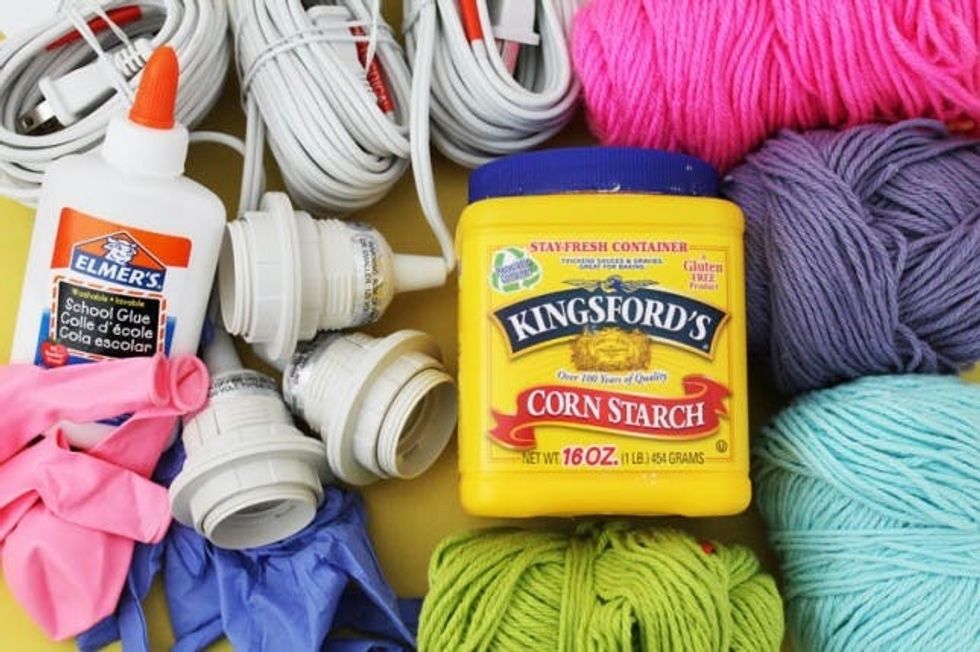
– Elmer’s School Glue (1 bottle per 2 lanterns)
– balloons
– yarn
– spray shellac
– pendant lights
Gather your materials. For this project we kept Easter in mind and used springy colors.

Mix 1/4 cup water with 1/2 cup corn starch and a whole 4 ounce bottle of Elmer’s Glue. This batch is good for 2 lanterns.
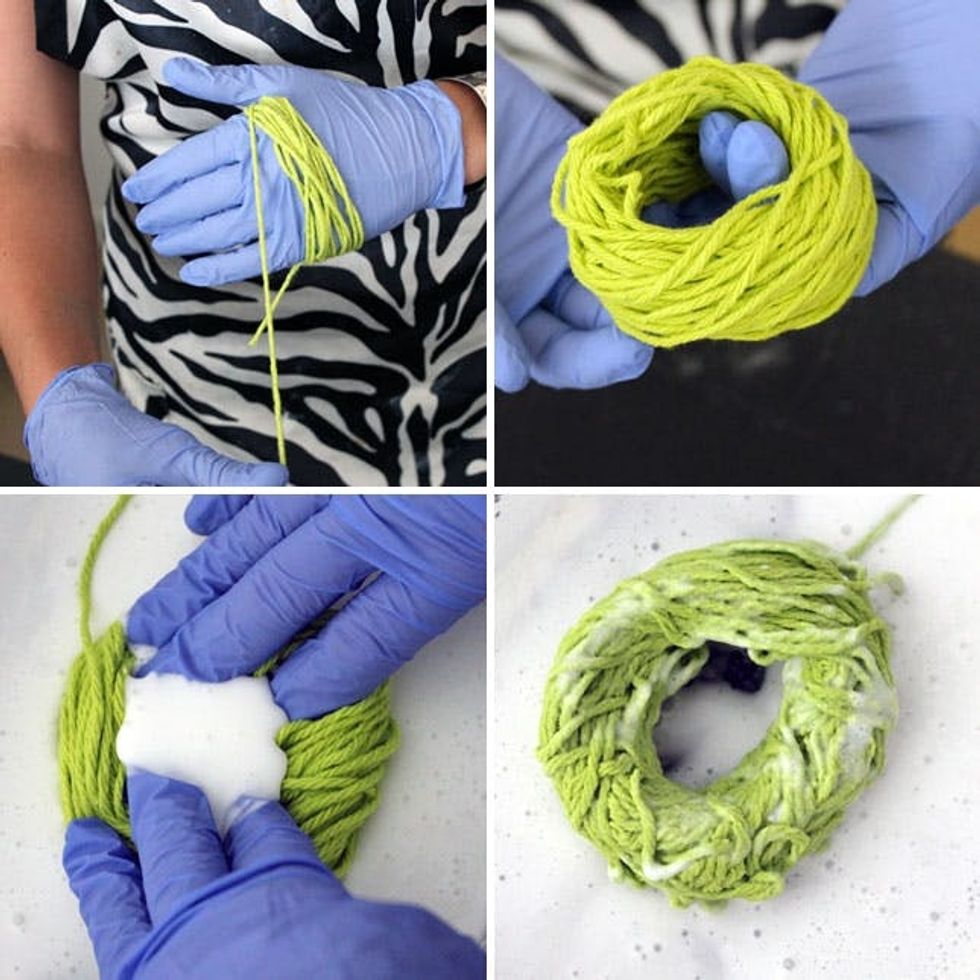
Wrap a good length of yarn around your hand so that it’s about an inch thick. Dunk the yarn in your glue-water-starch solution. Make sure it’s fully covered and don’t wring out too much. Leave it there and prep your balloons.
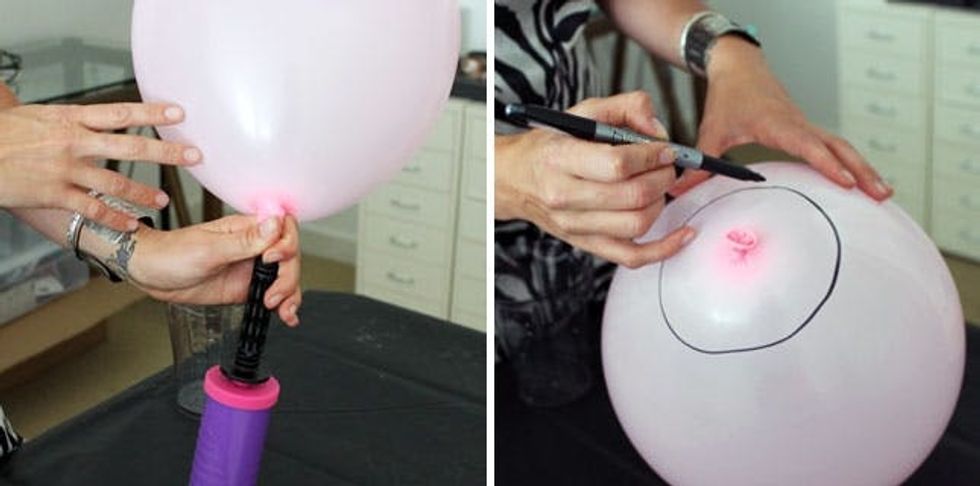
Inflate your balloon and draw a circle around the top. This will represent the opening for you lamp.
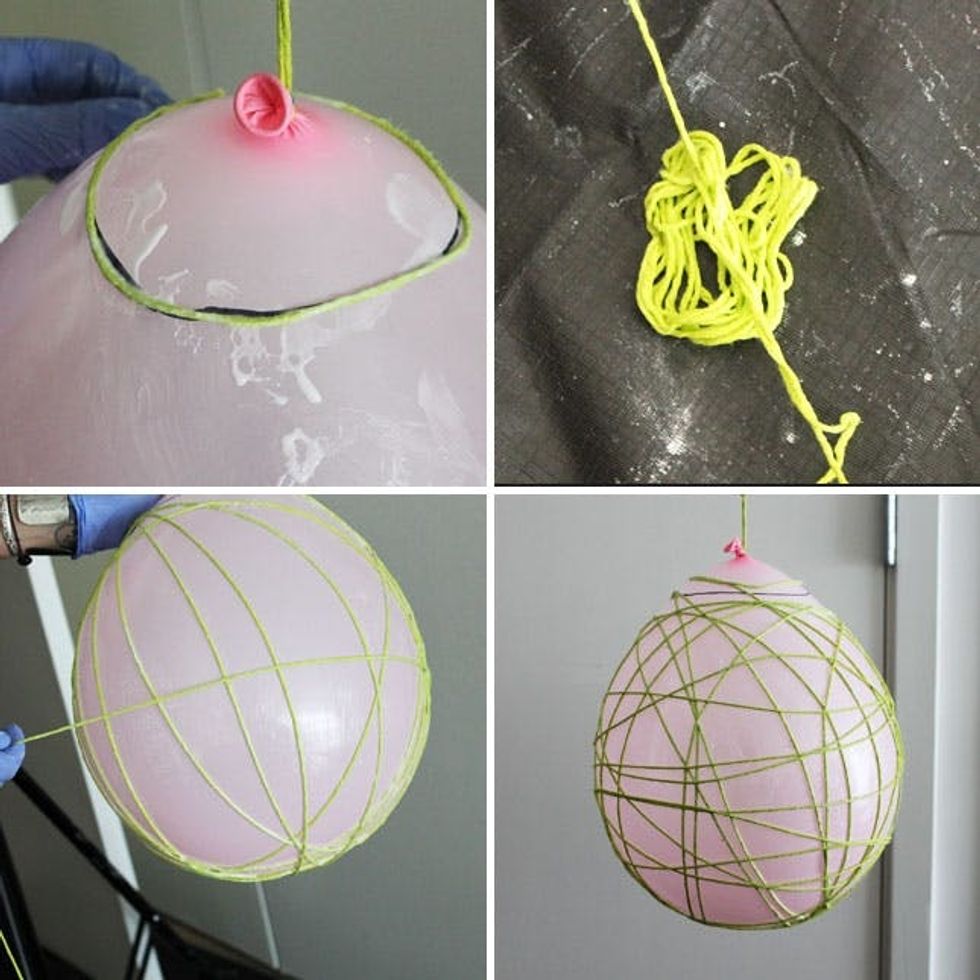
Now it’s time to wrap!! You will no doubt encounter a few snags in the process so just be prepared to untangle your yarn every so often. Wrap vertically and then horizontally and tuck the end in when you’re done.
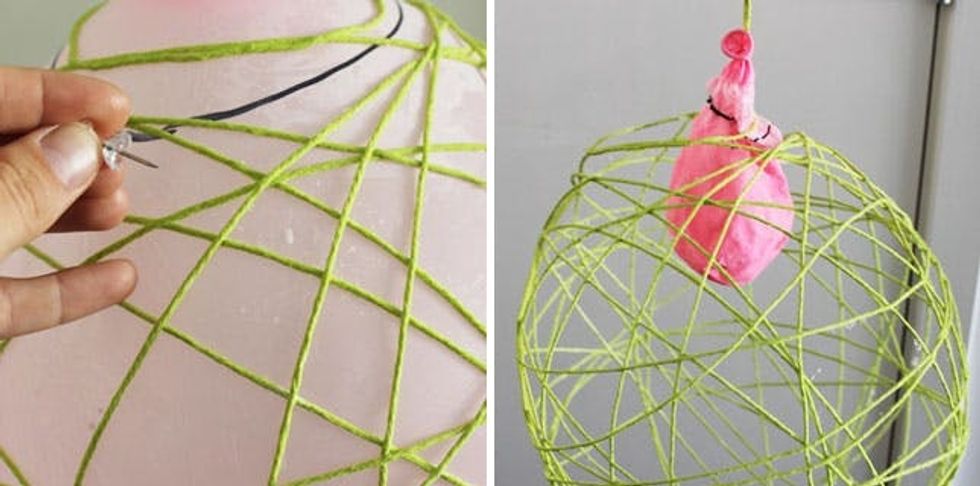
Let dry overnight. Then, pop it! Woohoo!
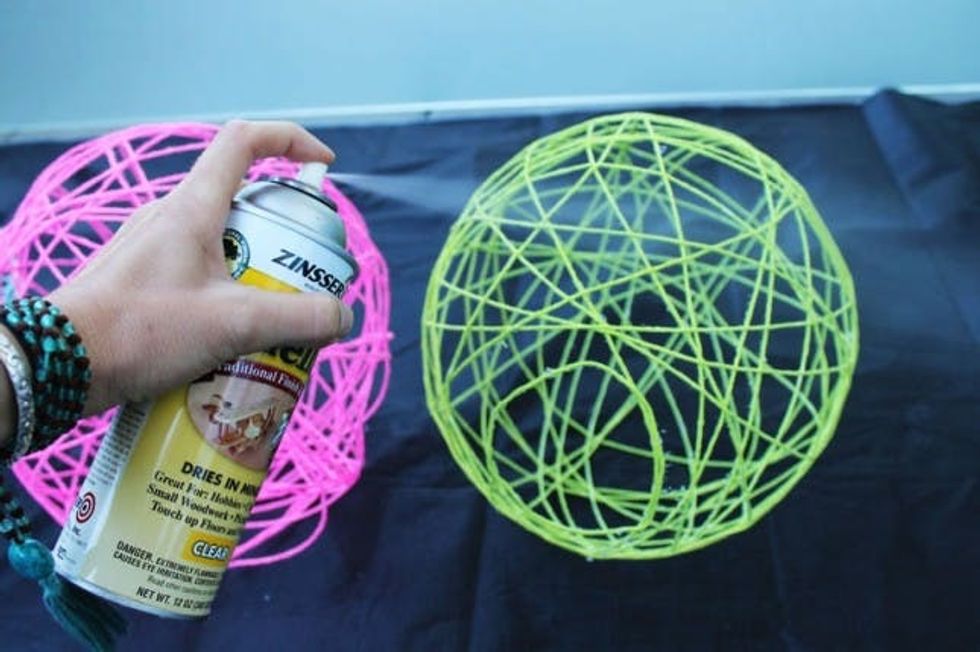
To seal the deal, spray it with clear spray shellac.

Let your lanterns dry for an hour before hanging.
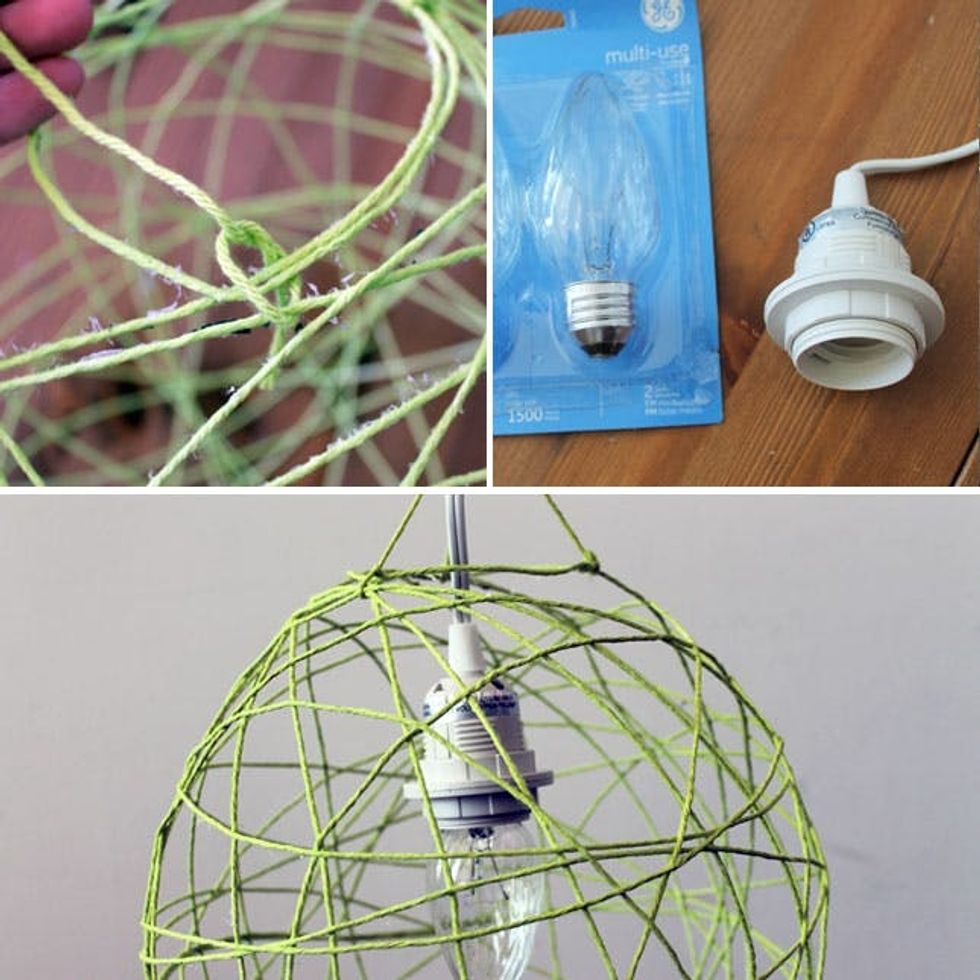
Attach a pendant lamp kit to your lantern by tying yarn around the top of the lantern, and that’s it.

Let there be light!

Have you made lanterns at home? Tell us about your ideas and projects in the comments below – we love to hear from you!


