Get ready to live your best #UnicornLife.
3 Holographic DIYs to ’90s-ify Your Home

It’s no secret that the ’90s have been making a huge comeback in the last couple of years, but the latest ’90s resurgence that I’ve been digging has been the holographic vibes in the beauty realm. There’s something about an iridescent lip or holographic eyeshadow palette that really resonates with my futuristic unicorn life. I decided to translate some of these shimmery, cool trends into a home decor setting. Here are three simple DIYs to add some holographic flair to your home. Get ready to wow some guests!

Holographic Tray
Take your trays to a whole new level with an element of surprise that captivates the eye — an iridescent interior! I personally love the versatility of this tray, perfectly cute for serving food at parties or storing makeup and accessories. Let’s get started!

Materials and Tools:

Instructions:
- Measure out your tray to get the right dimensions for your vinyl interior.
- Cut your vinyl to the measured dimensions.
- Peel off the vinyl backing and adhere it to the inside of the tray.
- Once your vinyl is placed down, squeegee out the air bubbles! Remember to take off the protective covering on top as well.

First off, measure your tray to get the right dimensions for your vinyl interior.

Cut your vinyl to the measured dimensions. Feel free to tape down the vinyl to prevent it from shifting around.

Peel off the vinyl backing and adhere it to the inside of the tray.

Once your vinyl is placed down, squeegee out the air bubbles! Remember to take off the protective covering on top as well.
Pro Tip: If you don’t have a squeegee, you can use a credit card or thick plastic board to do the same job.

Ta-da! You’ve got yourself a very cute serving tray. Get ready to use it at your next girls’ night in.

Did someone say wine and movie night?
Holographic Coasters
For this DIY, I drew inspiration from LoveVividly’s really cool holographic coasters tutorial and decided to put my own spin to it. With some awesome car vinyl and a few quick slices, I was able to renovate some old coasters and make them shine. Who knew coasters could look so mesmerizing?!

Materials and Tools:

Instructions:
- Decide on your coaster designs, and start cutting out shapes! Feel free to mix and match patterns to form a unique set.
- Peel off the vinyl backing and carefully paste them onto the coasters. Remember to take off the protective covering on top as well!
- Place your favorite cups on top, and use at your next coffee get together.

Once you decide on your coaster designs, start cutting out shapes! Feel free to mix and match patterns to form a unique set.

Peel off the vinyl backing and carefully paste them onto the coasters. Remember to take off the protective covering on top as well!

Voilà! Get ready to bust out this adorable set for your next coffee rendezvous.
Catchall Dish
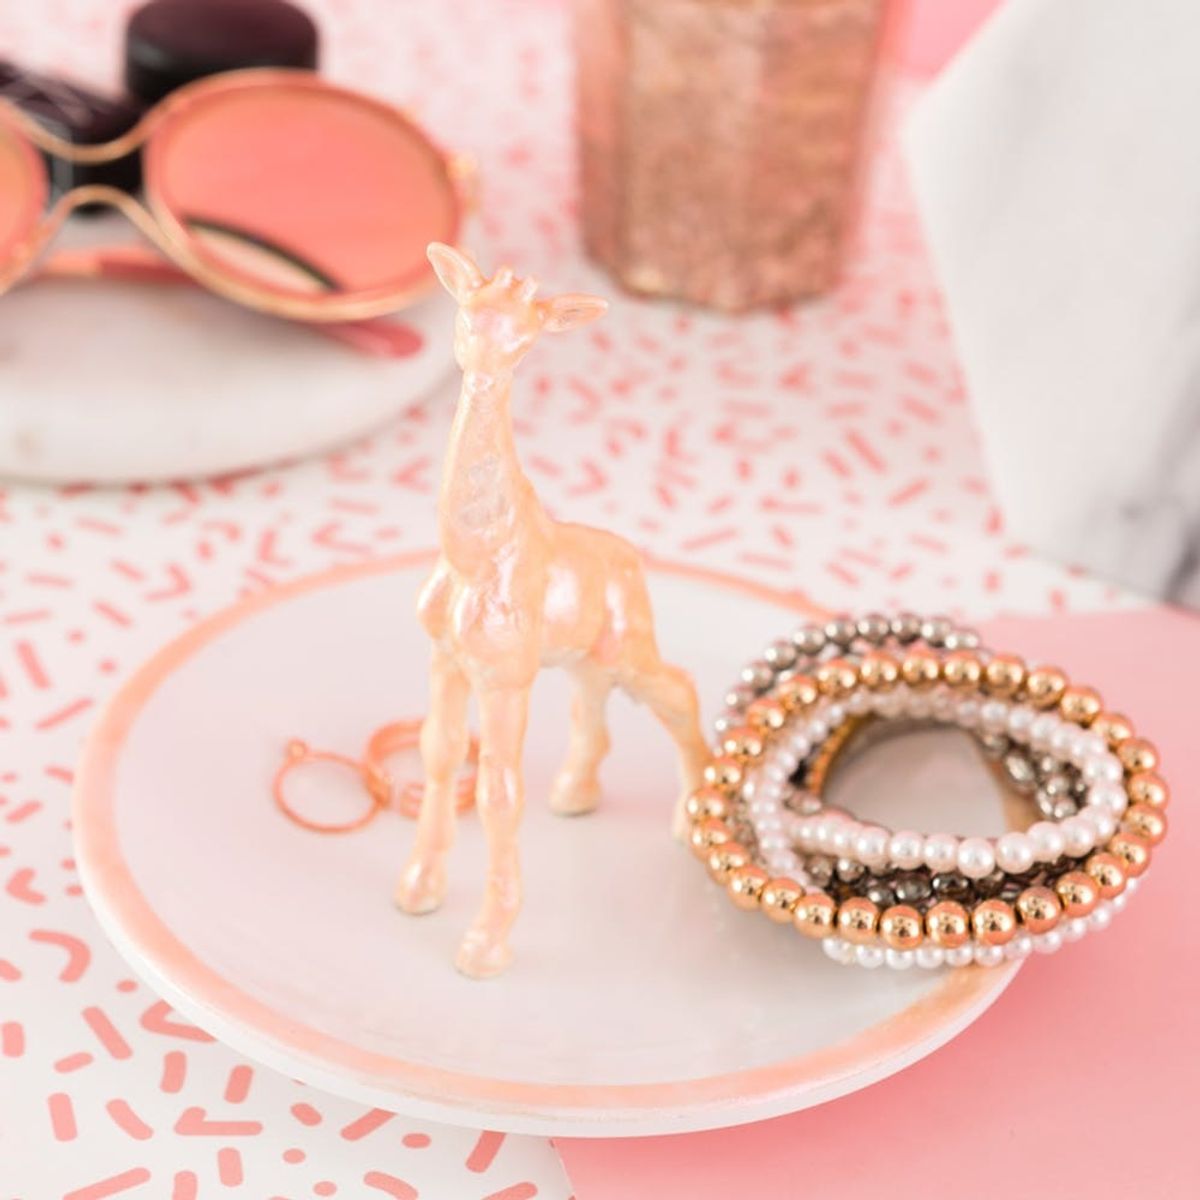
This catchall dish is a *must* for all your accessory needs. Who knew that nail polish could be such a magical material for DIY projects? It definitely adds an extra shimmer to the jewelry. Also, that giraffe figure just warms my heart with each glance.

Materials and Tools:

Instructions:
- Spray paint your giraffe. Let each side dry for 20-30 minutes.
- As your toy figure is drying, add three layers of the holographic nail polish to the edge your dish. Finish off with a protective layer of top coat.
- Time to paint your toy figure! Add around three coats of the nail polish and finish off with the top coat. Let it dry for around 30 minutes.
- To complete your jewelry dish, super glue the toy figure to the middle of the dish.
Grab a cardboard or tarp, and lay it down as a mat to spray paint your giraffe on. Remember to let each side dry for 20-30 minutes.


As your toy figure is drying, add some of the holographic nail polish to your dish. I taped off the edges and then turned on some soothing jams to line the outer rim with three layers of the nail polish. (I know; be patient!) Finish off with a protective layer of top coat.

Your toy figure should be dry now! Time to make its exterior sparkly with the holographic nail polish. Again, add around three coats of the nail polish and finish off with the top coat. Let it dry for around 30 minutes.

To complete your jewelry dish, super glue the toy figure to the middle of the dish.

Presto! Look at how majestic he is.

So shimmery…
Are you planning to add some holographic flair to your home? Share your photos with us on Instagram by using the hashtag #iamcreative!
DIY Production and Styling: Karen Pham
Photography: Brittany Griffin
Brit + Co may at times use affiliate links to promote products sold by others, but always offers genuine editorial recommendations.


