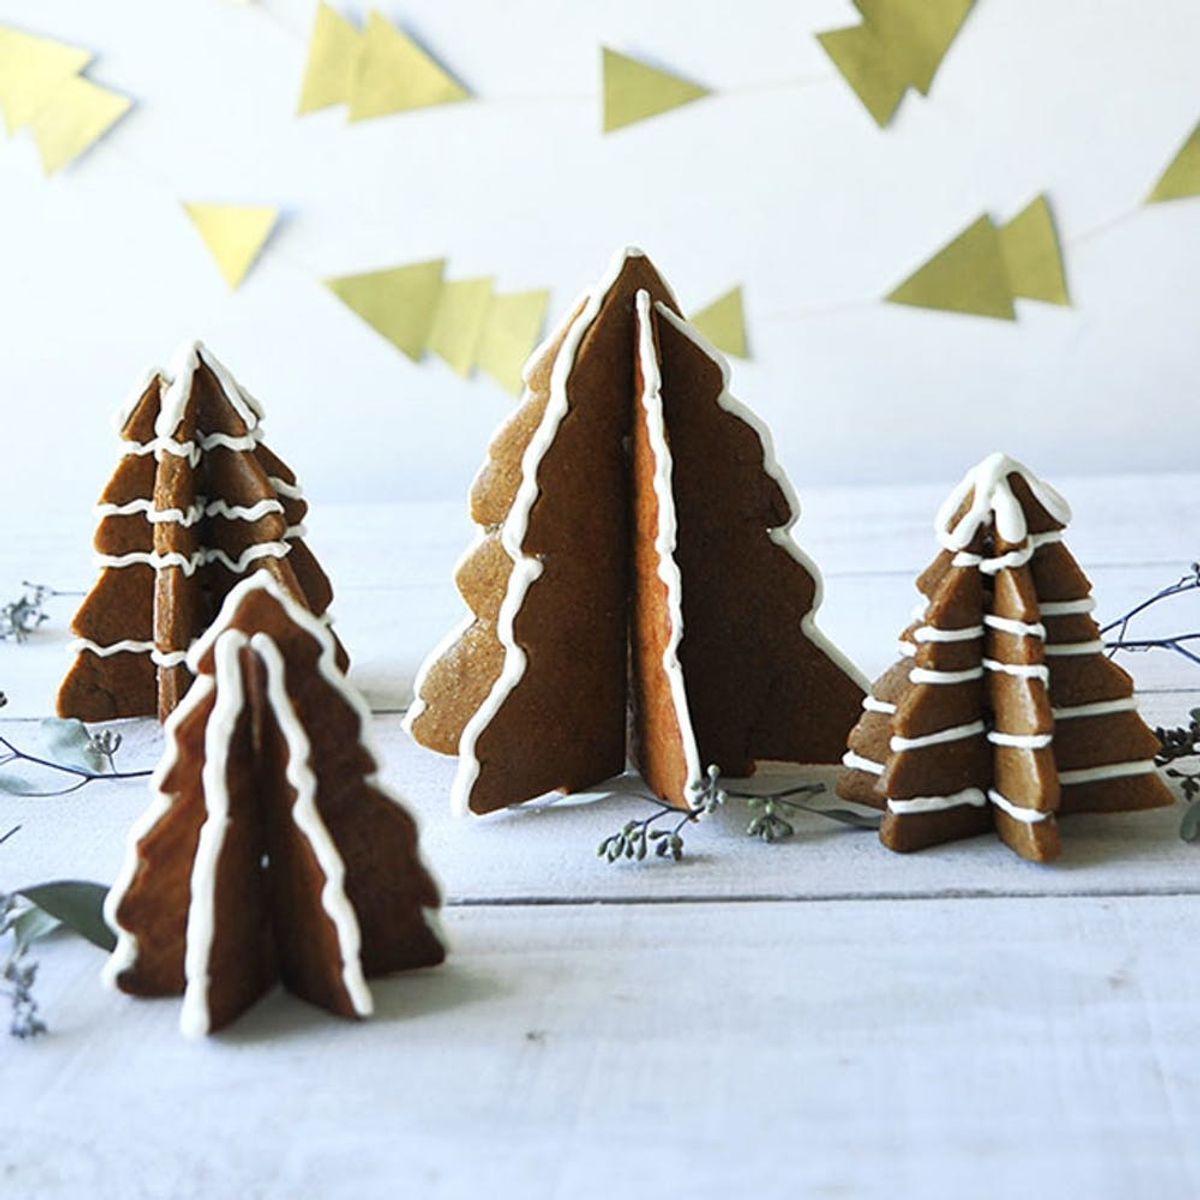
Goodbye gingerbread house, hello gingerbread trees.
You’ve Never Eaten Gingerbread like This Before

The second you put gingerbread cookies in the oven, their mouth-watering aroma will transport you to Santa’s Workshop. The twist here comes with taking these typically flat cookies and creating a three-dimensional forest! These are so much easier to assemble and decorate than a gingerbread house, and would look adorable lined up on a fireplace mantel or tabletop. What’s more (and clearly more important) — they are delicious to eat!
Materials:
— gingerbread cookie dough (use your favorite recipe!)
— paper and pen to create a stencil
— royal icing
— pastry bag (or sandwich bag with a corner trimmed off)
Instructions:
1. Draw a Christmas tree shape on a piece of paper, cut it out, then trace it to create three identical trees. Draw a section about a half-inch thick directly down the middle of each tree, then divide that section into thirds. On the first stencil, leave only the bottom third of the middle section. On the next, cut out the top and bottom thirds. For the last stencil, leave the top third in tact.
2. Roll out your gingerbread dough to about a quarter-inch thick.
3. Lay the stencils onto the dough and carefully cut them out.
4. Bake according to the recipe you’re using, then allow to cool.
5. With the royal icing in the pastry bag, carefully outline each tree, let them sit for a few minutes, then decorate the face of the cookies.
6. When the frosting has completely hardened, you can assemble the trees. Grab the tree with the bottom third still attached, then file the tree with the middle attached through the middle of the first and finish by adding the tree that has the top attached.
Before you begin rolling out your dough, draw a Christmas tree shape on a piece of paper and cut out three identical trees. Pencil in a section about a half-inch thick directly down the middle of each tree, then divide that section into thirds. On the first stencil, leave only the bottom third of the middle. On the next, cut out the top and bottom thirds. For the last stencil, leave the top third in tact.
Roll out your gingerbread dough to about a quarter-inch thick.
Carefully lay the stencils on the dough and cut them out. Make sure you work in sets of three!
Bake according to the recipe you’re using, then allow to cool completely before decorating.
With the royal icing in the pastry bag, carefully line the rim of each tree and let it sit for a few minutes. Then decorate the faces of the cookies!
When the frosting has completely hardened, assemble the trees. First, take the tree with the bottom third still attached, then slide the tree with the middle attached through the first. Finish by adding the cookie that has the top attached. Voila! You’ve just made an adorable gingerbread tree.
How cute are these? They’d be so much fun to bring to a cookie swap or for kids to decorate. And by kids we also mean your gal pals :)
Share your pics with the tags #britstagram and #iamcreative so we can see your holiday cheer + come back tomorrow 8AM PT/11AM ET for the next episode of Crave!


