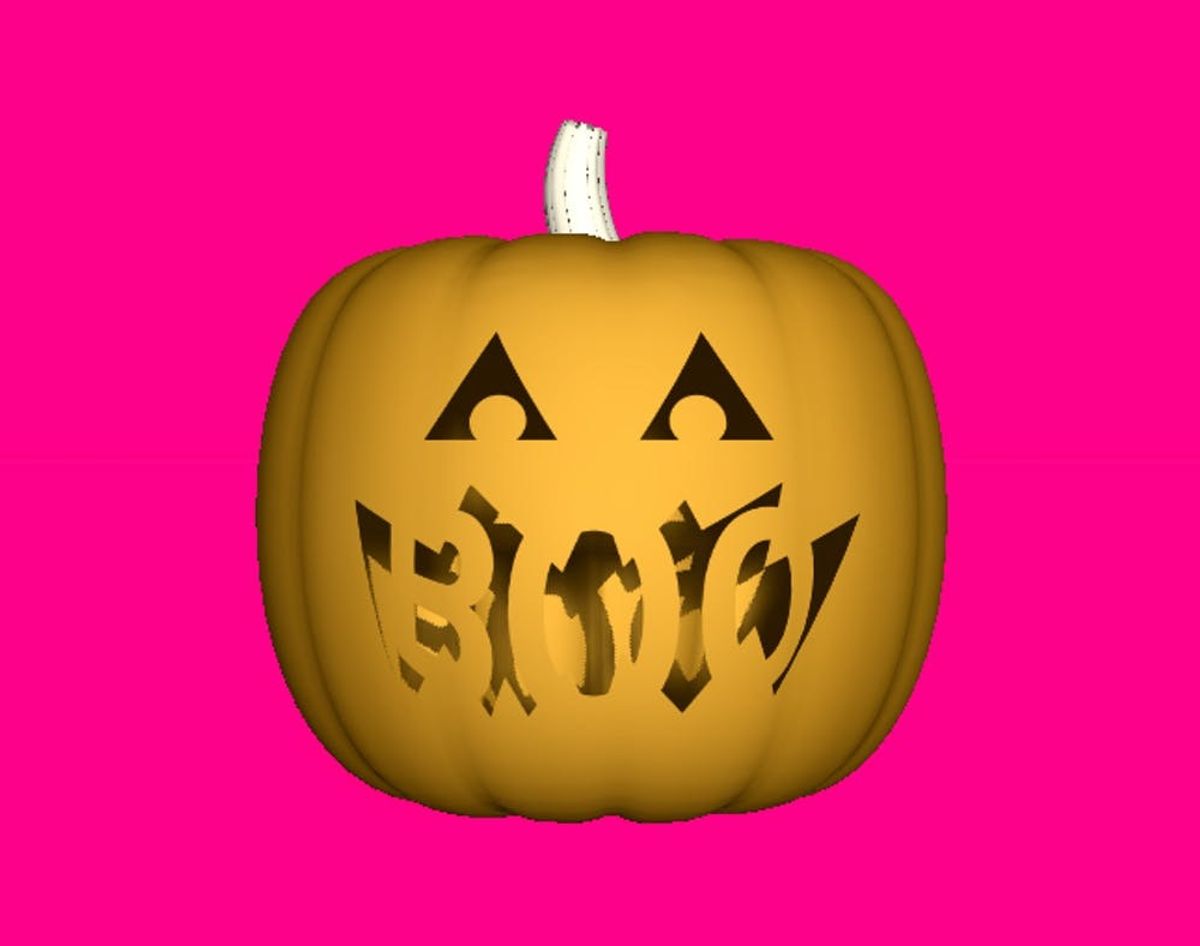
Ditch the knifes and manual labor, add a tech element to jack-o’-lantern this year with some basic 3D printing.
How to 3D Print a Pumpkin in Photoshop

We love a good old fashioned jack-o’-lantern as much as the next guy and gal, but we know pumpkin guts and sharp knives aren’t everyone’s cup of tea. If you’re more of a digital whizz and less of a Michelangelo, why not give this year’s pumpkin a techie twist? Take to Photoshop to create a one-of-a-kind 3D printed pumpkin — we have the tutorial for you. Side note: If you’re new to the photo editing program, this may seem a little dense, but if you work in Photoshop on the daily this should be a breeze. Either way, we have faith in your skillz ;)
Materials:
– The pumpkin model Photoshop file (Pumpkin.PSD)
– Adobe Photoshop CC 2014
Instructions:
1. Open the PSD Pumpkin file (Pumpkin.PSD). If you weren’t presented with the option to change the 3D workspace, or aren’t in the 3D workspace, I would suggest you switch to it now by clicking on the workspace drop-down menu in the upper right hand corner, and selecting 3D.
2. In the Layers panel, click on the layer named “Pumpkin Scene.” You should see the pumpkin sitting in the 3D panel. (You can double-click on the Layer Thumbnail to open the 3D panel. In the 3D panel you’ll see the basic scene elements, like: Environment, Scene, Current View (camera) and an Infinite Light, as well as a the Pumpkin mesh that has four materials attached to it: Skin, Stem, Top, and Bottom.
3. Click on the material layer named “Skin” in the Properties panel (this shows us all of the colors and textures being used for the currently selected material). The Diffuse Color determines the color of the pumpkin and there is no texture map loaded for the fuse (the folder icon to the right). Click on the Color Picker to change the color of your pumpkin.
*Note: Unless printing in full-color sandstone (via Shapeways), your model will print in the color of the material being used by the 3D printer.
4. Now, look at Opacity, and you’ll notice to the right field that the icon is different than the folder icons above. That’s because there is a texture map (image/Photoshop file) loaded. This is how you’ll be “carving” the pumpkin. Click on the Texture Map icon for Opacity, to the right of the opacity value field, and select Edit Texture. When the “opacity” document opens you’ll see three layers in the Layers panel (Boo, Face, and Background), and the Properties panel is now showing 3D Paint. You’ll also notice that the face is black on white — this is because for Opacity texture maps white is solid, and black is completely transparent.
5. There are two ways you can carve your pumpkin’s face: with the vector tools (in the Opacity texture map file), or painting on the texture map in the Opacity Texture map file on the Pumpkin model directly. Before we begin, let’s hide the two layers Boo and Face in the opacity map and make a new layer to work on.
Option 1: Carving with shapes when 3D printing give it a nice hard edge, and you can use all of the vector tools in Photoshop, such as the Shape and Path tools. Simply select the Shape tool, set the fill color to “black,” set the stroke color to “none” and draw the shapes you want the face to have. Save the changes (opacity texture) and switch back to the Pumpkin file to see your results in real-time.
Option 2: You can also “carve” the face using a brush. Just remember that you need to have a black and white image, and that shades of gray or a feathered brush can pose problems and have unexpected results. Simply make and hide the Boo and Face layers in the Opacity texture map, make a new layer and paint in black. Make sure your Brush tool options are set to Hardness: 100%, Mode: Normal, Opacity: 100%, and Flow: 100%.
6. When you finish carving you pumpkin and have saved and closed your Opacity texture map, switch back to the Pumpkin file and select Scene from the 3D panel. This will show you the Scene properties in the Properties panel. Select the 3D Print Settings attributes (second icon, similar to a printer, at the top of the Properties panel), to show the 3D Print Settings properties. In addition to printing locally, you can also use one of Adobe’s partner services to print your pumpkin. Just change Print To: and select Sculpito or Shapeways, select the material you’d like to use, and that’s it!
You can now adjust a few other properties, such as the Detail Level (higher level provides greater resolution), and change the size of the pumpkin to be printed. The last and final thing that you need to have is the Surface Detail enabled (checked) and Opacity enabled (checked). This will “carve” the face out of the pumpkin model when preparing the file to print.
7. Next, at the bottom of the Properties panel, with the 3D Print Settings still showing, you’ll see two icons, Start Print (left) and 3D Printer Utilities (right). Click on Start Print — this will prepare the pumpkin for printing. The 3D Print Dialog will appear when it’s ready to print or export. If you’re using a local printer, you can print directly from Photoshop by selecting Print. If you’re using a 3D Printing Service partner (Sculptio, Shapeways) you’ll save the file and then upload it to your preferred service provider.
That’s it! Good luck and have fun!
If you give these tech-inspired pumpkin a go, show us how they turn out by tweeting a picture to @BritandCo!


