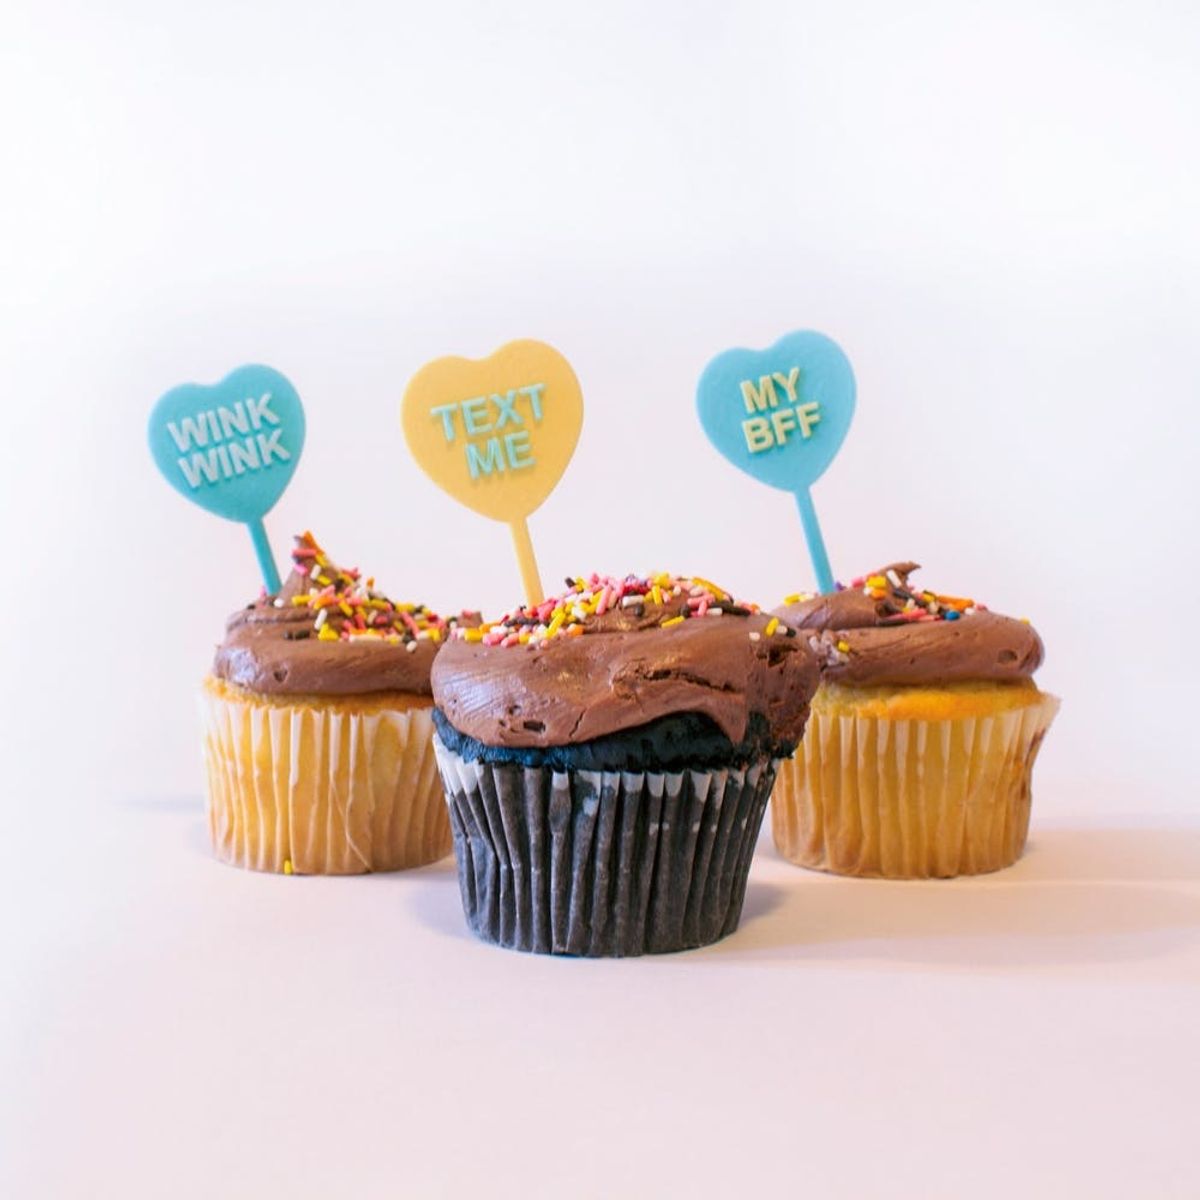
Ace Valentine’s Day with these 3D printed cupcake toppers.
How to 3D Print Conversation Heart Cupcake Toppers

Ah, the conversation heart — it’s everything you could ever want to say to your SO, crush, sister or bestie in one compact package. Provided what you want to say is, “I love you so much I got you this teeny tiny piece of edible chalk.” Time for an upgrade! This year, we partnered with Half Craft Studio to ace Valentine’s Day with these 3D printed cupcake toppers that show your love, commitment and finger-on-the-pulse knowledge of awesome tech.
Materials:
— Spools of 3D printing filament (such as Martha Stewart for MakerBot Filament colors Robin’s Egg and Lemon Drop)
— Cupcake topper .Stl files (My BFF, Text Me or Wink Wink)
Tools:
— Desktop 3D printer (such as a MakerBot Replicator)
Instructions:
1. 3D print the template in candy-colored pastels
2. Add your toppers to some yummy cupcakes.
3. Present to the lucky recipient
This is a great project to get your feet wet with 3D printing. If you have access to a Desktop 3D printer, give it a go! These puppies will print easily and beautifully every time.
Don’t have your own 3D printer? Head to a local makerspace or 3D printing store with our template .Stl files loaded onto a USB drive, or try 3D Hubs or Make XYZ, which will match you up with someone near you who can do your printing.
If you’re printing at home, slice the template files at 5% infill, .1mm layer height, 2 shells. To get the text on the cupcake toppers to be a different color, set your printer for a Z Pause height of 2mm and switch filaments when the printer pauses.
Confused? Let’s go over some vocab:
Slice: A computer-generated plan that tells the printer how to move the nozzle to make your specific print. With a slicing software, you can control different settings to achieve different print qualities.
Infill: A lattice structure the printer builds on the inside of your object for strength. The higher the infill, the denser the lattice structure, adding strength to your print. Since our cupcake toppers won’t be bearing any weight (other than your great love for the other person), we can use a low infill.
Layer Height: This refers to print quality. Most desktop 3D printers can print layers as thin as .1mm, which is as thin as a hair! Using a thinner layer height makes the print take longer, but it will come out looking nicer because the layers are less noticeable.
Shells: A shell is the number of times the printer nozzle traces the outside of your object. Two shells is standard, but more shells will make for a stronger print.
Z Pause Height: This is one of the most fun features of desktop 3D printing. You can set your printer to pause at a certain height during the print, and you can switch to a different color plastic for a decorative effect. We designed our cupcake toppers to have letters that stick up, and they start 2mm into the print, so when we change colors the letters will just have started to print.
After you’ve sliced your file, fire up your printer and you’ll have your new cupcake toppers in a flash. Add to your recipient’s favorite flavor cupcake, and get ready to earn some major brownie points.
What is your experience with 3D printing? Let us know in the comments below!


