3D printing is so hot right now! Who wants to print flat images when you can print in 3D? There are so many awesome products to make. You can find templates online, or use your design skills and create your very own item to print. There are businesses that will print these out for you so you don’t need to own a printer in order to enjoy 3D printing. And as you might know, we’re lucky enough to have a few 3D printers in-house. We’ve made wrenches, combs, vases, and for the holidays we’re pumping out snowflake ornaments. They are amazing. Strung together, they’ll make it look like snow is falling all over the place!
Let It Snow… 3D-Printed Snowflake Garlands!
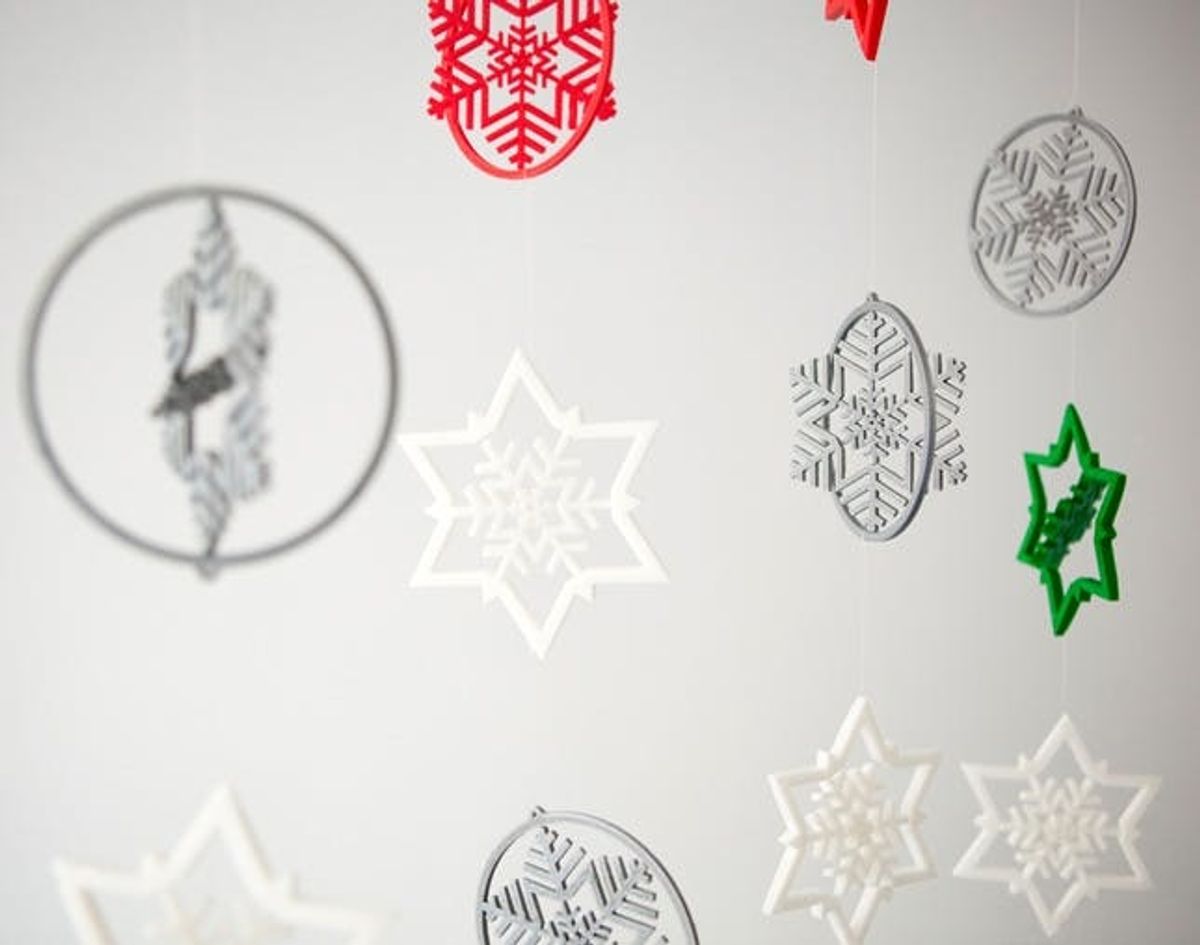
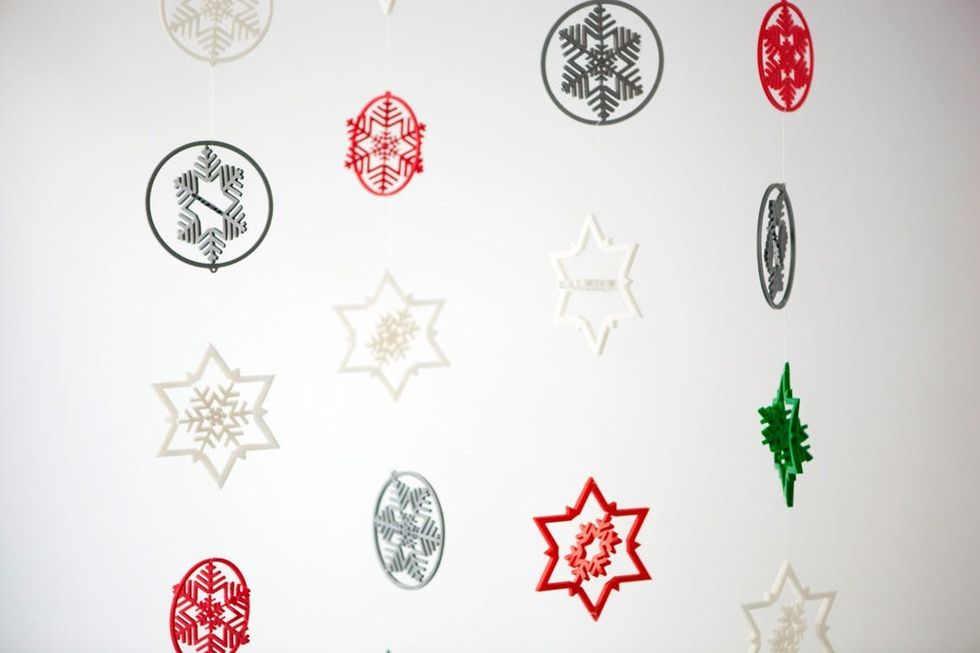
3D printing is so hot right now! Who wants to print flat images when you can print in 3D? There are so many awesome products to make. You can find templates online, or use your design skills and create your very own item to print. There are businesses that will print these out for you so you don’t need to own a printer in order to enjoy 3D printing.
And as you might know, we’re lucky enough to have a few 3D printers in-house. We’ve made wrenches, combs, vases, and for the holidays we’re pumping out snowflake ornaments. They are amazing. Strung together, they’ll make it look like snow is falling all over the place!
Materials:
– 3D printed ornaments
Tools:
– fishing line
– scissors
Instructions:
1. Print a pile of ornaments (we made close to 40).
2. Lay them out in the order you want them to hang.
3. Measure a piece of fishing line that you will tie between the ornaments.
4. Use the cut piece of line as a template, and cut out as many pieces as you will need to tie between every ornament.
5. Tie the line to one ornament using a double knot.
6. Attach the other end of the line to the next ornament also making a double knot.
7. Repeat steps 5 and 6 for all of the ornaments.
8. Trim the excess fishing line.
9. Cut a long piece of line for the top ornament.
10. Attach to your ceiling, wall or window.
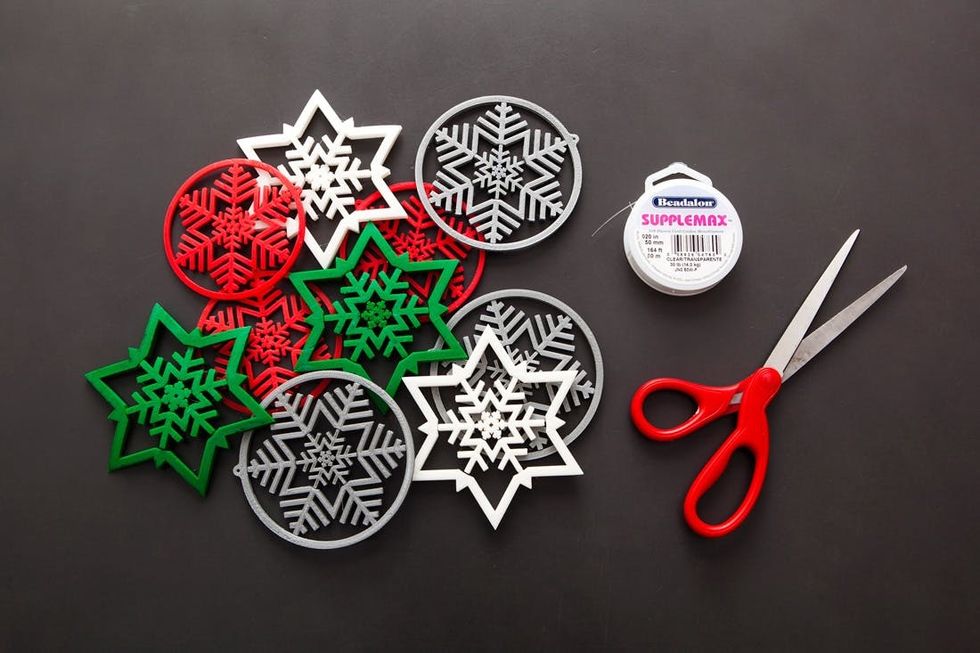
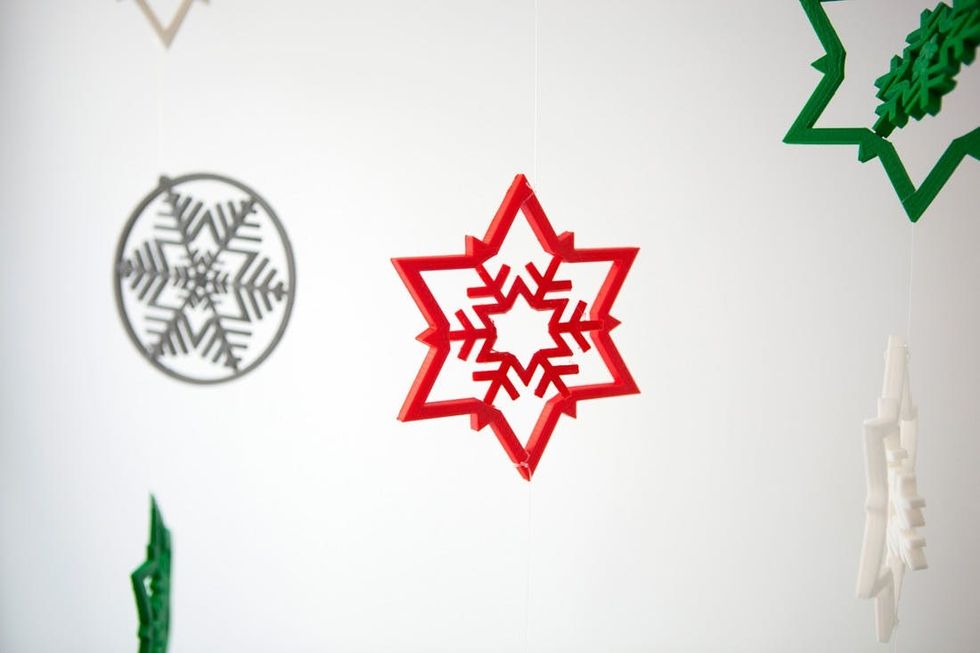
We’ve got a few different ornaments and went with a red, white, and silver color scheme with a few pops of green. It’s getting colorful up in here.
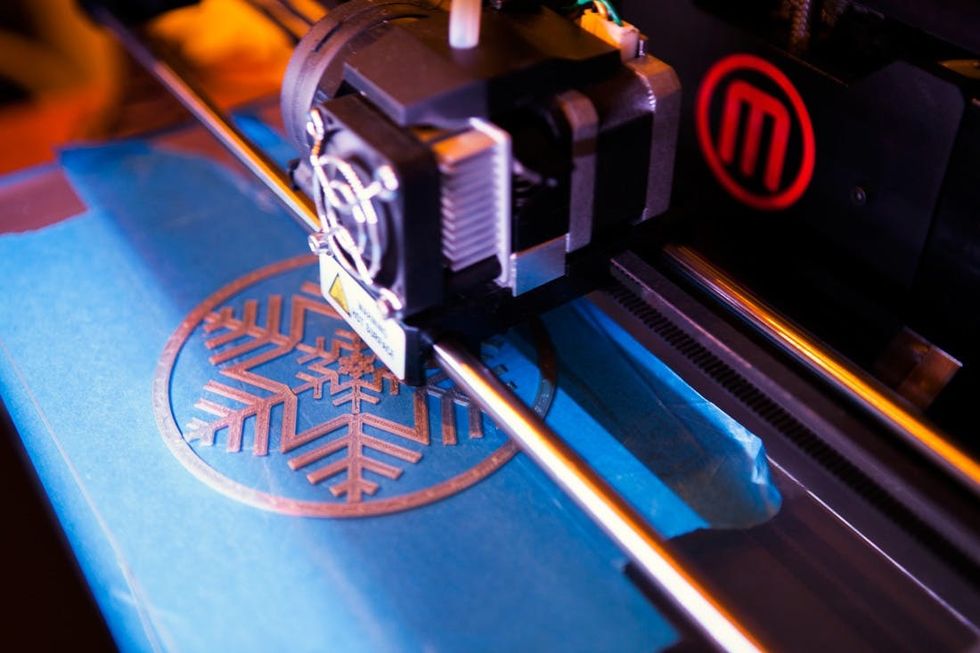
We printed these Gyroscopic Snowflakes found on Thingiverse in a few different colors. And get this: it rotates!
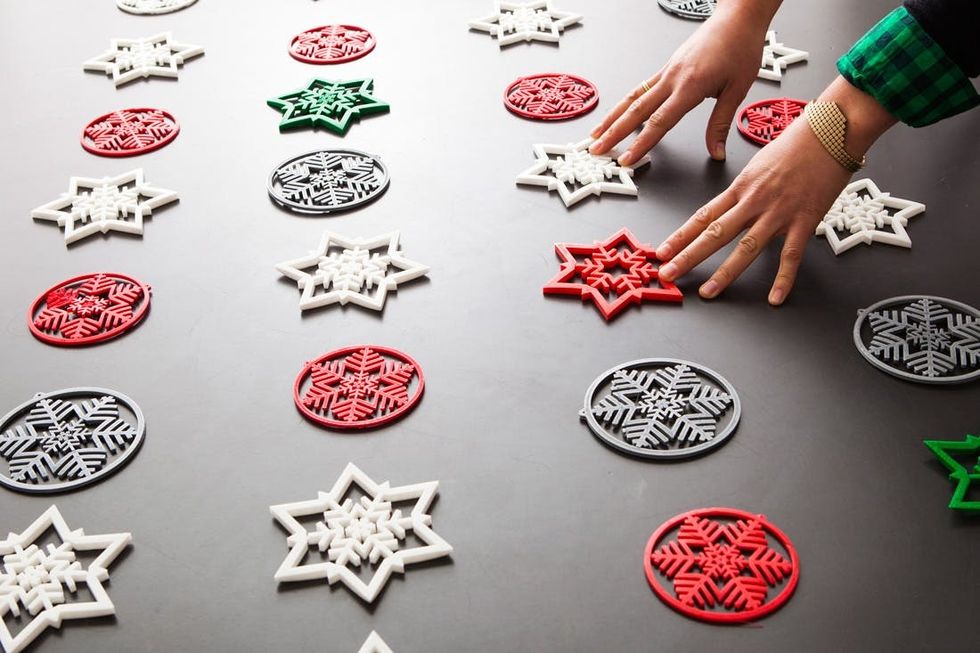
Once you’ve got all your printed ornaments ready to go, put them in the order you want them to hang.

Okay, here’s where you might want to put some tunes on. Mariah Carey’s Christmas album will get you through this, we promise. It’s time to cut and tie. And cut and tie. And then cut and tie some more.
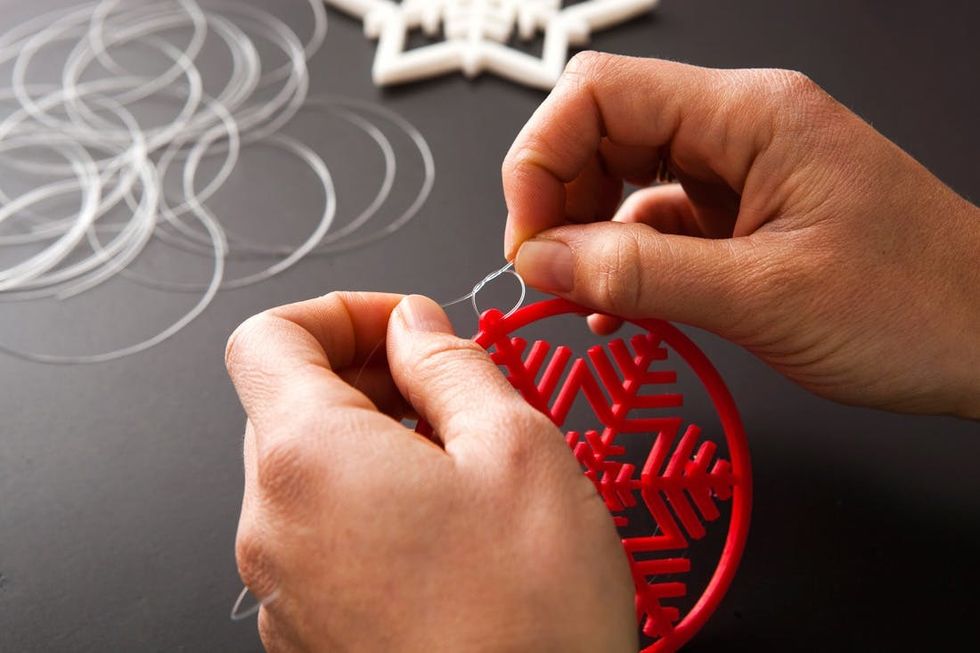
We recommend cutting the pieces long enough so that you don’t have to recruit someone with really tiny hands to tie the knots. You’ll cut the excess from the ends so longer pieces are totally fine.
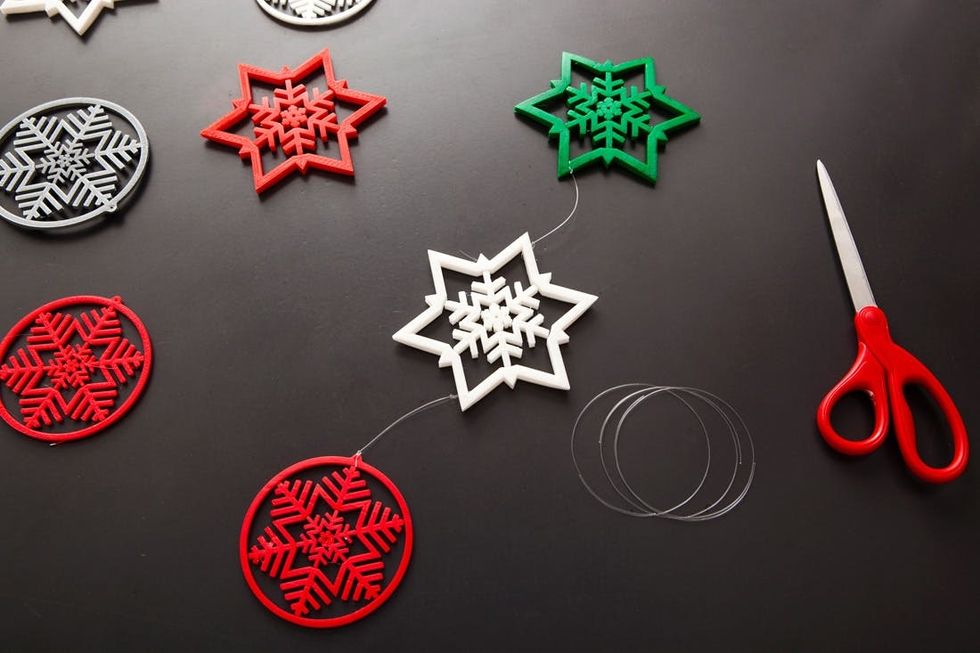
After you tie, trim the ends and then add a long piece to the top so that you can hang the garland.
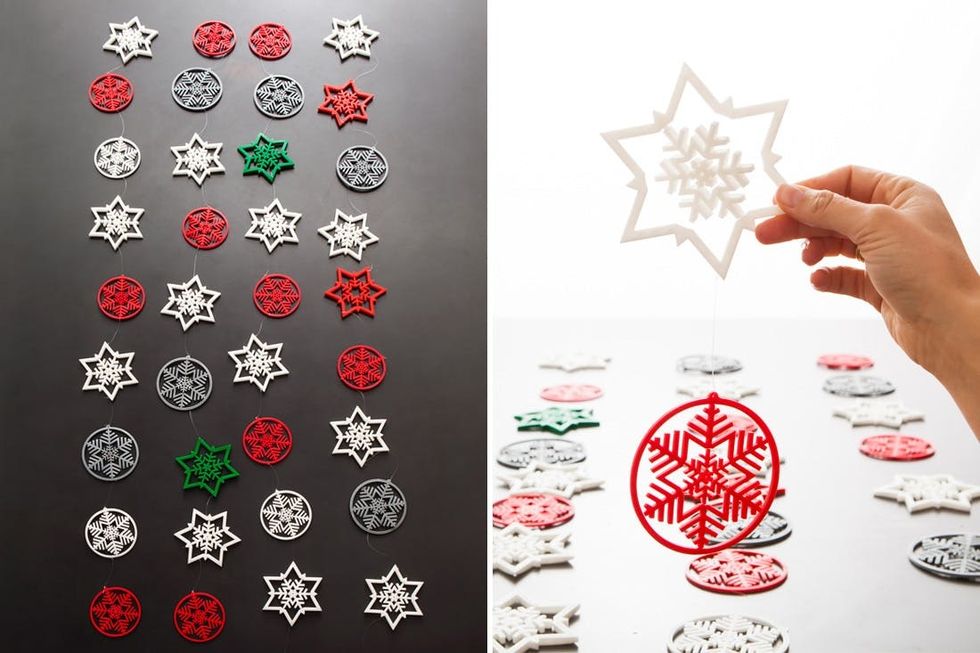
Almost done!
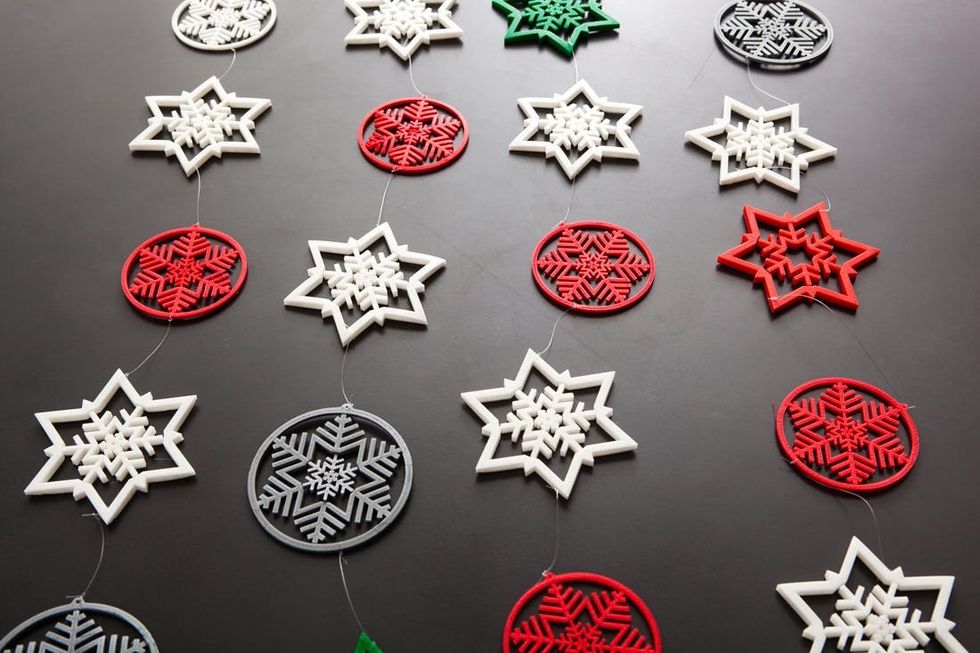
We hung ours up from the ceiling to make it look like it’s snowing, but these would be darling in a window, on a wall, or wrapped around your tree.
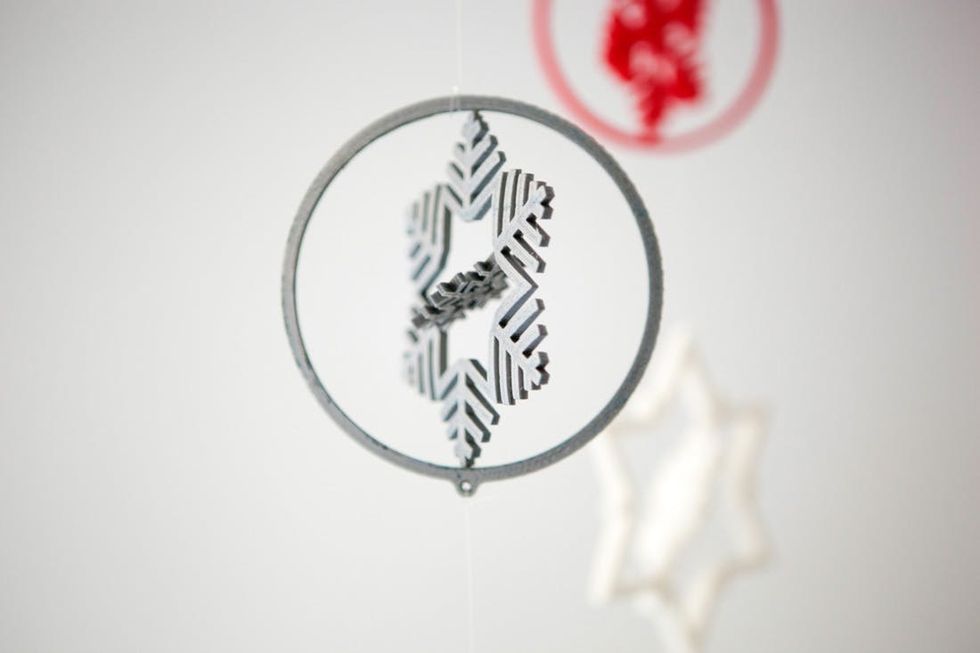
Put on a hat, it’s snowing in here!
Have you ever used or seen a 3D printer? Bought any 3D-printed goods? Talk to us in the comments below.


