4 Easy Ways to DIY a Wedding Cake
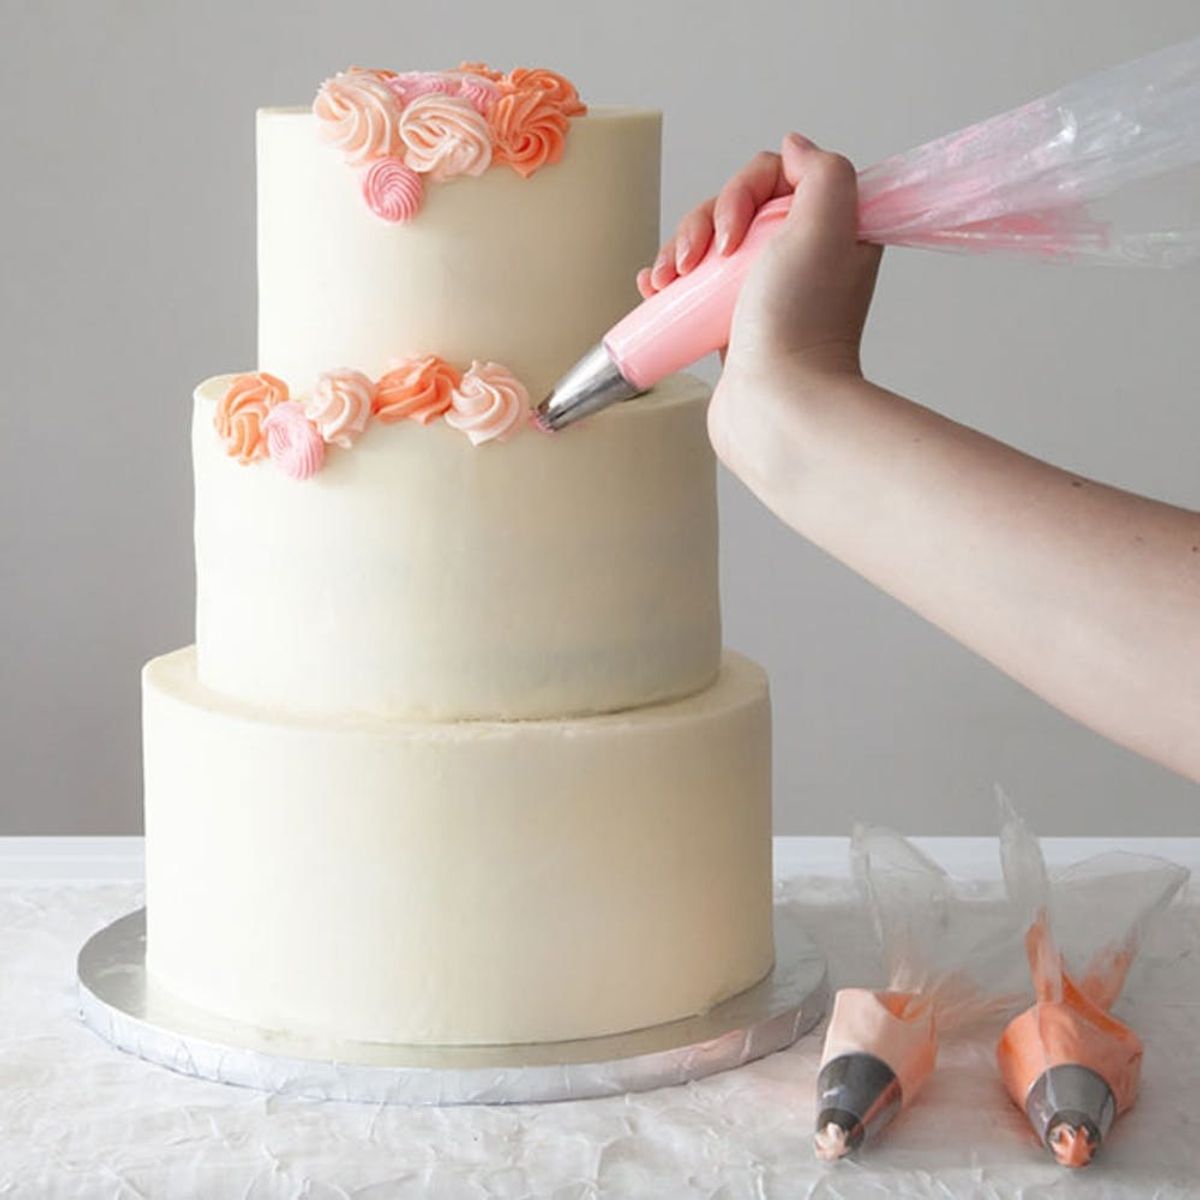
So you’ve decided to tackle a three-tiered, stacked wedding cake. Now what? You are committed to the cause, purchased the support dowels and have been practicing your stacking skills leading up to the big day, but still are unsure how to turn a DIY wedding cake into an awe-worthy centerpiece. It’s time to have some fun and get creative with edible decorations!
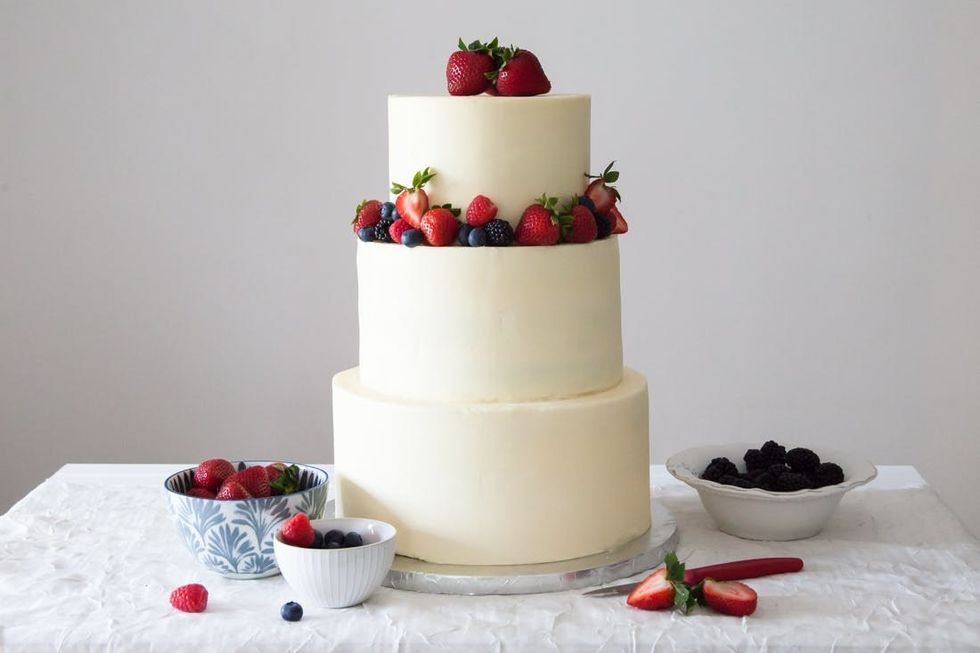
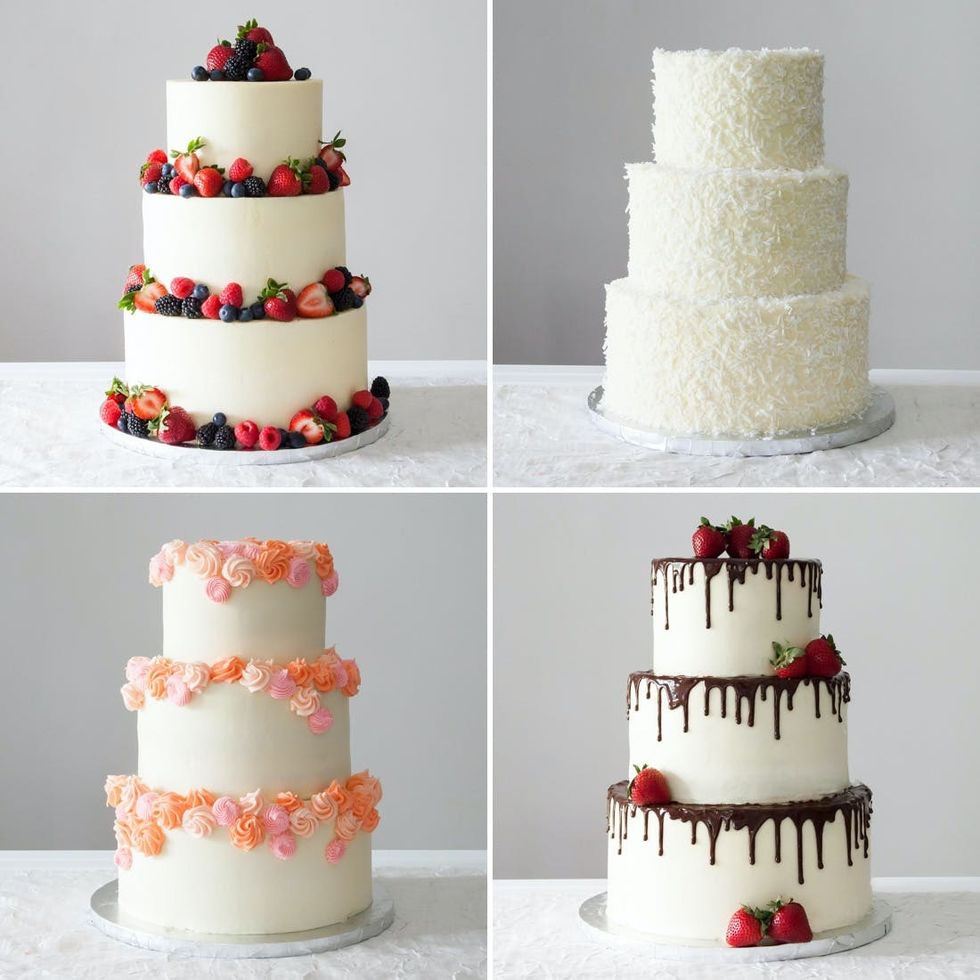
Each of these designs looks professional and feels wedding-ready but are also super simple to put together. The same plain-Jane cake gets an elegant transformation with the help of fresh berries, buttercream, shredded coconut and just a drizzle of chocolate. From rustic coconut coatings to whimsical florals, pick a design to match the aesthetic of the event and you are good to go. Concerned about your piping skills or skeptical of your frosting abilities? Don’t worry, there is no real right or wrong way to decorate here, as each cake was designed to be a bit imperfect, organic and “user-friendly.”
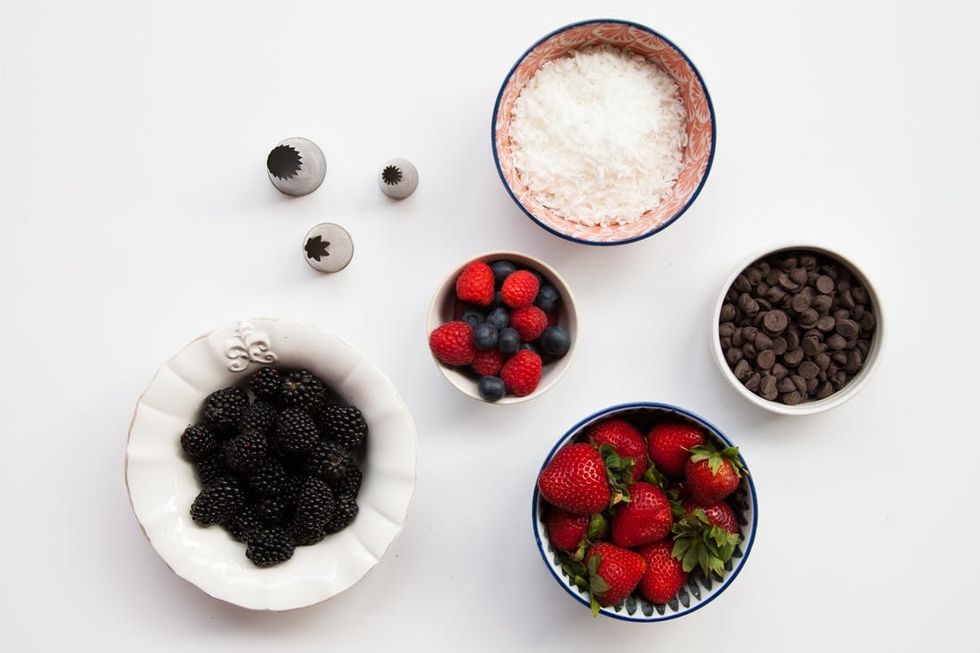
— mixed berries
— shredded coconut
— various piping bags and tips, filled with buttercream
— chocolate glaze (recipe to follow)
Design #1: Fresh Fruit and Mixed Berries
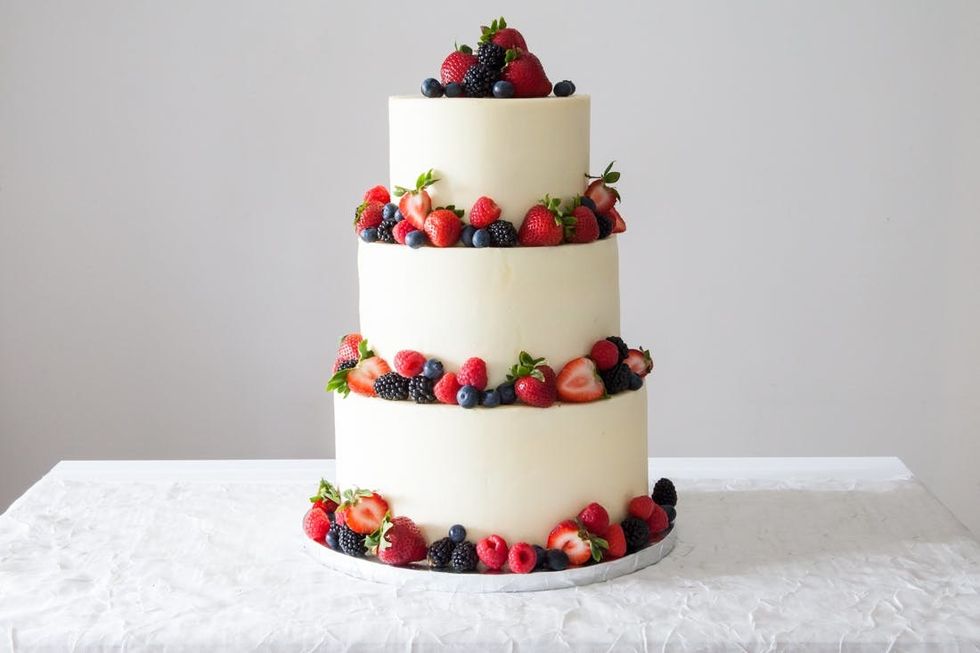
Using a variety of sizes and colors (or keep it monochromatic!), scatter fresh fruit and berries around the base of each tier. Try slicing larger berries in half or quarters for added interest. Gently press the fruit into the buttercream to secure. For the top, pile on the fruit to add a bit of extra height. Not only does this design hide any flaws where the tiers meet, it is super simple and can be adapted to every season!
You will need 6-8 cups of fruit to decorate a three-tier cake (six-inch + eight-inch + 10-inch rounds). During summer months, assemble on location to keep the fruit nice and fresh for the main event.
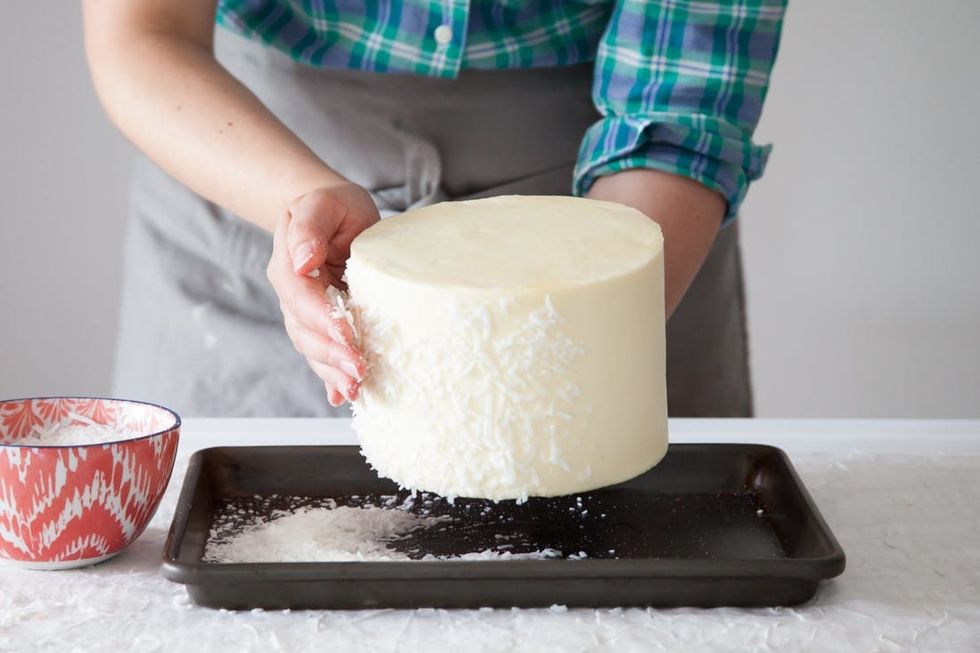
Want a dramatic look without any of the fuss? Coat the entire cake with shredded coconut! Not only does the coconut add texture and elegance, it is the best way to disguise any frosting blunders or mistakes. Want to create a beautiful cake yet lack the experience or are intimidated by smooth buttercream? Then this is the design for you.
To cover a cake in coconut (or any other edible material), work with one tier at a time. Working over a rimmed baking sheet, scoop up and gently press small handfuls of coconut onto freshly frosted cakes. Some buttercreams can dry and crust over, so be sure to cover the cakes while the frosting is still fresh and the coconut sticks. Re-use any bits of coconut that fall back onto the baking sheet.
Design #2: Snowy Shredded Coconut

Not into coconut? This same technique works with sprinkles, chocolate curls and sanding sugars too!
Design#3: Cascading Buttercream Rosettes
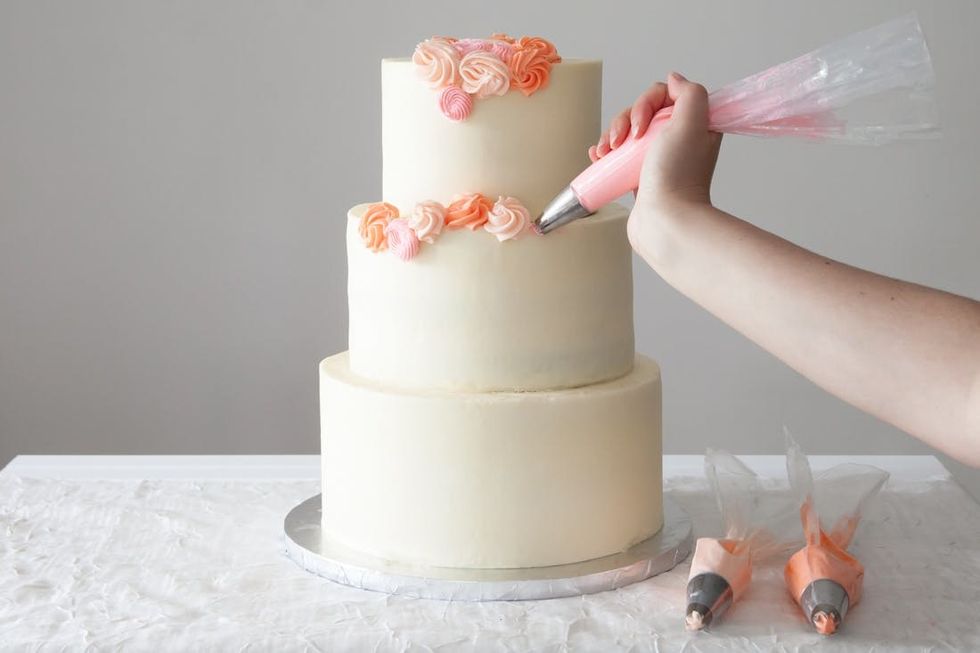
Instead of painstakingly trying to perfect buttercream flowers or shelling out a small fortune for those made out of sugar, pipe on a cascade of simple buttercream rosettes! Tint any leftover buttercream the color(s) of your choice and fill a variety of piping bags with different star tips. Inspired by this contemporary blue version courtesy of Food52, this design involves piping buttercream rosettes around the top edge of each tier and allowing them to cascade down the cake at random. Alternate colors and sizes for an easy, organic feel!
To pipe a rosette, gently squeeze to get the frosting flowing, then move the piping tip in a tight circle. Keep even pressure all the way around then release just as you complete the spiral. Be sure to stop the flow completely before pulling the piping tip away from the cake.
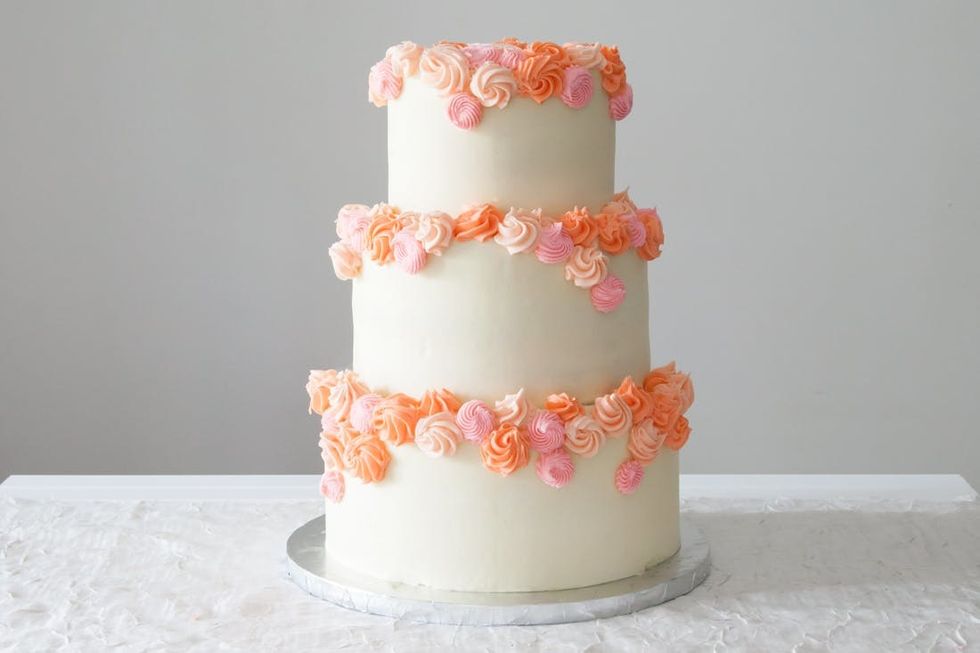
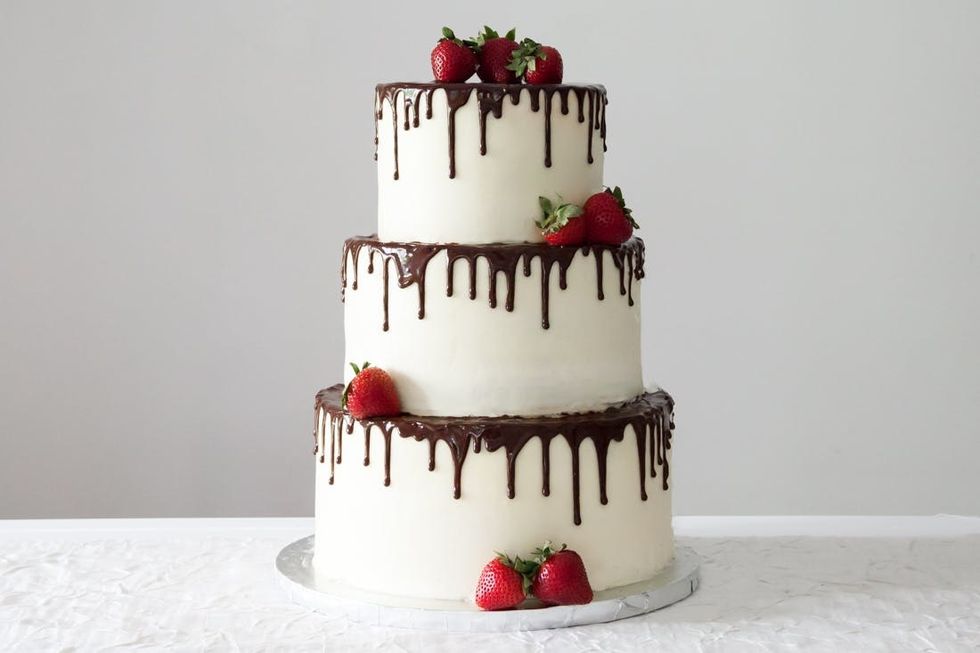
Design #4: Drippy Chocolate Glaze with fresh berries
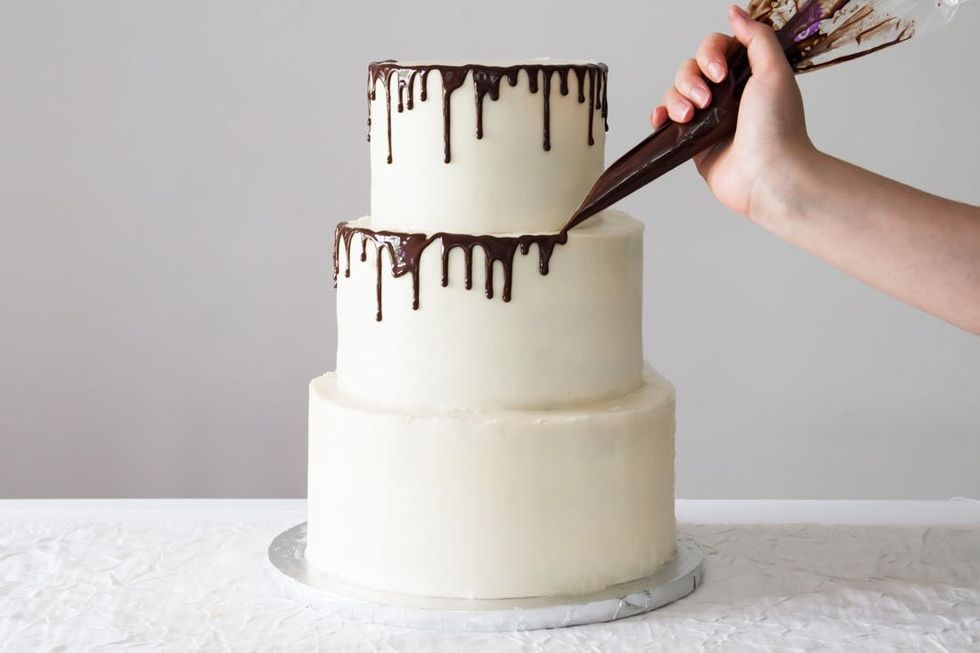
This classic chocolate design is dramatic and timeless. The technique is quite simple, but it is all about the temperature/consistency of the chocolate itself. After making the glaze (recipe to follow), allow for it to cool for 10-15 minutes, or until cool to the touch but still fluid. Carefully spoon the glaze into a disposable piping bag (tip intact) or zip-tip plastic bag, snip off just the tip and pipe the chocolate around the edges of the cake. Use various amounts of pressure as you go to keep the drips random and unique. Once the drips are complete, go back and add glaze to the tops of the tiers. Gently smooth out with an offset spatula or the back of a small spoon as needed.
Unsure if your chocolate glaze is the correct temperature? Try a few “practice drips” on the back of the cake. If they are too runny, the chocolate is probably still too hot. Finish off this classic design with giant, fresh strawberries!
Chocolate Glaze Recipe


 — plain