Get ready for the awwws, people!
6 of the Sweetest Mom + Toddler Halloween Costumes You Can Buy and DIY
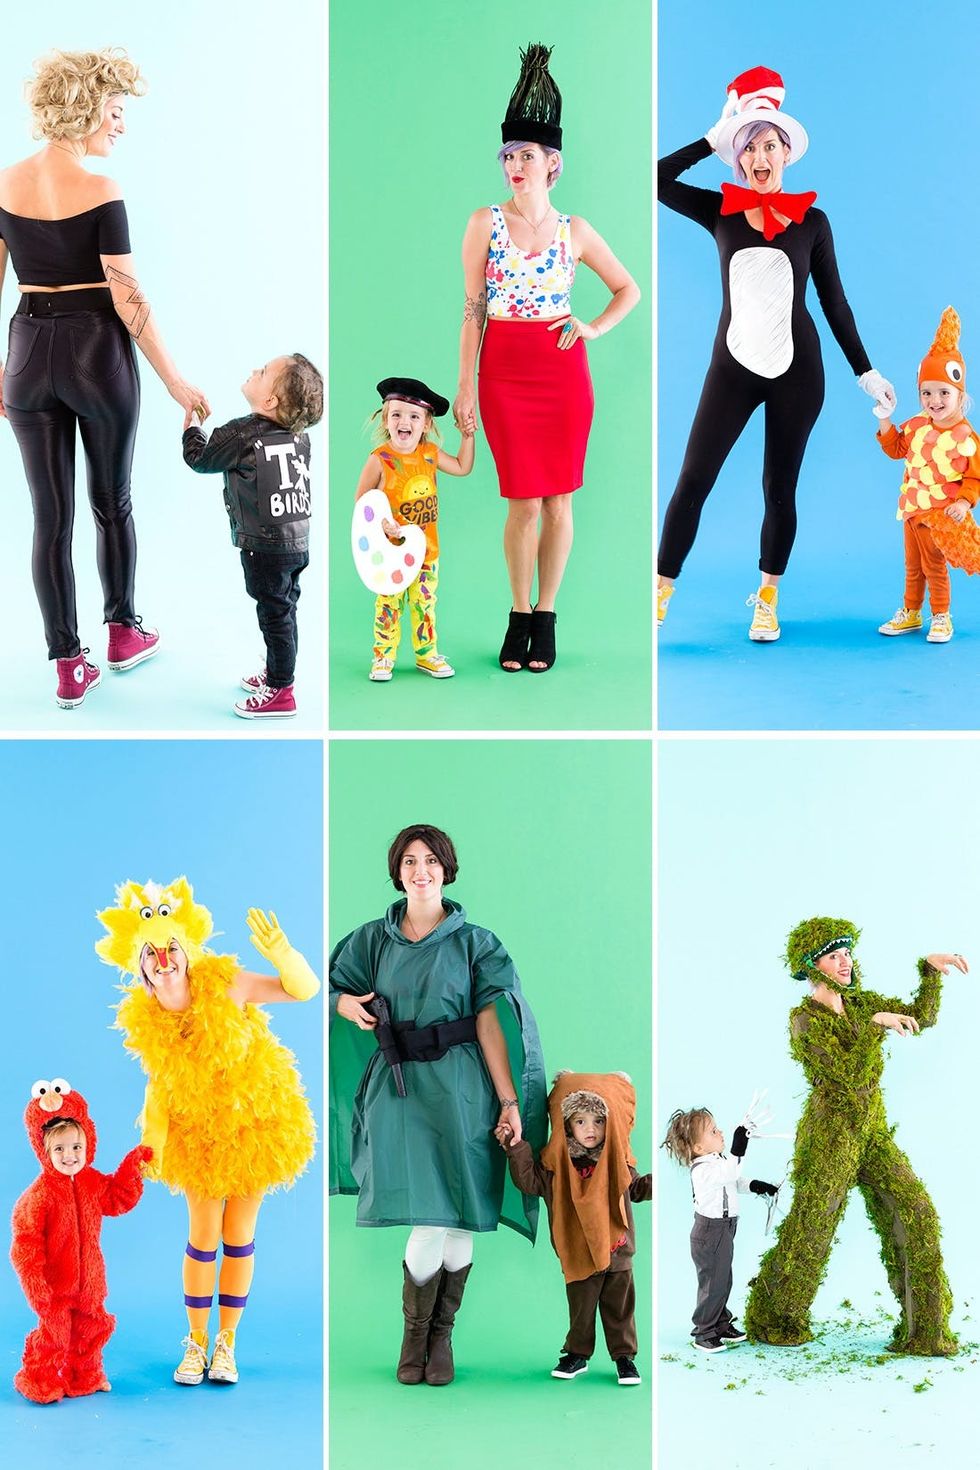
Halloween is near and dear to our B+C hearts — and yours as well I’m sure! We are always looking for the next best idea for a family costume. Two years ago, my son Elijah and I got to rep six momma and cub costumes and it melts my heart to see his growth since then. Note: If you have a toddler and want to get through SIX costume changes in ONE day, call in the big troops (AKA Grandma)! These little toddler-teens are a handful and boy do they have an opinion. SO, this may be your last year to orchestrate you and your mini’s duo look before they choose for you.
How to Be Big Bird + Elmo
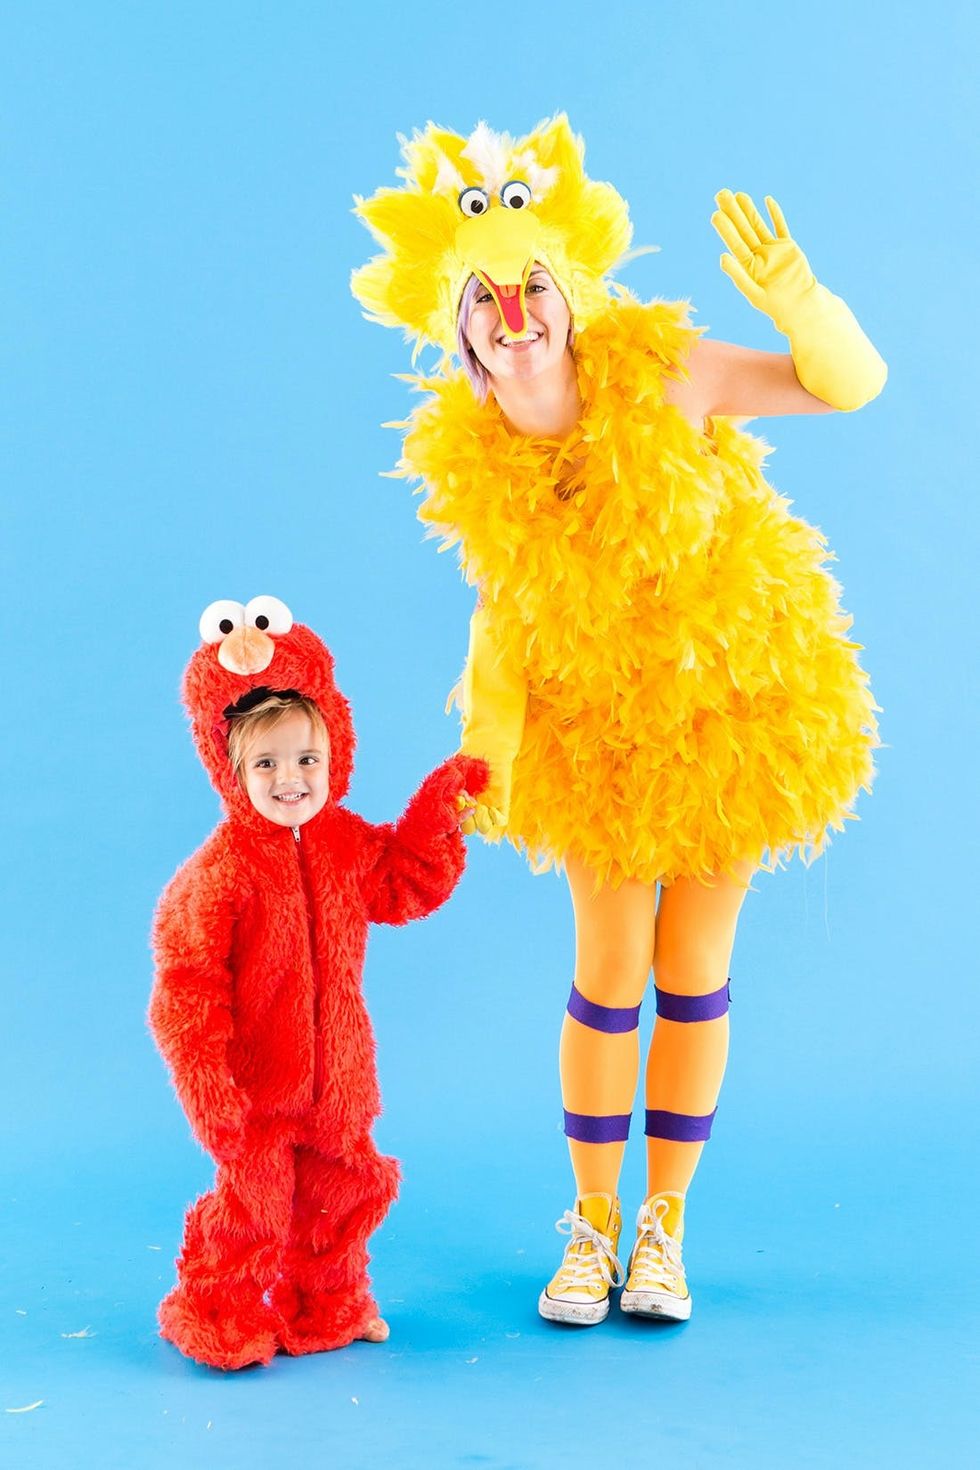
I decided to go ALL-IN on DIYing Big Bird’s costume, so I felt it was best and more realistic to just purchase the Elmo costume for my mini. Real talk: Who has time to make BOTH costumes? :) It’s okay, because your mini will lose their minds when they see the life-like Elmo ‘fit in person!
Materials and Tools:
I found a short yellow dress from the Goodwill as my base, and then hot glued yellow boas all around the dress.
- yellow dress
- 4 yellow boas
- yellow feather pads
- white feathers
- orange tights
- purple felt
- yellow headband
- yellow, white, red, orange, blue and black foam paper
- yellow gloves
- Elmo costume
- hot glue and gun
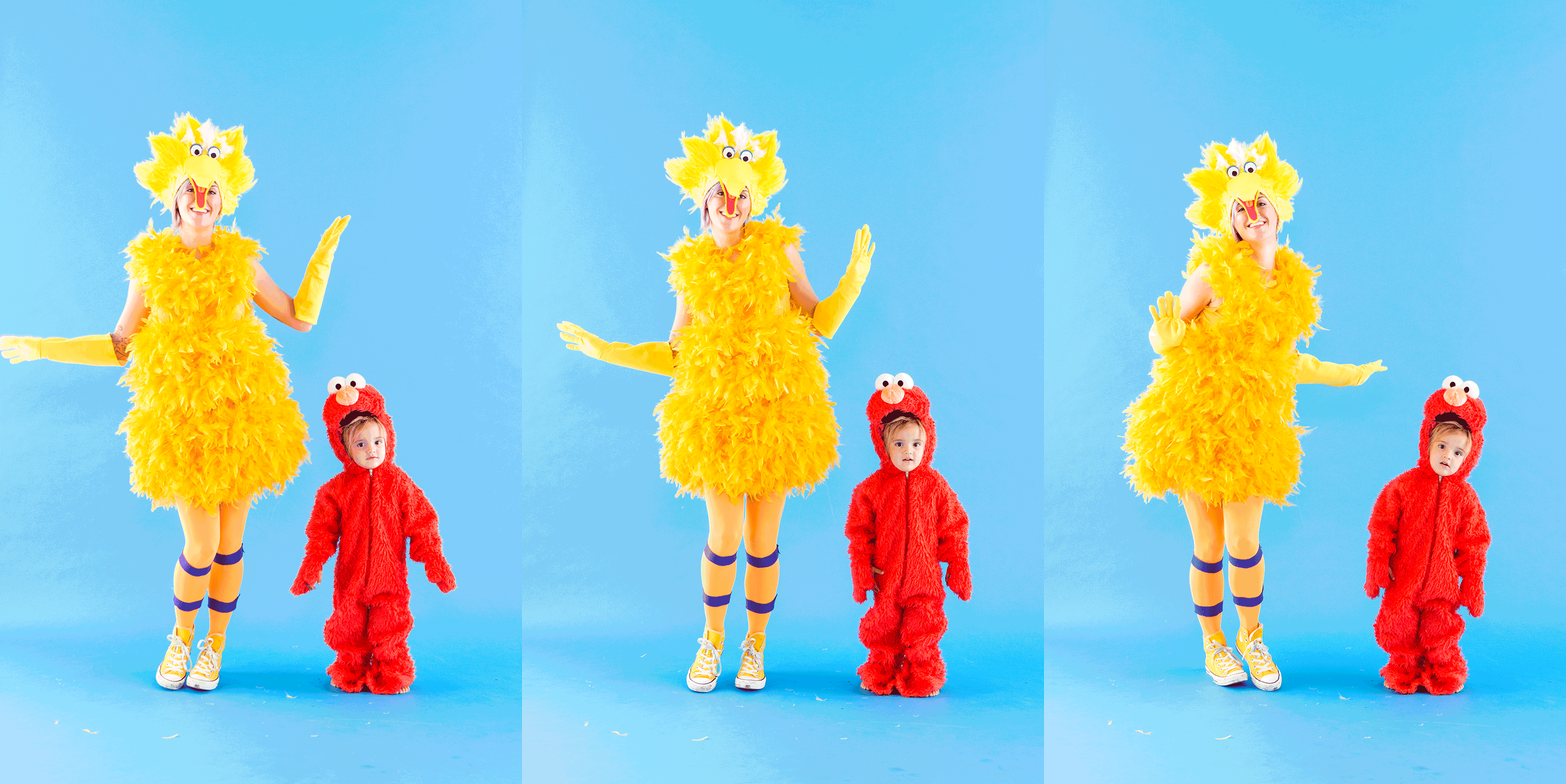
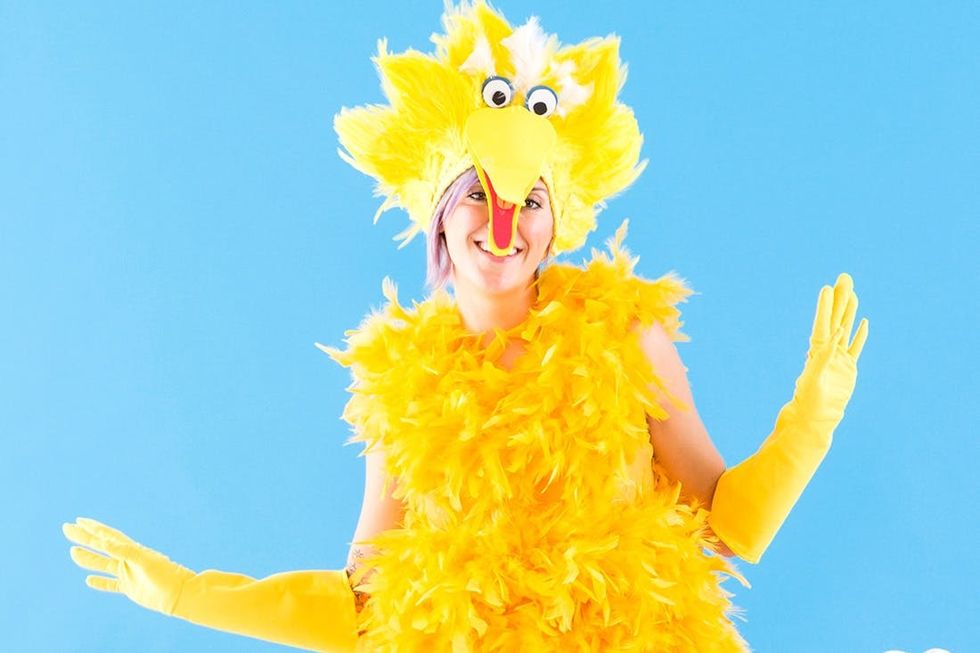
For the headpiece, I glued the yellow feather clusters (which are clusters of feathers that are glued onto a solid structure like cardboard, so if you can’t find them to buy, you can glue feathers to cardboard) back to back, leaving the bottoms of the feather clusters open so they could be glued to the headband. This will make the feathers stand straight up. After all the clusters are glued to the headpiece, I added a few white feathers just like Big Bird has.
Now that the headpiece is made, you need to bring him to life by making his face. To do this, I copied Big Bird’s beak and eyes onto the coordinating foam pieces and then cut them out and glued them to the yellow headband.
Hot glue a couple pieces of purple felt around the tights to create the ribs that Big Bird has on his legs. Throw on your gloves and a pair of yellow shoes and you are good to go!
How to Be The Cat in the Hat + Goldfish
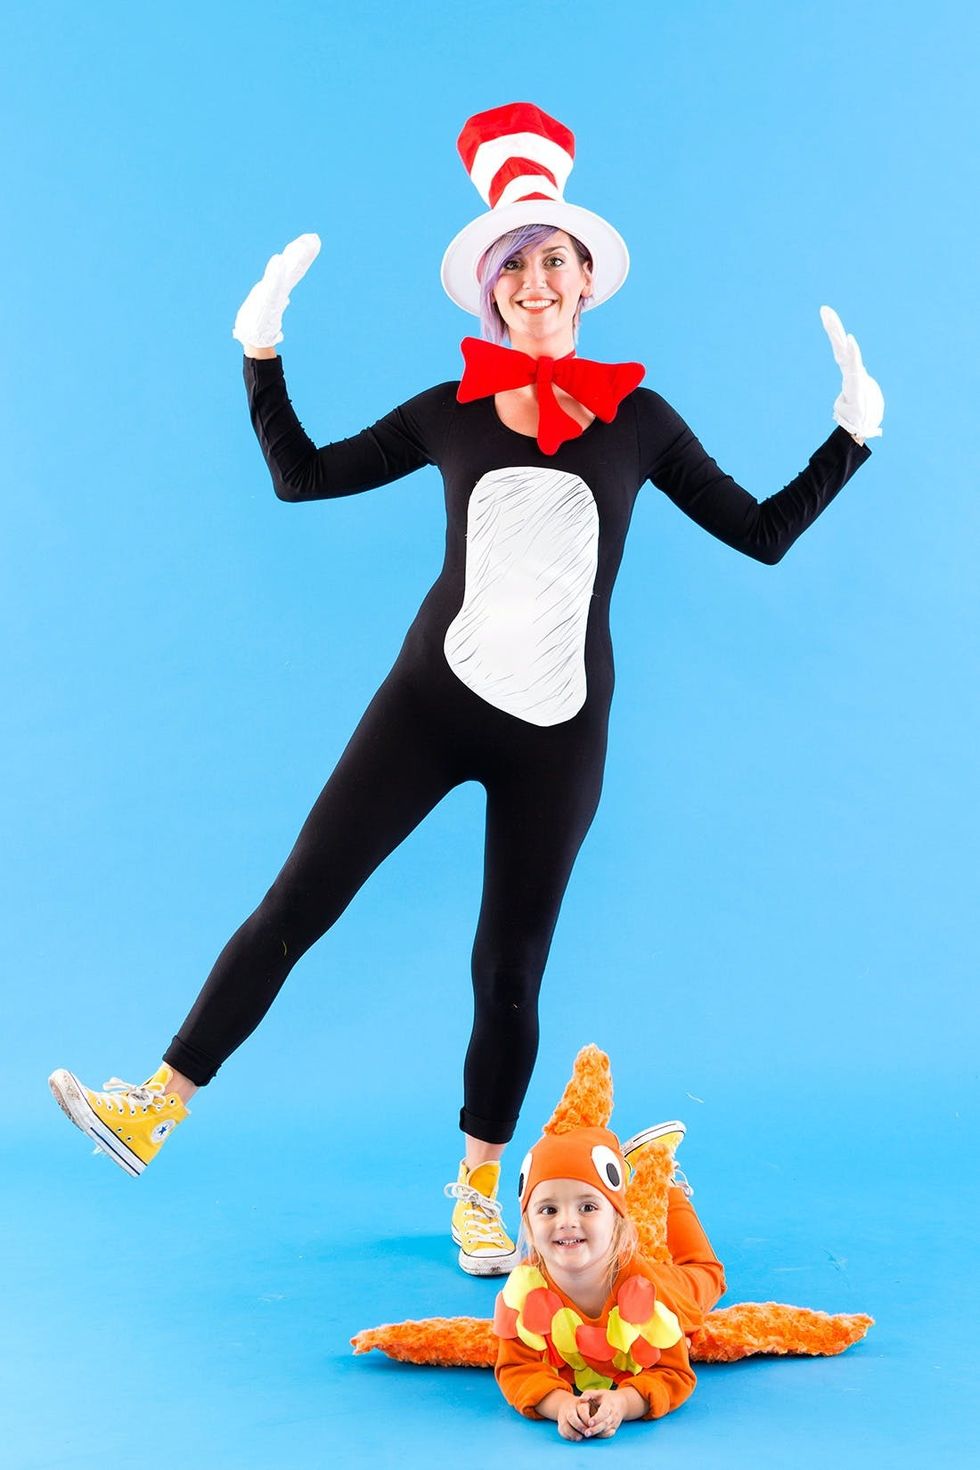
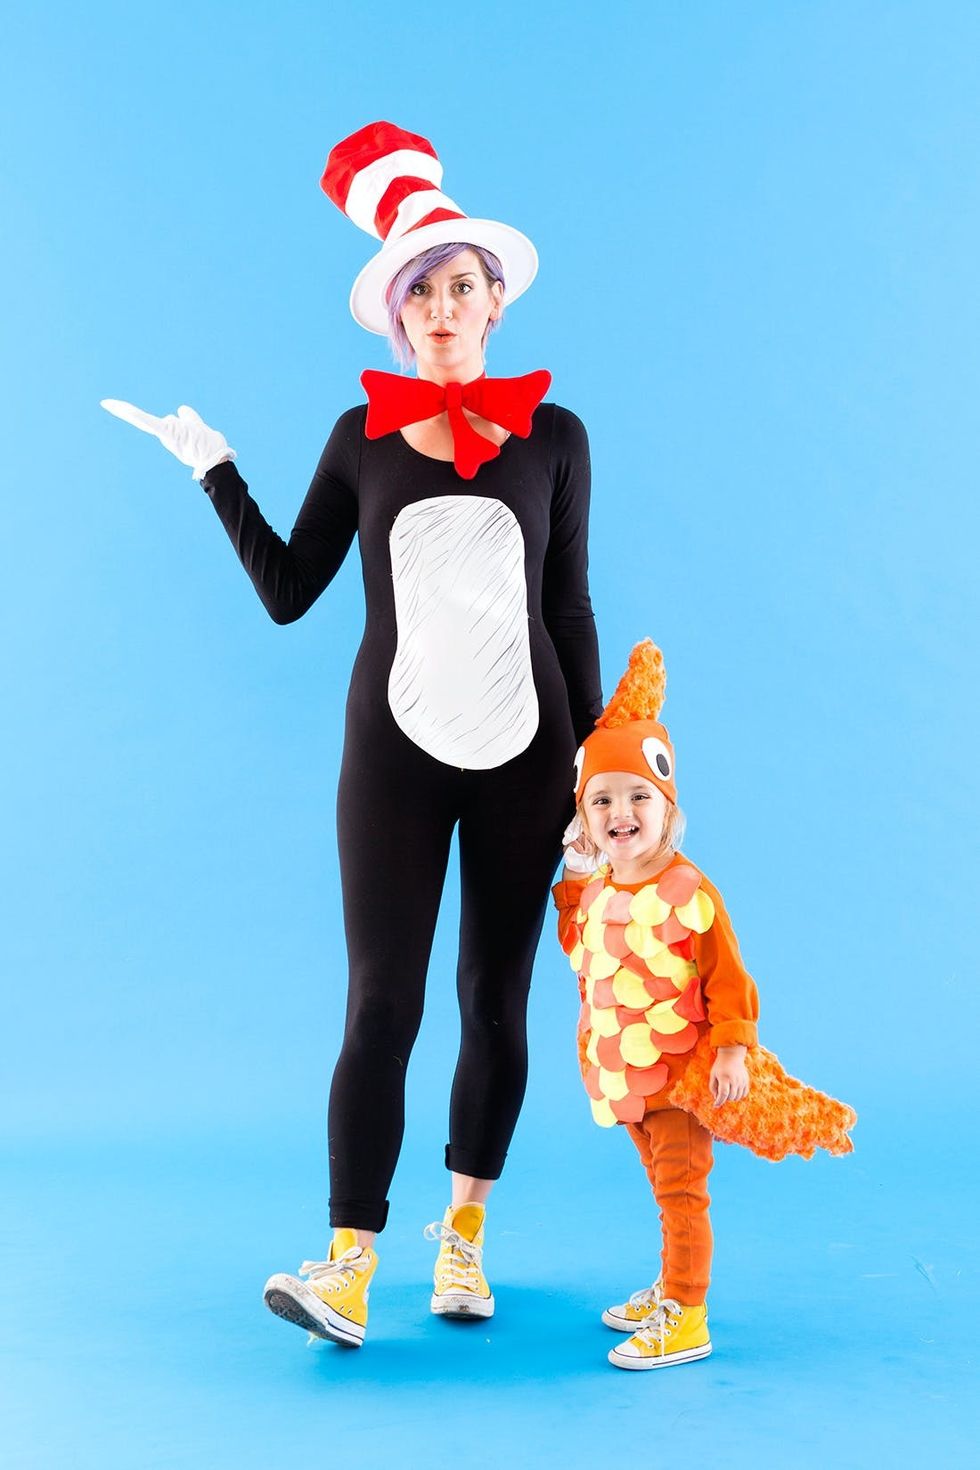
You guys! Ever since we dressed up in this costume, every time we read “Cat in the Hat,” Elijah says, “Momma, is dat you and dat’s me?” about the cat and the fish — cuteness overload! This costume was completely DIY for the little goldfish, and the Cat in the Hat was super easy because I purchased the accessory package that made this look come together.
Materials and Tools:
Cut out the shape of the cat’s tummy using the white felt and then hot glue it onto the black onesie. I found this one at a random shop on Haight St in SF. Add a few black lines onto the white felt for the cool texture that the CITH has in the book! That’s it! Throw on your accessories and call it a day!
- black onesie
- Cat in the Hat accessory pack
- white felt
- black Sharpie
- orange sweats and sweatshirt
- ¼ yard each of yellow and orange shiny jersey fabric
- orange beanie
- ½ yard orange furry fabric
- white and black foam paper
- hot glue and glue sticks
- paper to stuff fins with
- matching shoes FTW
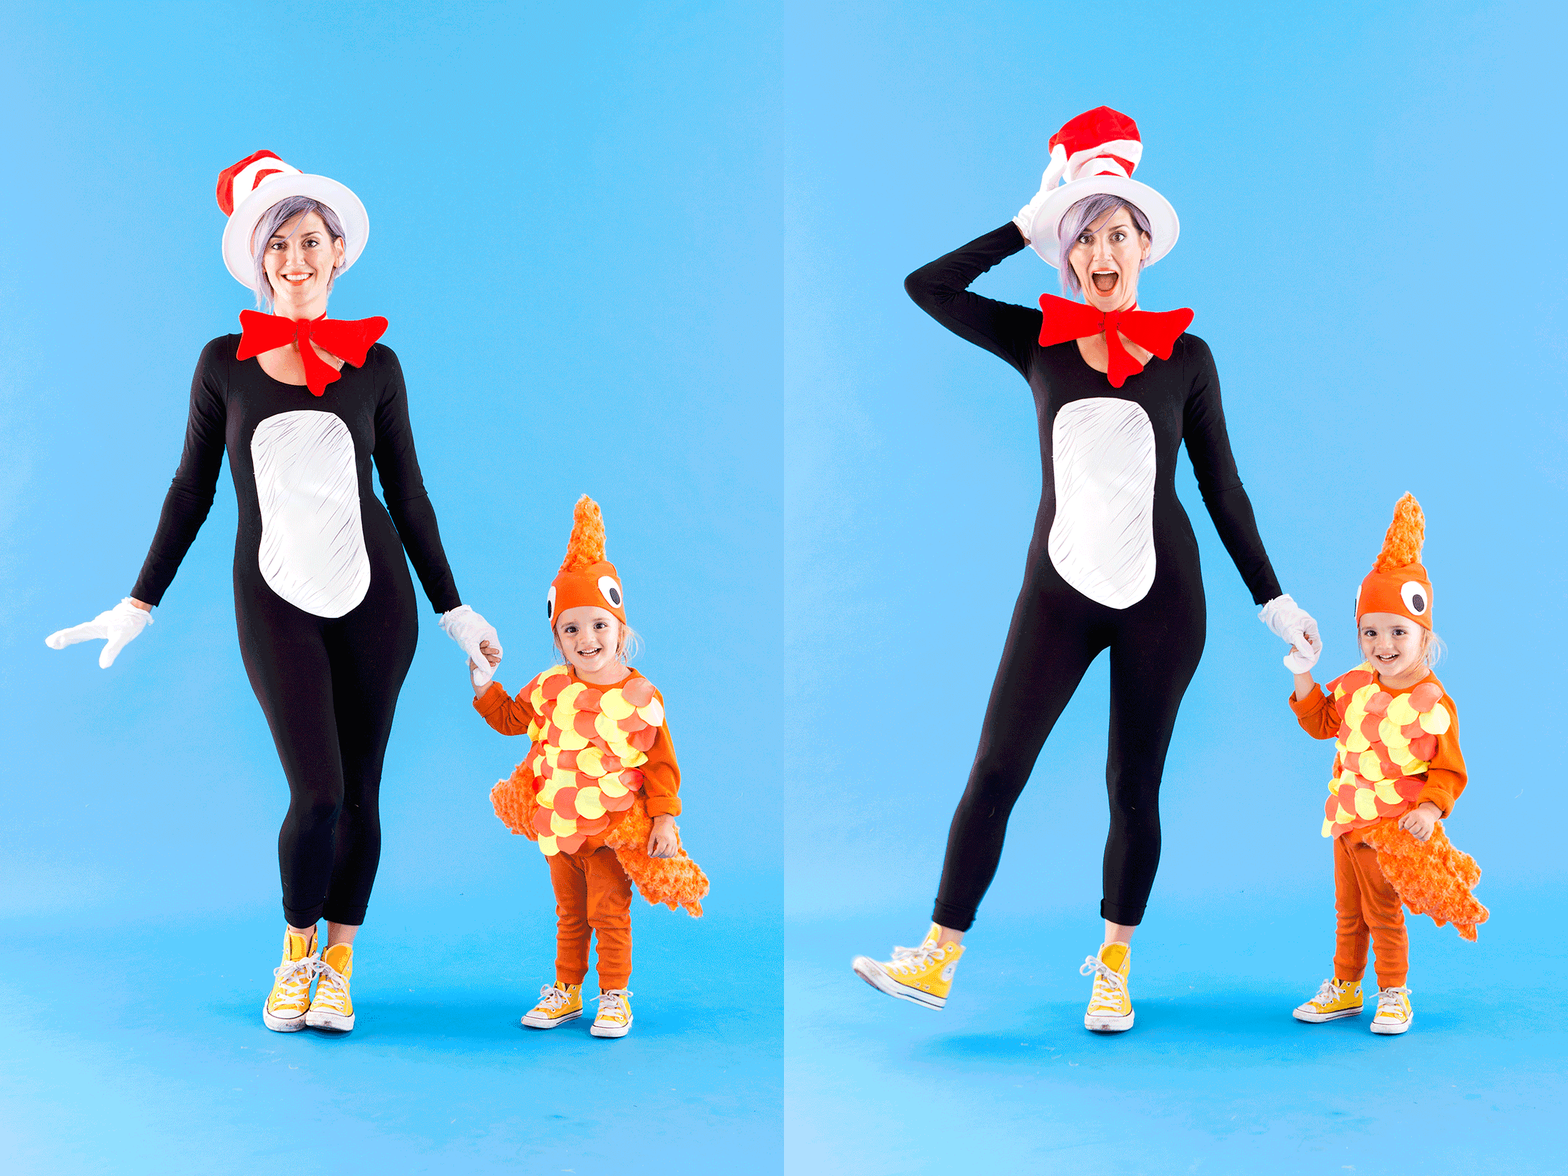
To make the scales, cut out a ton of circles that are all the same size, using a template (I used a small cup to trace my circles). Then hot glue them onto the sweatshirt alternating the colors and leaving the bottoms of the circles unglued so they have a little movement.
To make the fins, fold the furry fabric over onto itself and then cut out the shape of your fins for both sides, the booty and for the head. Hot glue them together, leaving a space to stuff paper into them and then glue them onto the sweatshirt, hat and pants.
To make the eyes, cut out big white circles and little black circles to glue onto the sides of the beanie.
How to be a Paint Brush + Paint Palette
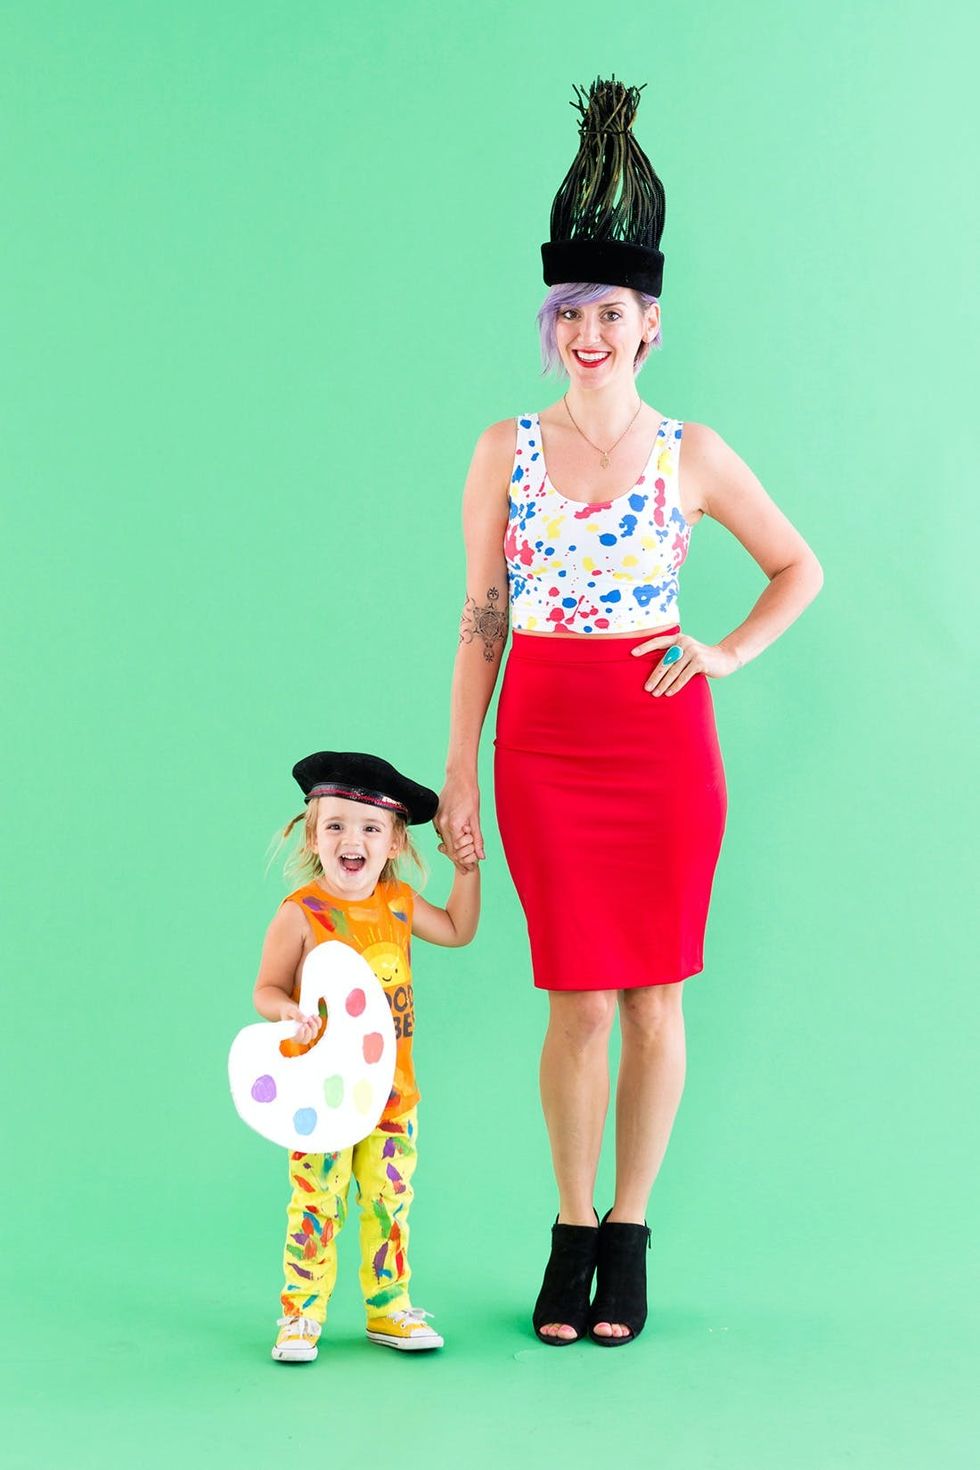
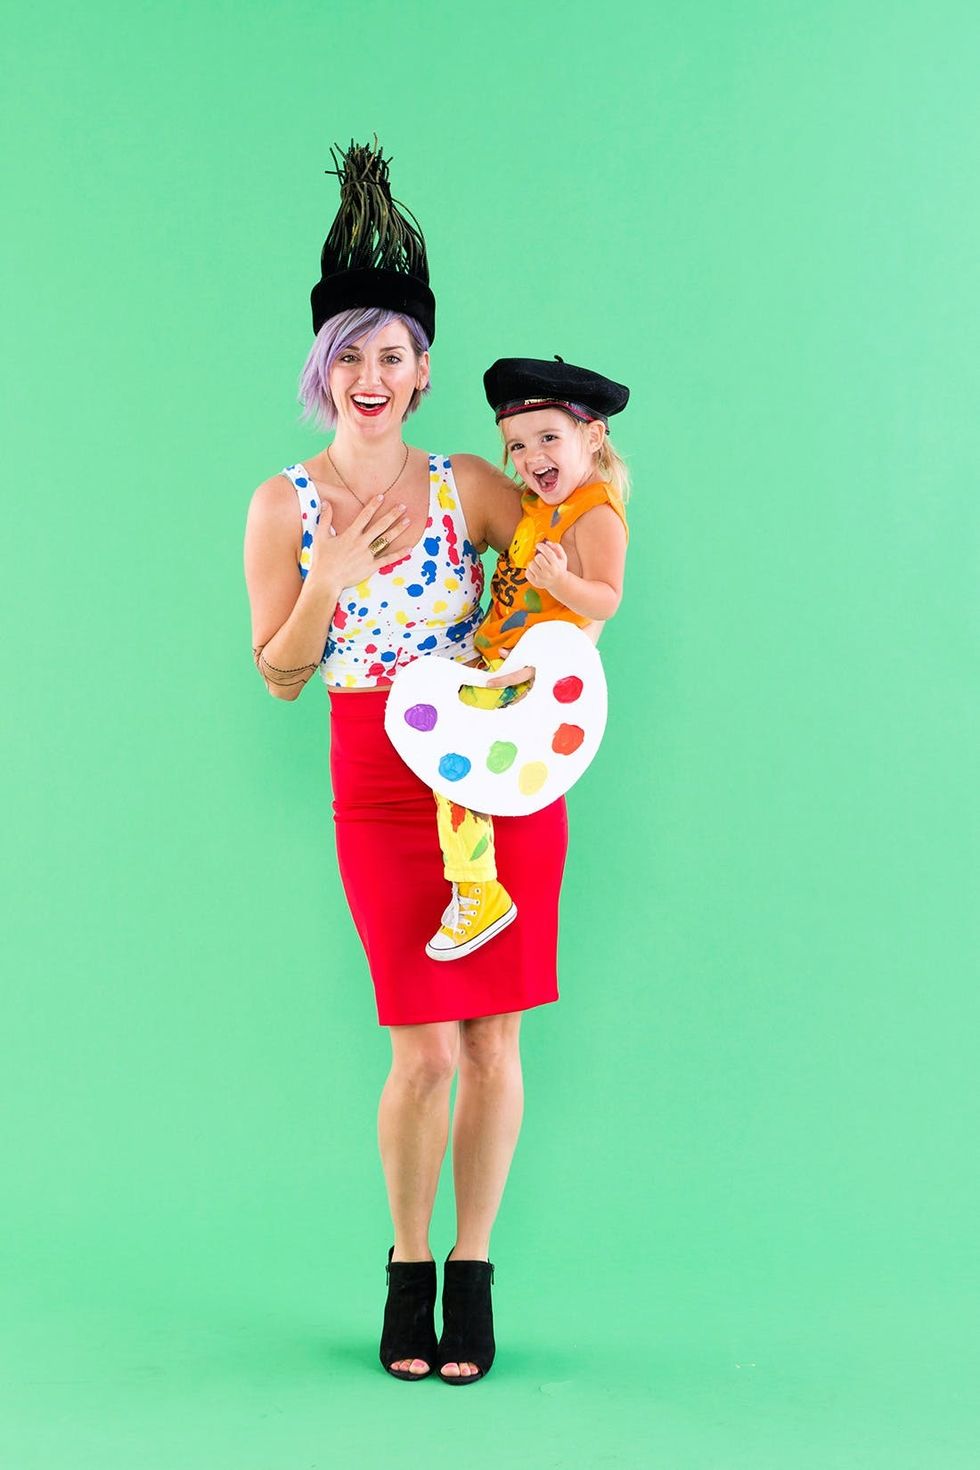
Obsessed? Me too! I mean?! This little guy actually got to DIY his outfit with Momma, and yours can too! For Momma, all you need is a little time to DIY a few elements and the rest you may even have in your closet!
Materials and Tools:
If you can’t find a tank top that already has paint splotches on it (random find, to be honest), then you can add your shirt to the painting DIY with your little boo’s outfit. Lay out their pants, shirt and your shirt and get your favorite paints and a couple of brushes. This is the perfect activity to let your toddler get in on the action. There are no rules on how he or she can paint their outfit. Elijah was stoked about this part and very proud afterward.
- red pencil skirt
- white tank top (I found this one at Goodwill with paint on it already)
- black hat
- black pipe cleaners
- bright colored base outfit for the mini
- black beret
- white foam board
- paints
- glue gun and hot glue
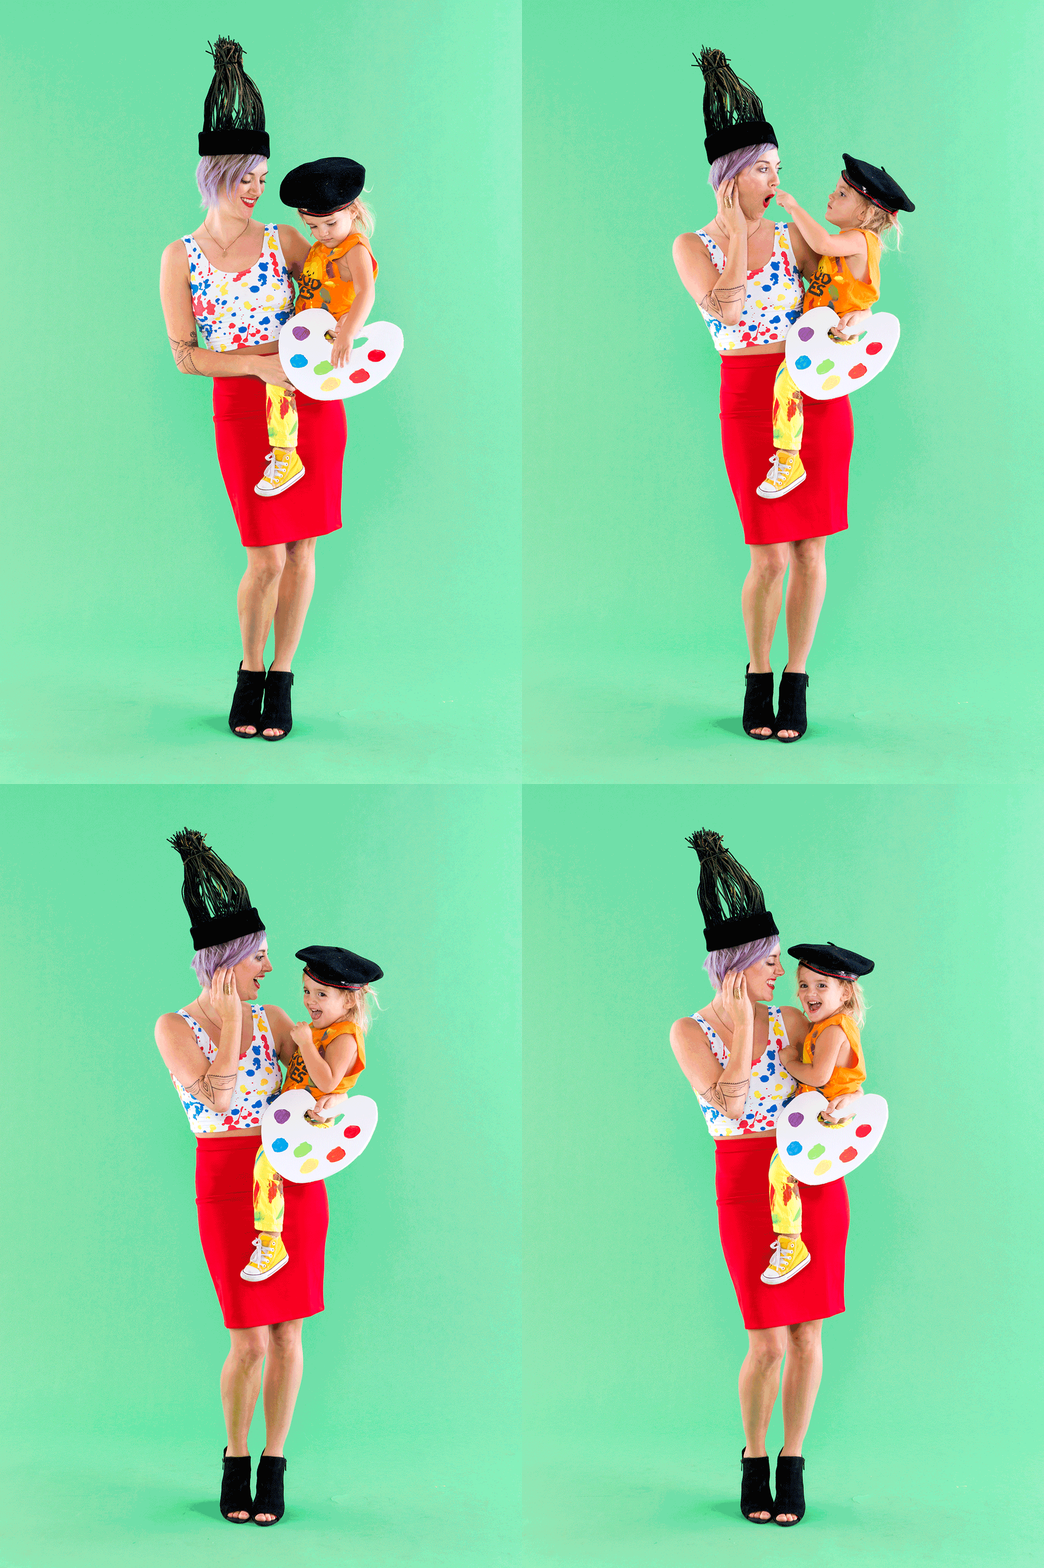
To make the top of the paint brush (AKA your hat), hot glue the black pipe cleaners on and then bend them to resemble the shape of a paintbrush on top.
For your little paint palette, cut out the palette using foam board and then add little splotches of matching paint that you used on your outfits.
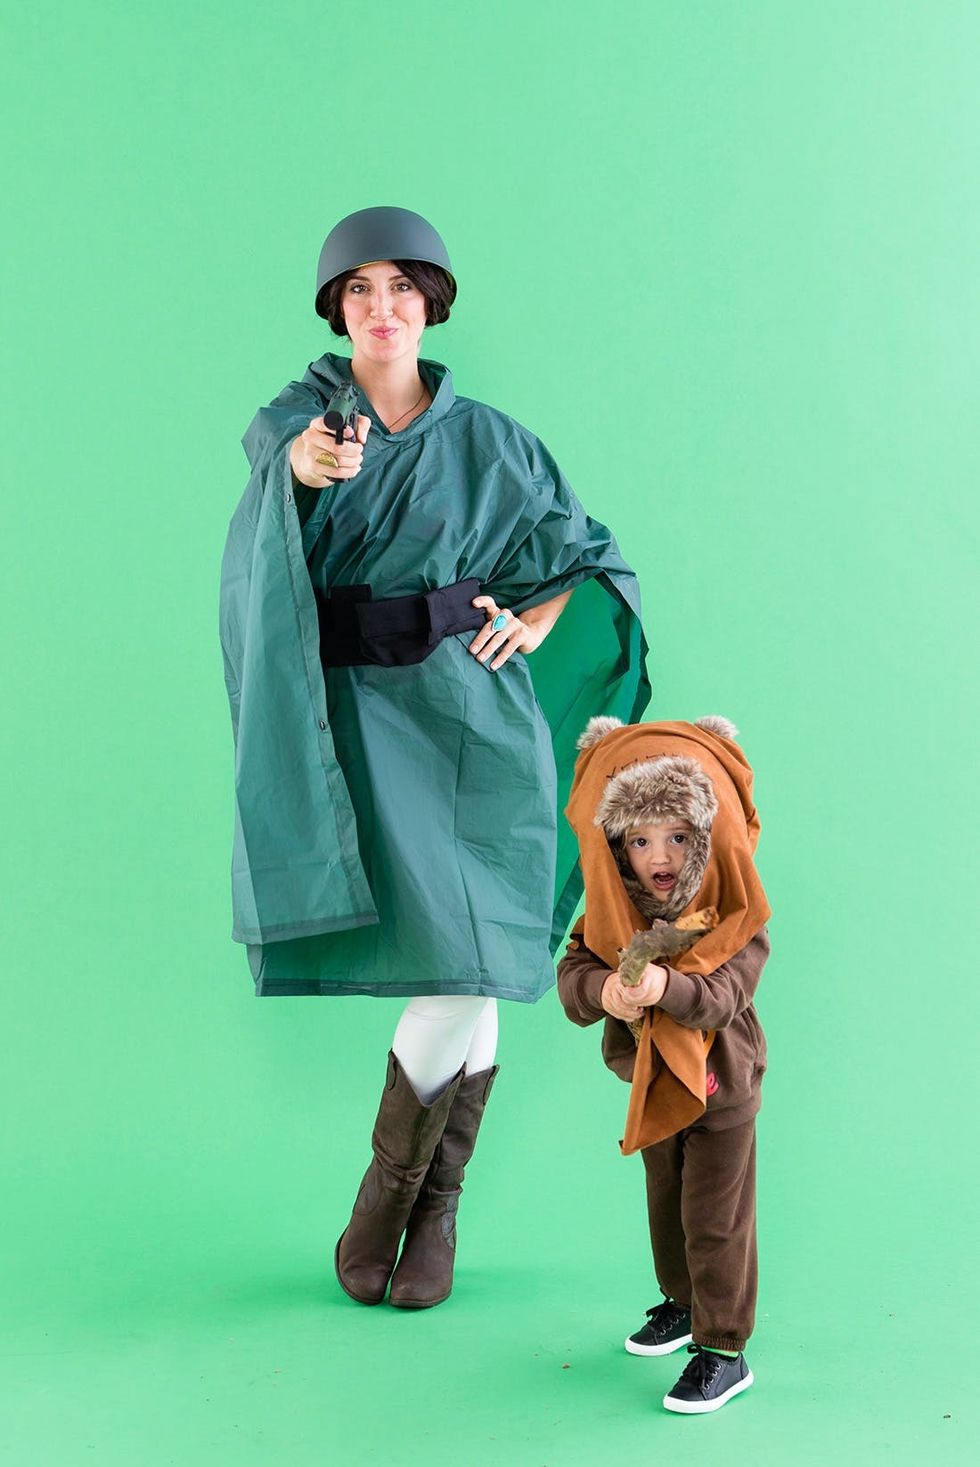
How to Be Princess Leia + An Ewok
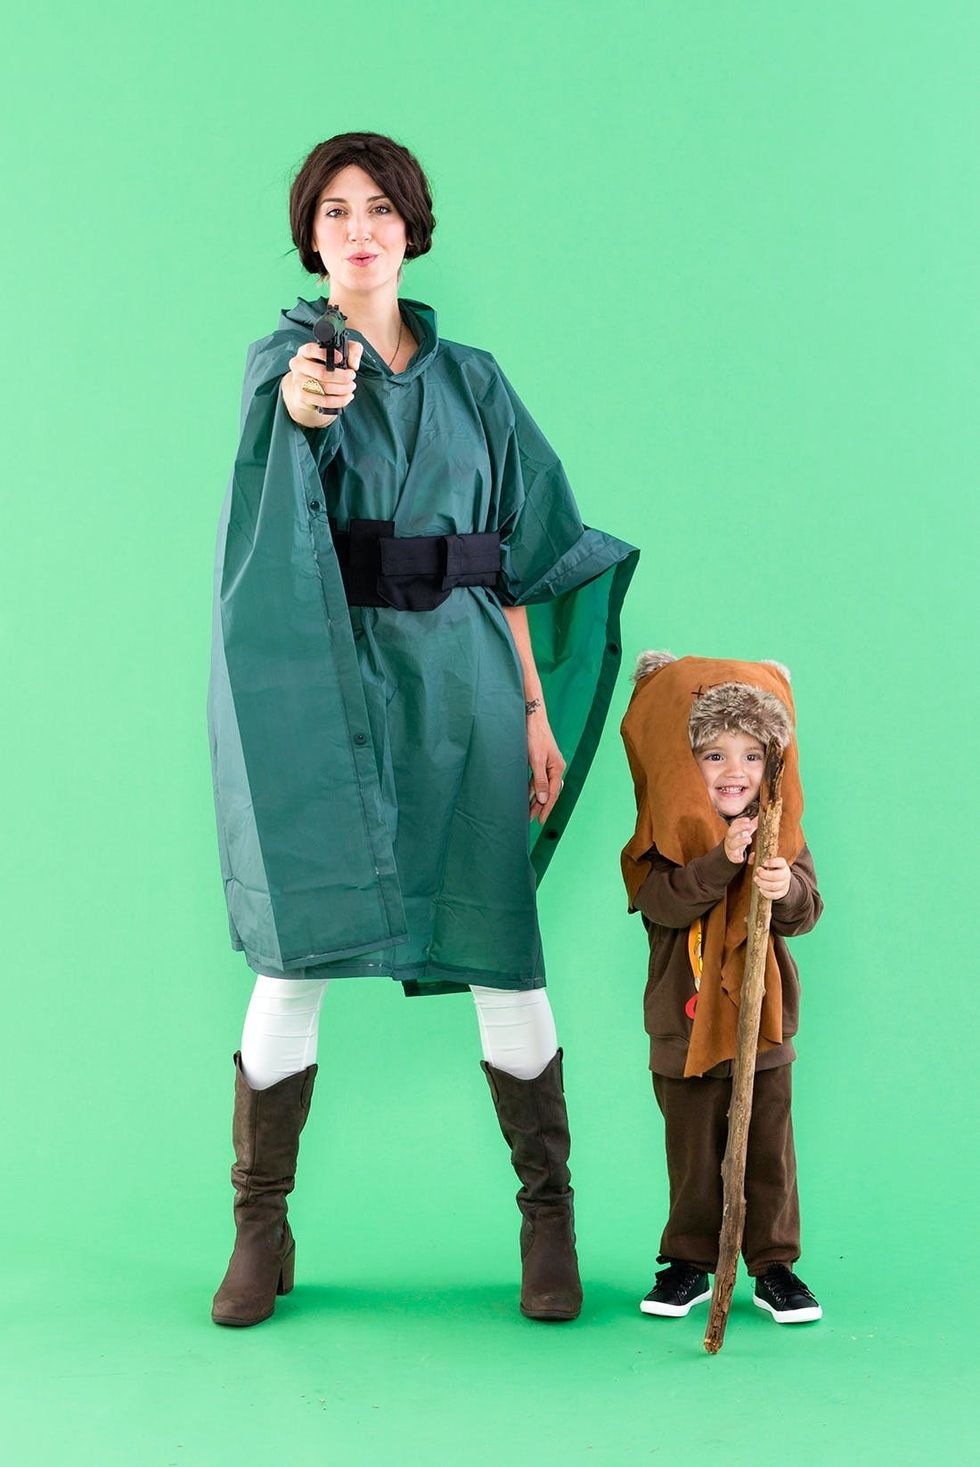
I had to make sure I showed Elijah the scene from the movie because I wanted him to know who he was dressed up as. It helped!
Materials and Tools:
Layer the gun holster or belt over the front and under the poncho in the back. Braid either your own hair or your wig to match Leia’s iconic brown braid.
- green rain poncho
- white leggings
- brown boots
- gun holster (or high waisted belt)
- army hat
- brown wig (unless your hair is brown and long enough to braid)
- toy gun
- brown sweat suit
- brown bear hat
- ½ yard brown fabric
For your little Ewok, cut out two sides of the fabric in the shape of a mini poncho that will go over the little furry animal hat (which I found at a thrift store). I layed the fabric over the hat to outline the shape of the head and mark where the ears were, so I could sew the two pieces together on top and slightly down the sides and then cut out the places for the ears to pop through.
Cut out the face, and then if you want, give your child a stick to play with (be mindful of how quick they swing that thing though!).
Probably one of the most fun costume experiences I have ever had! I also showed Elijah the scene from this movie so he could understand what was going on, and let me tell you, he legit got it! This costume duo was a show stopper in our office for sure. Also, this is a more ambitious duo out of the bunch — heavy on DIY, but so worth it!
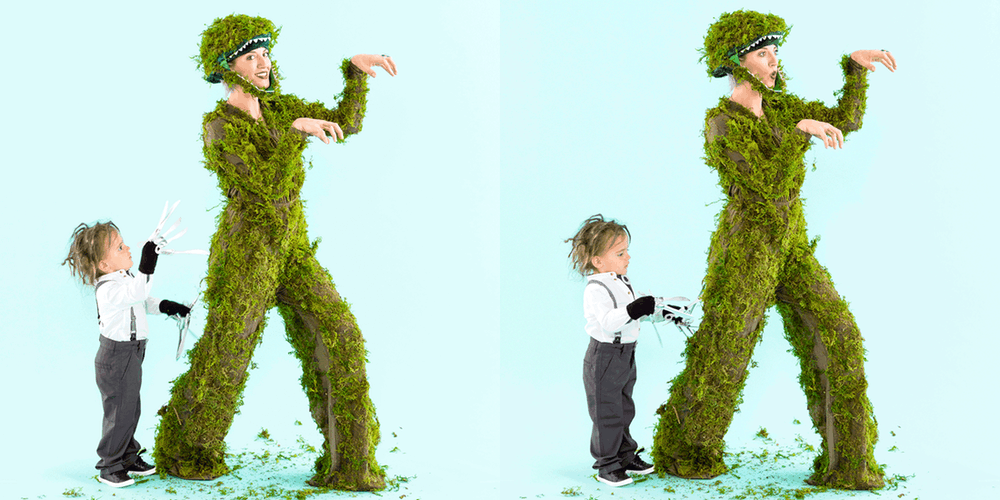
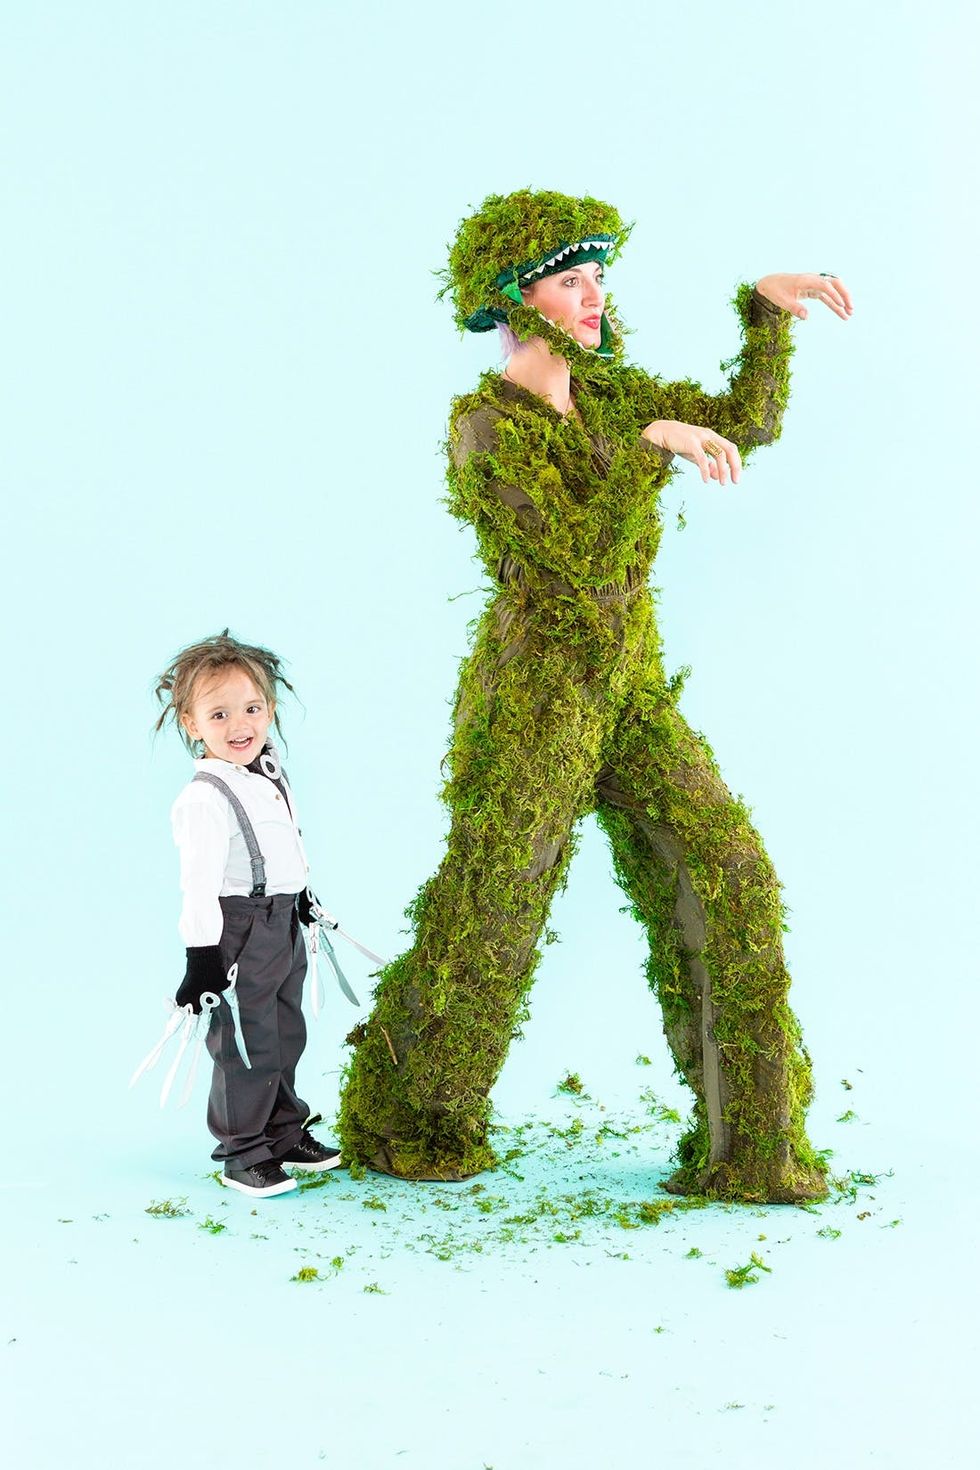
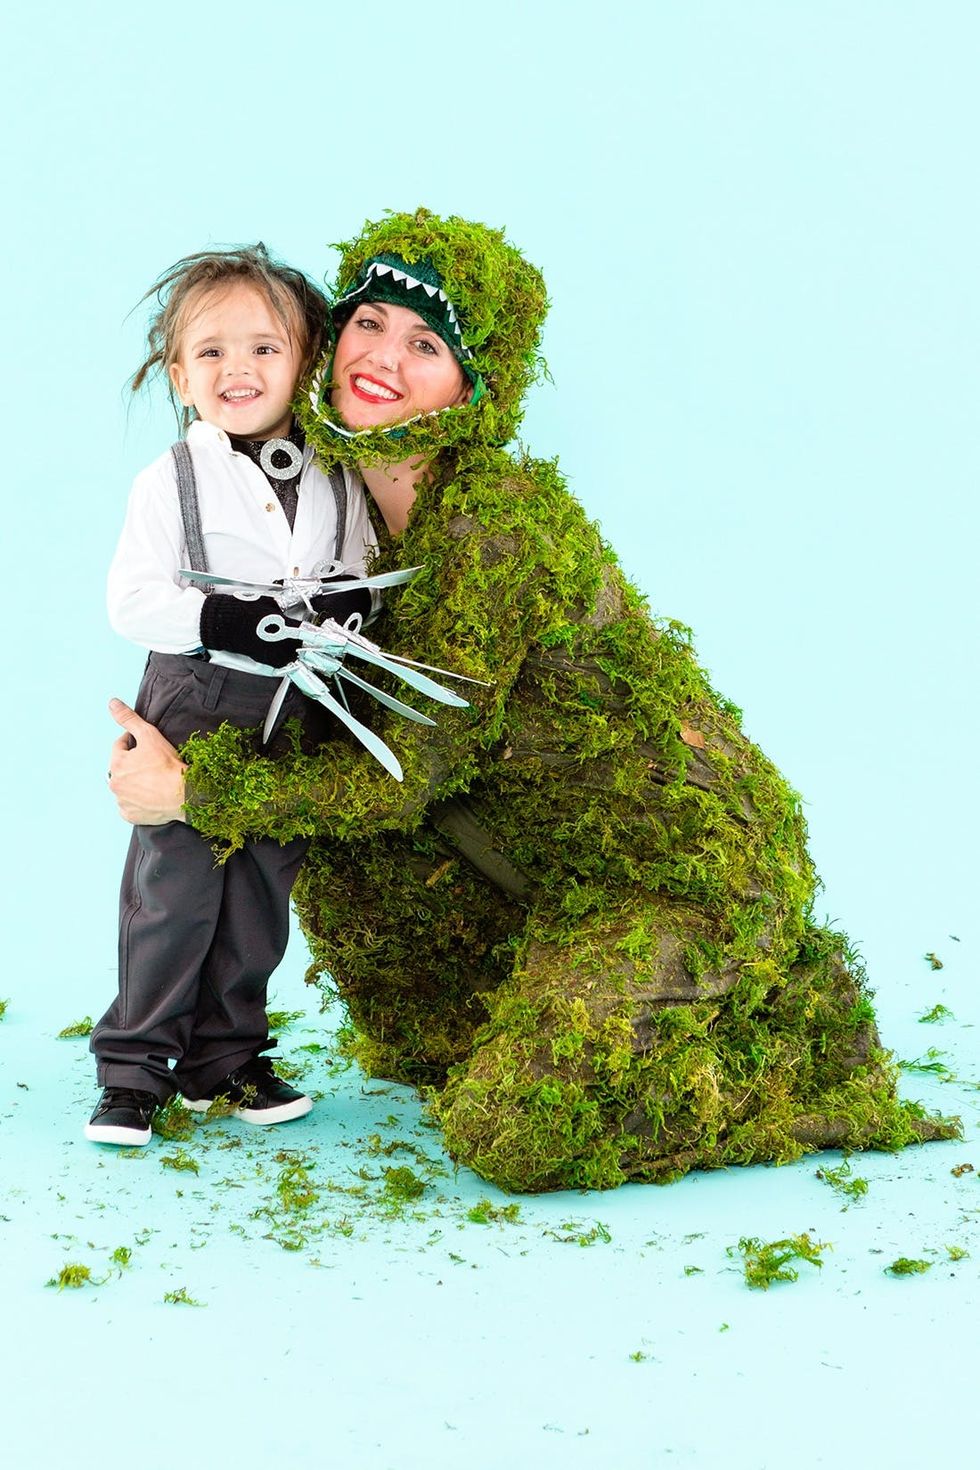
How to Be The Dinosaur Bush + Edward Scissorhands
Materials and Tools:
Lay out the green jumper and spray the adhesive glue onto small sections so you can stick the moss to the suit. Do this until the entire suit is covered. Complete the same process on the dinosaur head as well.
- green jumper
- moss
- spray adhesive
- dinosaur hat
- black hair spray (or wig for your mini)
- white dress shirt
- gray oversized pants and suspenders
- black shoes
- little black gloves
- 10 plastic knives
- silver spray paint
- black and silver glitter foam paper
- silver duct tape
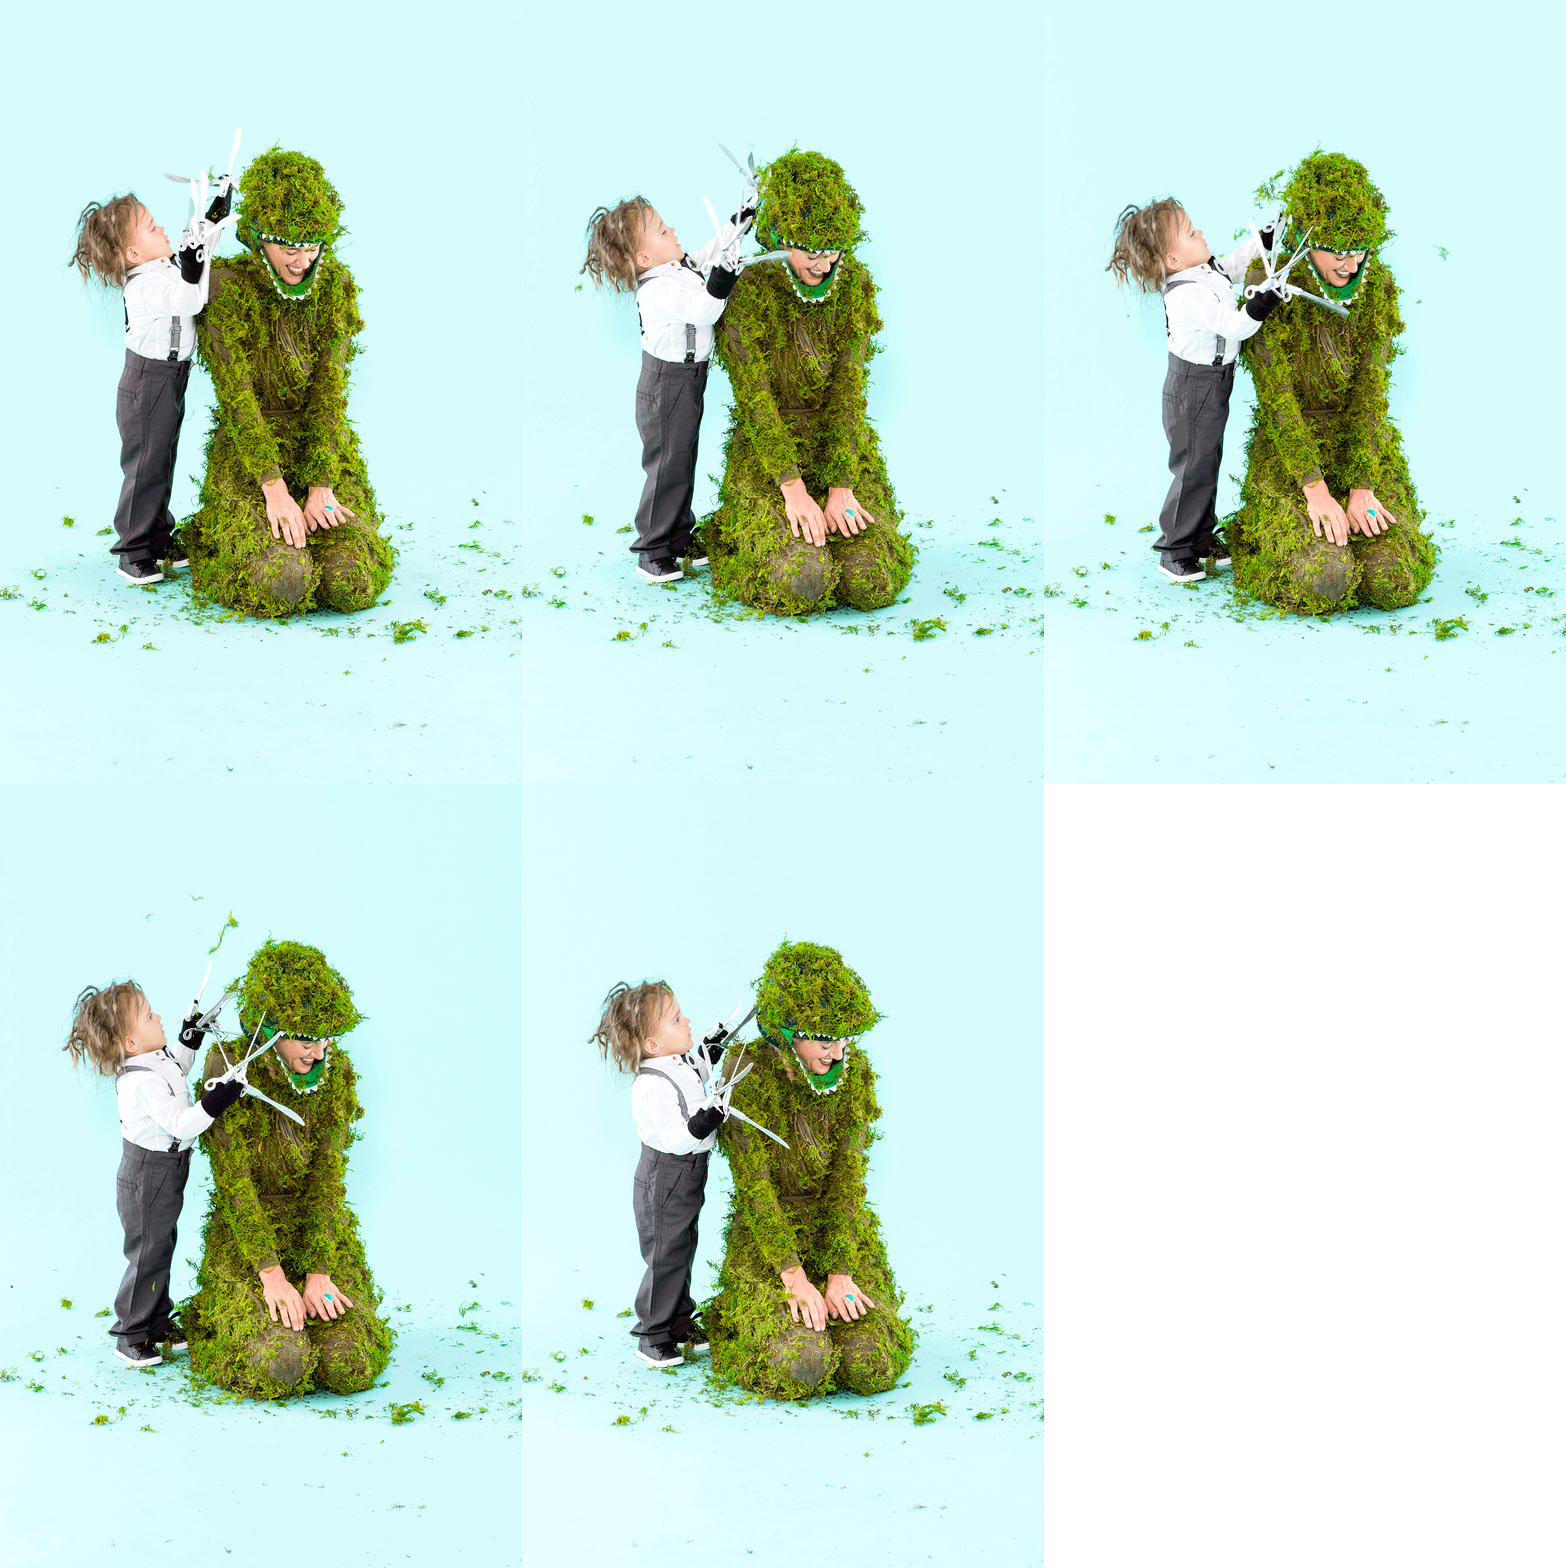
For your baby Edward, cut out little silver rings and dots to glue onto the black glitter foam paper and then glue that to an undershirt (this is Edward’s black armor that will peep through the button-up shirt).
Place the dress-up shirt over the undershirt and armor, leaving the top couple buttons undone to show it off.
To make the scissor hands, spray paint the knives silver and let them dry. Glue on silver handles that you cut out of the silver glitter foam paper. Put the black gloves on your little, and then use silver duct tape to wrap around his or her finger and knife. Do this on all fingers.
Either spray paint your child’s hair and style it crazy like Edward’s or you can get them a little black spiky wig if you think they will wear it. This would never be an option at this age for mine — he wouldn’t have it :)
How to Be Sandy + John
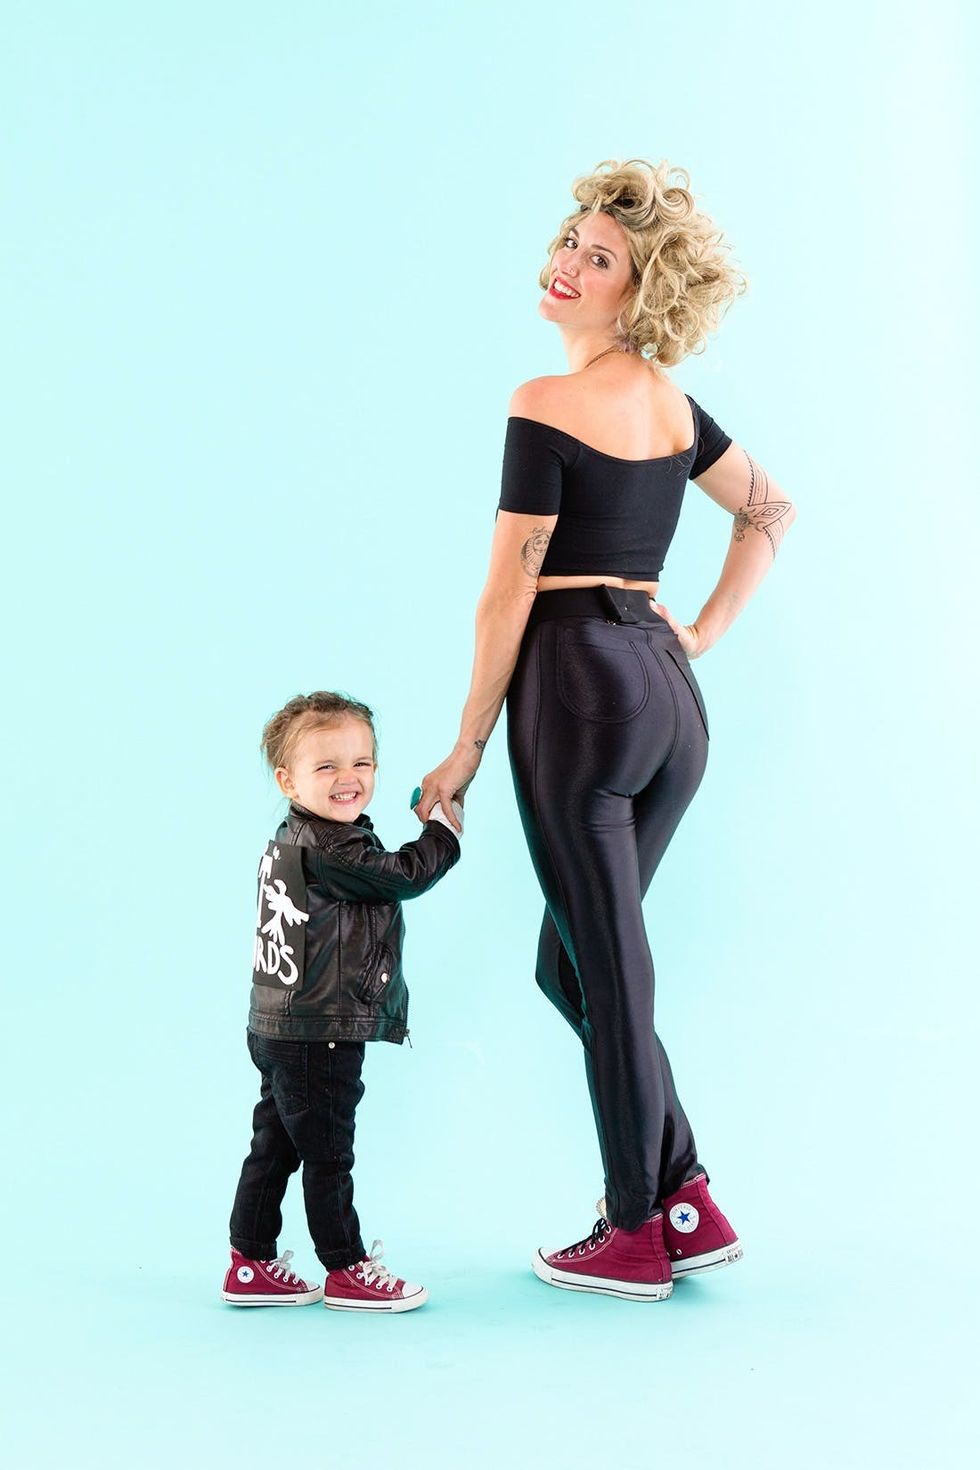
Elijah and I dressed up in this costume last year and decided it was too good to not to pull out our ‘fits and share them with y’all. Grandma even debuted as a pink lady when we went out for the evening!
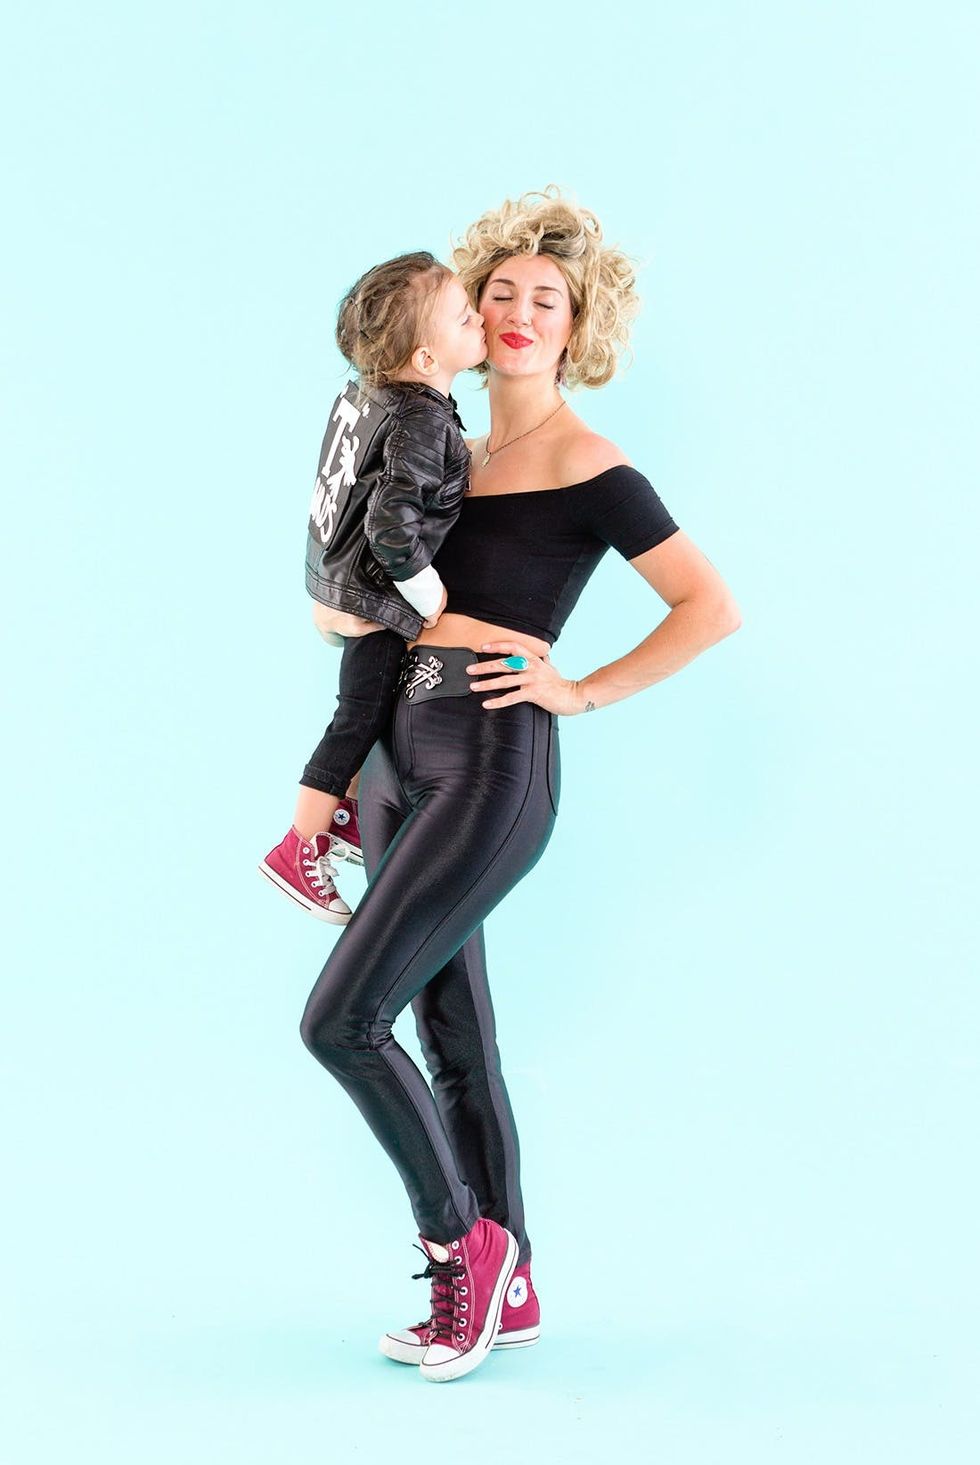
Materials and Tools:
Cut out a black rectangle. Glue a T Birds logo that you cut out of the white foam paper to the black rectangle. Then you can use fashion tape to attach it to the back of the jacket. This way, you can have your mini wear the jacket again. Trust me, you’ll want to have him or her rep this coat all the time — people lose their minds when they see a tiny child wearing it!
- black high-waisted shiny pants
- black and gold high-waisted belt
- black off-the-shoulder crop top
- wig
- little leather jacket
- black foam paper
- white foam paper
- black pants
- white undershirt
- fashion tape
- matching red shoes
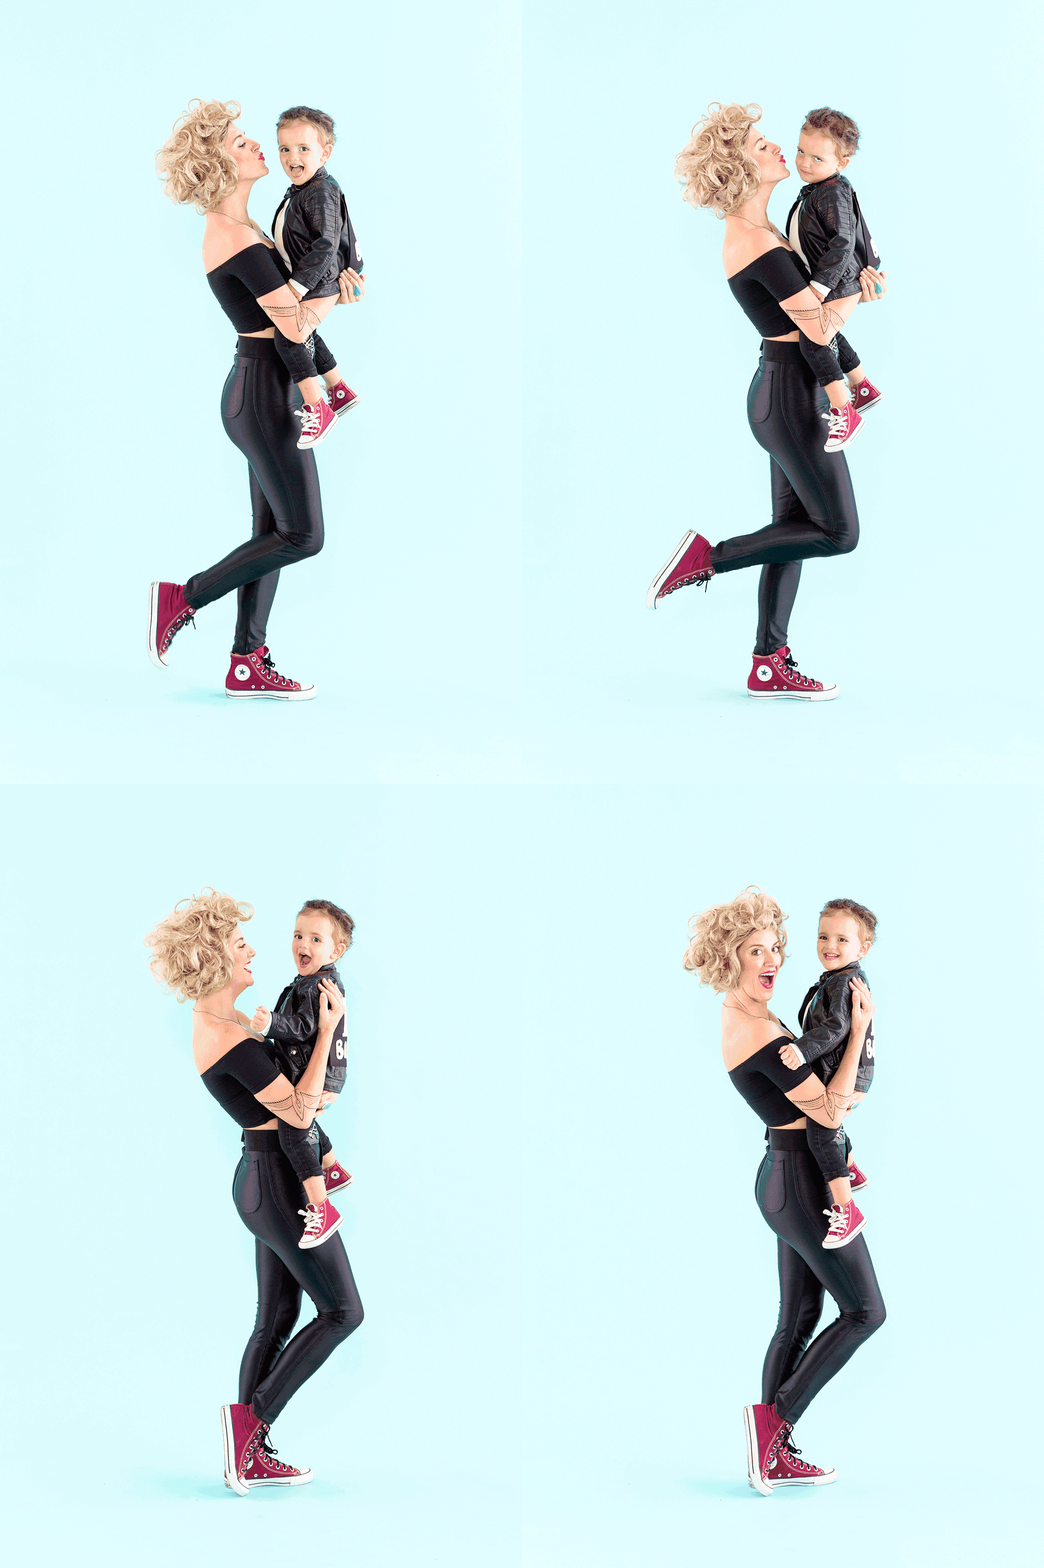
Spray their hair black and slick it back for that greaser look.
Style your own wig or hair into Sandy’s wild retro curls and throw on some red lipstick for yourself!
The matching red converse are a must, and you can wear them all year long! We even miss-match our Chucks and wear one red and one yellow just to be playful :)
One more because… come on!
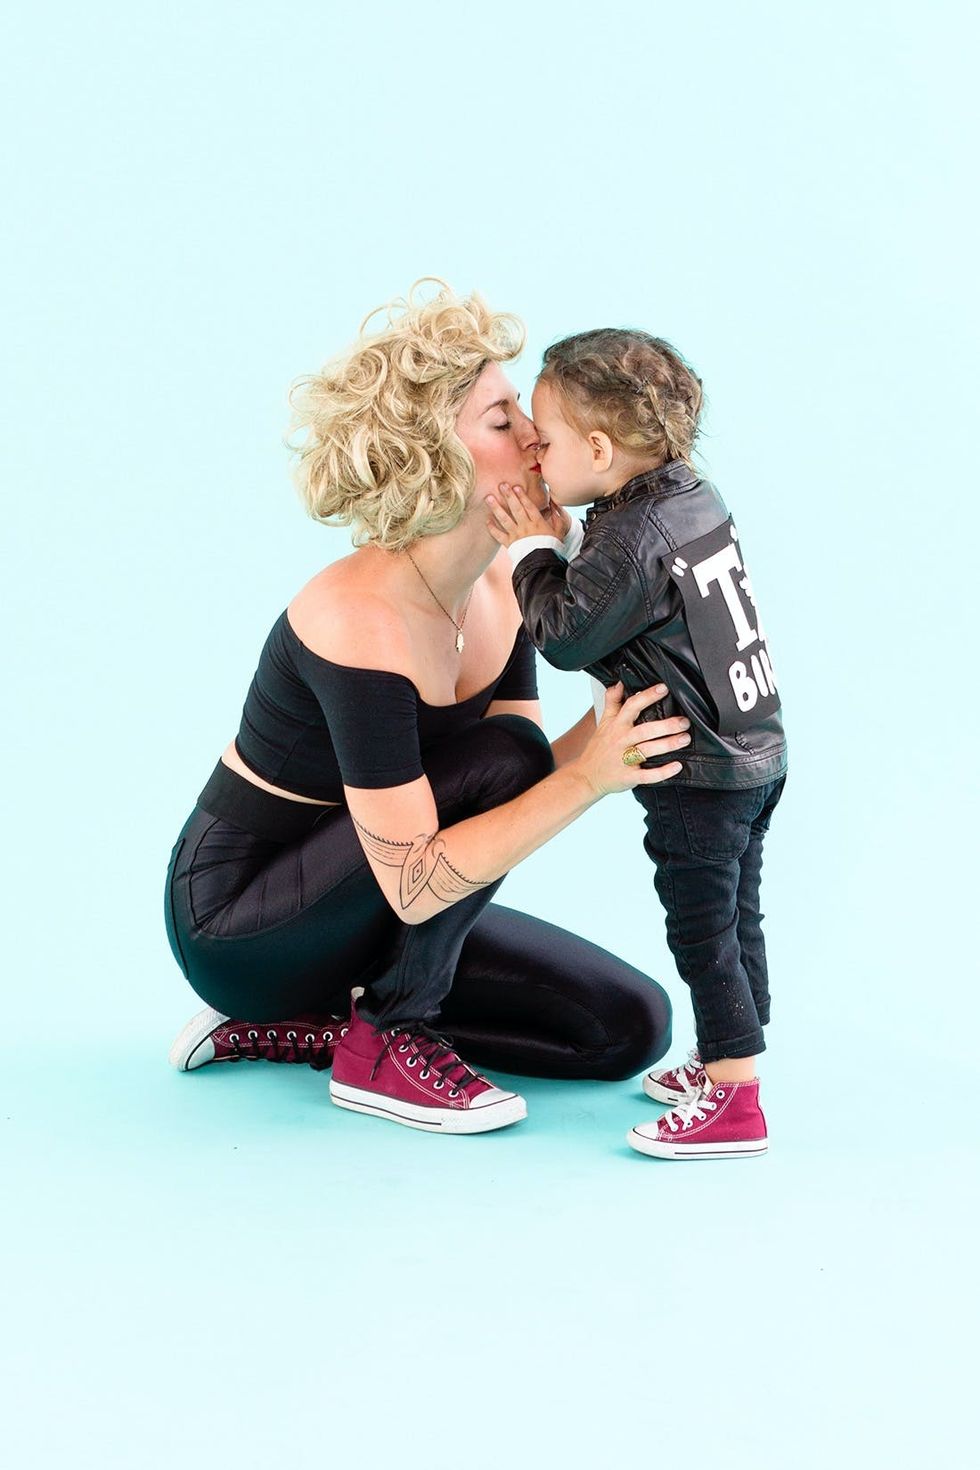
This was actually one of our costumes last year, so I had to share!


