Earn major turkey points with your friends.
8 Ways to Nail Friendsgiving This Year

Hey all! Brit + Co’s Production Assistant Irene here, and I’m very ready and excited for turkey day. Thanksgiving is full of awesome traditions, including one that typically takes place before everyone heads home for the big turkey dinner. I’m talking Friendsgiving. Friendsgiving is generally the more laid-back version of Thanksgiving. Though this tradition is on the more chill side, it’s still important to put effort into the decor and making sure everyone has a great time. This year is the year to nail Friendsgiving.
We teamed up with Studio Ink to put together the coolest Friendsgiving party ever. Their Thanksgiving cards strike the perfect balance of heartwarming and humorous, which hopefully also describes your group of pals. For today’s fête, we centered around an orange, copper and teal color story for a fresher, more modern take on turkey day. We also stayed true to the Friendsgiving spirit with DIYs, table settings and decorations that are totally doable and attainable. It wouldn’t be very Friendsgiving-ish to stress out over the party, after all. Read on to see what we did!
1. Hang a Banner
A classic party hack is creating a statement wall as a focal point of the party. We decided to hang a banner on the wall as a simple way to welcome your friends as they enter the Friendsgiving festivities.
2. Hang an Accent Wall Piece
Got more wall space? Fashion a rustic wall hanging with a branch, twine and paper leaves and hang on your wall to add more pop to your space.
3. Create a Simple Table Runner
Arrange some mini pinecones, pumpkins, string lights and paper leaves to create a playful table runner. Paint a few quick stripes and triangles on the pumpkins to add an extra layer of whimsy.
4. Line the Table With Craft Paper (and Draw on It)
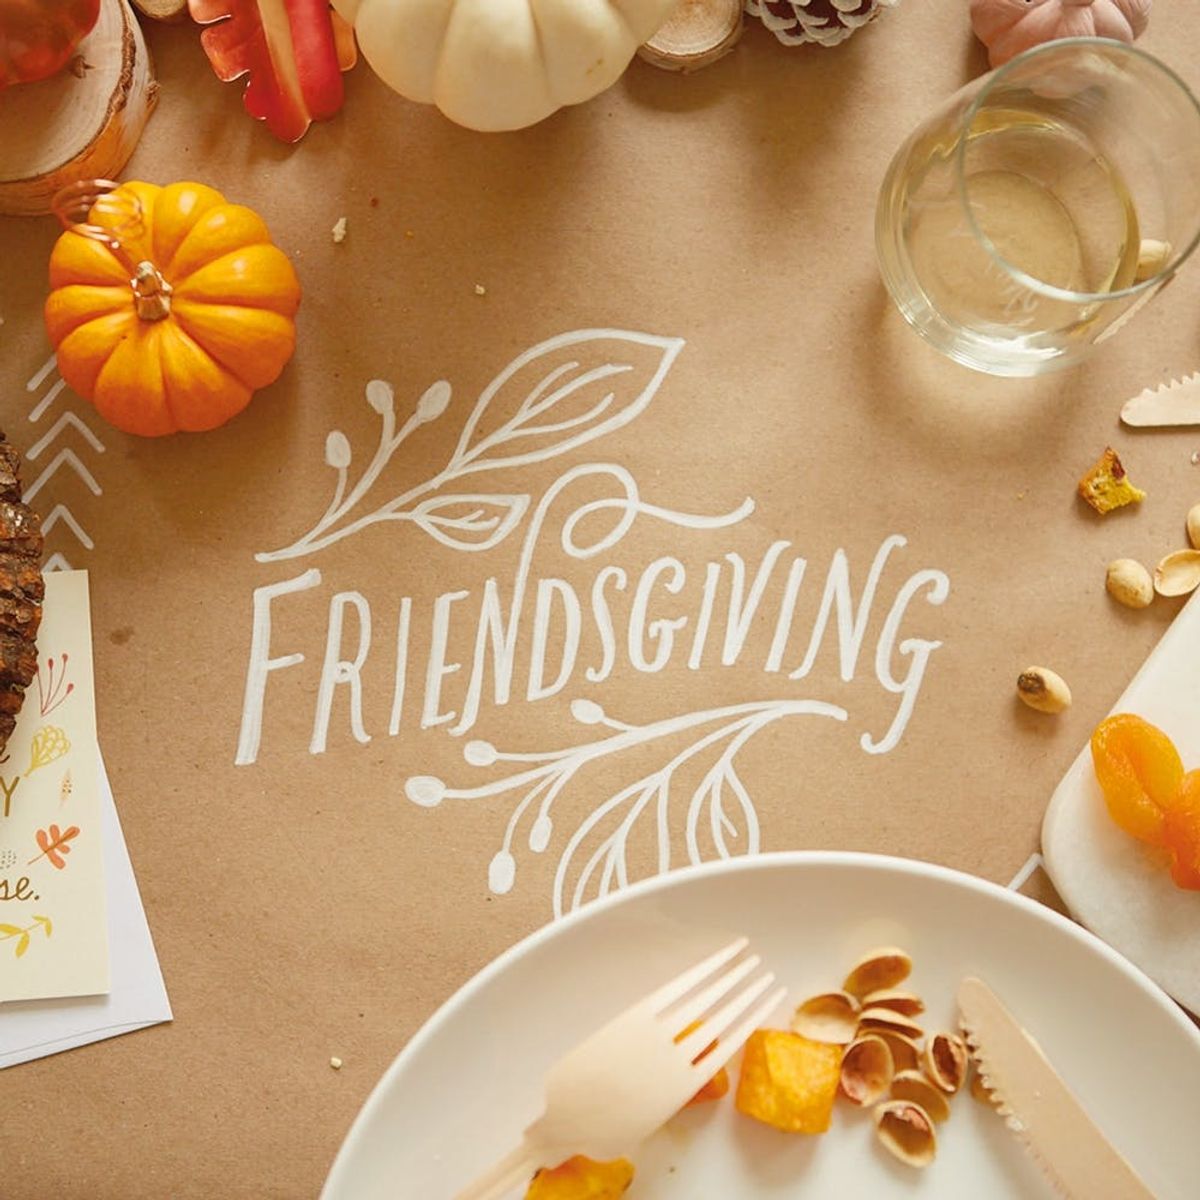
We rolled craft paper on the table, and we couldn’t help but to add some doodles and lettering to it. Basically, we’re living our childhood fantasies of drawing on tablecloths.
5. Use Low-Maintenance Wooden Utensils
If you’re like me, you might not have enough actual silverware to serve all your friends. Opt for wooden utensils instead for easy table setting and cleaning.
6. DIY Some Adorable Pumpkin Place Cards
Add an extra element to your place cards by writing your guests’ names on an envelope and stuffing it with a greeting card with a handwritten note.
Materials:
— Studio Ink cards
— mini pumpkins
— pliers
— copper wire
— scissors
— felt tip pen
Instructions:
1. Cut pieces of wire a few inches long. Wrap one end of the wire a few times around a wide pen.
2. Wrap the other end of the wire around the stem of a mini pumpkin. Repeat steps one and two to make a place card holder for each guest.
3. Write your guests’ names on the envelopes.
4. Write a note inside the cards before placing them in their envelopes. Place the envelopes in the wire circle.
Cut pieces of wire a few inches long. Wrap one end of the wire a few times around a wide pen. Wrap the other end of the wire around the stem of a mini pumpkin. Repeat to make a place card holder for each guest.
Write your guests’ names on the envelopes. Need to brush up on your lettering skills? Take our online lettering class! Write a note inside the cards before placing them in their envelopes.
Place the envelopes in the wire circle and set the place cards on the table.
7. Put Together a Friendsgiving Time Capsule
Start a new tradition! Hand out cards to your friends and have them write down what they’re thankful for this year. Add them to a jar and seal for a year. Open the jar and read everyone’s notes to themselves at next year’s Friendsgiving. Cue the aww’s.
We decorated our time capsule with a label with pretty lettering and some paper leaves. Make sure to find a jar with a wide-enough mouth to fit the cards in!
This year, I’m thankful for corgis, the color copper and for my friends.
8. DIY Leftover Pie Boxes
Pro Tip: Keep the Friendsgiving dessert table well stocked.
By following this piece of advice, you’re bound to have leftovers of pie by the end of the meal. Don’t let your friends leave without a little midnight pie snack (or next-day pie breakfast) by making these easy and adorable leftover pie slice boxes.
Materials:
— Studio Ink greeting cards
— leftover pie box printable printed on cardstock
— scissors
— double-sided tape
— glue
Instructions:
1. Cut shape out of the pie box printable. Fold at the lines.
2. Cut artwork out of cards that you’d want to use to decorate the box.
3. Tape flaps together to form box.
4. Glue card pieces on box.
Cut shape out of the pie box printable. Fold at the lines.
Cut artwork out of cards that you’d want to use to decorate the box. These Studio Ink cards were designed by Lynn Giunta, and they’re awesome to repurpose for DIYs not only for the great artwork but because inside each card are gold foiled patterns. Let’s be honest, gold foil makes everything better! When in doubt, cut abstract shapes to create a funky pattern.
Tape flaps together to form box. Glue card pieces on box.
All done!
Pack that pie!
Cheers!
Best. Friends.
Already eyeing the leftovers.
MMM
Pie, I wish I could quit you.
My stomach and my heart are full. <3
How will you and your friends celebrate Friendsgiving? Share photos with us on Instagram using the hashtag #britstagram!
DIY Production and Styling: Irene Lee and Erin Martinez
Photography: Kurt Andre and Union Hill Studios


