Air Plants + String Art = Living Wall Art!
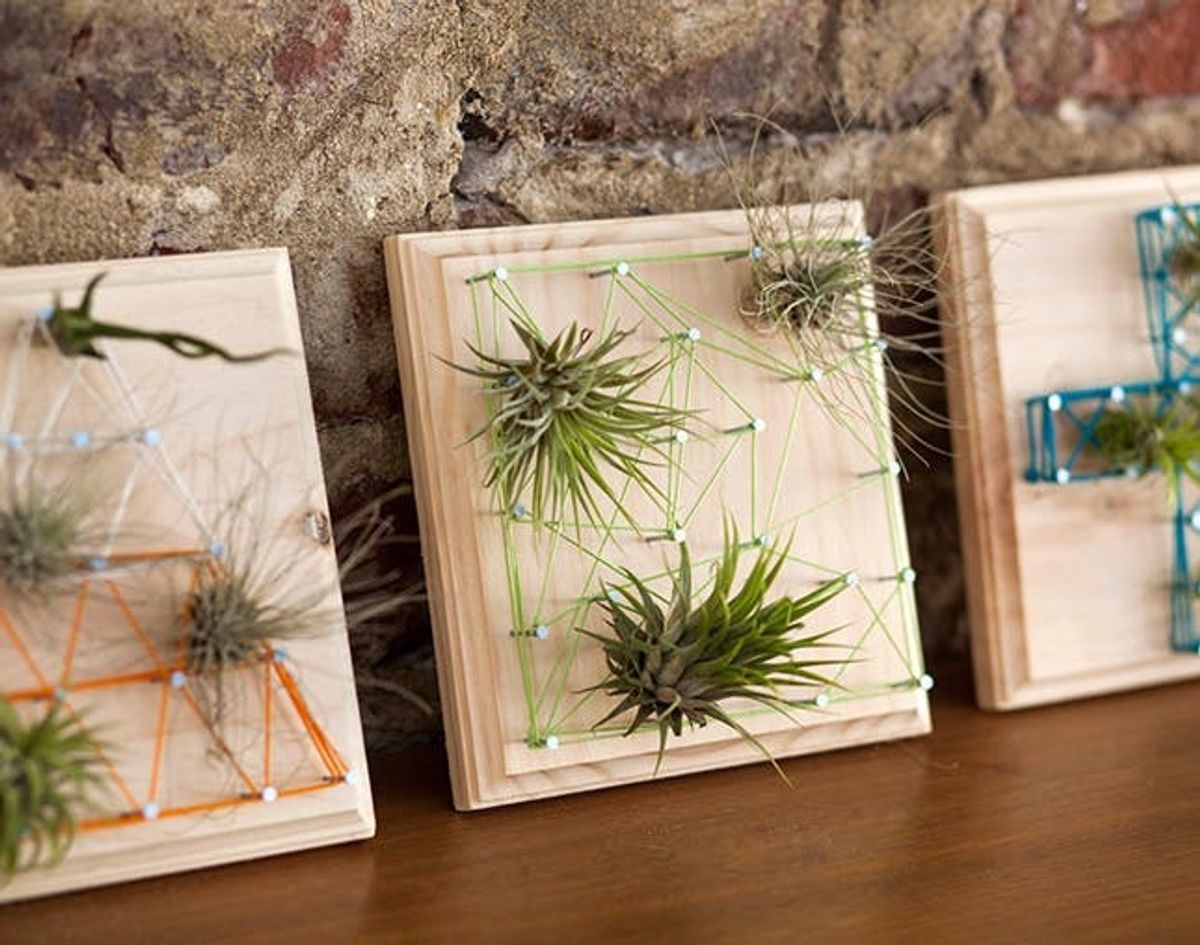
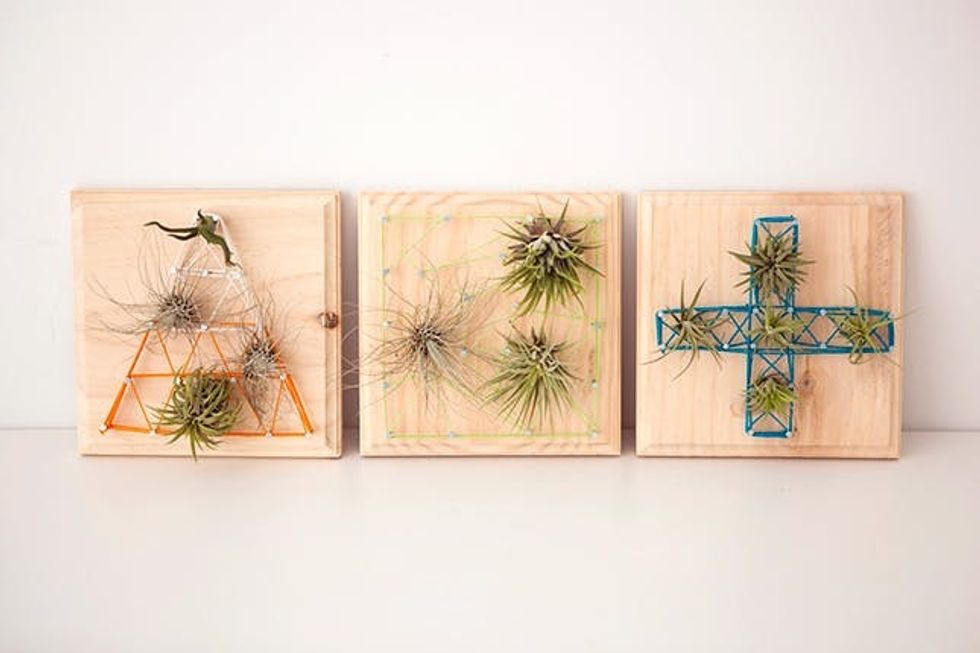
One of our all-time favorite DIY basics here at Brit + Co. was making string art signs. We decided it was time for a new take on the classic, and what better way to upgrade than by adding air plants? We love the way they look nestled into these designs.
Do you have air plants in your home yet? They are incredibly easy to care for. If you’ve ordered your air plants from the web, make sure you rehydrate them by submerging in water for about 20-30 minutes. Gently shake to remove excess water and place in an area where they will dry within four to five hours. Repeat this process once per week.
In terms of lighting, air plants should be kept in an area where they receive indirect sunlight or under fluorescent lighting. It’s better if they aren’t kept in direct sunlight or they might dry out too quickly. Let’s get started!
Materials:
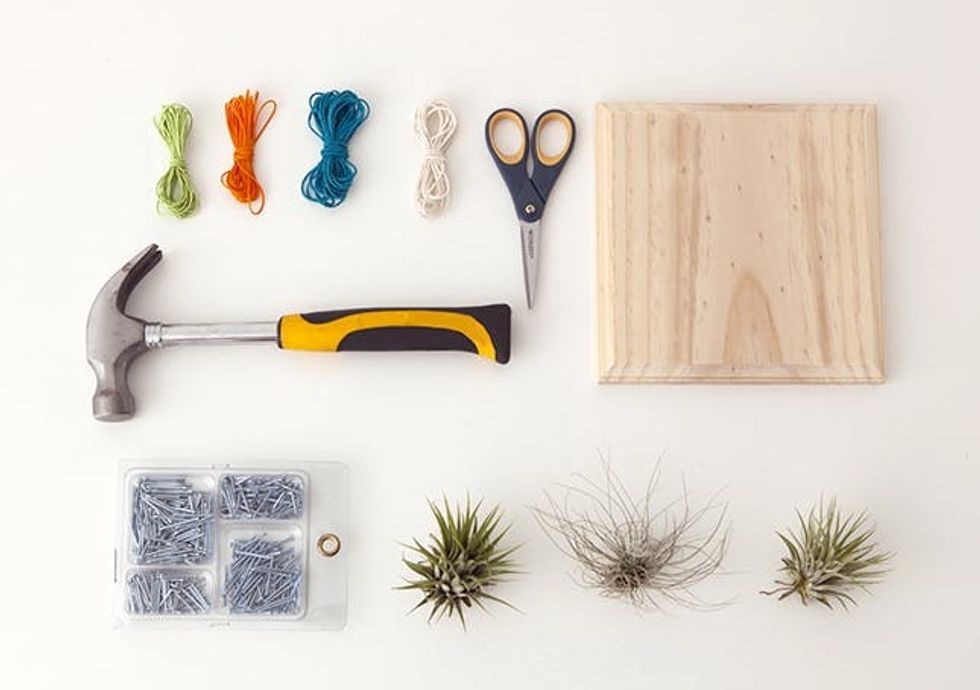
– wooden plaque or board
– colored string
– small nails
– air plants
Tools:
– hammer
– scissors
Instructions:
1. Draw out a design on your board, and mark where the nails should go.
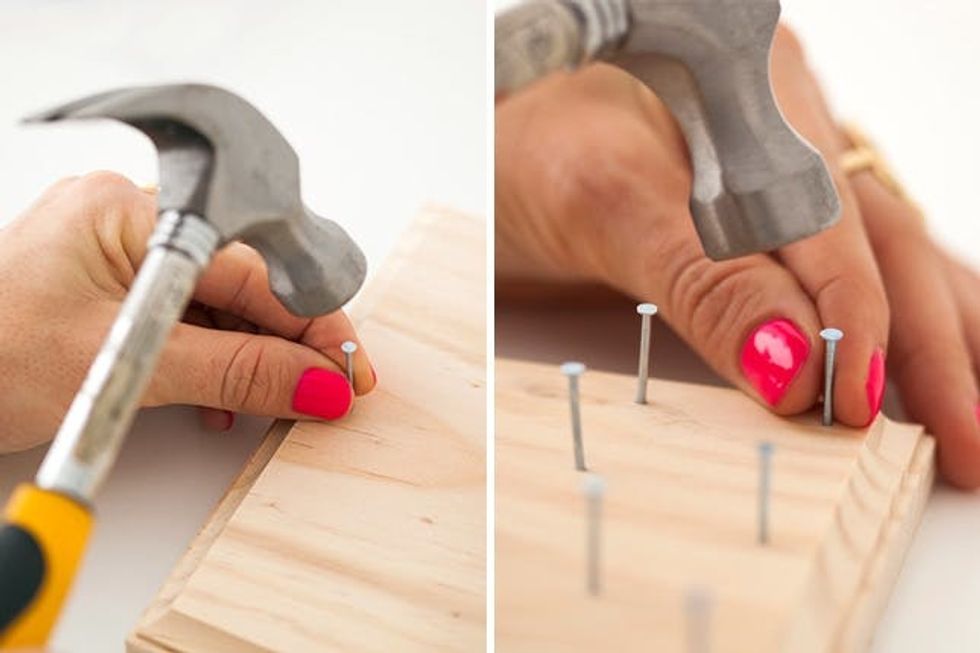
2. Hammer the nails into the board. Make sure they are in far enough that they won’t come out, but are sticking out enough to have room to wrap the string.
3. Starting in the corner, tie the string to one nail and start wrapping in a pattern.
4. Once you’re done wrapping tie off the string on another nail. Trim any loose ends on either side of the knots.
5. Place your air plants in the webbing of the string, and you’re done!
Hammer in each nail just enough to anchor it. You don’t need to it to be too far in.
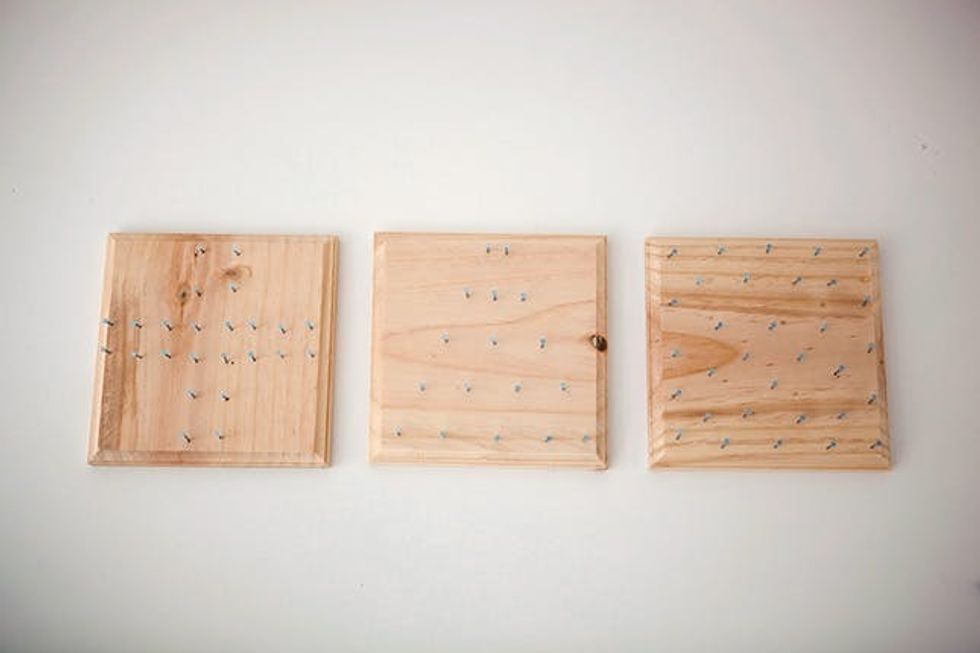
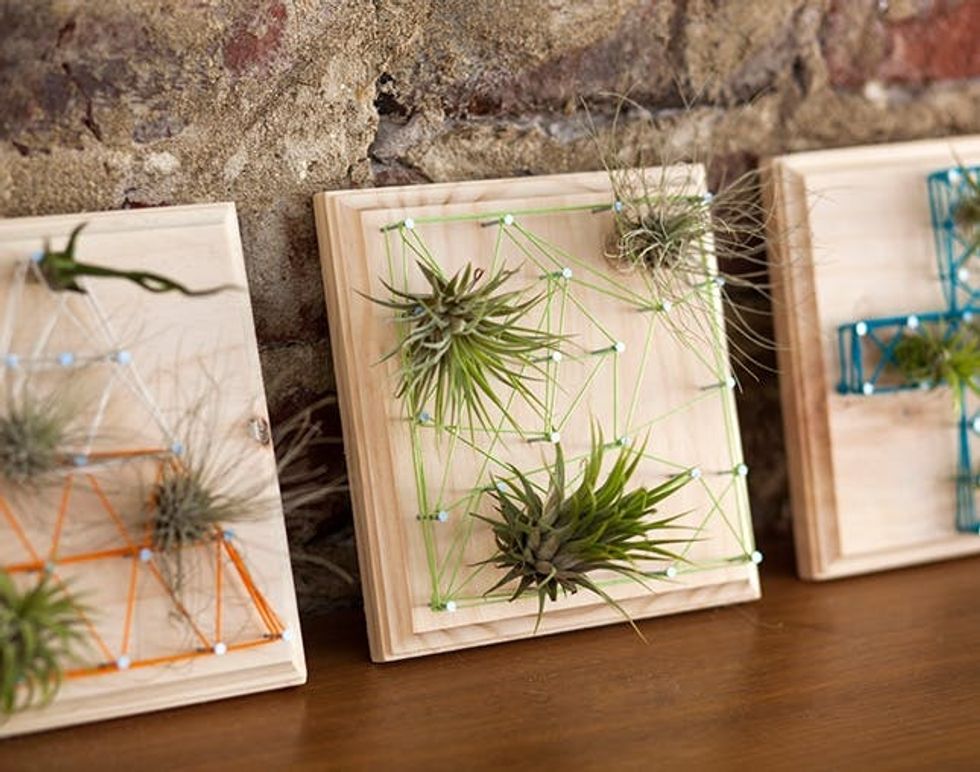
We went with a plus sign, a triangle, and a grid. Let’s start with the plus sign!
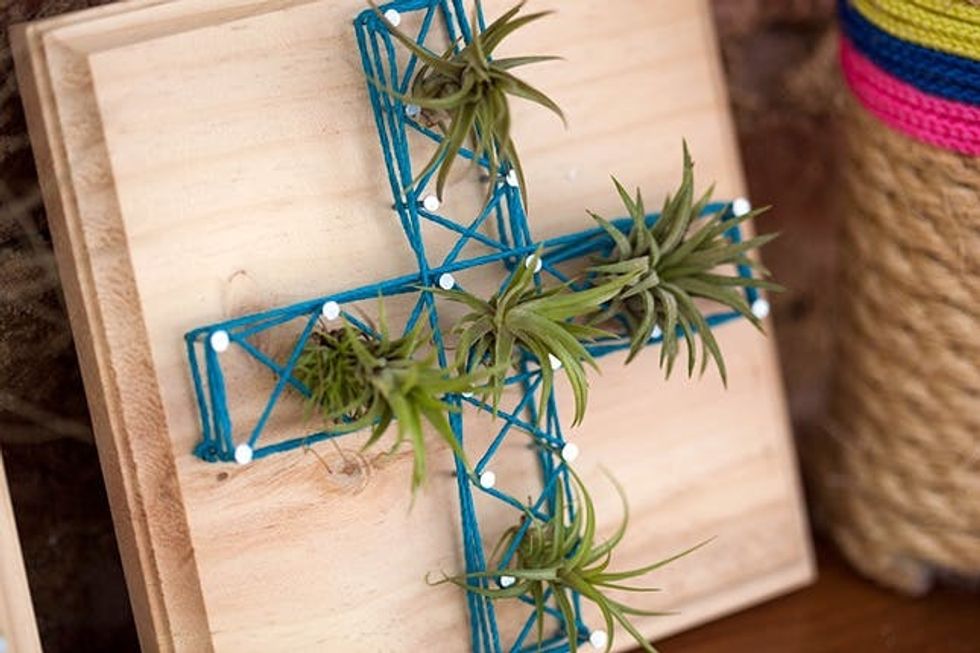
Once you’re done, you’ll actually be able to prop up the wood against the wall, and the air plants won’t fall out.
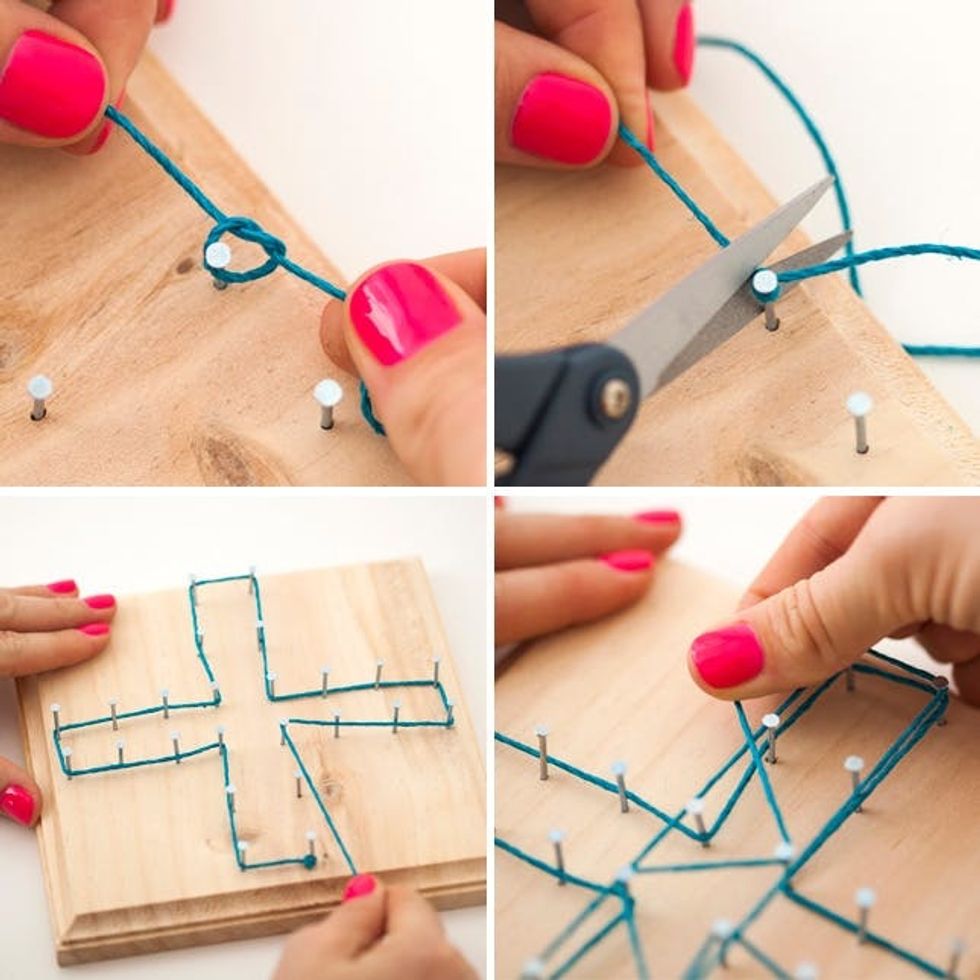
Choose a place to start, and tie on your string. Trim any excess from the knot and get started wrapping. We outlined first and then filled in with a zig-zag pattern.
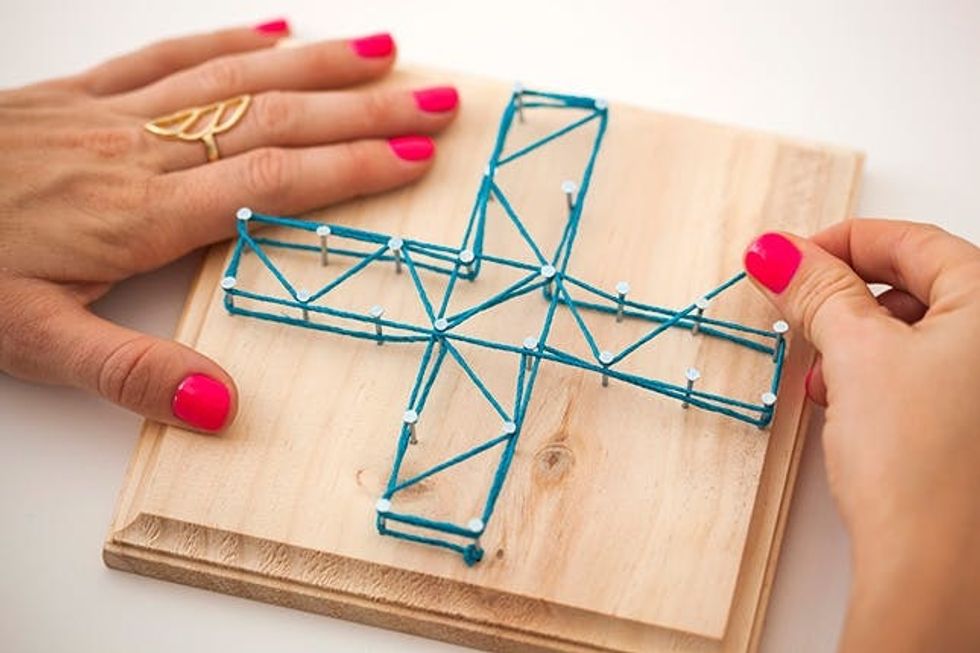
The pattern is the fun part! And it will make perfect little nests for the air plants.
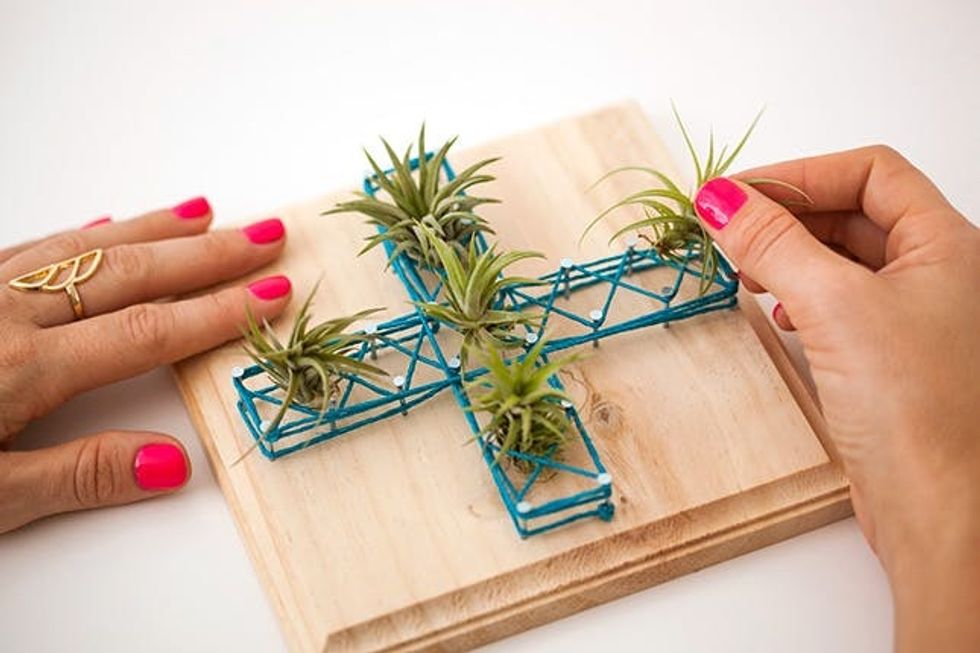
We wanted lots of plants in this one, so we used five that are about the same size.
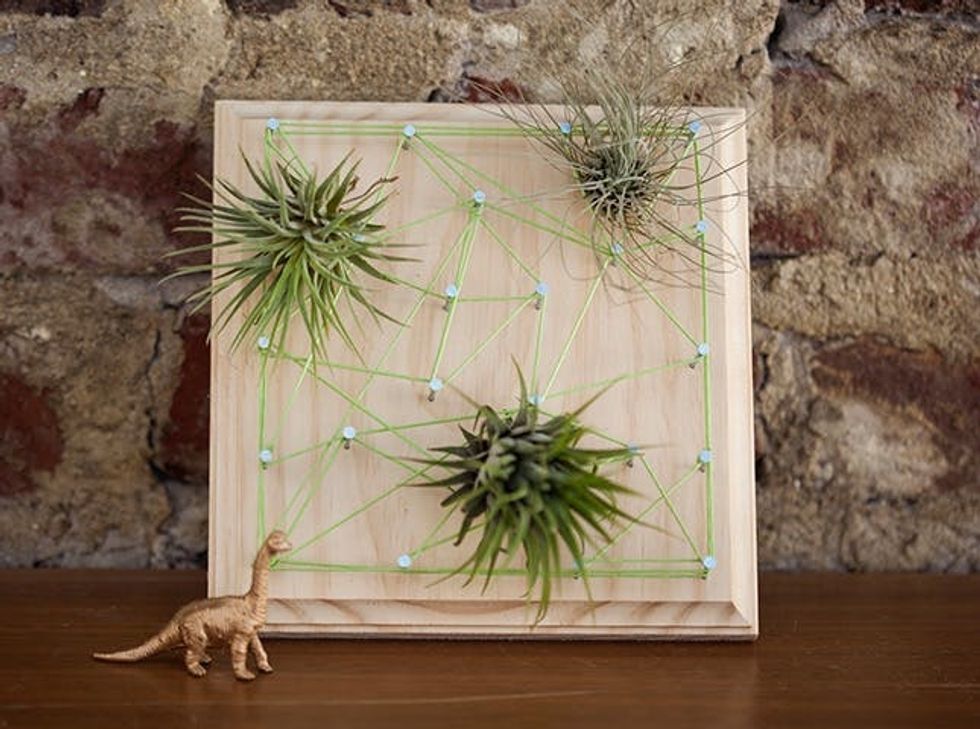
Next up, the abstract grid. This is the best option if you want to go free form. You can just see how the design evolves. Just make sure you create a few smaller sections to hold the plants.
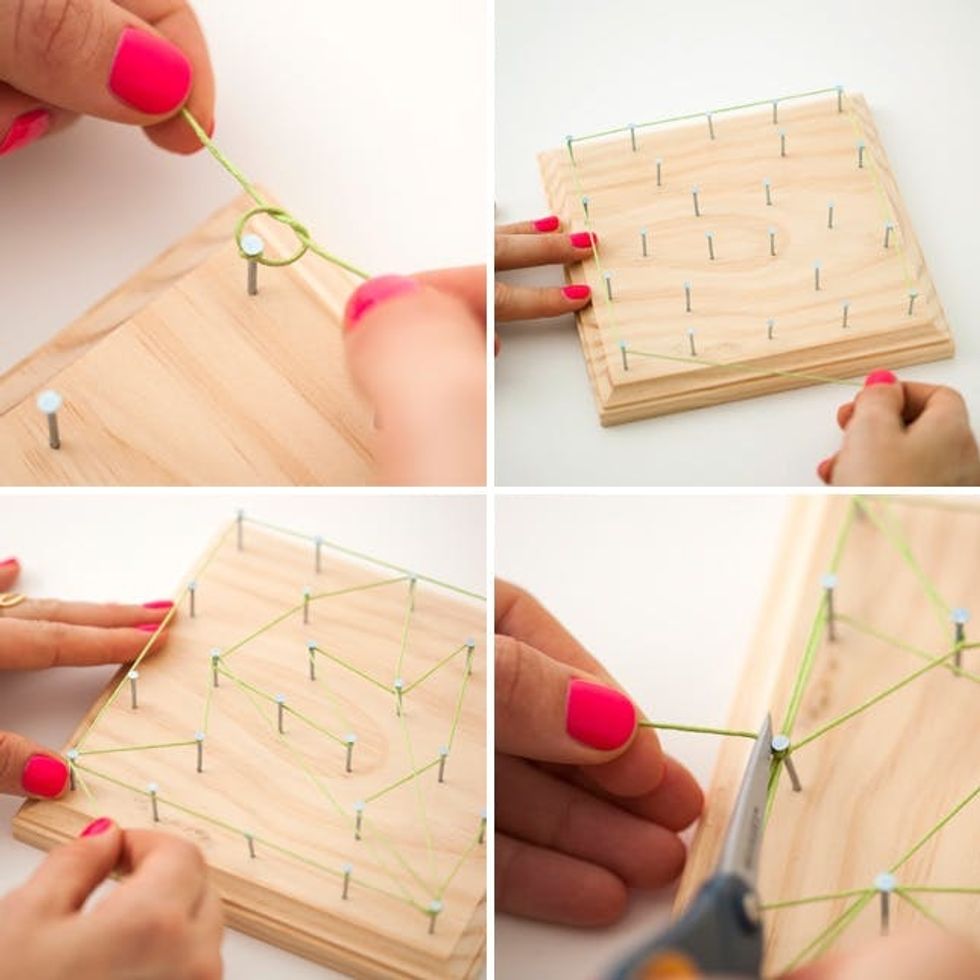
Start in one of the corners for the most flexibility, then just see where the design takes you!

Now for the best part—placing the air plants!
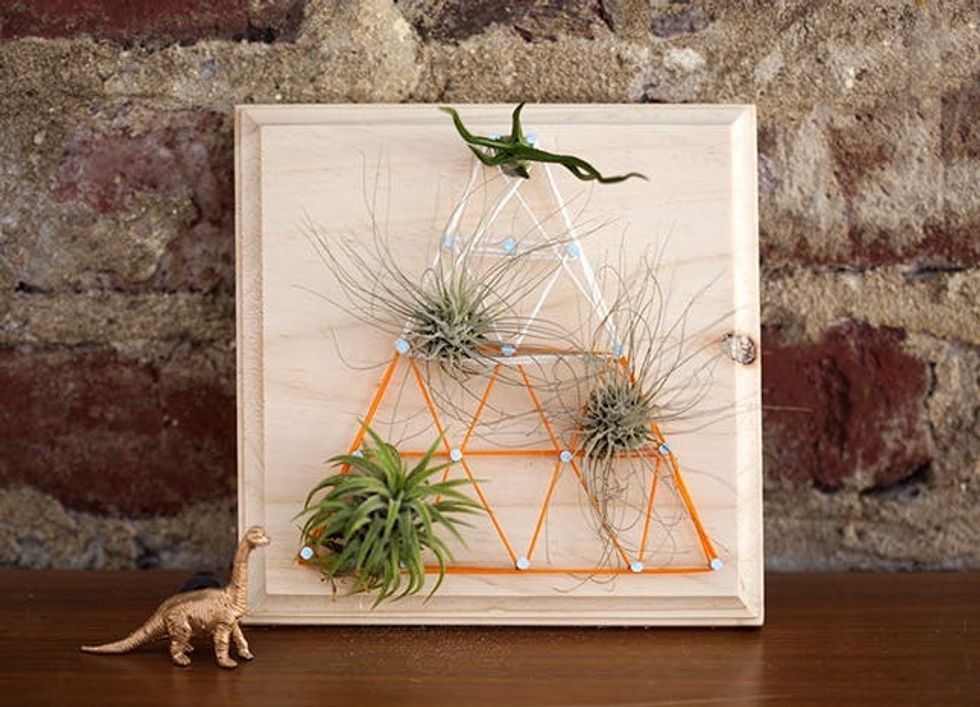
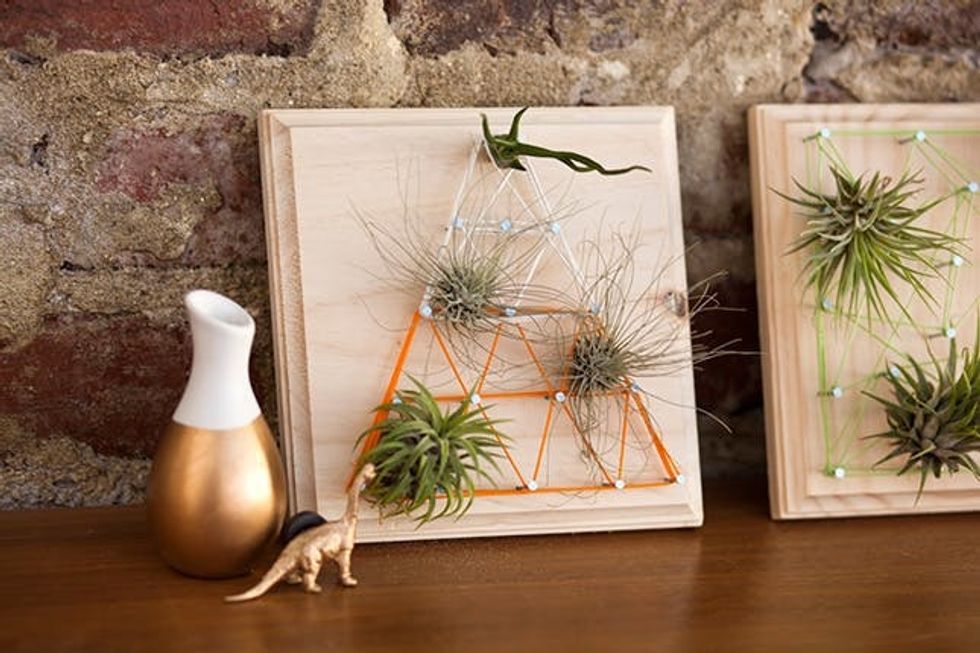
For the final design, we decided to go with a two-tone pyramid. Isn’t the plant at the top weirdly great?
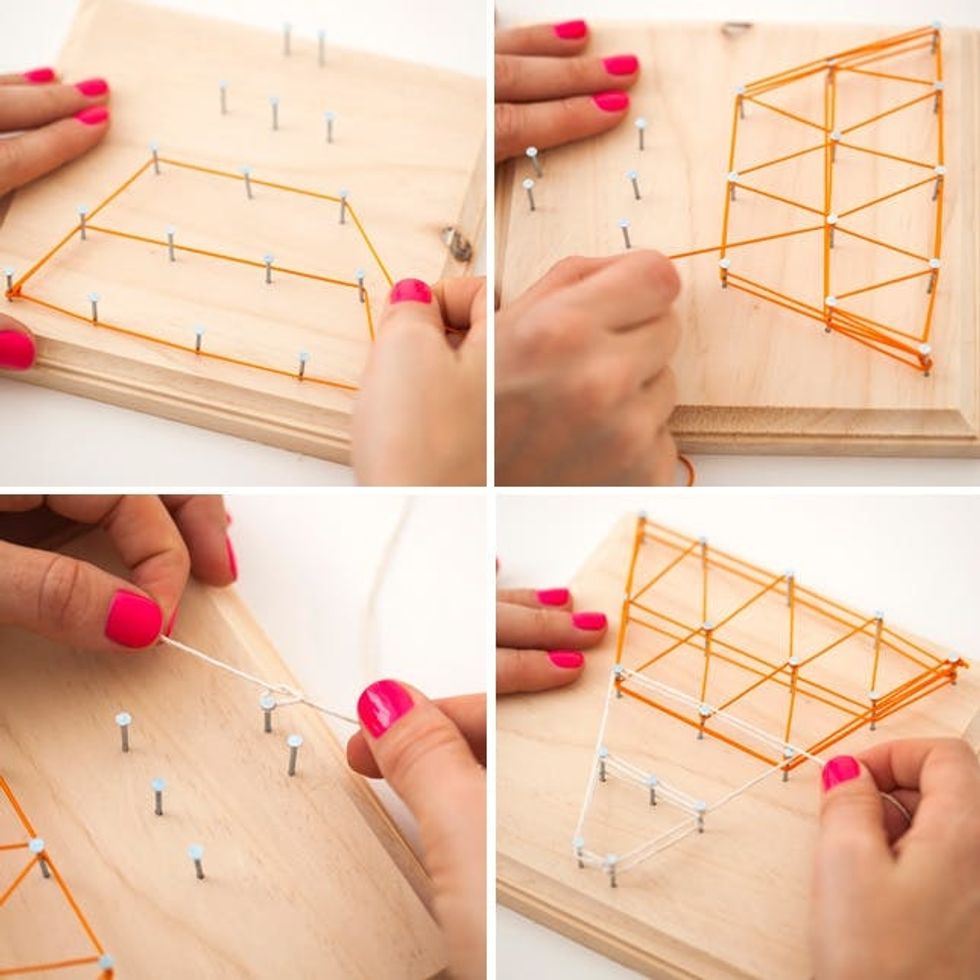
Start with the color at the base, and outline the shape, then go back and fill in the triangles. Repeat for the top portion of the triangle.
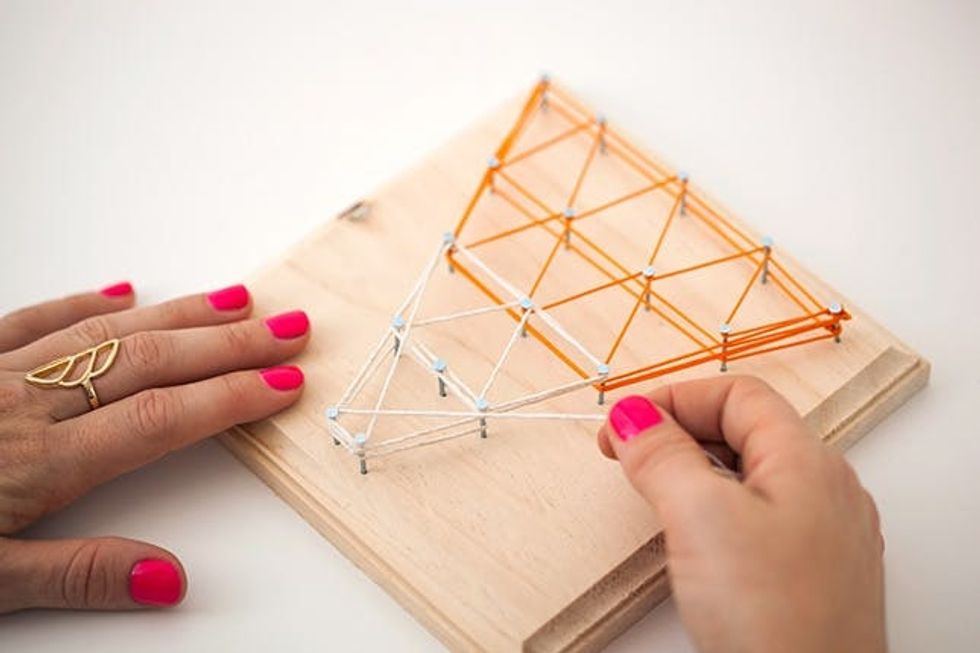
That little section at the top will be perfect for a small air plant.
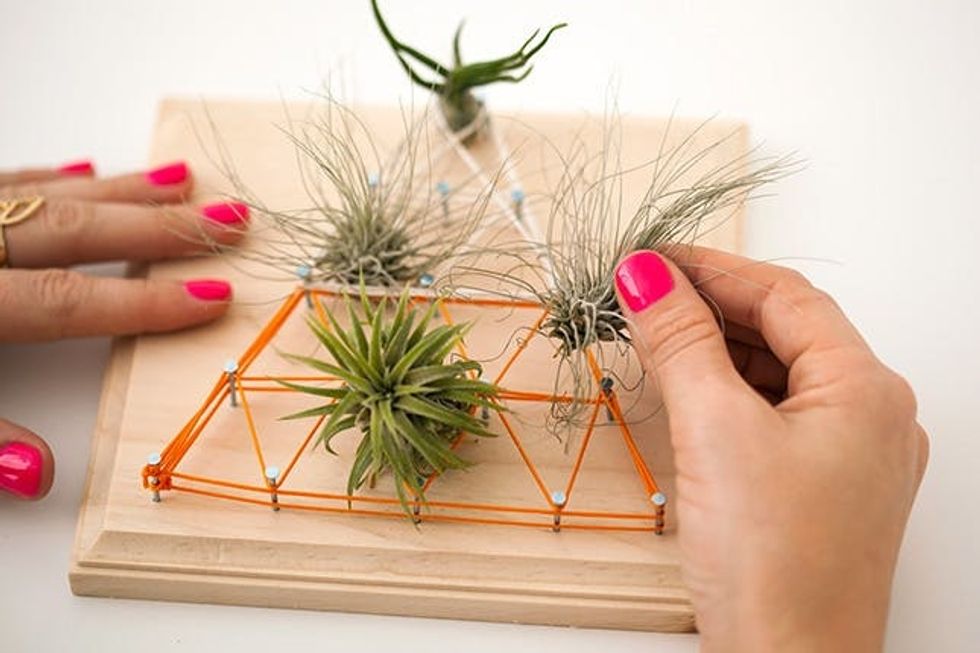
Play around with the placement of the plants. You can switch them up as many times as you want!
Do you have air plants in your home? How do you have them displayed? Tell us in the comments!


