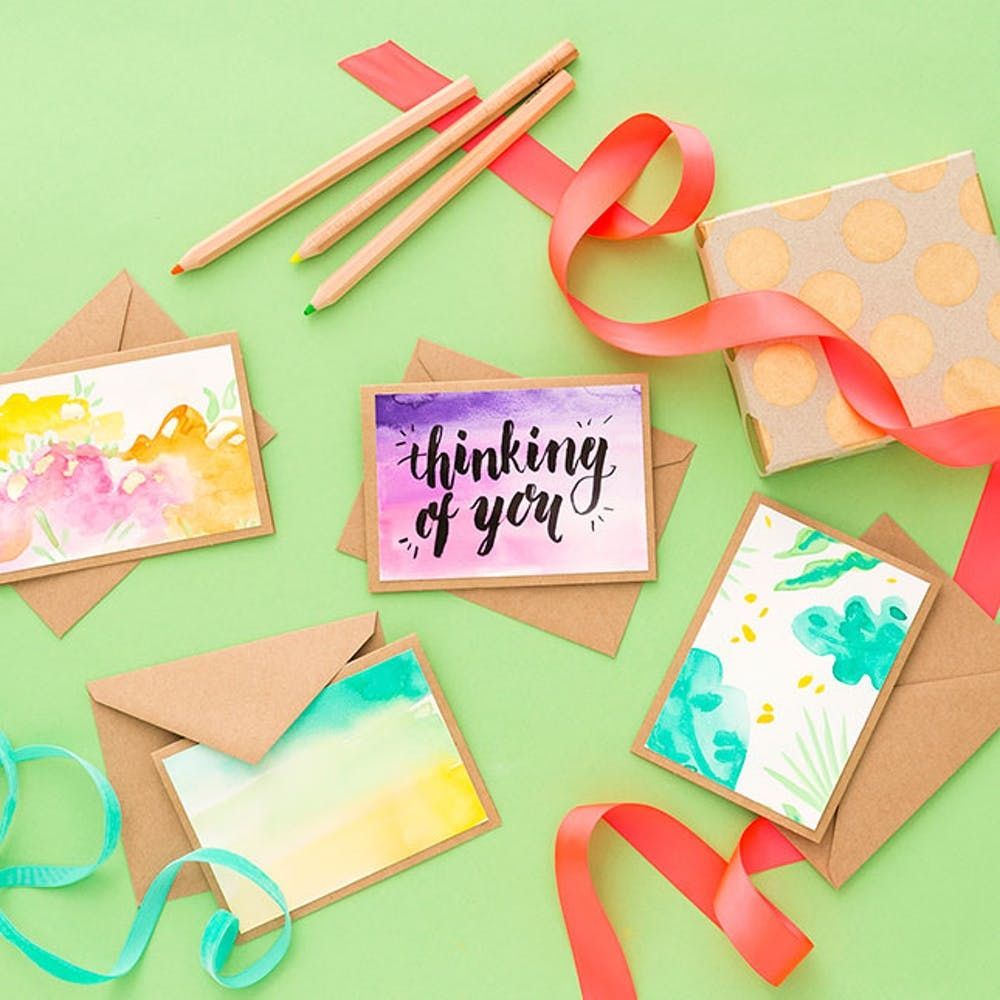
When it comes to custom stationery, we are big fans of DIYing cards and envelopes that speak to that special someone on the receiving end. After all, the goal is to MAKE IT ON THE FRIDGE, am I right? (That I Heart Texas magnet is itching to be used!) That’s why today we are showing you three techniques to create wall art-worthy cards that will suit all the personalities in your life. We’ve got a gold foil card (featuring circus animals), a calligraphy card for the hand-lettering lover and a watercolor card that your go-with-the-flow friend will cherish. And get this — you can even combine all three techniques to make cards that will wow them all.
For this project we’ve teamed up with Michaels — they’ve got ALL the supplies you need in their stores, meaning you can maximize time spent DIYing instead of trekking around town to find materials. Okay, time for our tute! (That’s short for tutorial, duh.)
Calligraphy 101 Online Course
Calligraphy Cards
Pick up all of your supplies at Michaels!
Warm up your lettering with a row of thin upstrokes, thick downstrokes, connected U shapes and V shapes. Place your alphabet template below a sheet of tracing paper and trace over each letter, practicing your up and down strokes.
Use your new lettering skills to either trace or free-hand a fun quote to inspire you to keep up your creative pursuits!
Gold Foiled Cards
Snag your materials and let’s make it rain gold cards.
Draw a design of your choice onto your canvas using pencil. Trace a stencil and/or draw freehand. Brush a thin layer of the adhesive over your pencil design, making sure to overlap all boundary lines.
Let the glue dry for 10 minutes or until tacky, and then carefully lay a sheet of gold leaf over the top. Firmly press down on the leaf, remove the tissue paper backing and then carefully brush away excess foil with your foam brush. If any parts of your design don’t pick up foil the first time, simply press down small pieces directly back onto them and brush away. Give your whole design one last brush over with your foam brush to remove any bits of leaf and let dry overnight before hanging.
For this wolf card, instead of adding gold leaf to the body, we foiled around him to make him pop.
So fun!
Watercolor Cards
Grab a palette, brushes and paper, plus some water, of course.
Dip a wet paintbrush into one color of paint and brush a long horizontal brushstroke across the page. Blend from dark to light. Repeat with more colors, following along with the same blending pattern. Add more water to dilute your paint on the lighter side. Leave your gradient to dry.
Start testing out some leafy tropical shapes on a new piece of watercolor paper. Don’t forget to use the side edges of your brush to create thin lines and different palm shapes.
Add shading and detail with a small brush and a darker, more concentrated layer of watercolor.
To make your cards, get a paper cutter and some tape.
Let your paintings dry for 30 minutes or so and then trim to size.
Tape your designs to cards and you’re good to go!
Combine all techniques for cards that will give your friends and family all the feels.
