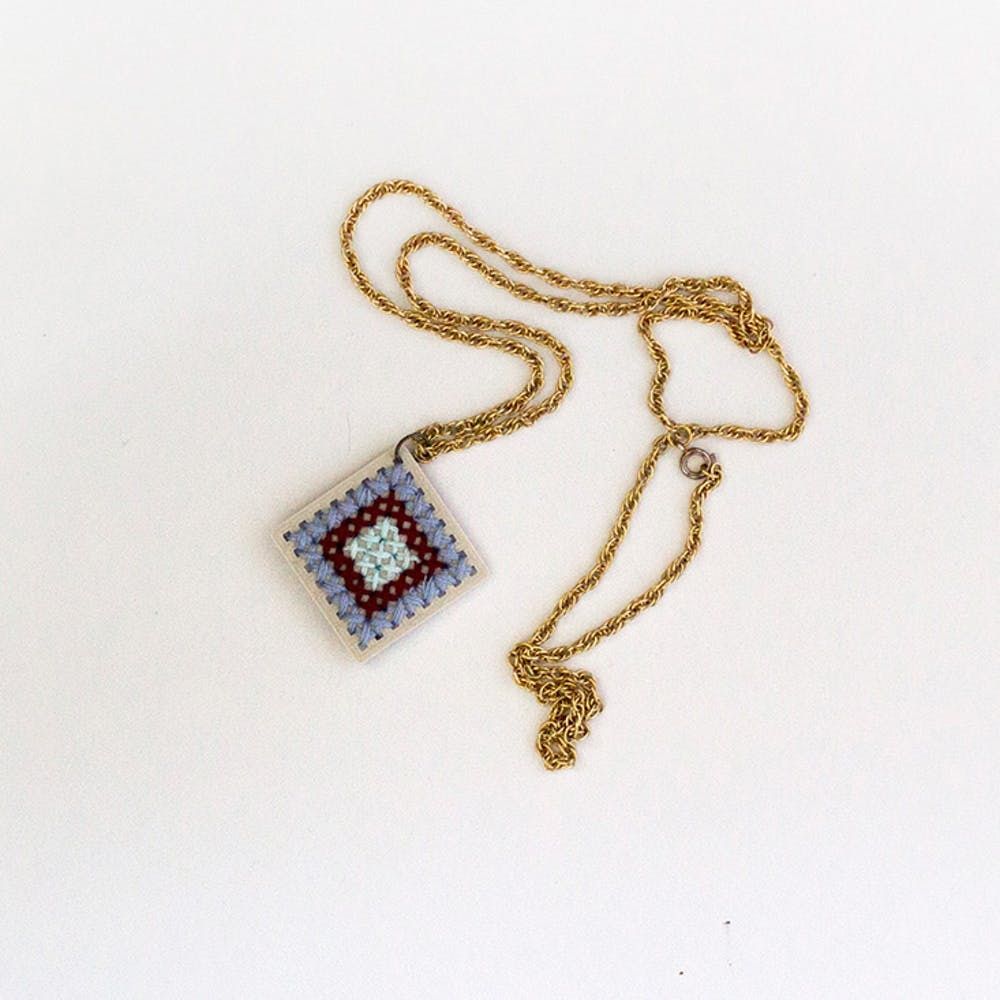
3D printing is more accessible than ever, and we’re so excited to bring you our first DIY jewelry tutorial showing you how to harness this awesome new tech, thanks to the help of Half Craft Studio. And seeing as we’re still real softies for traditional crafts, we picked a project that marries old school cross stitch with this cutting edge technology. 3D printing is all about customization, so we made three different templates for you to 3D print and try out.
If you don’t have a 3D printer in your studio yet, don’t sweat it. We’ll cover how to get the printed piece you need without making the leap to buy your own printer just yet.
Have your own 3D printer? We’ll cover the necessary settings for your ‘bot so you can knock this out in the time it takes to order delivery and queue up a Netflix movie to craft to.
Materials + Tools
— Embroidery floss
— Jump rings
— Chain
— Clasp
— Spool of 3D printing plastic filament (we used PLA)
— .Stl file of the necklace template (pick from a heart, hexagon or square)
— Embroidery needle
— Pliers
— Scissors
— Desktop 3D Printer (we used a MakerBot Replicator 2)
Instructions
Ready to get started with 3D printing? Download one or all three of our necklace templates up above in the Materials section. If you’re 3D printing at home, print your piece upright, using a raft (this is a removable support structure that keeps the piece from falling over during printing), at 100 micron resolution (that’s 3D printer-speak for high quality).
If you’re not a tech wonder woman and don’t own a 3D printer yet, check out MakeXYZ or 3DHubs. Both are networks of people with at-home 3D printers who charge by the size of the design. Something as small as our necklace template will run you about $10 printed in PLA plastic, which is one of the most common plastics for 3D printing. Depending on your city, you may be able to have your piece printed at a local makerspace, 3D printing store or, if you’re in San Francisco, at Brit + Co.
Once you have your 3D printed piece, plan out your design. We went with a simple diamond motif, but you can get as intricate as you like. Cut a length of embroidery floss, tie a knot at one end and thread the other end through your needle. Sew Xs into the grid, changing to other colors of floss to complete your design. Knot your embroidery floss off on the back of the 3D printed piece and cut off the excess string when you’re done with a color. Using your pliers, open a jump ring and attach it through one of the grid holes.
Slip your chain through the jump ring, add your clasp with another jump ring, wear with pride and get ready to attract some serious nerd attention.
What other 3D-printed tutorials would you like to see us create? Let us know in the comments below.
