Dehydrate… in a good way.
How to Prep Healthy Camping Food Minus the Headache

When it comes to the ultimate meal prep for make-ahead camping recipes, nothing beats dehydrating them. The reasons stretch as long as the trails, but for starters, dehydrating means your perishable food becomes shelf-stable. It cuts down on the weight you pack (since all the water is sucked out of the food) and allows you to fuel your body with healthy, flavorful home-cooked meals rather than pre-packaged, processed foods. Even if you’re car camping and not backpacking, dehydrated food means more time spent on outdoors-ing and less time lugging heavy ingredients, chopping veggies on unsanitary surfaces, and attempting to do dishes in suspect spots.
If you have no clue where to begin, consider this your starting point for dehydrating. Most of the tips and tricks we learned are from a self-published book called Recipes for Adventure ($23) by Glenn McAllister (the blogger behind Backpacking Chef). Our friends swore by this book, so we took a leap of faith and ordered it ourselves, and we’ve equally become obsessed with it.
Buying a Dehydrator
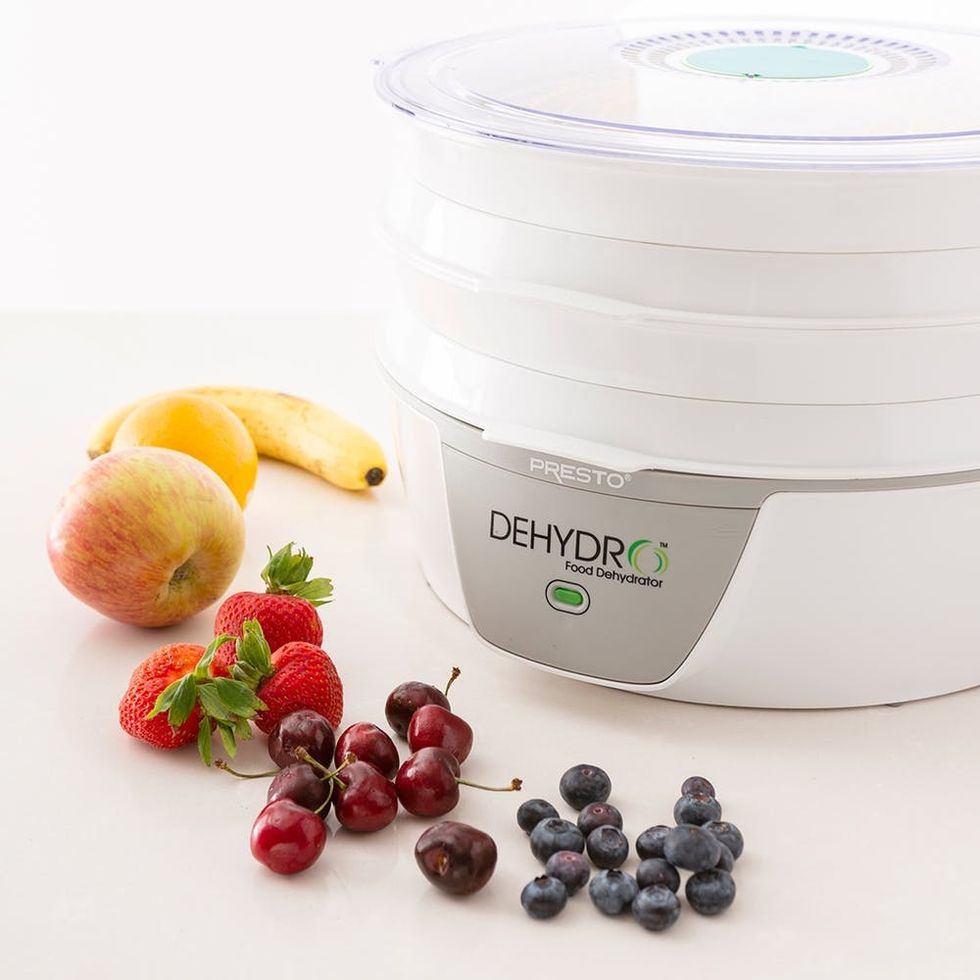
Look, you don’t have to be fancy. We used the affordable but basic Presto Dehydro ($40) with success, even though it did not have temperature settings or any fancy bells and whistles. If you do want to invest in something extra special, McCallister recommends the Excalibur ($250) for its adjustable temperature control, powerful fans that evenly draw out moistness from the food, and timer shut-off (the machine will turn off while you’re at work or sleeping).
Food Safety
With dehydrated foods, you won’t have to worry about whether your cooler full of perishables is still okay even though the ice has melted, but that doesn’t mean you don’t have to think about food safety at all. If you are dehydrating food the week of your camping trip and your trip does not exceed three days, simply pack it in sealable plastic bags.
If your camping trip will be longer than four days, is a few weeks or months out, or will be in extremely humid conditions, vacuum-seal the bags to keep everything airtight. Beyond preserving the food for longer, it’ll protect the food from moisture and rodents and bears (as the vacuum seal prevents scents from escaping).
Dehydrating Fruit
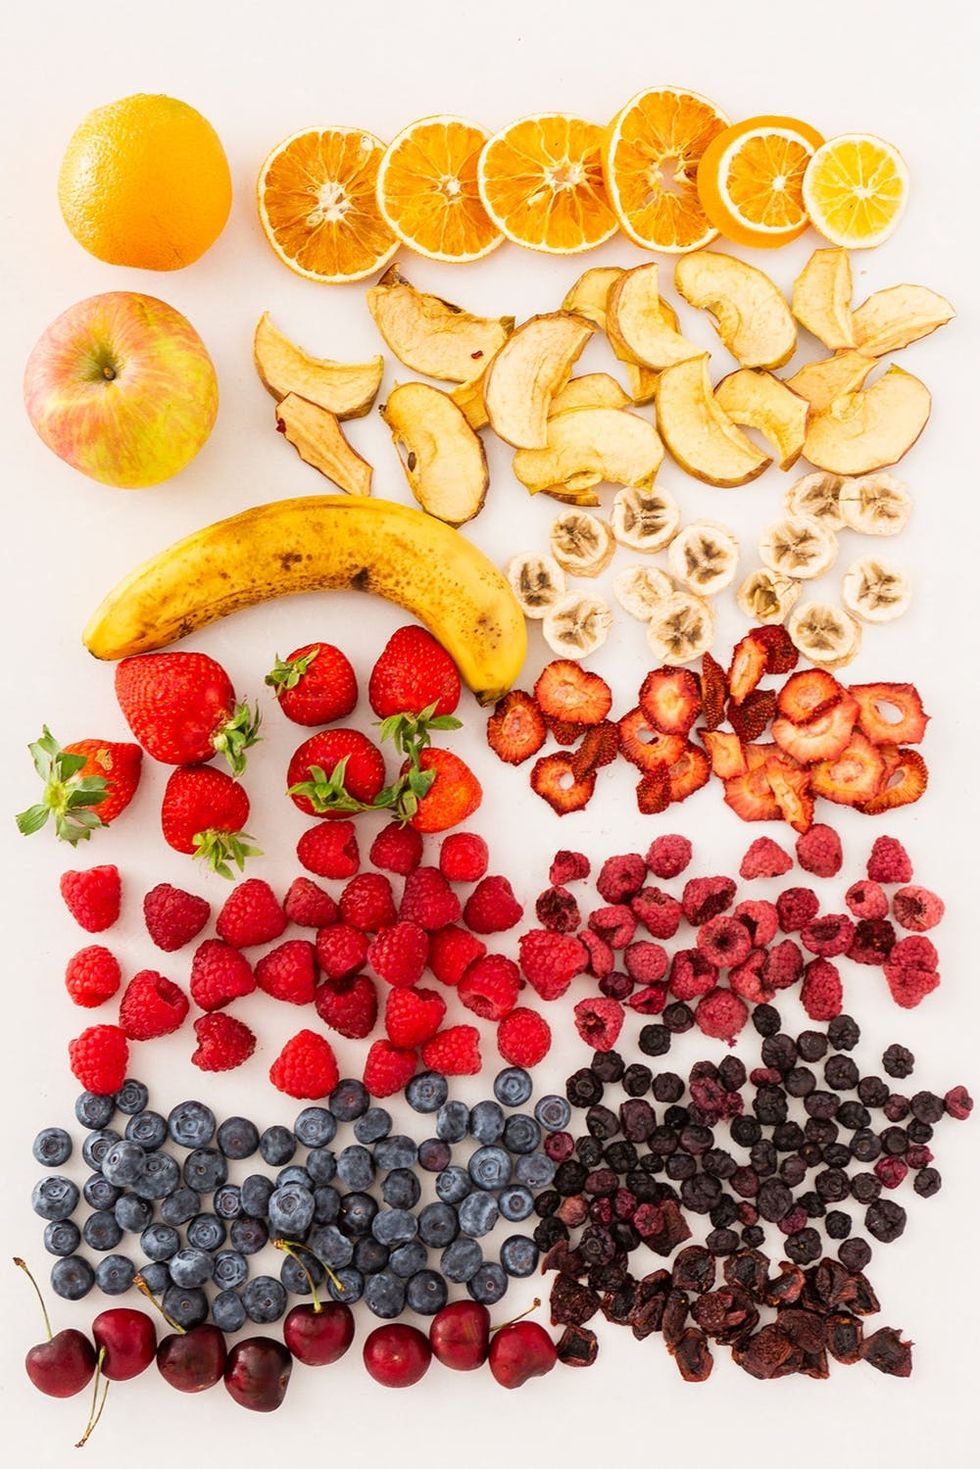
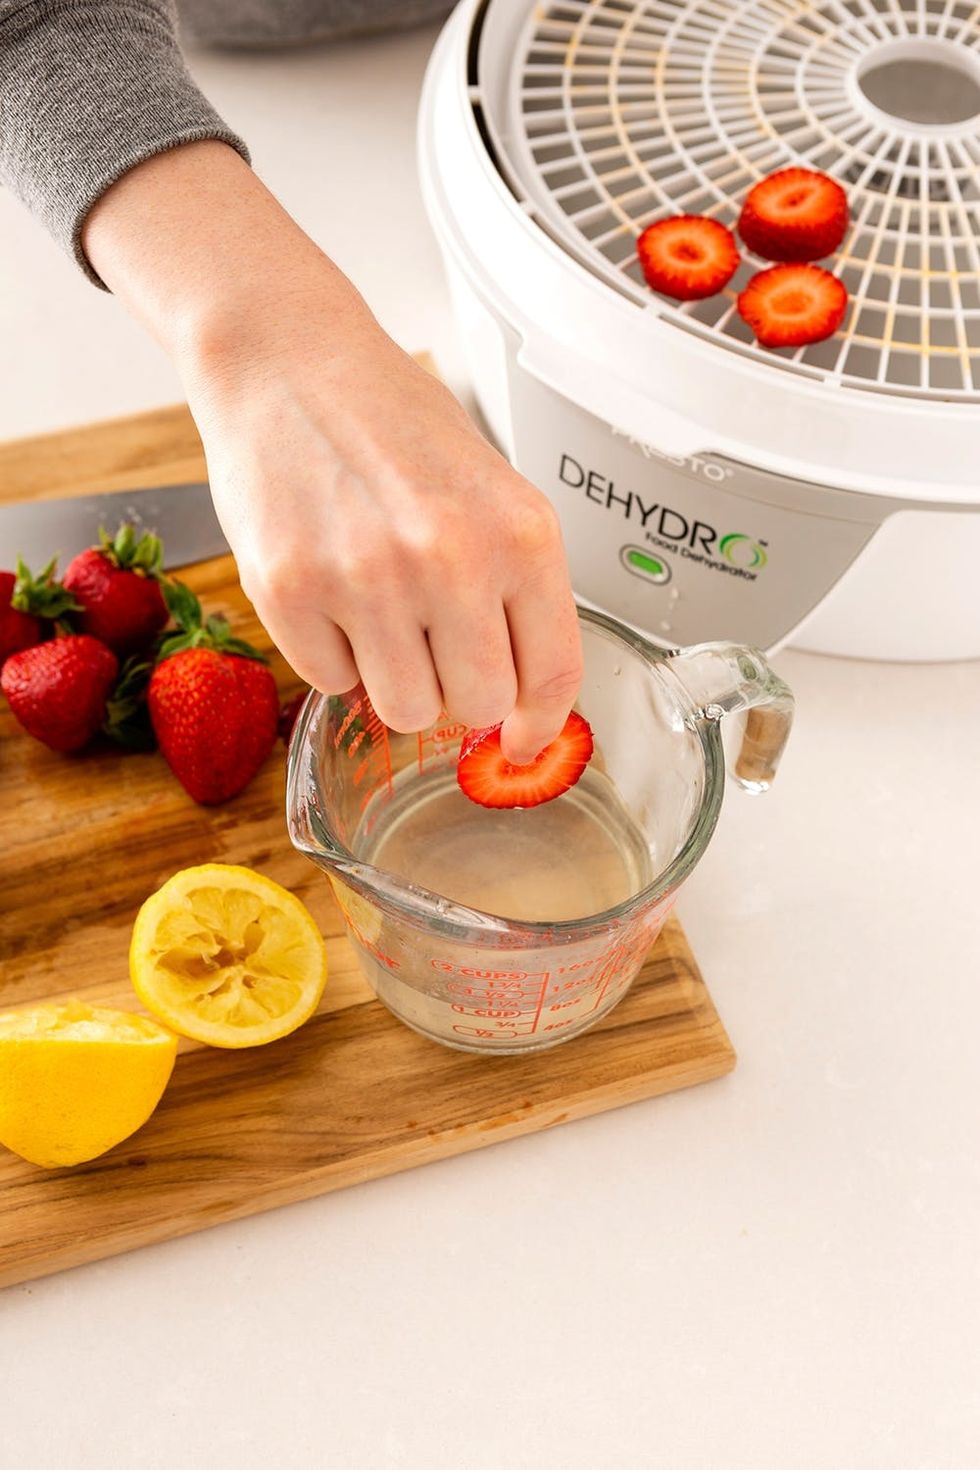
Dehydrated fruit is the best gateway to entry as it’s so versatile: It can be noshed on as a snack, stirred into oatmeal for breakfast, added to dessert bread puddings, or even reconstituted in cold water for a few hours to become a yummy, hydrating fruit punch cocktail. For any of the sliced fruits that are not citrus, be sure to remove stems and seeds/pits, cut them into 1/4- to 1/8-inch pieces (thinner means faster dehydration), and dip them in lemon juice prior to dehydrating (to prevent oxidation). With fruit, you can dehydrate them until pliable and leathery or until firm and chip-like. Let the dried fruit cool completely before storing it in airtight containers.
Dehydrating Times for Various Fruits at 135ºF:
- Apples: 12 hours (1 pound yields 1 cup dried)
- Banana: 8 to 12 hours (5 bananas yields 2 cups dried)
- Blueberries: 12 hours (1 pound yields 3/4 cup dried)
- Cherries: 12 hours (1 pound yields 3/4 cup dried)
- Orange: 4 hours (1 fruit yields 1 cup dried)
- Raspberries: 10 hours (1 pound yields 3/4 cup dried)
- Strawberries: 12 hours (1 pound yields 1 cup dried)
- Watermelon: 18 hours (1 small fruit yields 4 to 5 cups)

Oatmeal Breakfast
(Serves 1)
One of the most filling and easiest breakfasts for the trail is this fruit-PB oatmeal that requires only a few ingredients. Though you technically can dehydrate steel-cut oats, we have our lazy AF moments too and went for instant oatmeal for convenience. We chose RX PB because it’s flavorful and high-protein with the addition of the egg white. If you dislike the mushy texture of oatmeal, McCallister recommends topping it with a little bit of crunchy granola to liven things up. He also suggests separating the fruit into a small baggie so any additional moisture does not migrate to the oats (oops, we didn’t do this, as pictured).
Ingredients:
- ~1/2 cup instant oatmeal
- 1/3 cup dried fruit (strawberries and raspberries pictured here)
- 1 (1.13-ounce) package nut butter, like RX Honey Cinnamon Peanut Butter
- 1 teaspoon sugar (optional)
- pinch salt
- 1 1/4 cup water
- crunchy granola, for topping (optional)
Instructions:
1. Combine all ingredients in a pot and let sit for 5 minutes.
2. Bring to a boil and cook for 1 minute.
3. Eat out of pot immediately.
To clean, add a few splashes of water to pot, swirl it around to loosen any stuck on food particles. Wipe clean and dry with paper towel.
Chili Dinner
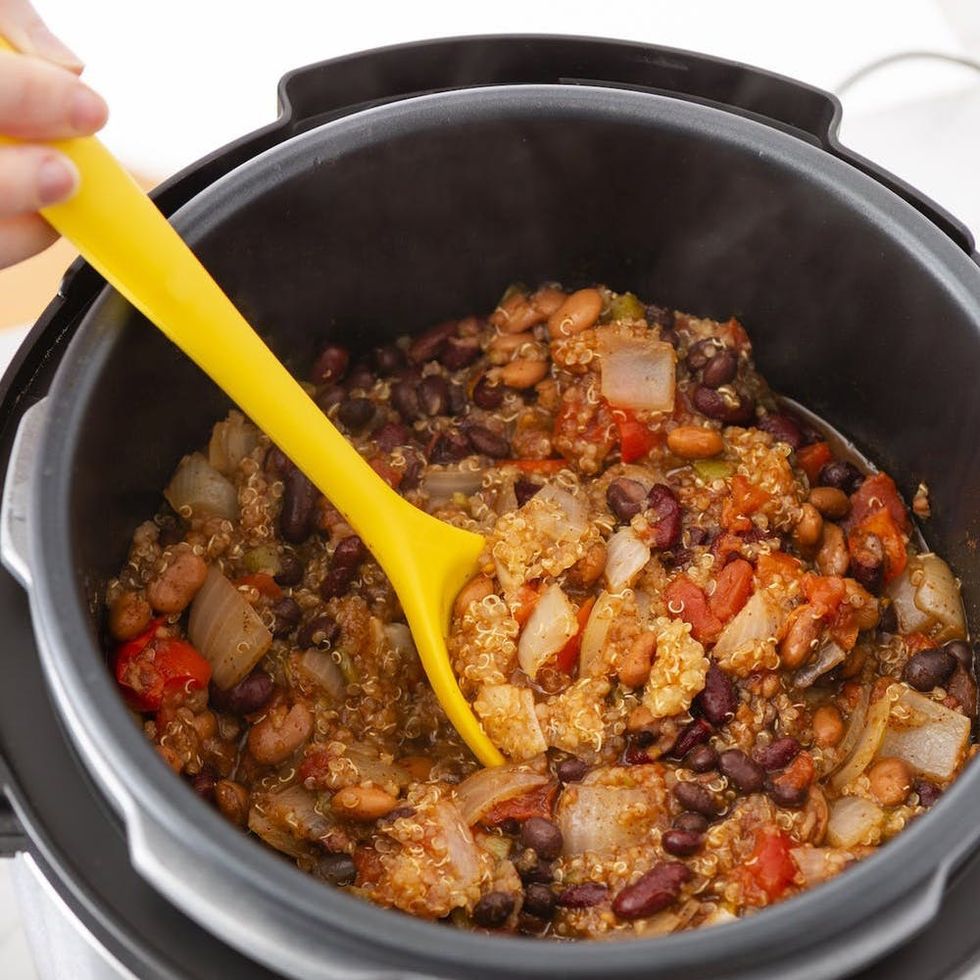
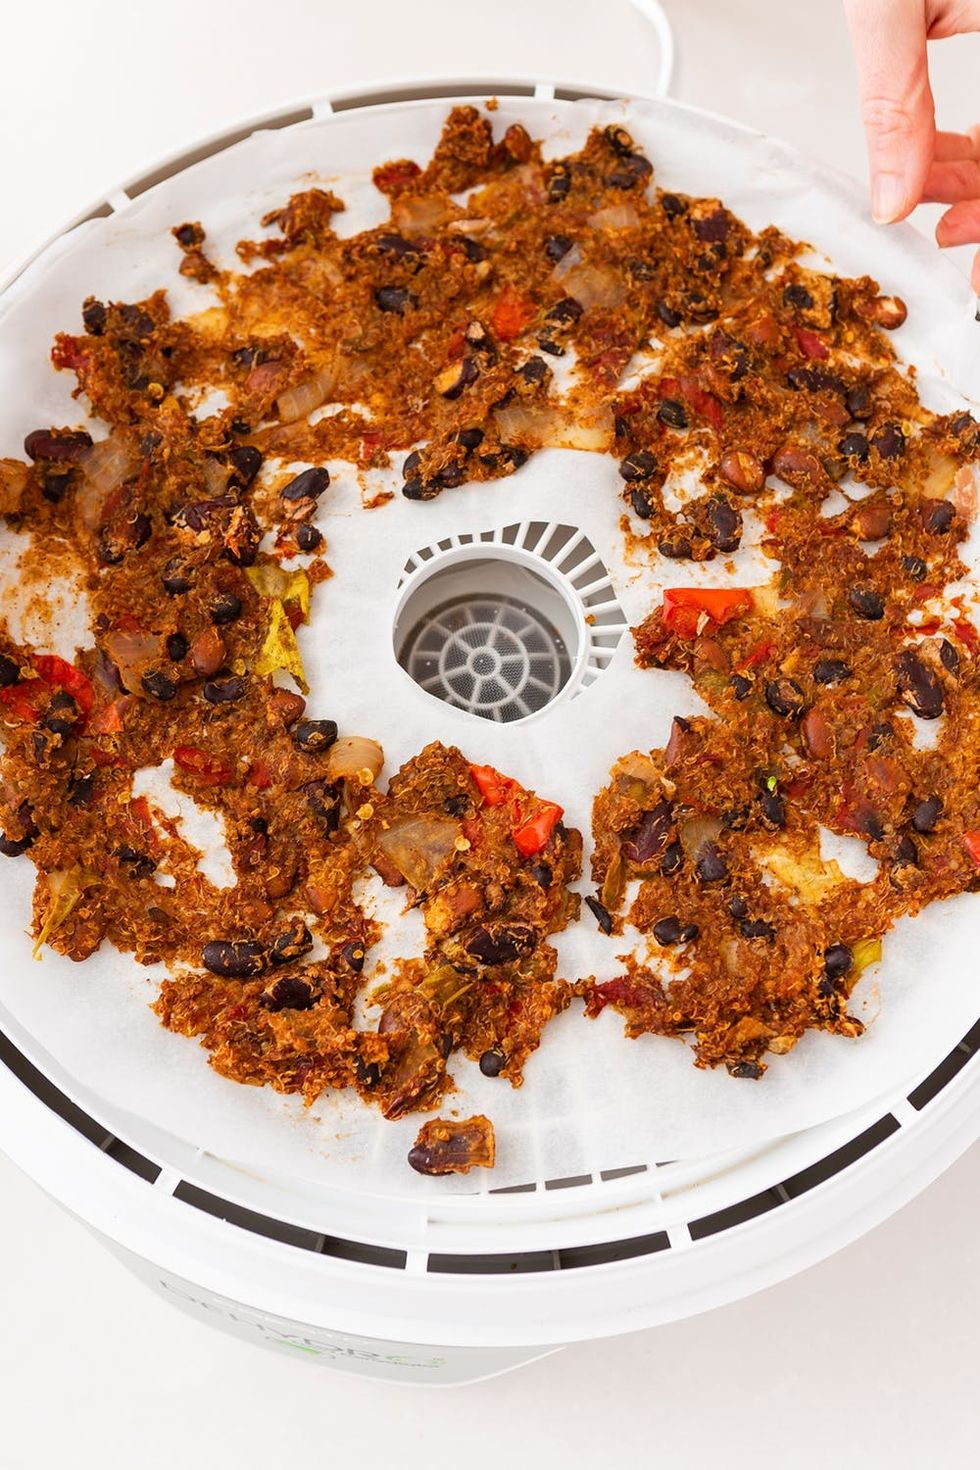
Chili and stews dehydrate well… as long as there’s not a lot of fat in the recipe. (Fat will drip onto the bottom of your dehydrator, plus dehydrated foods high in fat can turn rancid quickly.) This is why we opted to make a protein-rich quinoa and bean chili in a pressure cooker to thoroughly cook all the ingredients without . We recommend packing some nutritional yeast and ghee to stir into the mix once it has rehydrated for cheesy flavor, B vitamins, and healthy fat. Trust us — those few add-ins are so worth it.
Instructions For Dehydrating Chili:
1. Make chili and/or stew and chill overnight. If you’re using beans, opt for canned as they dehydrate and rehydrate better. If you’re using meat, use leaner cuts, and mix in 1/2 cup breadcrumbs per pound of meat before cooking. The breadcrumbs will help the meat rehydrate more easily on the trail with a softer, less pebbly texture.
2. Line the dehydrator with parchment paper or nonstick silicone mats.
3. Spread chili mixture in a thin layer onto parchment paper.
4. Dehydrate at 125ºF for 8 to 10 hours. After 4 hours, break up any larger pieces to expose them to more air.
5. Let chili cool completely before storing in resealable plastic bags or vacuum-sealed bags.
Instructions For Rehydrating Chili:
1. Combine chili with equal parts of water (a large serving is 1 1/2 cups dried chili and 1 cup water) in a pot. Soak for 5 minutes, bring to a boil, and cook for 1 more minute.
2. Insulate pot; allow offset heat to cook for an additional 10 minutes. Stir in ghee and nutritional yeast to taste, and eat out of pot.
To clean, add a few splashes of water to pot, swirl it around to loosen any stuck on food particles. Wipe clean and dry with paper towel.
Rehydrating Tricks
McAllister has plenty of tips on cookware and backpacking stoves on his blog, but one of our fave tips is to use what’s called “deferred cooking” in a Thermos jar. Simply put all the ingredients in the Thermos along with boiling water (add 25 percent more than you normally would over the stovetop), and allow the ingredients to rehydrate in a few hours. This is almost like microwaving on the trail — ha! It can be particularly helpful if you only want to boil water once during the day (morning) but want to rehydrate your lunch and/or dinner — or if you want to boil water at night and wake up to a warm breakfast.
Find more camping cooking inspo on Brit + Co’s Pinterest page.
Brit + Co may at times use affiliate links to promote products sold by others, but always offers genuine editorial recommendations.
(Recipes adapted from Recipes for Adventure by Glenn McAllister; photos via Brittany Griffin / Brit + Co)


