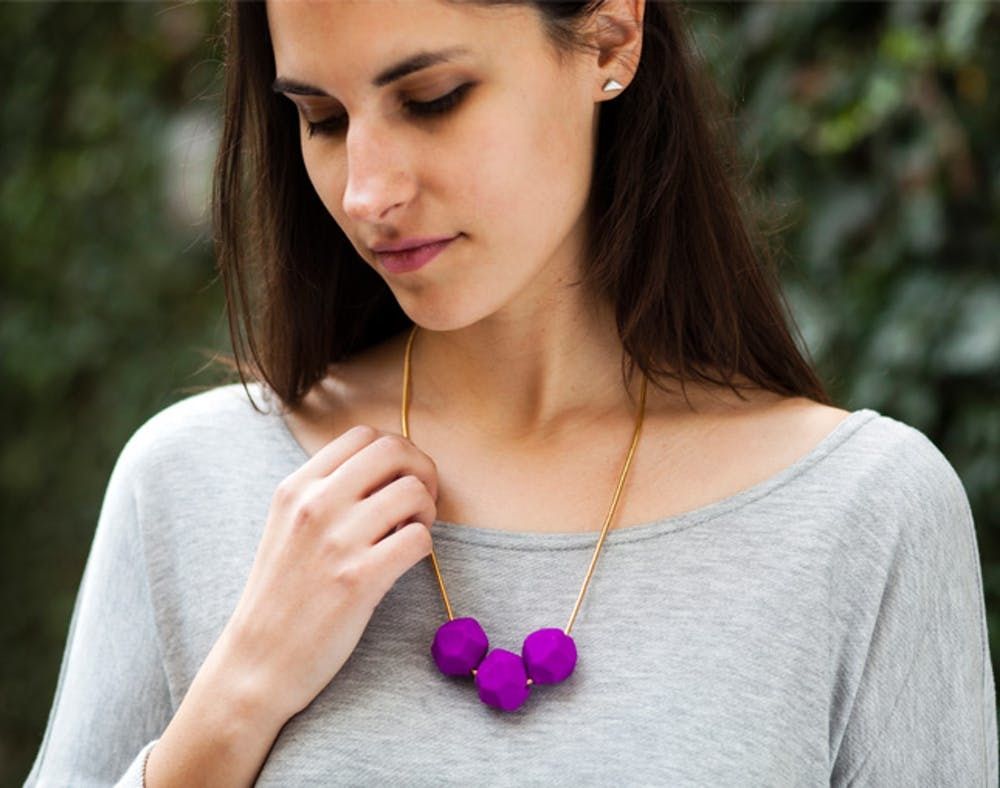
Looking for an simple way to make yourself a statement necklace? We’ve totally got you covered! These clay necklaces are easy to make and don’t even require a ton of time. Plus, you’re bound to get noticed wearing one of these babies. Now that’s just a winning combination. Each kit ($24.99 in the shop) includes one package of clay, clay sculpting tools, and one chain, it’s up to you to customize to find your favorite combo. Follow along to see what designs we created!
Buy It
Materials (get the kit here!):
– violet, blue pearl and tranquility Sculpey
– gold and rose gold necklace chains
Tools:
– Sculpey tools starter set
– lollipop stick
– cutting board
You can mix and match materials in any way you like for this one.
Instructions for the Geode Necklace:
1. Take your violet Sculpey and break it into four sections.
2. Roll each section into a ball. Press each ball into a square.
3. Using your Sculpey tools, cut off edges to create a geode shape.
4. Take a lollipop stick and poke a hole through the center. Make sure it is slightly bigger than the necklace chain — the Sculpey will shrink in the oven.
5. Bake your geodes in the oven for 15 minutes at 275 degrees F.
6. Let cool and string onto your chain!
Let’s start with making the geode pendants. Take your violet Sculpey and break it into four sections. Roll each section into a ball. We only made three geode pendants, so we some had some extra Sculpey. Then take your Sculpey balls and press them into squares. Using one of your Sculpey tools, make a mark on the side of each square. This will serve as a guide for when you cut off the side of your square.
Take your Sculpey knife and begin cutting off the sides. Start in the center of the square and work your way towards the marks you made on the top. Continue doing this until you’ve cut off all of the sides of the square. Smooth over any imperfections in the clay. Next, take a lollipop stick and poke a hole through the center. Make sure that the hole is wide enough for the necklace chain. It’s important to remember that the Sculpey will shrink in the oven.
Bake your geodes in the oven for 15 minutes at 275 degrees. Let them cool for another 15 minutes. Unscrew the cap on the end of the necklace chain and string up your geodes. Bam, beautiful!
Next up, let’s go with some more traditional round beads.
Instructions for the Beaded Necklace:
1. Break your blue Sculpey into four pieces.
2. Cut one section into thirds. These will serve as the smaller beads (though you will only use two). Cut another section in half for the medium beads. And use an entire section for the large bead.
3. Roll your five pieces into balls.
4. Take a lollipop stick and poke a hole through the center. Make sure it is slightly bigger than the necklace chain — the Sculpey will shrink in the oven.
5. Bake your geodes in the oven for 15 minutes at 275 degrees F.
6. Let cool and string onto your chain!
Want to learn how to make some circle pendants? Easy. Break your blue Sculpey in four pieces. Cut one section into thirds (you will only use two of these pieces). These will serve as the smaller beads. Cut another section in half. These will serve as the medium sized beads. Use an entire section for the large bead. Roll your five pieces into balls and poke a hole through each bead. Smooth over any imperfections.
Bake for 15 minutes and then string these suckers up!
And finally, let’s go for some straight lines and rectangles in a minty green hue.
Instructions for the Rectangular Pendant Necklace:
1. Break your minty blue (aka “tranquility”) into four pieces.
2. Using the end of one section, cut off two thin pieces. These will be the small rectangular beads. For medium beads, cut lengthwise along the same piece of Sculpey. Then make one large bead for the middle.
3. Take a lollipop stick and poke a hole through the center. Make sure it is slightly bigger than the necklace chain — the Sculpey will shrink in the oven.
4. Bake your geodes in the oven for 15 minutes at 275 degrees F.
5. Let cool and string onto your chain!
Last, but not least, the tranquility Sculpey! Just like with the other two projects, break the Sculpey into four pieces. Take each section and smush out any imperfections. Using the end of one section, cut off two thin pieces. These will be the small beads. For the medium sized beads, cut lengthwise along the same piece of Sculpey. You can make two beads from this. For the large center bead, grab a new piece of Sculpey and cut lengthwise.
We wanted long, thin rectangles for our necklace so we trimmed our pieces down. To make your beads the same size, put them next to each other for size a comparison and cut off any excess Sculpey. Next, poke a hole in each bead.
Lastly, bake these beads and string ’em on a chain!
Which one is your fave? What other types of projects would you like to see in Brit Kit form? Talk to us in the comments below.


