And it’s even waterproof!
This Apron Has a Secret Pocket for Your Phone

We’ve been spending a lot of time in the kitchen lately. From Lay’s posts to back-to-school snacks to decadent desserts, our pots and pans are not feeling under-appreciated. In fact, they’ve been asking for a vacay to the French Riviera (so needy). With all of the recipes we’ve been busting out, we’ve stained one too many shirts, so we thought it was high time for an apron tutorial. One thing we noticed when spending hours and hours at the stove is that it’s nice to listen to a podcast or music, or chat with a friend. The problem is that we need a place for our phone where it won’t get wet or covered in powdered sugar. So, we thought of a little hack that works great. Read on to see what it is ;)
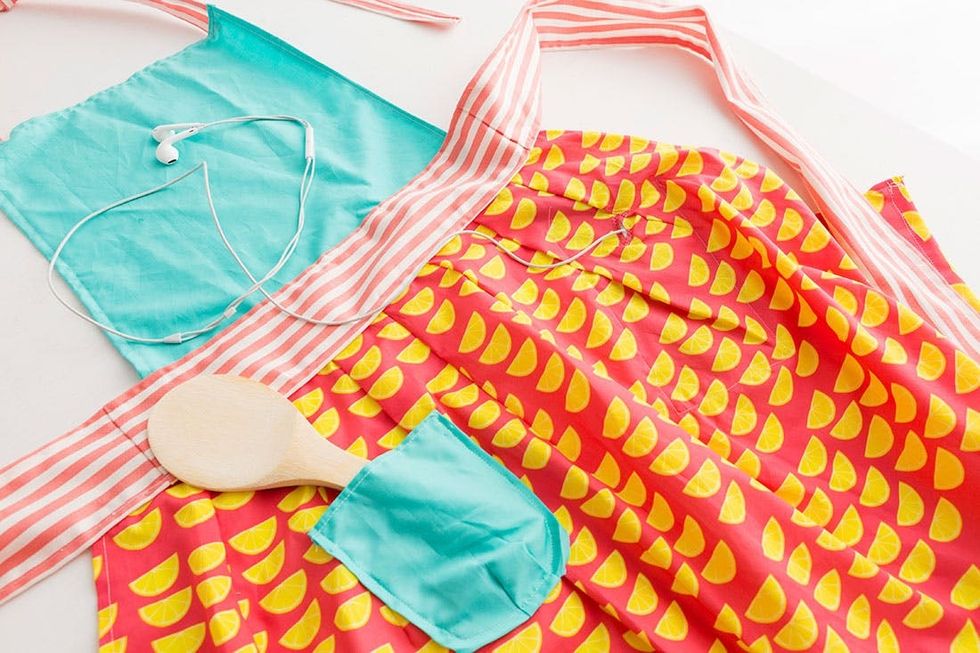
Materials:
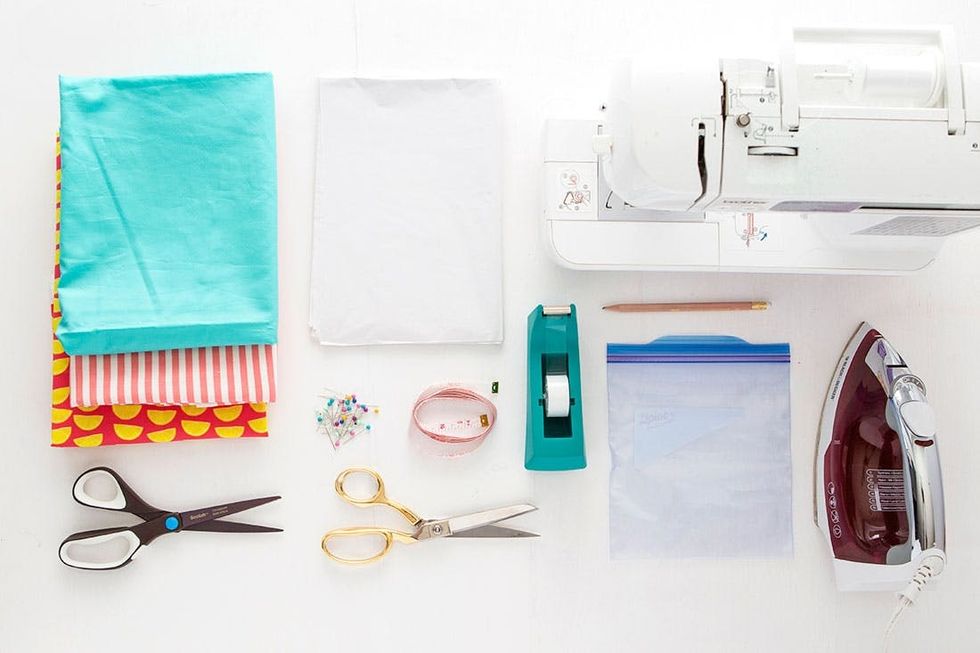
– fabric
– tissue paper
– Ziplock bag
Tools:
– scissors
– fabric scissors
– measuring tape
– pins
– pencil
– tape
– iron
– sewing machine
Instructions:
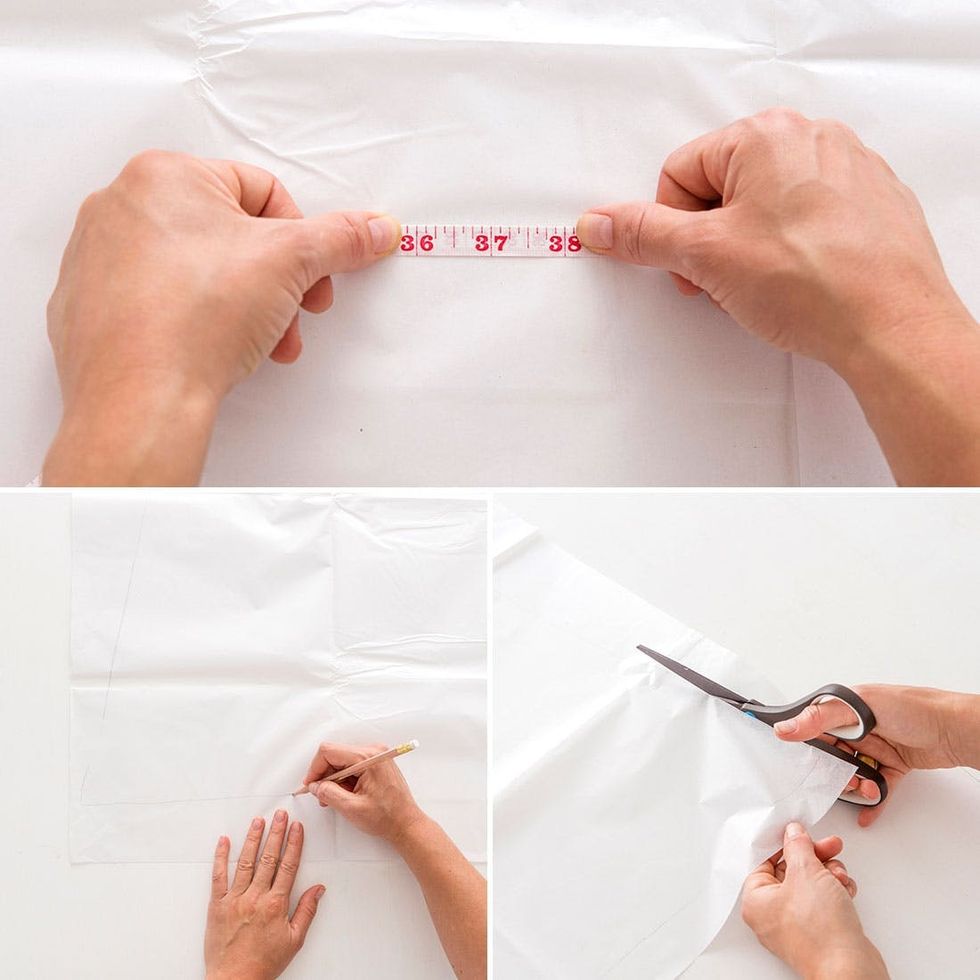
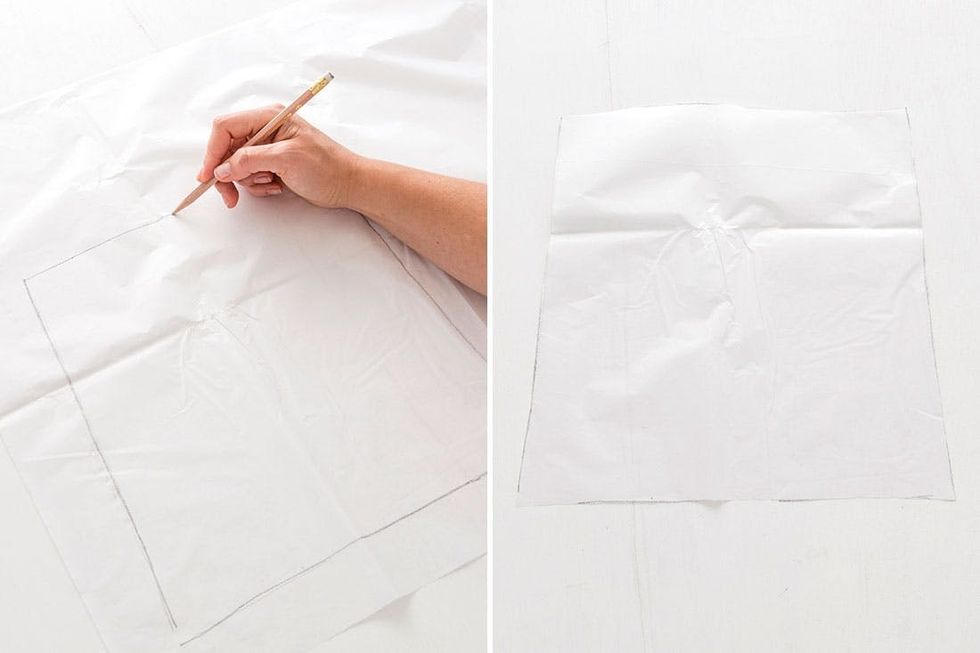
It can be super helpful when making a pattern to examine an apron you already have. Once you feel like you’ve wrapped your mind around it, draw a trapezoid on tissue paper to create your skirt. Hold it up to your body to get just the right fit. Since we’re adding pleats, we made our skirt extra long to account for the bunched stitches.
- Make a pattern. Draw a large trapezoid on your tissue paper. Though the apron will not fully wrap around your waist, the waist measurement should be the size of your waist to account for the pleats.
- Cut out your tissue paper pattern and make sure it fits to your liking.
- For the top part of the apron, draw and cut a tissue paper rectangle. Again, hold it up to your body to see if it is a good fit.
- Place your pattern on top of the fabric and mark your fabric with a pencil or chalk. Cut out your fabric. Repeat this step with the top part of your apron.
- Cut one long strip of fabric for the waistband. Make sure it is long enough to tie in a bow around your waist.
- For the top of the apron, cut two long strips of fabric. Again, they should be long enough for you to tie a bow around your neck.
- Fold and iron all edges of your fabric. For a proper hem, make two folds before ironing.
- Sew all hems.
- Fold the skirt section in half with the patterned side facing in. Starting at the top of the skirt, sew a diagonal line along the fold, approximately five inches long. This is your first pleat!
- Keep adding pleats until the waist of your skirt is the width you want. Keep holding it up to your body to get it just right.
- Pin and sew all pieces of fabric together. We added a little pocket to the front :)
- Once your apron is sewn, add a secret waterproof pocket for your phone. Cut your Ziplock bag to fit your phone. Then pin it to the back side of the skirt.
- Pinch a small section of the Ziplock and fabric and snip a half-inch slit.
- Turn the apron over and sew around the edges of the slit to create a button hole. Be sure to sew through both the Ziplock and the fabric.
- Flip the apron over again and sew around three edges of the Ziplock bag to secure it to the apron.
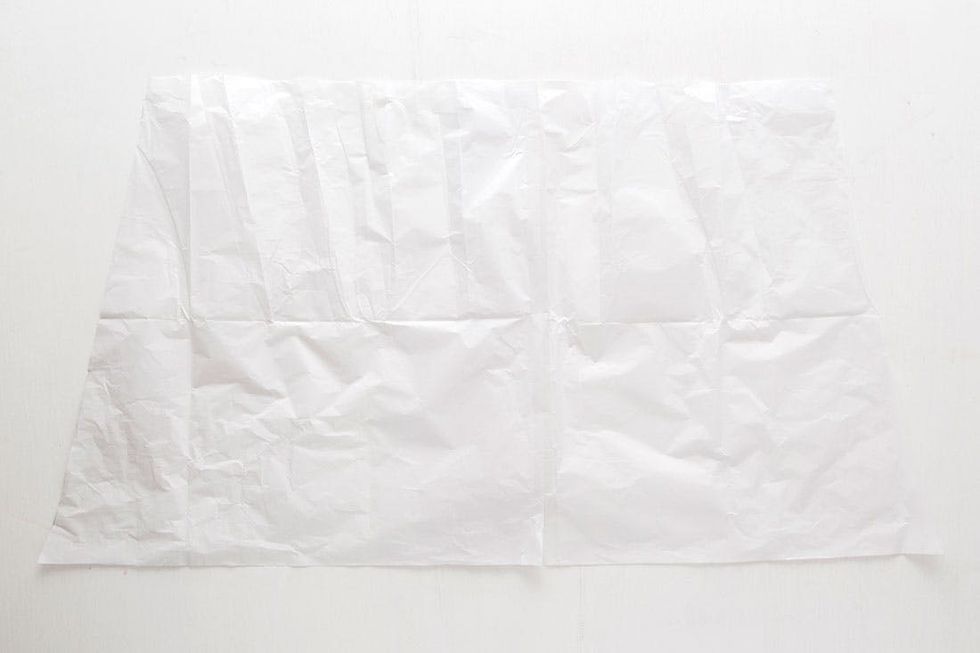
Make sure the angle is to your liking. Our corners are pointy, but you can always round them if you prefer that shape.
For the top of your apron, draw and cut out a rectangle. Ours is slightly trapezoid shaped. You could also make a curved collar if that strikes your fancy.
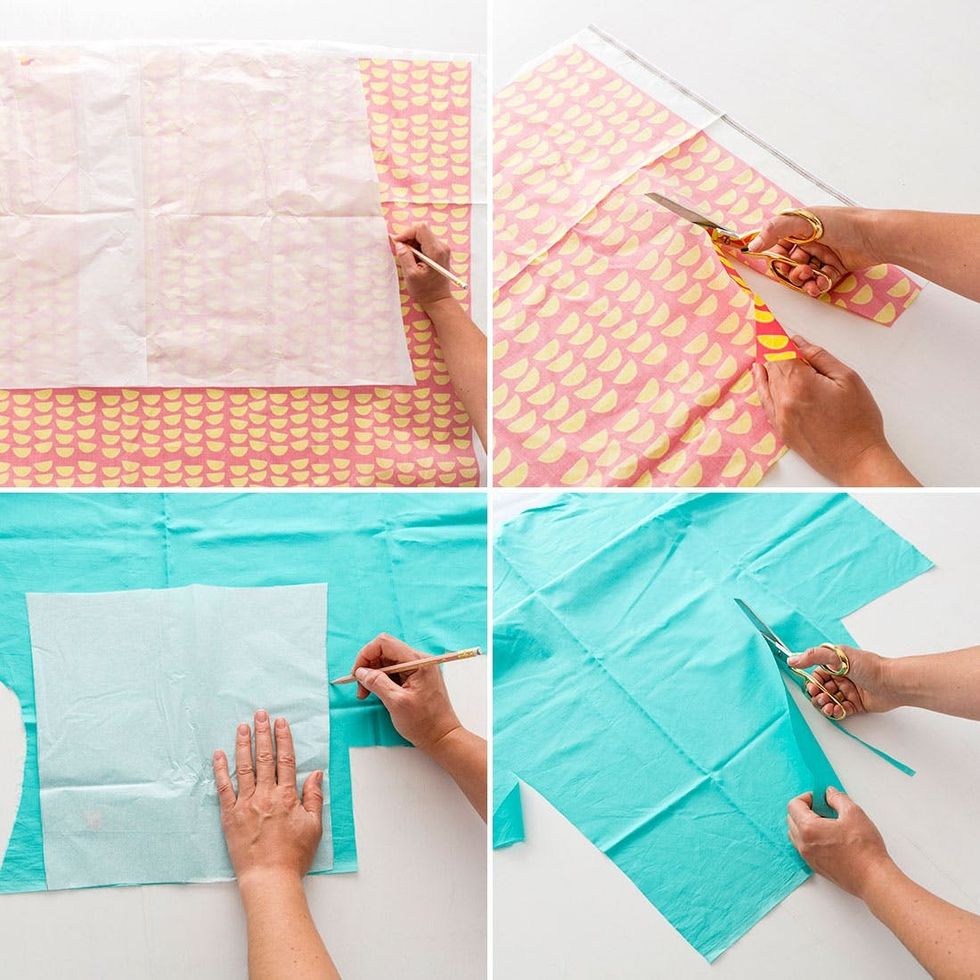
Now that you’ve got your pattern, it’s time to trace it onto your fabric using pencil or chalk. Cut out your pieces and you’re well on your way to having a brand-spanking-new apron.
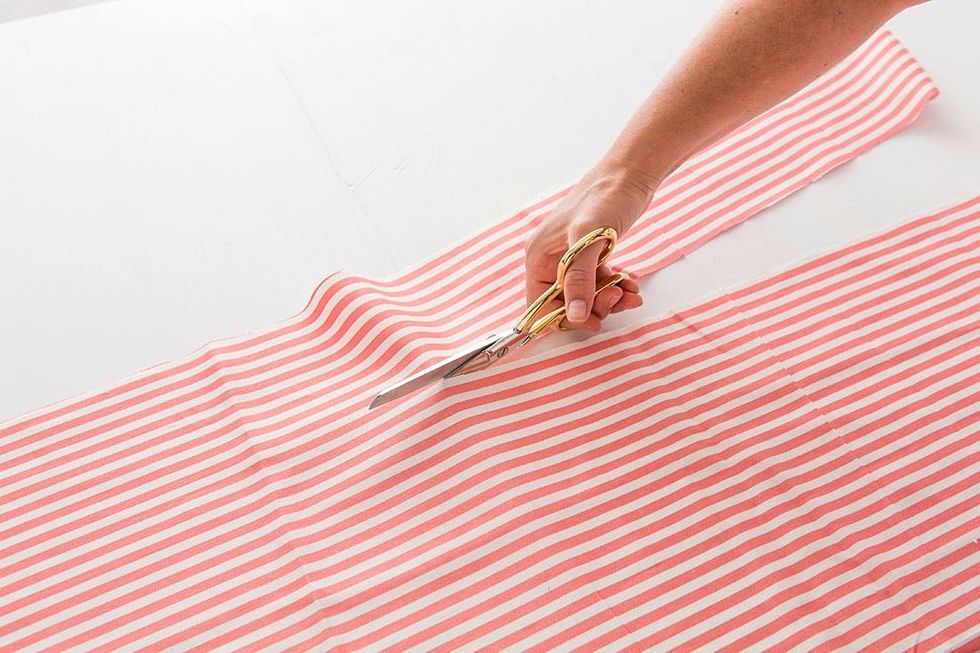
Next up, it’s time to make straps. We cut out two straps to tie around the neck and one long strap that wraps around the waist and is tied in the back.
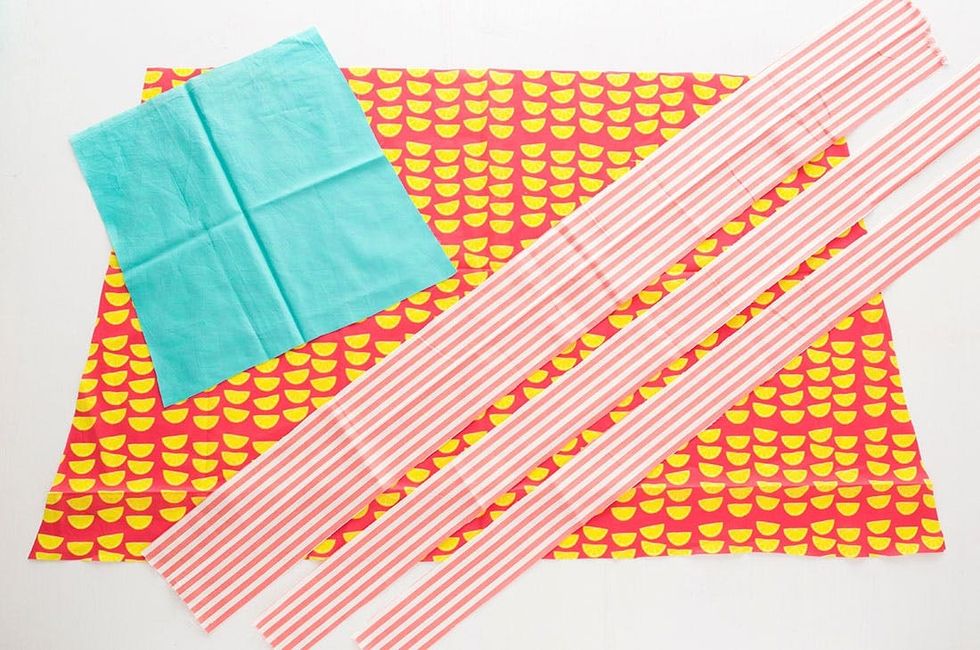
Check it — here are all the pieces you need to put this thing together.
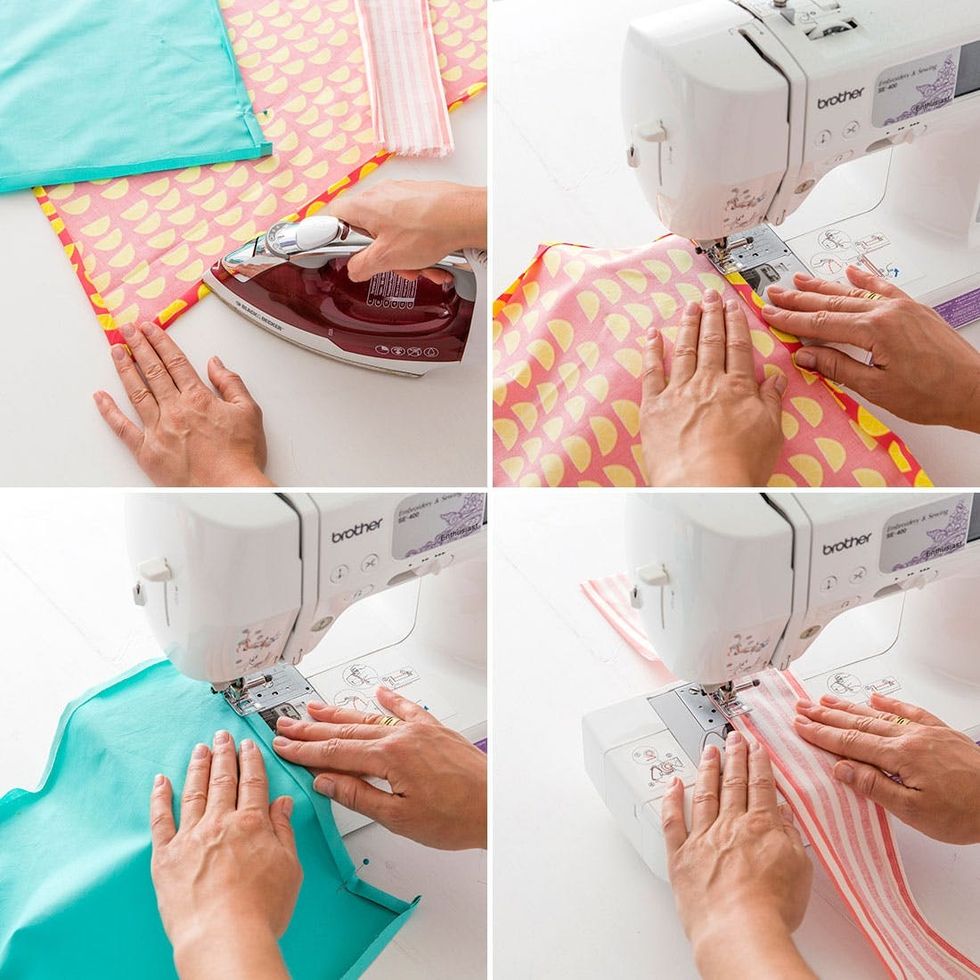
Time to hem your fabric. Double fold all edges, iron them down for easy stitching and then sew them in place.
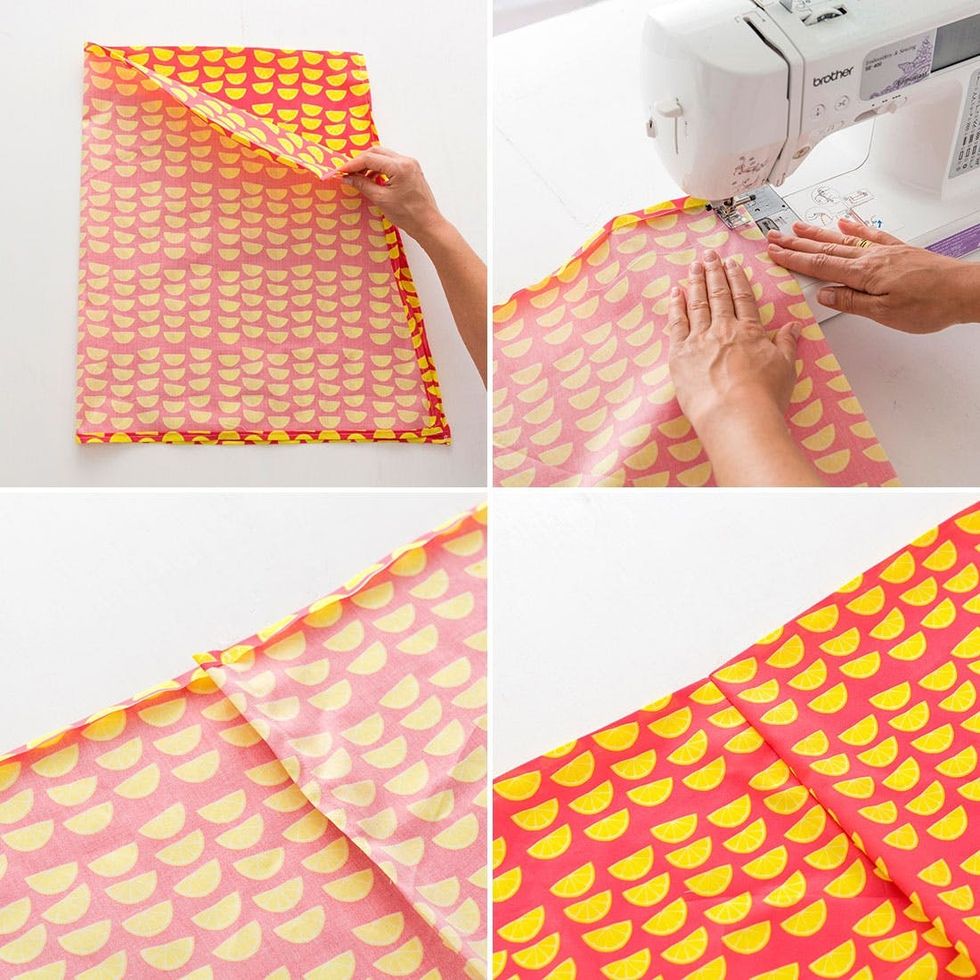
Pleat time! Don’t be intimidated by pleats. They are just little folds sewn diagonally in place. Simply fold your fabric in half, then stitch from the top down about five inches at an angle. Fold your skirt again in the location of your next pleat. Keep adding pleats, making sure they are evenly spaced, until the waist of your skirt is the perfect fit.
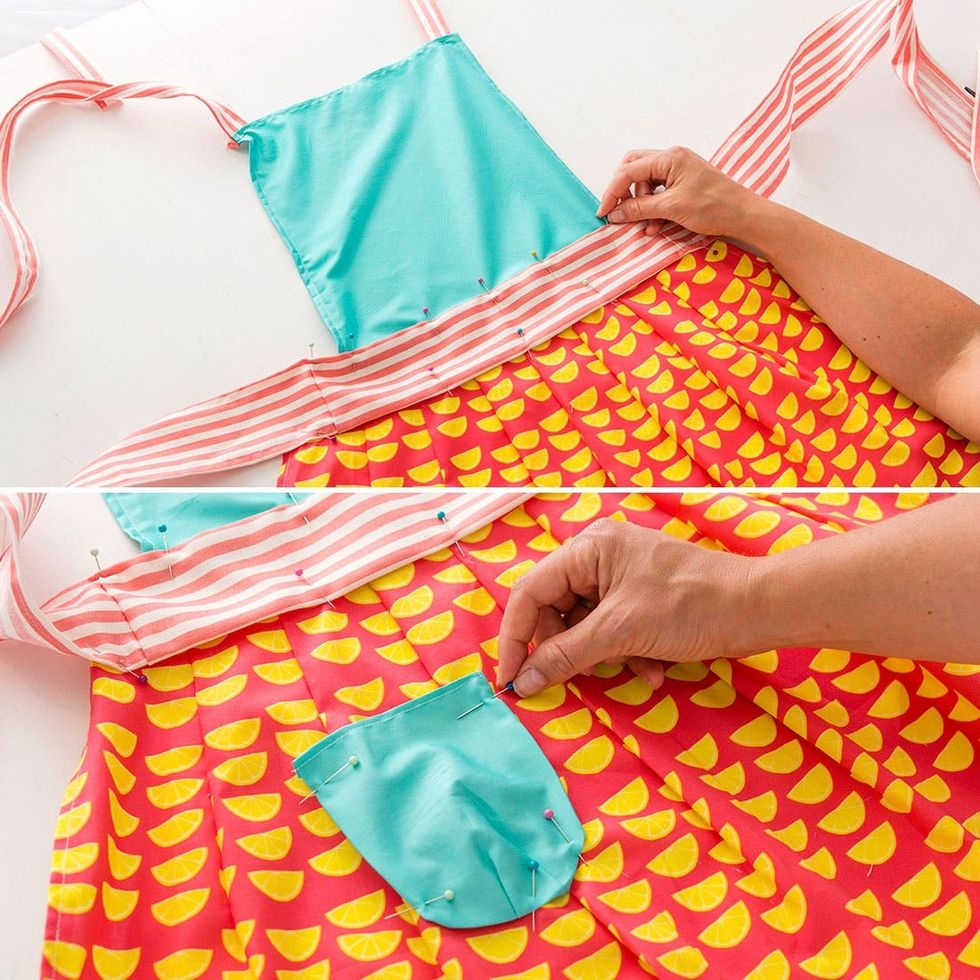
Lay out all of your pieces and pin them in place. We added a cute rounded pocket to the front after debating between two square pockets or one long pocket. All three would look adorable. Once you’re ready, sew your apron together!
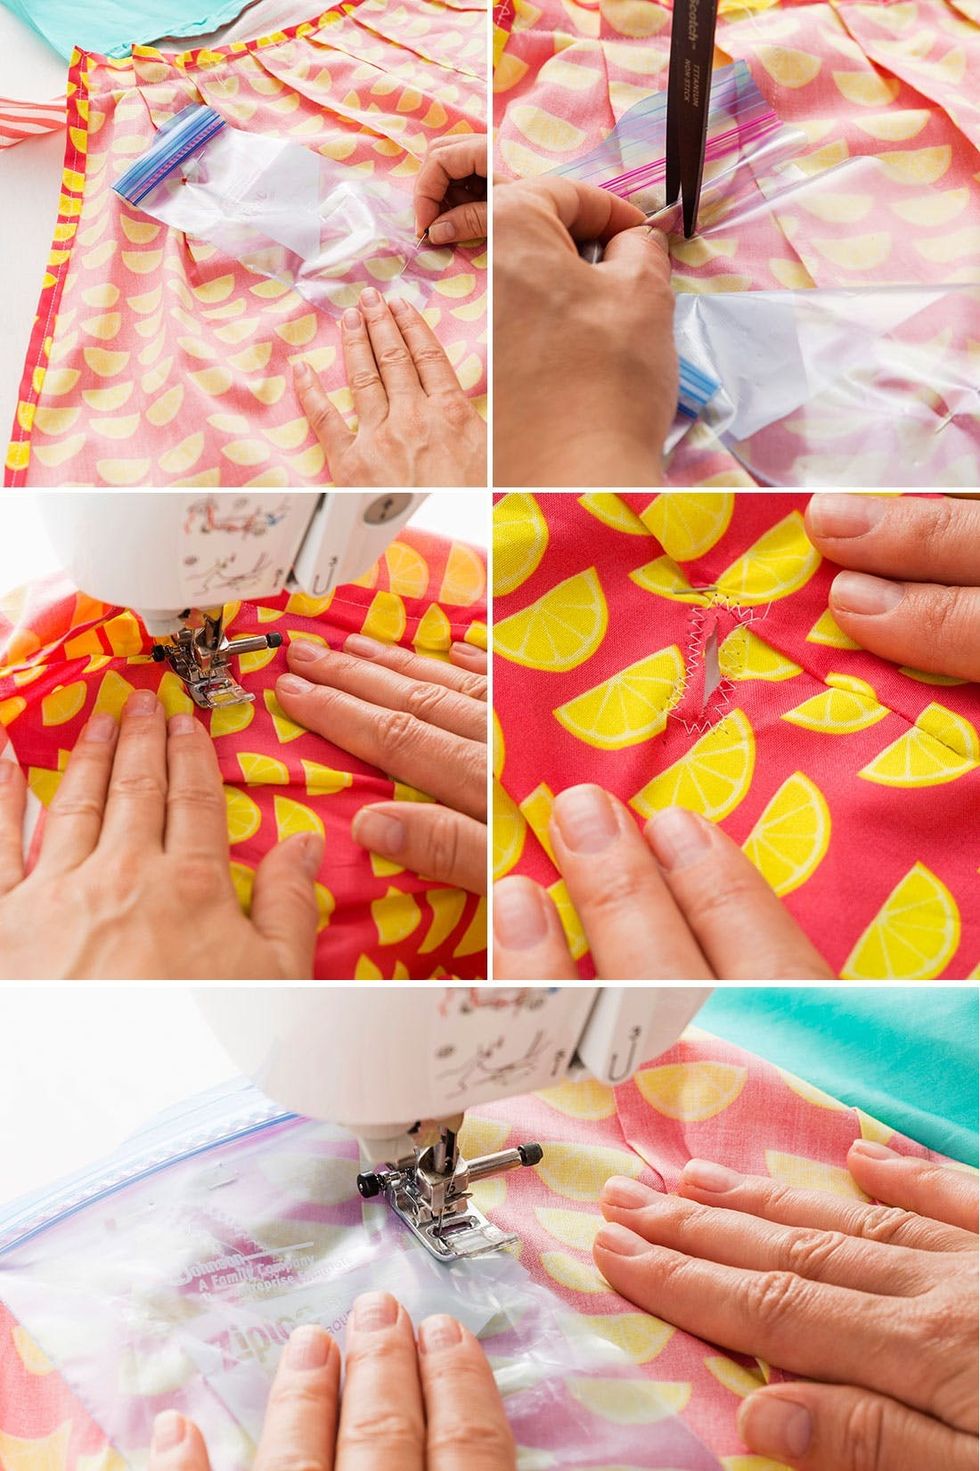
Okay, it’s the paragraph you’ve been waiting for. Our secret waterproof pocket is none other than a stitched Ziploc bag! Measure a bag against your phone and cut it to size. Then pin it to the back of your apron. In the inner layer of the bag, pinch a section, making sure to grab the fabric too. Snip a small hole and then sew around the edges. You’ve got yourself what looks like a button hole but is really a place for your headphone cord. Yippee! Lastly, sew the bag in place. This is a great hack for a DIY apron or that apron you bought at Anthro.
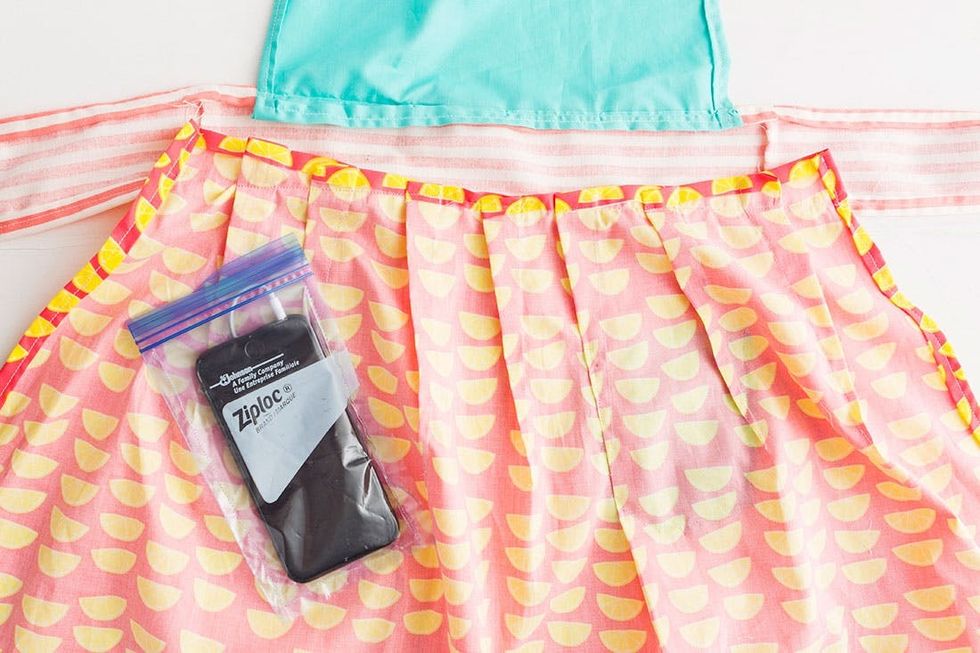
To wash your apron, either remove the bag with a seam ripper and add a new one after it’s clean, or wash by hand.
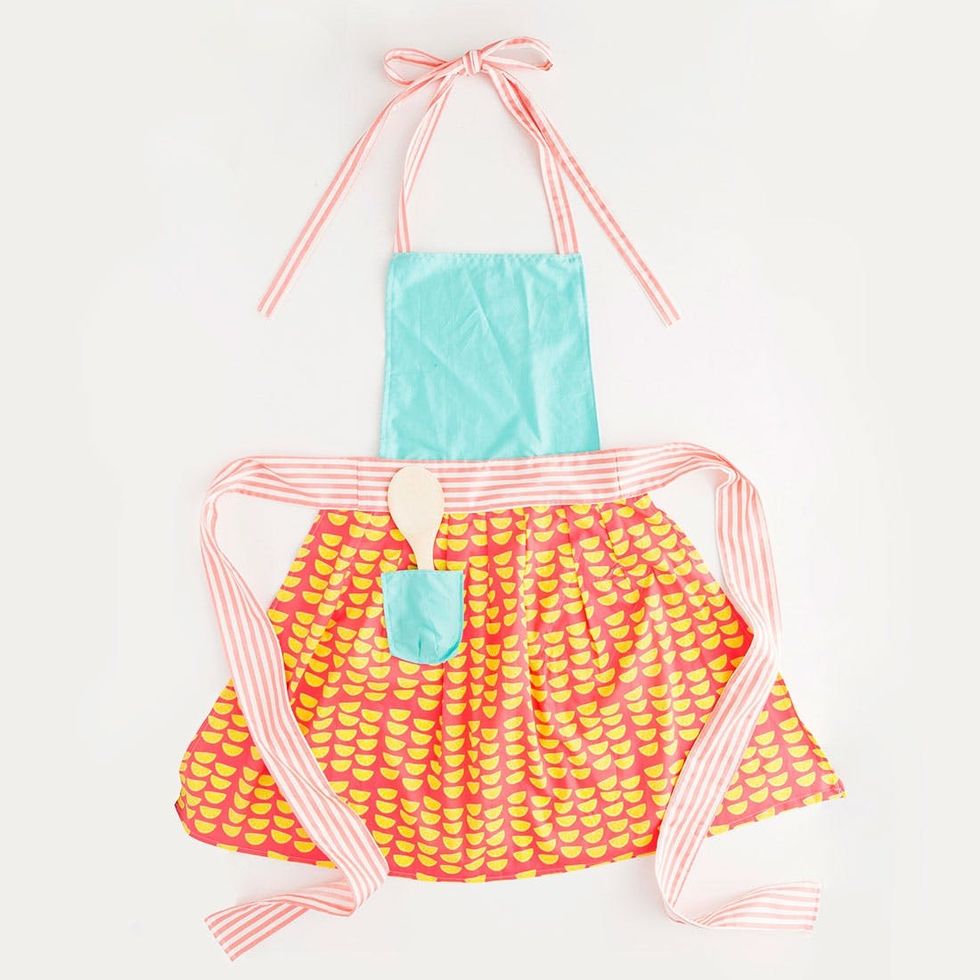
Get back in the kitchen, ya hear!

We made these with our unbearably cute summer prints. Anj got to wear the citrus apron, which means we expect her to make us mimosas :)


