This DIY tote tutorial was born of a real-life request from a good friend of mine. She wanted a set of custom totes to give as personalized bridesmaids gifts and I was like — oh girl, I GOT you. To address all different styles of brides (and bridesmaids), I wanted to create several different designs and techniques — 10 to be exact — to make sure you and your motley crew are decked out with custom gear that can be used WAY after the wedding is over.

To put together these 10 unique totes, we used our Gold Foil Tote Kit in three colors (blush pink, natural canvas and black) and topped them all off with custom gold foil designs.
Materials:
– canvas tote
– gold transfer foil
– transfer adhesive
– paintbrush
(included in our Gold Foil Tote Kit)
Additional Supplies:
– iron
– scissors
– bowl or plate for glue
– small paintbrush
(not included in the kit)
Instructions:
1. Squirt some glue into a small bowl or other surface not used for food.
2. Brush a thin layer of glue onto your tote bag.
3. Let glue dry slightly for 30 seconds.
4. Place one sheet of gold transfer foil on top of the glue, silver side down.
5. Lay a sheet of parchment paper on top of the gold foil and iron for 20 seconds.
6. Let sit until completely cool to the touch, and peel away the gold foil.
7. Repeat this process until you are happy with your design.
8. Let gold foil cure completely for 72 hours before use.
Grab your gold tote supplies, a pair of scissors and an iron, and let’s get started.
Let’s start with the easiest technique first. Put some of the adhesive in a small bowl, dip your brush in and paint a light brushstroke onto your tote bag. Let the glue dry for 30 seconds or so until it is tacky, not wet, and then carefully layer gold foil (silver side down) and parchment paper on top. Iron on top of the parchment paper for 20-30 seconds, let the foil cool to the touch, then peel away to reveal your transferred design!
Repeat this process, painting one or two brushstrokes at a time and then ironing in the gold foil. The foil is very sensitive to how dry or wet the glue is, so if you let the glue go too long, it may not transfer as well.
Gang’s all here! Next up, we’ll show you how to pre-cut pieces of foil to make more controlled geometric designs, AND we’ll test out a teeny bit of brush lettering!
The Pink Ladies
For this abstract mountain pattern (perfect for a mountain wedding, by the way!), we first cut out triangles of varying sizes. Set them aside and brush a thin layer of glue all over the area where your triangles will eventually go. Let the glue dry slightly until tacky, and then iron down your pre-cut gold foil pieces. Peel away after the whole thing has cooled down to the touch.
You can use this same technique with so many different shapes! Use thin strips like these to make a striped pattern along the bottom half of your tote.
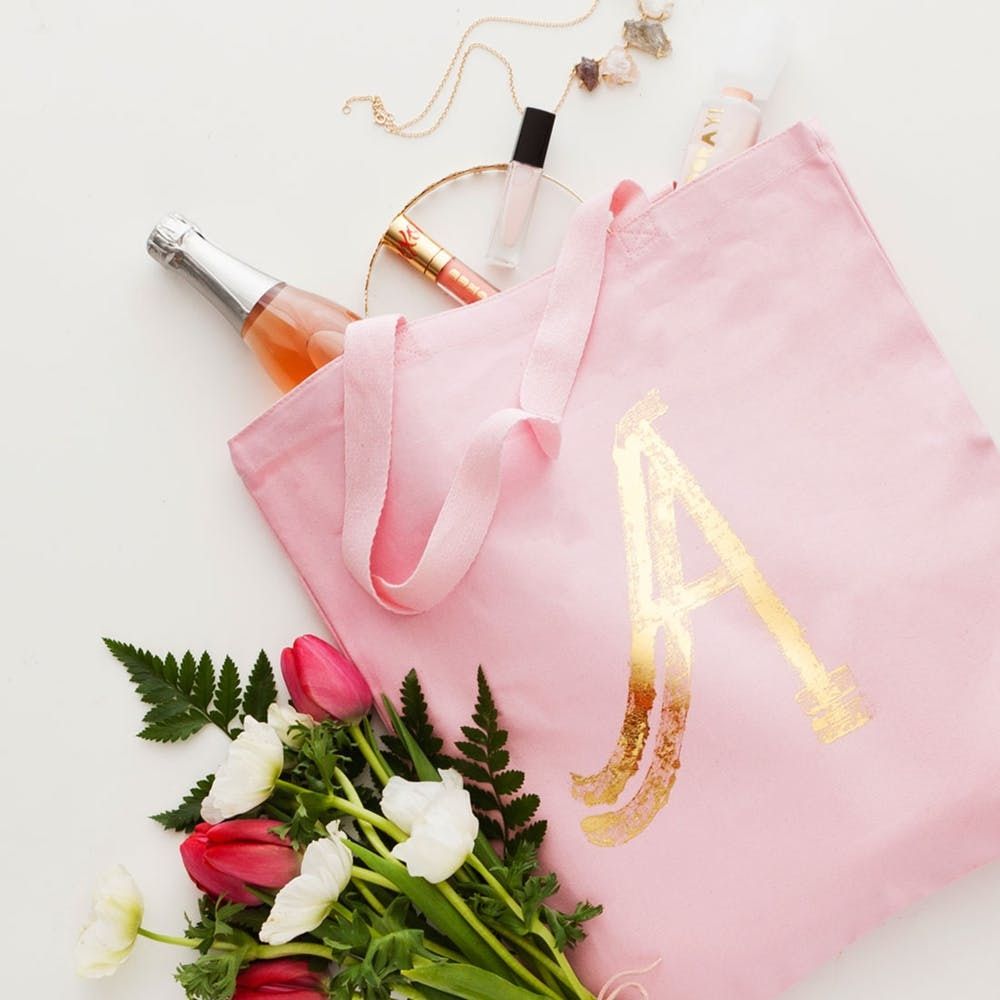
Back to the paintbrush for this hand-lettered initial tote. To get thinner lines than the first brush stroke pattern, grab a smaller brush and practice painting some lines on scrap paper before you go for it on the tote. Repeat the same steps as before, laying down a large sheet of gold foil and then peeling away once it has cooled.
Look at that beautiful shine! Fill up these totes with water, snacks, makeup for touch-ups, day-of jewelry and a bit of bubbly to start your big day off right for the whole crew!
If pink isn’t quite your thing, never fear – the natural totes are here! Scroll through to see how we put together these three designs.
The Natural Babes
Kick those pre-cut shapes up a notch with this pretty floral design. Cut out a few leaves and a couple quick blossoms, brush glue all over the general area and then iron down a little gold floral arrangement.
For a bold, angled gold dip, iron down two big sheets of foil onto the bottom third of your tote.
Everyone deserves diamonds — not just the bride! Cut out five small equilateral triangles and three stretched-out skinny triangles and arrange them on your tote, leaving a small gap in between your shapes.
Shine bright beautiful!
Haha kidding… except not really ;) Go for classic black and make those gold designs really pop!
The New Yorkers
For this ocean-inspired design, grab a smaller paintbrush and brush on a wave pattern. Intersect and join together some waves with others to make it look really watery, and then lay down two big sheets of foil.
If that loosey-goosey wave technique gives you the shivers, grab your pair of scissors, cut out a block monogram and rock that minimalist vibe.
Don’t forget about the classic polka dot! Scatter dots of glue up the whole tote bag, concentrating more of them at the bottom for a scattered confetti feel.
What other creative ways are you getting your bridesmaids prepped for your big day? Show us your project by tagging us on Instagram and using the hashtag #iamcreative!


