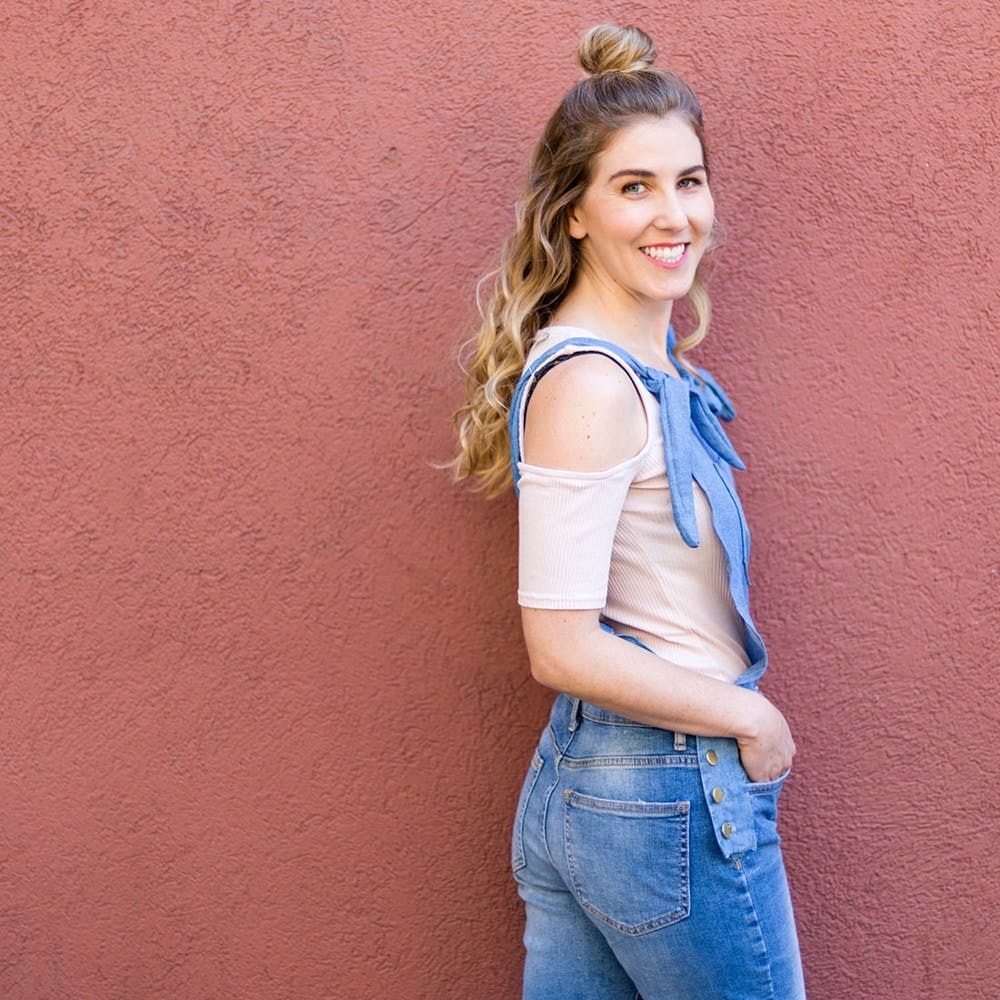
Honestly, I just joined the overall game, which is weird because I love trends, and here in SF it's been going strong for probably a year. When I tried them on a year ago, my thought was that I couldn't pull them off, but what I realized later was that they were just the wrong fit for my body! I ended up getting a pair from Free People and altering them to adjust the weird bagginess in the wrong places.
Which is exactly what inspired this DIY fashion hack: By using a shirt and a pair of jeans that fit you well, you can create custom jean overalls that work with your body. The key is finding a lightweight jean shirt that is the same color as your jeans. Follow along in the steps below to learn how to make your own custom pair.
Materials and Tools:
- jeans (from Forever 21)
- denim shirt (from Forever 21)
- eight jean buttons
- Fabri-tac
- measuring tape
- scissors
- sewing pins
- hammer
The first step is a little scary: Cut down the sides of your jeans about six inches. Don't worry — they will go back together.
Cut off one sleeve of your shirt and measure out two sets of rectangles: one that is about .75-inches tall x 7-inches wide and the other that is about 1.5-inches tall x 7-inches wide. Cut out the shorter rectangle and hem the edges in. Glue to the back side (with the back pockets) of the cut jeans on both the right and left cuts.
Cut out the two 1.5-inch x 7-inch rectangles and hem. Lay four jean buttons out evenly on the fabric and make marks on where they should go. Using fabric scissors, cut holes in the denim that are smaller than the buttons. Glue the fabric together and then press your finger through each hole to round out the shape. Glue the larger rectangles to the right and left cut of the front side of the jeans.
Fold the jean flap with the holes on it over onto the jeans — mark where the jean button should go. Stab a small hole in the jeans with scissors or the sharp end of the jean button. Match up the back side of the button with the front side. Make sure it's on straight, and then give it three hits with your hammer. Continue for all four buttons on both the right and the left side.
Unbutton the shirt and lay it flat — you'll be working with the back panel. Measure half the waistband (from the left to the right cut on the jeans), and then add one inch to that measurement — cut out a square of that dimension. Fold the rectangle in half and mark half the measurement of your chest (from bra strap to bra strap) on the top edge. Mark and cut a diagonal line from the bottom left edge of the folded fabric to the top edged mark.
Create a similar piece for the back portion of the overalls. This piece will be the length of half your waistband (like above) and six inches tall. Fold in half and measure 1/3rd in from the edge. Create a dotted line and then cut the diagonal.
From the rest of the shirt, cut out a pocket and four straps. Give the straps a width of about four inches, and then measure your body to find the appropriate length. These straps will tie together, so once you have the measurement, add another five inches to the length. Remember that the front straps will be shorter than the back straps :)
Hem all the things!
Then sew all the things! We created a double-lined seam — this takes more time, but will help your top look more like jeans.
Pin the pocket onto the front panel and then sew.
Pin on the straps and then sew.
Use my favorite friend, Fabri-tac, to glue the back panel to the back of the jeans.
Then do the same for the front panel. Let dry for an hour, and then you're good to go! You can even put it in the washing machine.
Throw on a cute shoulder-baring shirt, and you've got the perfect weekend brunch outfit.
Show us your latest project by tagging us on Instagram + follow us on Pinterest for more DIY fashion!
DIY Production and Styling: Kelly Bryden
Photography: Brittany Griffin and Kurt Andre
Model: Julia Chavez
Brit + Co may at times use affiliate links to promote products sold by others, but always offers genuine editorial recommendations.
This post has been updated.
