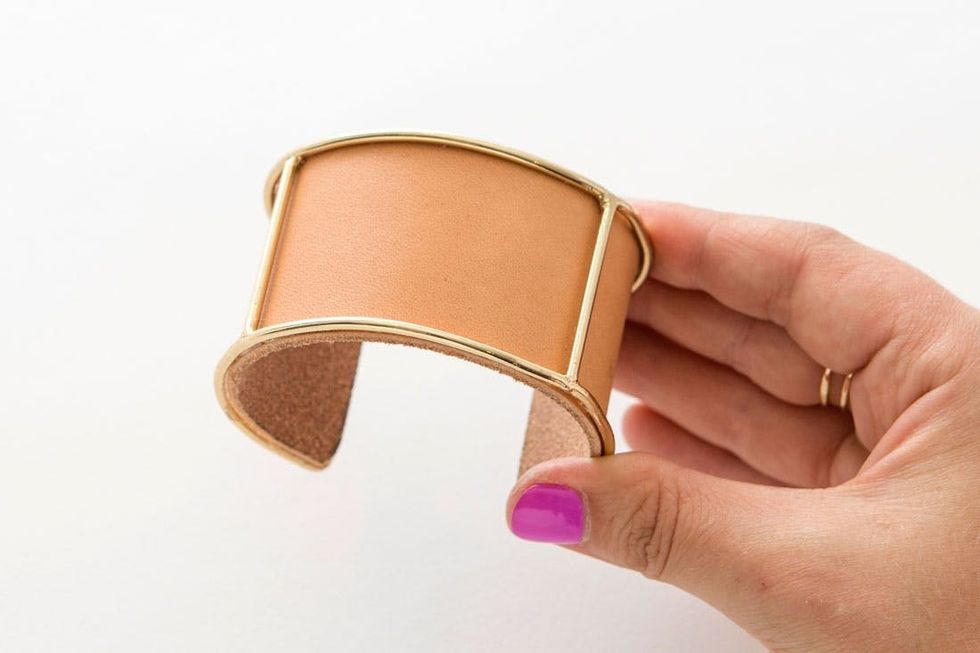
Leather and brass and all kinds of sass.
Make This Simple Leather Cuff in 30 Minutes

Lately we’ve been looking for easy jewelry DIYs that bring maximum class in minimal time. Lucky for us, these awesome plain brass cuffs descended from the DIY heavens and gave us a whole cloud-load of opportunities! First we tried our hand at wrapping and weaving them, and now for this next edition, we’re lining them in vegetable-tanned leather for an even simpler jewelry hack.

Interested in making your own? We combined all the basic supplies needed (and twice the leather, in case of mess-ups) into our Leather Cuff Kit, available in the B+C Shop! Grab one for yourself and make this simple cuff in no time.
Materials:
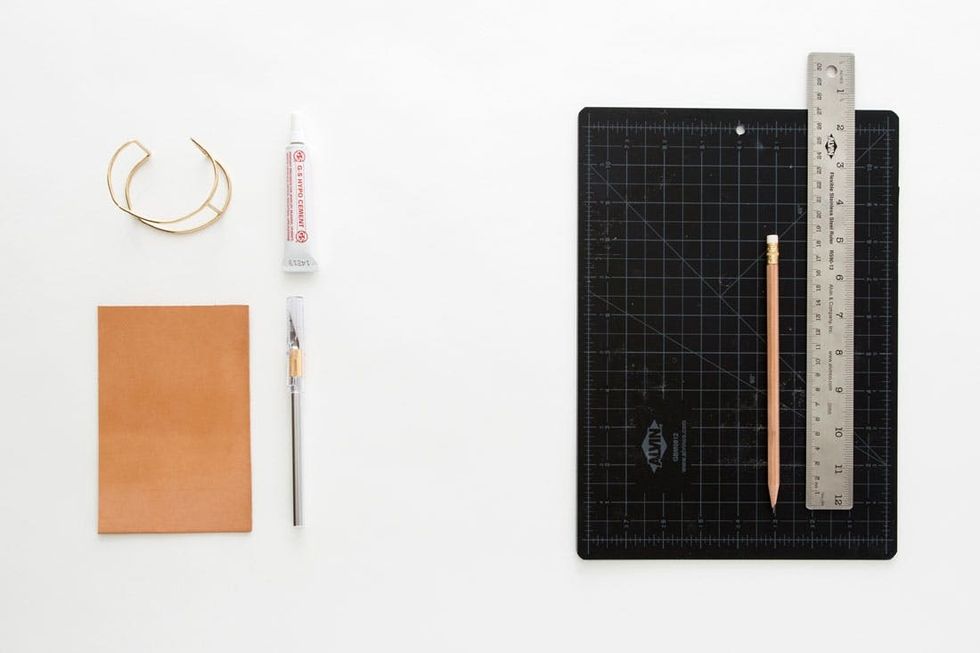
– vegetable-tanned leather
– brass cuff
– GS hypo cement
– X-ACTO knife
(or get everything HERE in our kit!)
Additional Supplies (not included in kit):
– cutting mat
– ruler
– pencil
Instructions:
1. Trace the width of your brass cuff onto the backside of the leather at various points using a pencil.
2. Trim your leather to the width you measured, or about 1 5/8 inches, with your X-ACTO knife.
3. Fit your leather strip, rough side facing out, into the brass cuff so that it fits like a lining.
4. Center your leather strip “lining” in the cuff and trace around the perimeter of the cuff in pencil.
5. With your X-ACTO knife, trim down the extra leather to fit the shape that you traced in pencil.
6. Don’t forget to slightly round the edges to match the brass cuff’s rounded shape.
7. Next, draw a thin line of GS hypo cement glue all the way around the edges of your leather strip.
8. Carefully slip the leather into your cuff, smooth side out, and line up the glued edges with the cuff.
9. Firmly press the leather against the edges of your brass cuff and let dry overnight.
Grab your main materials (pictured left and included in our kit!) and some additional supplies (pictured right), and let’s get started!
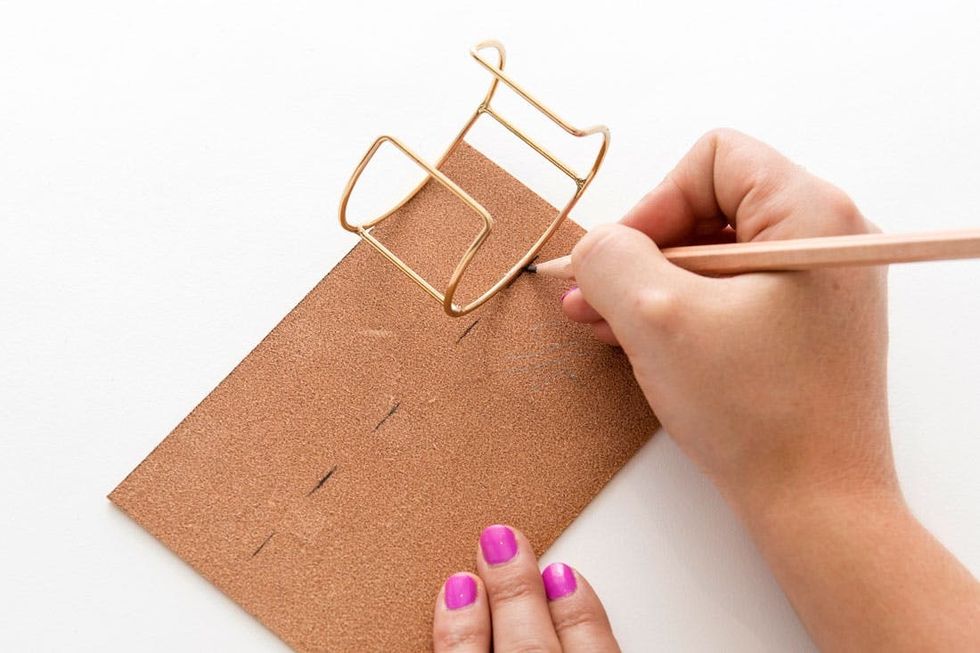
Trace the width of your brass cuff onto the backside of the leather at various points using a pencil.
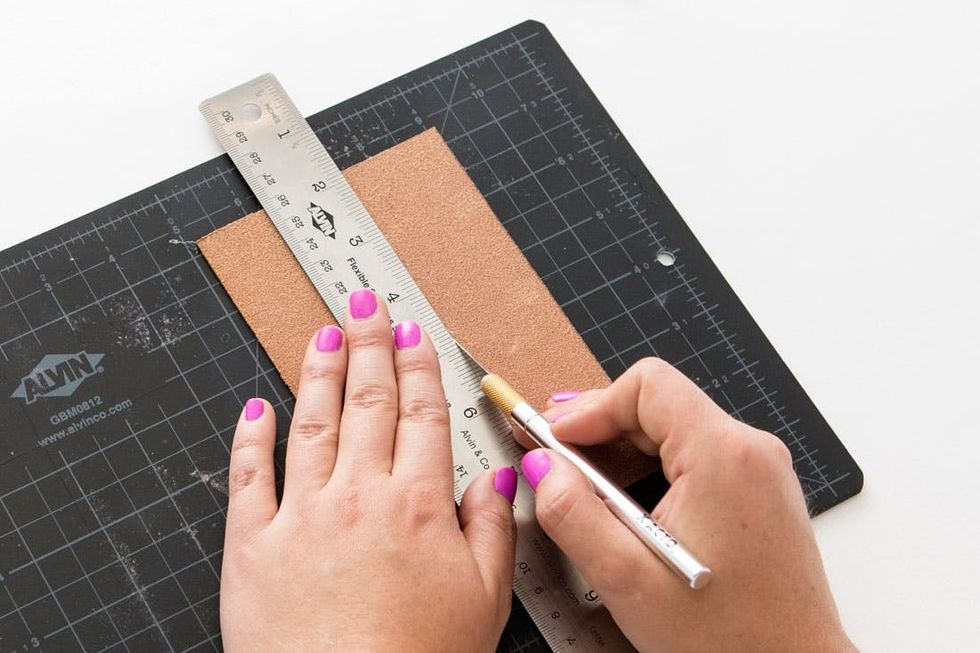
Trim your leather to the width you measured, or about 1 5/8 inches, with your X-ACTO knife.
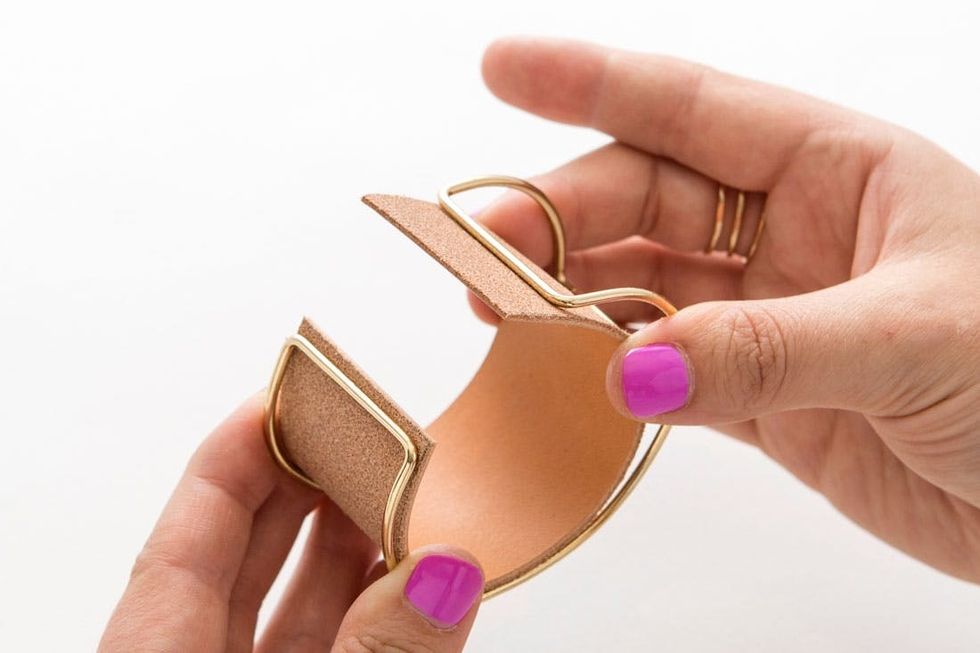
Fit your leather strip, rough side facing out, into the brass cuff so that it fits like a lining.
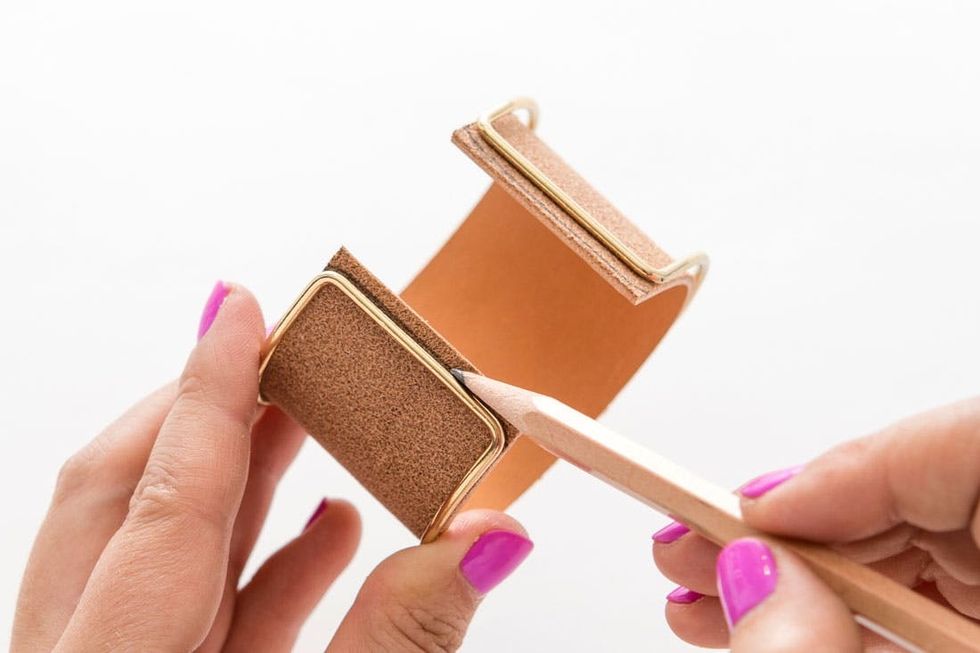
Center your leather strip “lining” in the cuff and trace around the perimeter of the cuff in pencil.
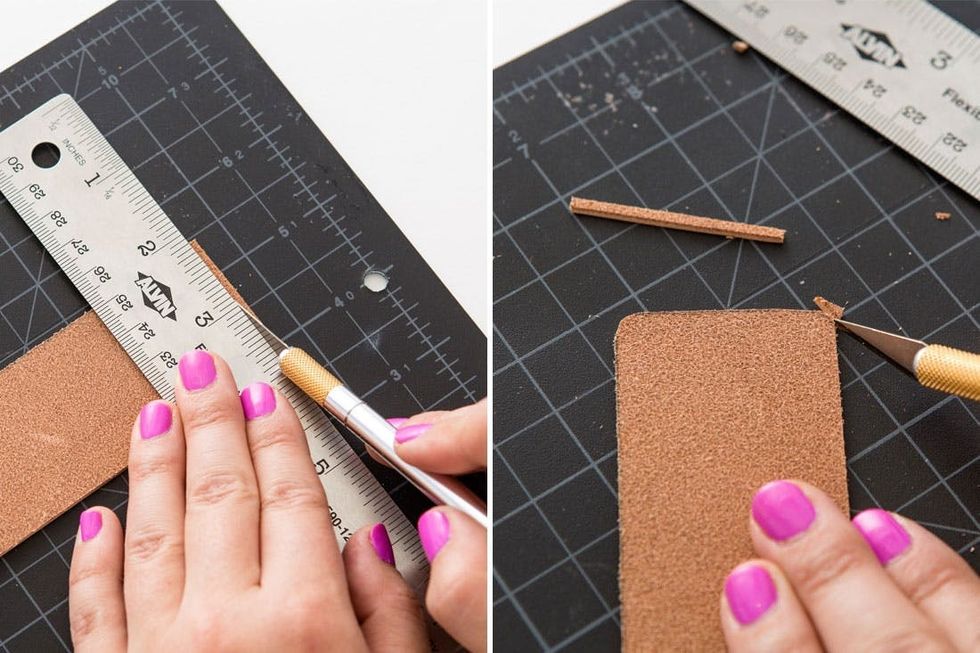
With your X-ACTO knife, trim down the extra leather to fit the shape that you traced in pencil. Don’t forget to slightly round the edges to match the brass cuff’s rounded shape.
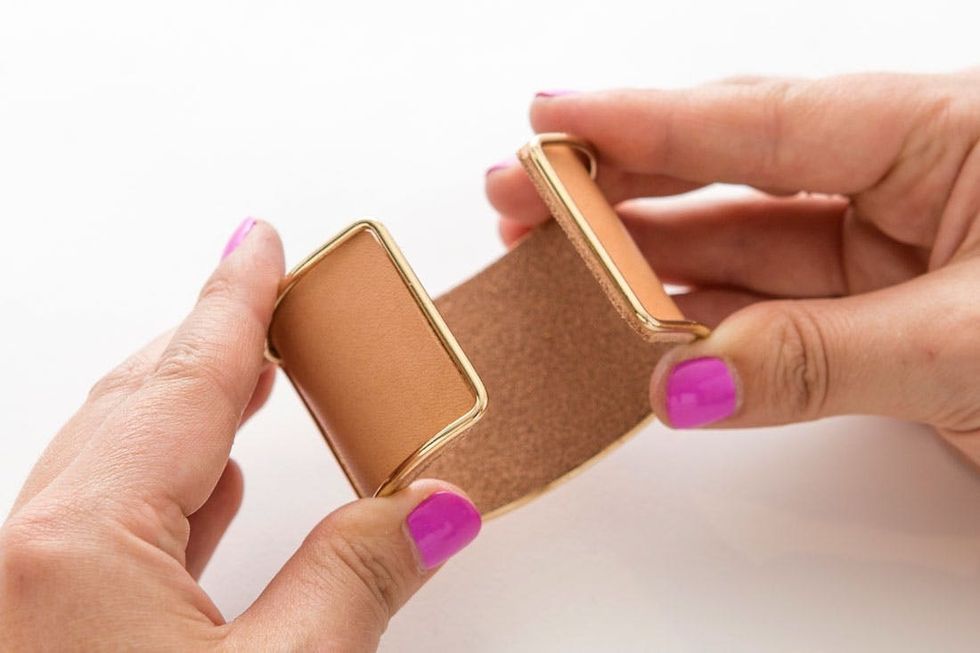
Just before gluing, make sure your leather strip fits by placing it inside your cuff and centering it so that all edges are touching the brass bars. We’ve included twice the amount of leather needed in our kit, so don’t worry if you mess up — you’ve got a second shot!
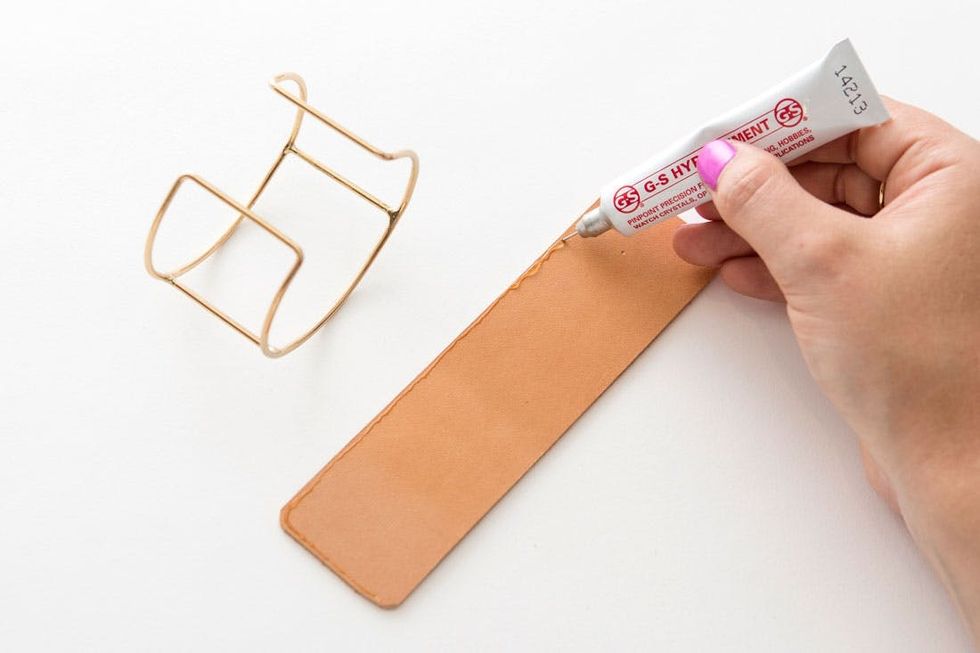
Next, draw a thin line of GS hypo cement glue all the way around the edges of your leather strip.
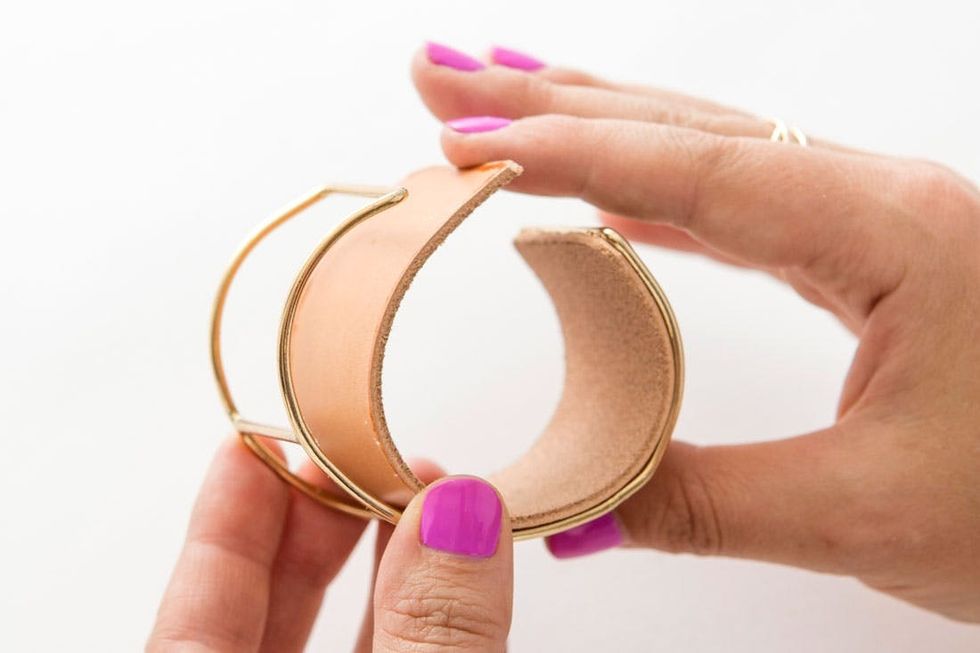
Carefully slip the leather into your cuff, smooth side out, and line up the glued edges with the brass bars.

Firmly press the leather against the edges of your brass cuff and let dry overnight. Seriously, that’s it!
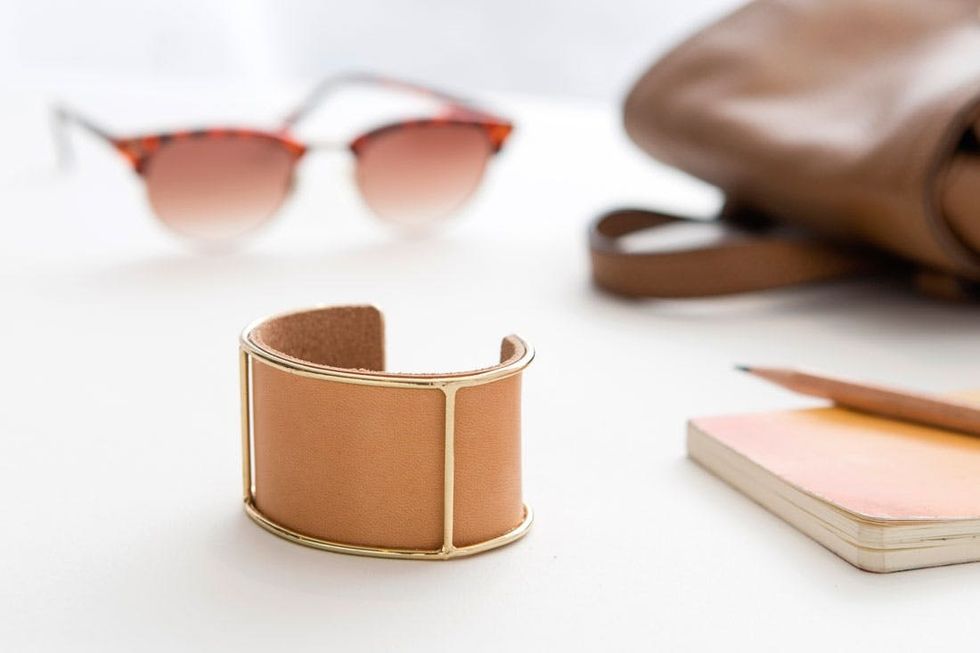
We love this cuff left plain, but you can also treat the leather as your own personal blank canvas! Add color with leather paint or stamp letters and numbers into the leather before gluing onto the brass cuff.
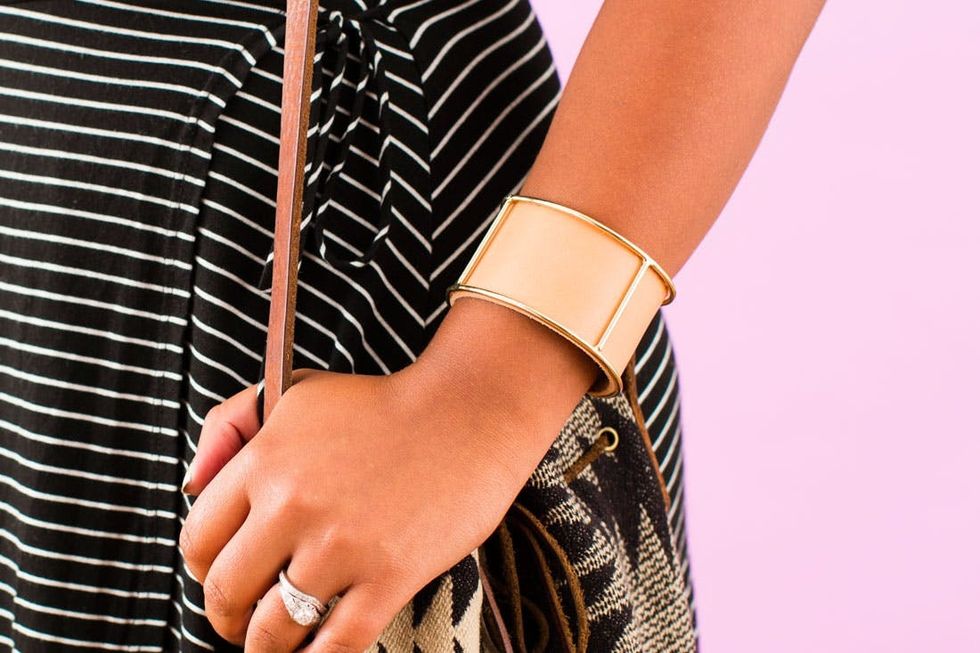
This little guy literally goes with EVERYTHING. Grab your kit here and make your own in 30 minutes tops.

We asked Brit + Co Creative Director Anjelika to show off our quick little DIY creation (and her new go-to piece) for the cameras.

Peace out!


