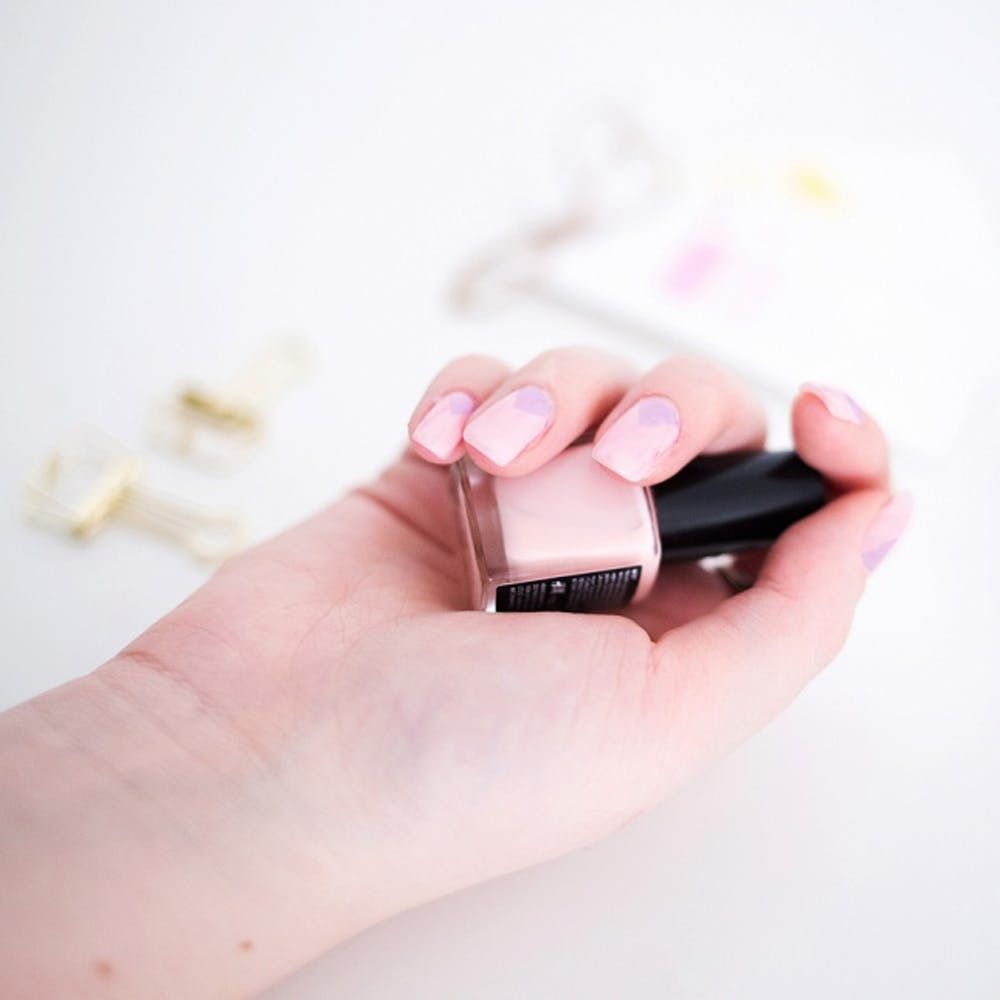
We all love geometric manis — really, we do. But let's be honest, getting the perfect Oscar-worthy gold manicure on the first shot is NOT easy. That's why we're totally into nail wraps. They're super easy to use and replace; plus, you can change up your look anytime you want with different colors or patterns. They also last much longer than nail polish, which is a huge pro. The only downfall is that they *can* be pricey. But fear not! Today we're here to show you how to DIY cute and trendy nail wraps. Be sure to make a lot, and use them when you're in a rush or can't get into a salon these days. ;)
Materials and Tools:
– plastic (sheet, bag or surface)
– lilac nail polish
– blush nail polish
– top coat
– masking tape
– dotter
– tweezers
Instructions:
1. On your plastic, use the top coat to paint a general shape of a nail.
2. Let that dry and add a layer of blush polish.
3. Cut two pieces of masking tape and place them as shown in the picture below.
4. Paint the second color over the part of the nail that is close to the nail bed.
5. Remove the tape, then grab some tweezers and gently peel the nail sticker off of the plastic.
6. Position on your nail, smooth it out and finish by applying a clear top coat.
First, be sure to choose the right plastic. Something like a semi-rigid plastic box or a plastic sandwich bag should work well. Then, use your top coat to paint a general shape of a nail onto your plastic. Try to keep the polish thick so it's easier to peel off later. Let it dry, and add a coat of blush polish. Next, cut two pieces of masking tape and cross them as shown above. Paint the second color over the part of the nail that's close to the nail bed and let completely dry.
Gently remove the tape, then grab some tweezers and peel the nail wrap off of the plastic. Position on your nail and use your finger or a dotter to press the design onto your nail and smooth it out. If you need to, you can also cut off the excess wrap with a wooden nail tool or just use some polish remover. Once you're satisfied with the final result, finish by applying a clear top coat.
Once you've mastered the technique, be sure to try as many different ways to color block your nails as you can handle!
