 Recommended for you

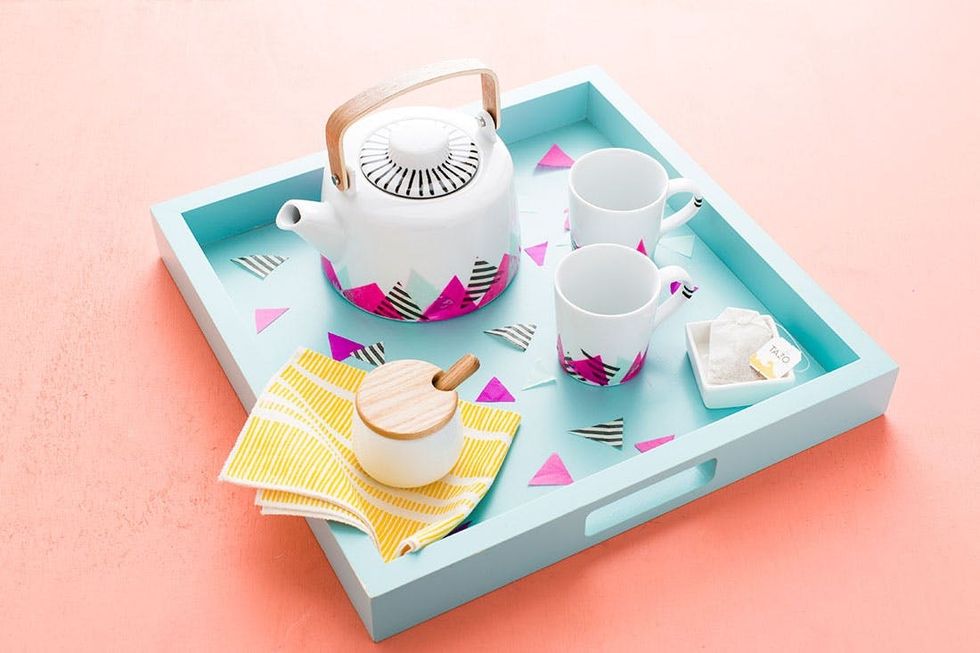
As the end of the year approaches, so does the chillier weather. And with that, we need ways to warm up like scarves, coats, hats, and also tea! After learning how to make tea, we decided that this season we needed to DIY a tea set to brew our herb-filled drinks. Bring it on, winter! We’re ready for you.
Materials:
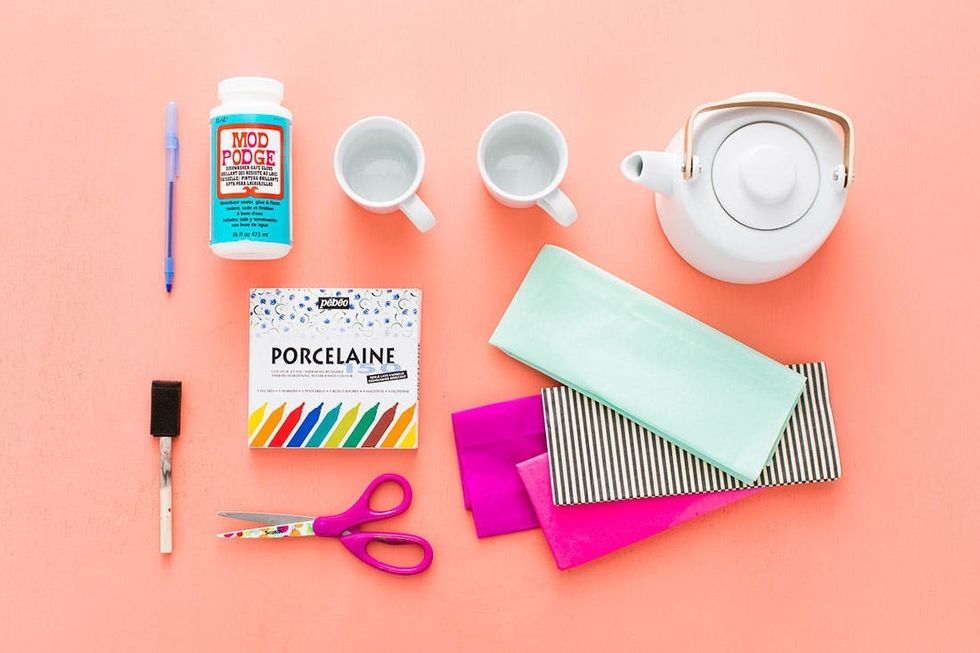
– tea pot and mugs
– tissue paper
– porcelain pens
– dishwasher safe Mod Podge
Tools:
– Scissors
– Foam brush
– Small paint brush (optional)
Instructions:

1. Cut out tissue paper triangles.
2. Paint a layer of dishwasher safe Mod Podge onto the tea pot.
3. Gently add your tissue paper triangles and paint another layer of Mod Podge on top. Allow the glue to dry.
4. Add designs with porcelain pens, just stay away from the lip of the mugs and the spout of the pot.
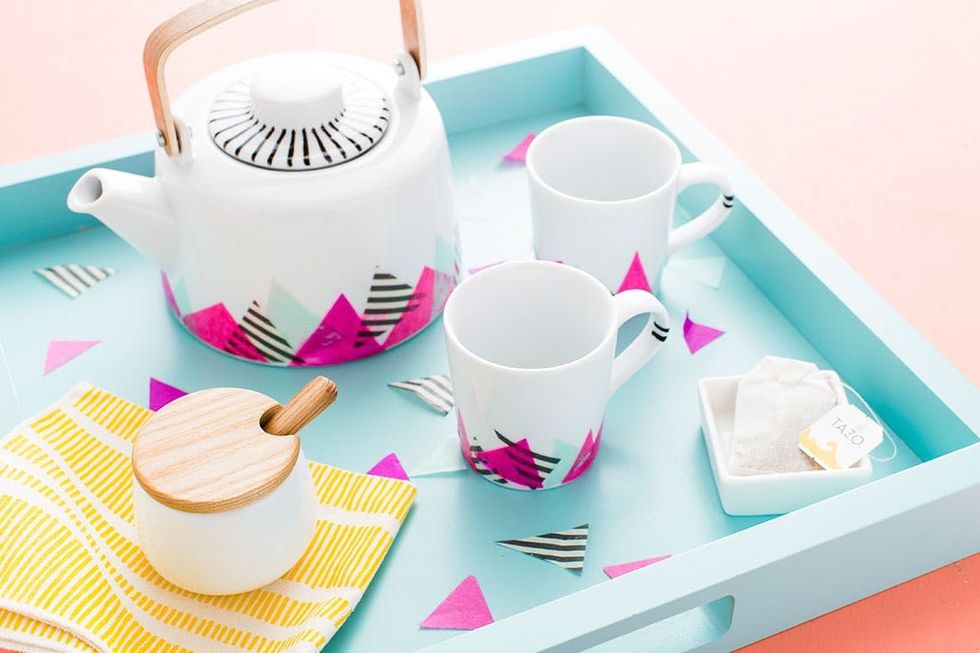
5. Warm your paws on a hot drink!
When we saw that dishwasher safe Mod Podge existed, we got very excited about all the creative possibilities. If you can’t find any at your local craft supply store, order it online.
First cut out your tissue paper shapes. We used three different colors (how cool are those stripes) and made different size triangles. The world is your oyster here, so cut out as many colors, patterns and shapes as you desire. It would even be cool to tear the paper for some rough edges.
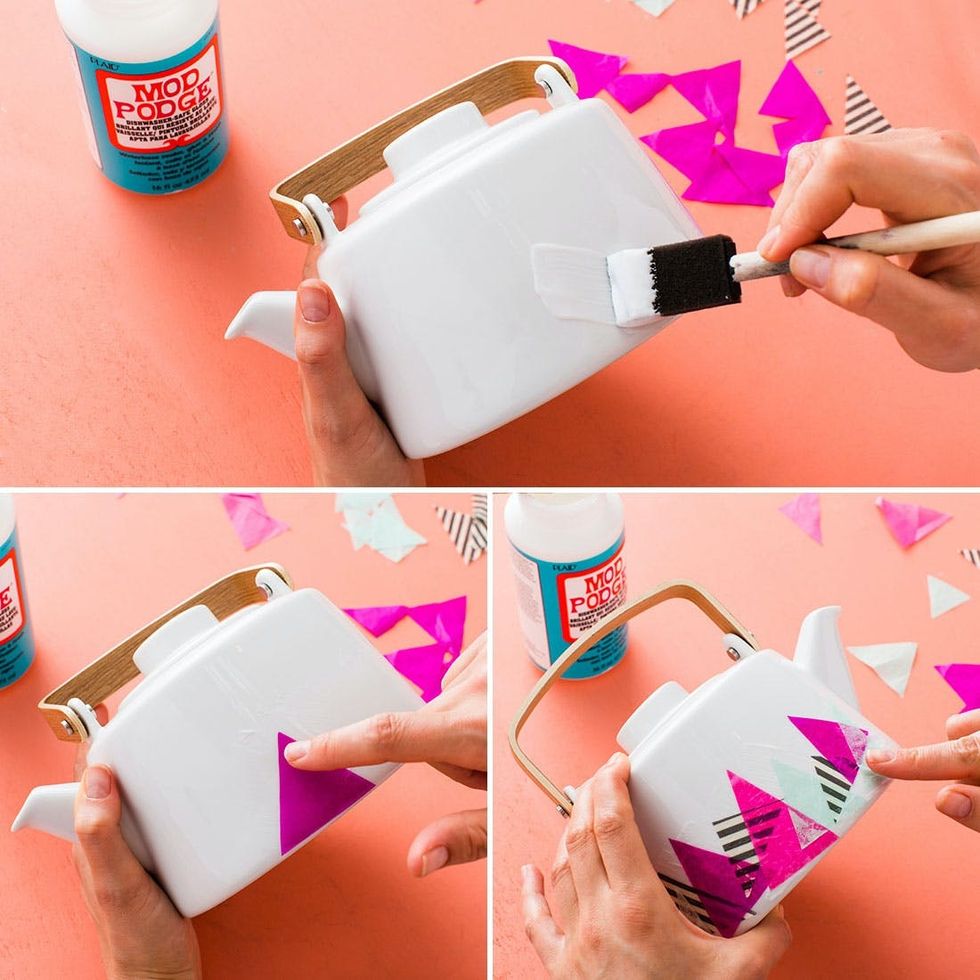
Add a layer of Mod Podge to the tea pot in the area where you want your tissue paper. Gently place the shapes on top of the glue, then add a second layer of glue. Be really careful — the paper tears easily when it’s coated in glue.
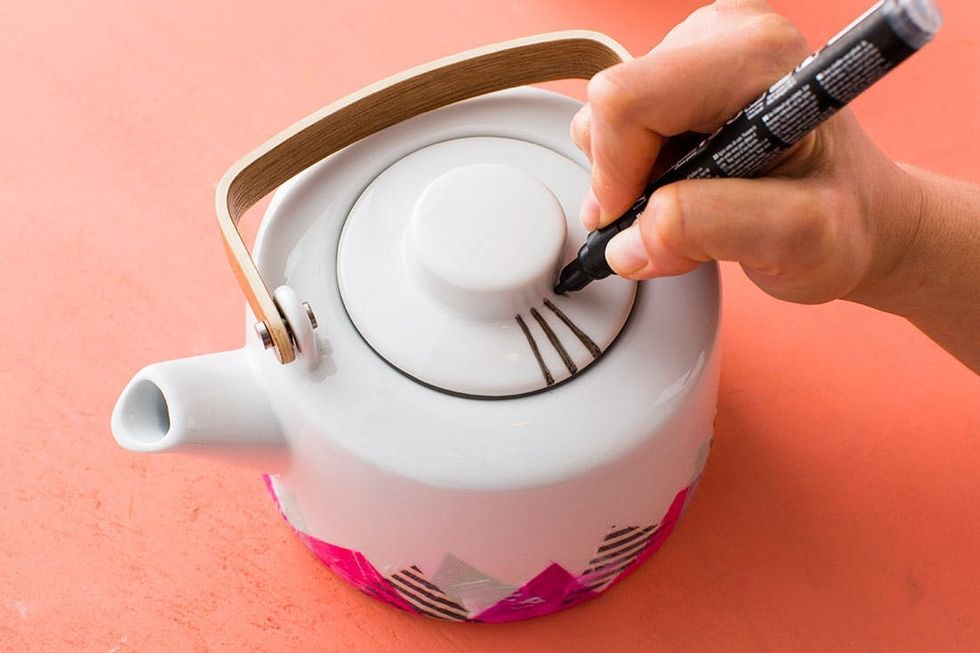
For a little extra pizazz, we added black stripes to the top of the tea pot. As long as you don’t scrub the pen, it should stay on the pot just fine!
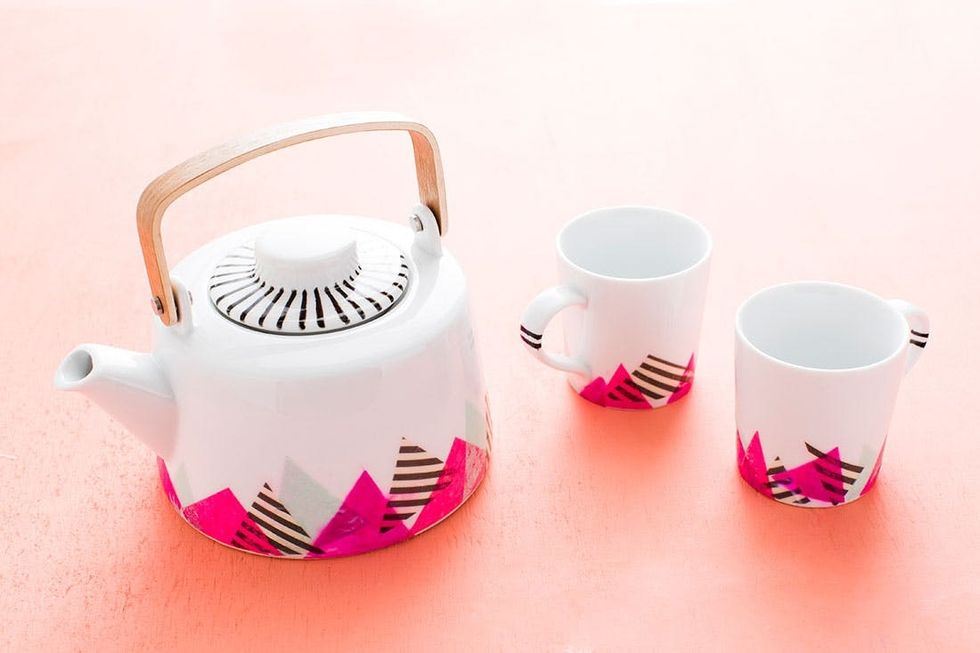
We love the colors on this little tea set! Time to invite some friends over for a tea party. Also, why aren’t tea parties a thing anymore? They should be!

Our gal Brittany is such a proper lady.

Look at her hold that mug.
What else would you add to your tea party? Share your ideas and recipes in the comments!