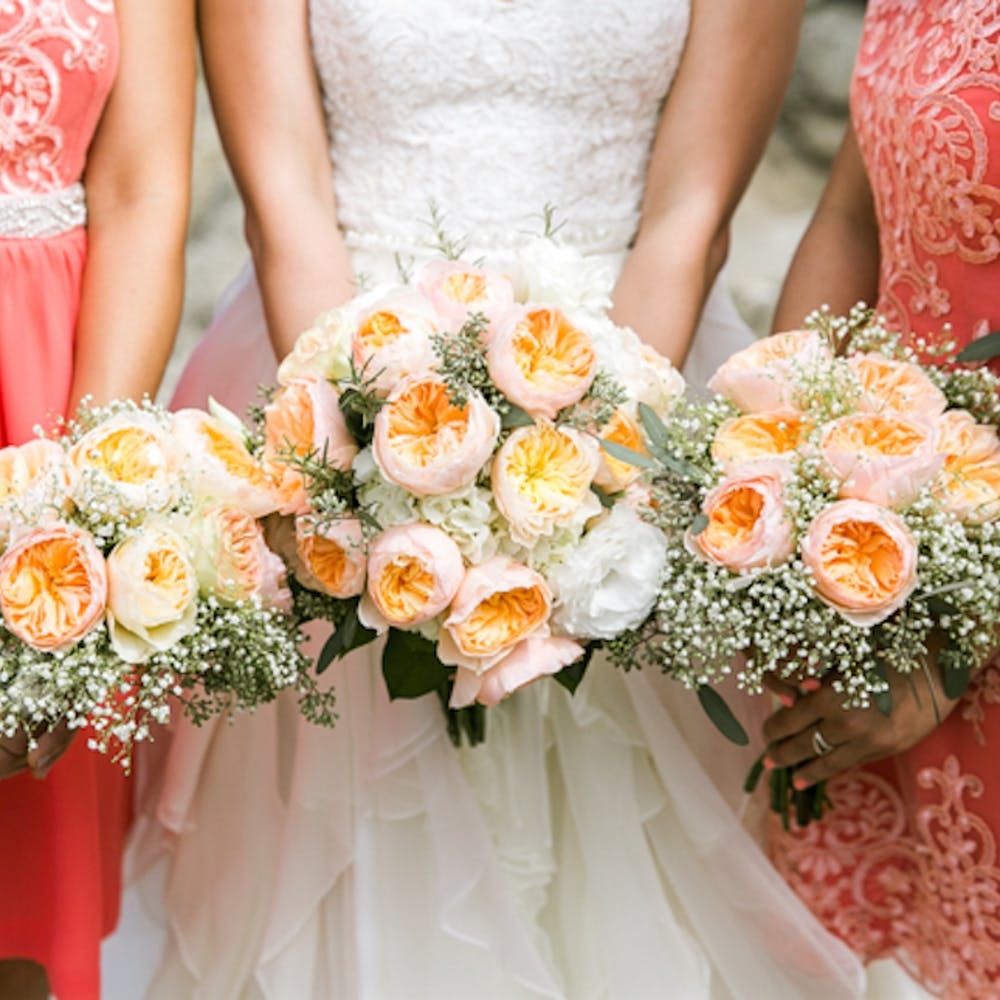
What do you get when you cross an ah-mazing setting, a big ol’ dash of DIY and a crazy-in-love couple? Camila and Jonathan’s wedding, of course! We’re so glad that the California couple who met during college (“He was the chatterbox that everyone liked, and I was the shy person who kept to herself,” Camila quipped) shared their DIY-filled celebration with us. Held at the Old Whaling Station Adobe in Monterey, CA, Camila and Jonathan’s wedding bash was fun, casual and oh-so pretty. Read on for tips on how to get Camila and Jonathan’s romantic DIY wedding look.
1. Set the Stage: Camila and Jonathan wanted their wedding to be fun and playful with a soft color palette — that vibe is mirrored in their super pretty calligraphic invitations by Wedding Paper Divas.
2. A Mother’s Touch: Camila’s mom used to be a seamstress, so she sewed these breathtaking, colorful bridesmaid’s dresses by hand. Thanks a million, Mom!
3. Beaded Belt: Mom lent her magic touch to the wedding dress too. “I didn’t want to spend $100 for a belt,” said Camila, “so I bought a length of bejeweled trimming and satin ribbon, and Mom made it happen.”
4. Herb-acious Boutonnieres: Also DIYed? These fragrant boutonnieres, which were made by bundling together different herbs and then wrapping up the stems with floral tape. So. chic.
5. Simple Centerpieces: For the wreath centerpieces, Camila and her crew daisy-chained baby’s breath together and then intertwined the floral chains with light gauge wire to keep it all in place. The table numbers were picked up from JoAnn’s and spray painted with gold and gold glitter. The hurricane vases are also from JoAnn’s, and the candles are from IKEA. Talk about an inexpensive, yet super elegant tablescape!
6. Pretty Paper and Petals: We love this pinwheel and flower combo. To put them together, Camila purchased some milk-bottle-shaped vases and wrapped them with lengths of burlap and lace. She then filled the vases with baby’s breath, lithianthus and paper windmills made with scrapbooking paper cut from corner to center and then pinned onto a wooden dowel. The back side of the scrapbooking paper was also lined with a bit of washi tape for some extra color and contrast. Who needs a bunch of expensive flowers when you have these colorful beauts?
7. Shades of Pink: Mom to the rescue again! Camila’s mom put together this romantic wedding arch by making mini curtains out of sheer fabric and then hanging them off the back of the arch. The paper garlands were made by cutting out colorful circles of paper (using a circle cutter) and then sewing them together into long strands. We’re thinking this would look great in just about any wedding color scheme.
8. Here Comes the Bride: Another family member lends a hand to the fun affair: Camila’s sister made this cute “Here Comes The Bride” sign. And the adorable sign bearers were an extra special touch.
9. Salty Favors: Camila and Jonathan are both big foodies, so they wanted to incorporate that into the wedding somehow. The solution was these DIY herbed salt favors that doubled as escort cards. To make, take herbs of your choice and process with enough kosher salt to break down the herbs into bits. Manually mix in more salt and spread over a baking sheet to dry. Divide into airtight jars and label with something pretty!
10. Get Unplugged: Want your friends and family to spend your wedding with you and not, you know, on their phones? This “Unplugged Wedding” sign is the perfect solution. Camila said that the sign was designed in Photoshop and printed at Kinkos. They spray painted the frame gold to match the other decor. Easy peasy.
11. Get Swept Away: Tons of DIY wedding moments are great and all, but the best part of Camila and Jonathan’s big day? “Marrying my best friend,” said Camila. And that perfect Monterey weather didn’t hurt either. Swoon.
Congrats, Camila and Jonathan!
VENDORS:
Photography: Jasmine Lee Photography
Invitations: Wedding Paper Divas
Caterer: Grapes of Wrath
Photo Flip Books: A Little Scene
Do you have a DIY wedding that you’d like to share with us? Leave us a note in the comments, or email us at hello@brit.co.
