Get your weave on.
Get Your Weave On With This DIY Placemat
Weaving is so hot right now. As a part of our #31DaysofDIY we created woven wall hangings, and today we are switching it up and weaving a placemat. If you’ve mastered the rectangular weave, you’re ready to try out this circular weave.
No idea what #31DaysofDIY is? It’s a brand new tradition here at Brit + Co that’s all about kicking off the new year right. We’ve challenged ourselves to make or learn something new every single day for the month of January, and we’re inviting all of you along for the ride. From DIY basics like Sewing 101 to learning to design and laser cut our own stencils, we hope this month of making inspires you to get creative all year long. Now, let’s get our weave on!
Materials:
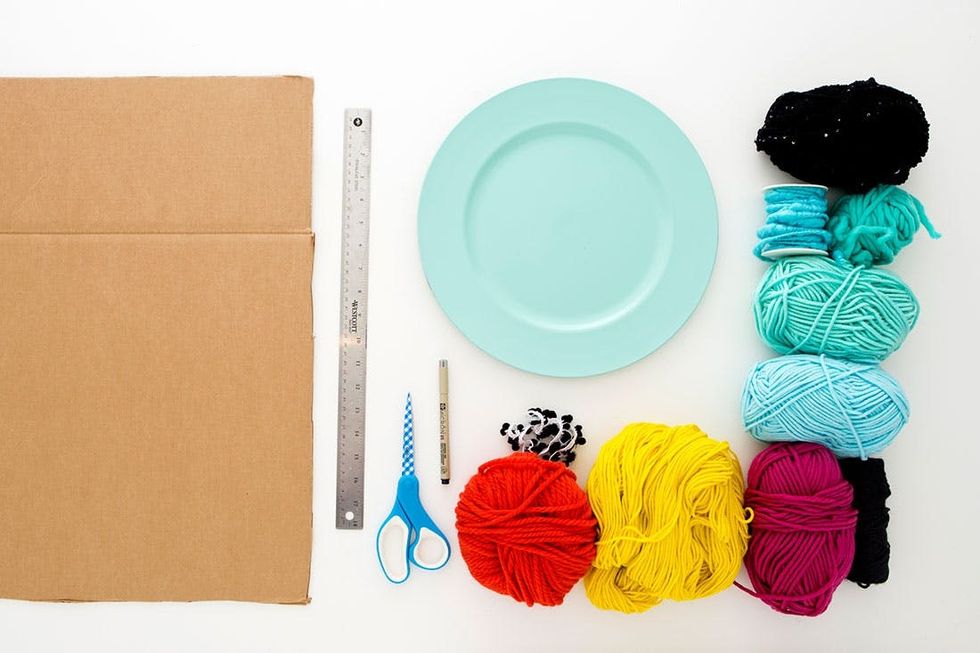
– cardboard
– charger plate
– yarn
– rope
– pom poms
Tools:
– ruler or straight edge
– scissors
– pen
Instructions:
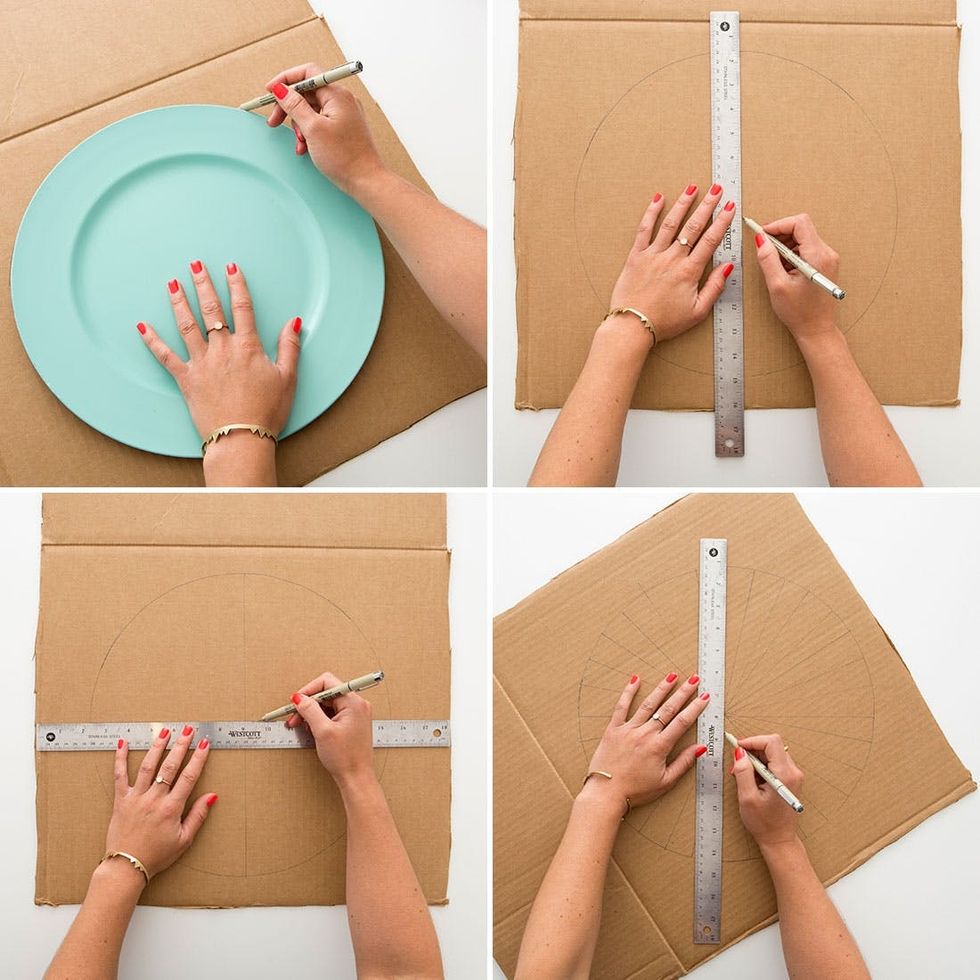
Trace your charger onto a large piece of cardboard. If you want a larger placemat, you can trace any circular template you have at home. Or summon your inner tween and use a math compass. Then divide your circle into 32 parts using your straight edge and pen. It’s easiest to start by splitting the circle into quarters, then splitting those into eighths, and so on.
- Trace the charger plate onto the cardboard.
- Using your straight edge, draw a line down the center of your circle. Then split it into quarters. Continue adding lines until you’ve created 32 sections.
- Cut around your circle, leaving an inch and a half margin.
- Snip into the cardboard following your lines, stopping when you reach the edge of the drawn circle.
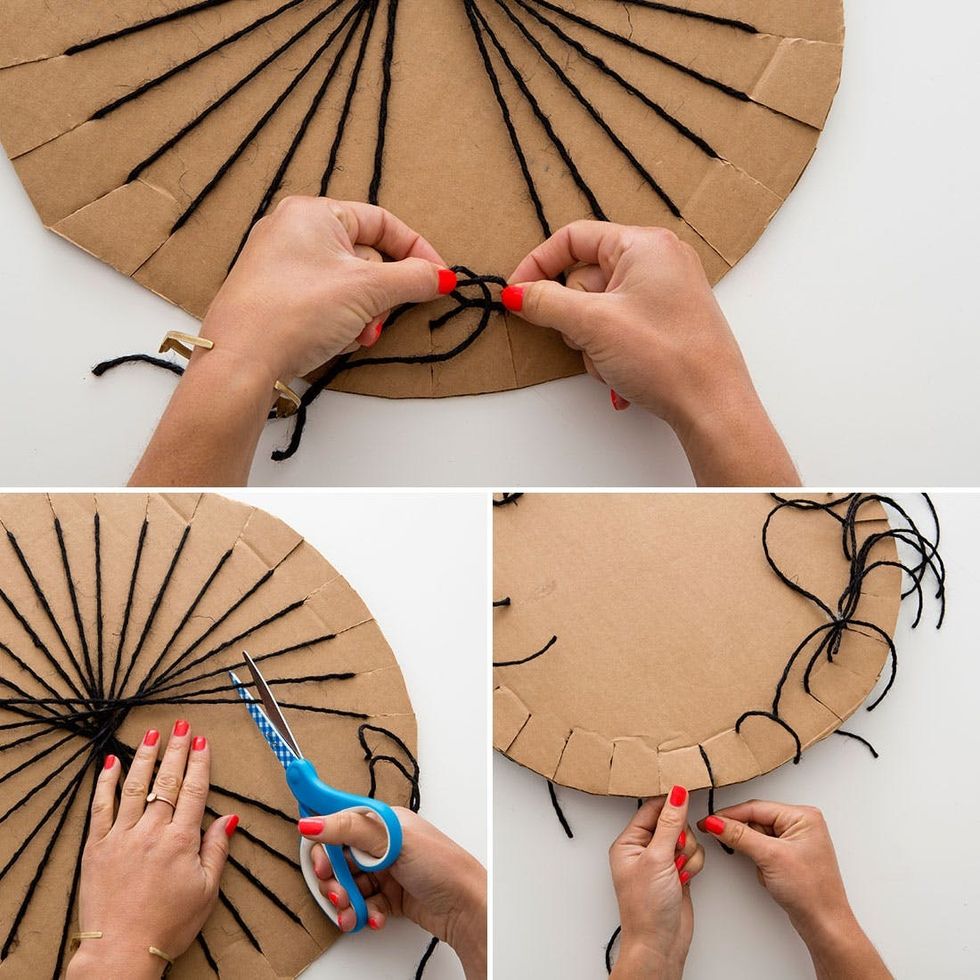
- Slide a piece of rope through any slit and then pull the rope directly across your line. Wedge it into the slit on the other side and then bring it through the slit right next to the first one. Again, follow the line and bring it through. Keep following your lines until you’ve completed your loom.
- Flip your loom over and tie the loose ends of rope together.
- Turn the loom over again and cut a piece of yarn. Tie it in a knot around one of the pieces of rope at the center of the circle.
- Following an under/over pattern. Weave your yarn through the rope on the loom, moving around the circle. Continue weaving until you are ready for a new color.
- To add your second color, cut the yarn and tie it to the end of your first color. Trim the ends so that they are easy to tuck underneath the weave. Repeat the over/under pattern around the loom.
- Keep adding different colors and materials until you reach the end. Tie your last piece in a double knot to a section of the weaving.
- Flip your cardboard over and untie the loose ends that you originally tied together. Then cut all of the rope and remove it from the cardboard.
- Take two pieces of rope that are next to each other and tie them in a knot. Then file one end through the back of your weaving and tie a second knot. Trim the excess rope and tuck in any loose ends of rope or yarn.
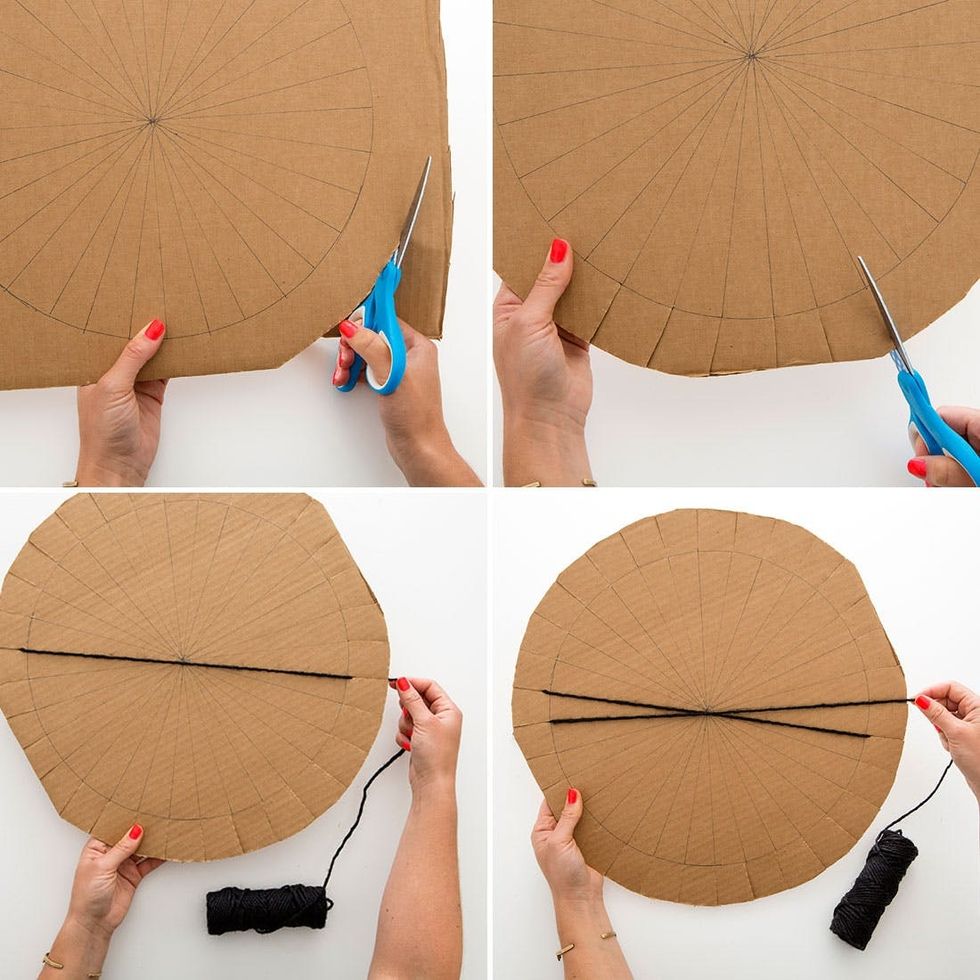
Now cut the circle out, leaving a margin around the edge. Cut into the cardboard along each line, stopping at the edge of your drawn circle. Time to prepare the loom! Take a piece of rope and file it through one of your slits. Pull it across the circle following the line and then wedge it into the slit opposite the first. Bring it along the backside of the cardboard and then pull it through the slit right next to the first one. Drag it across and place it in the slit on the other side. Keep following the lines and you’ll be set.
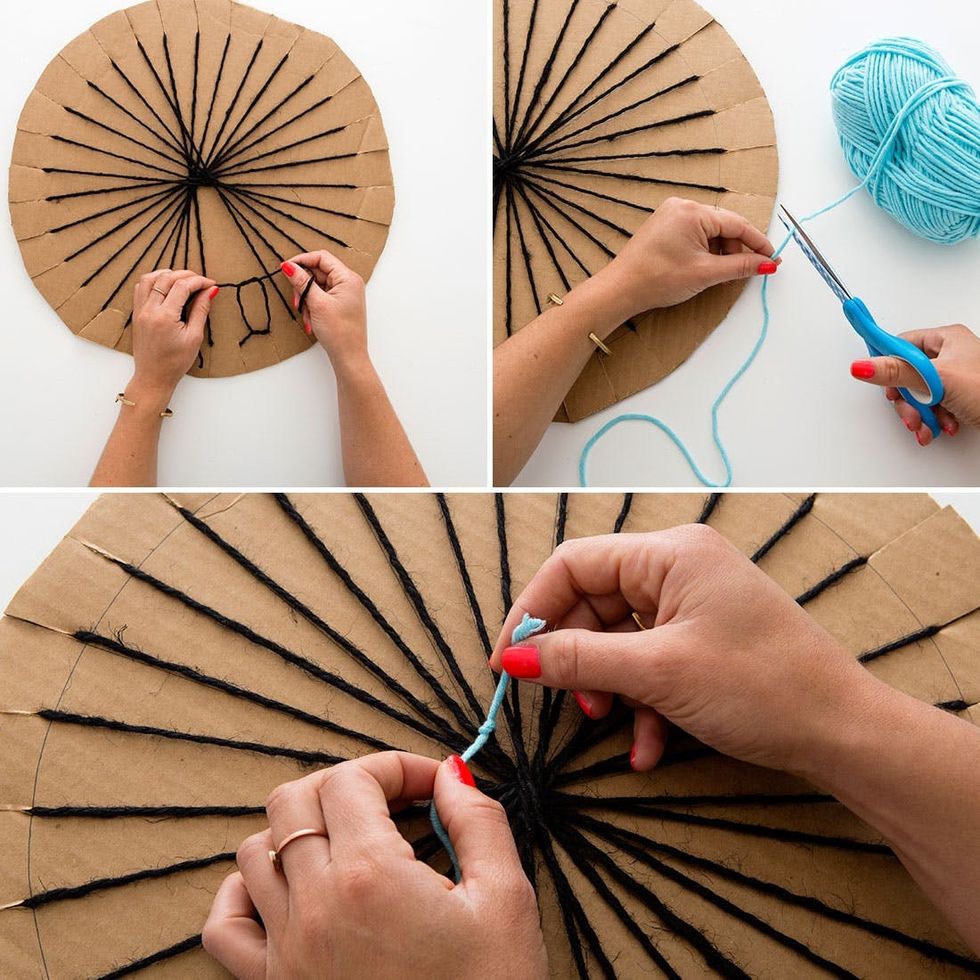
Once you’ve completed the circle (Dave Eggers anyone?), tie the loose ends on the back side of the cardboard. Turn your loom over and cut a your first piece of yarn. We made ours about a foot long. Tie the yarn to one of the pieces of rope as close to the center of the circle as you can.
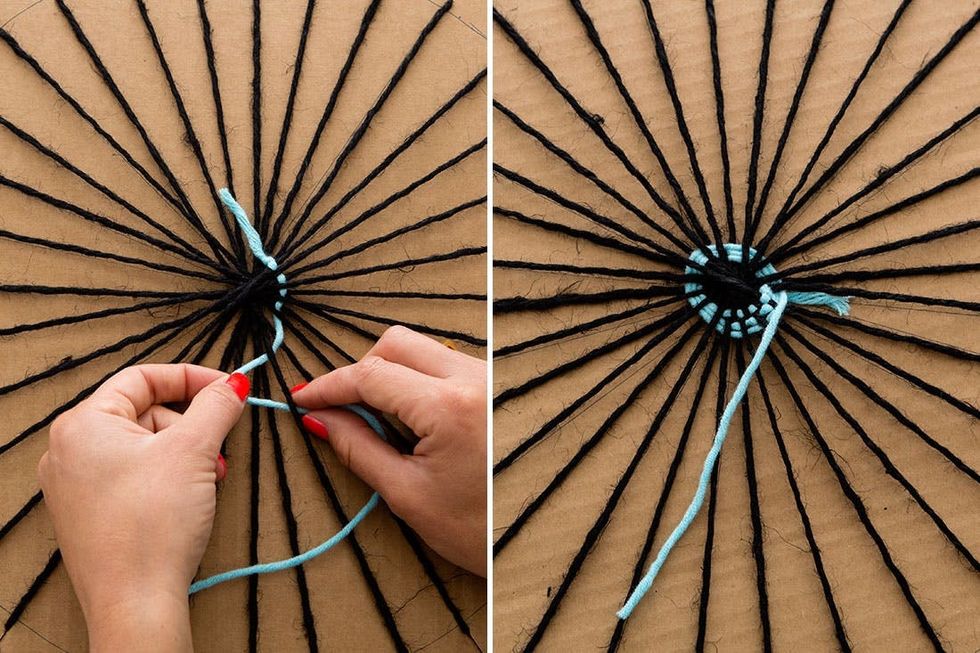
You’ve been waiting so long, and now it’s finally time to weave! File your yarn under and over the rope continuing around the circle and pulling it tight along the way.
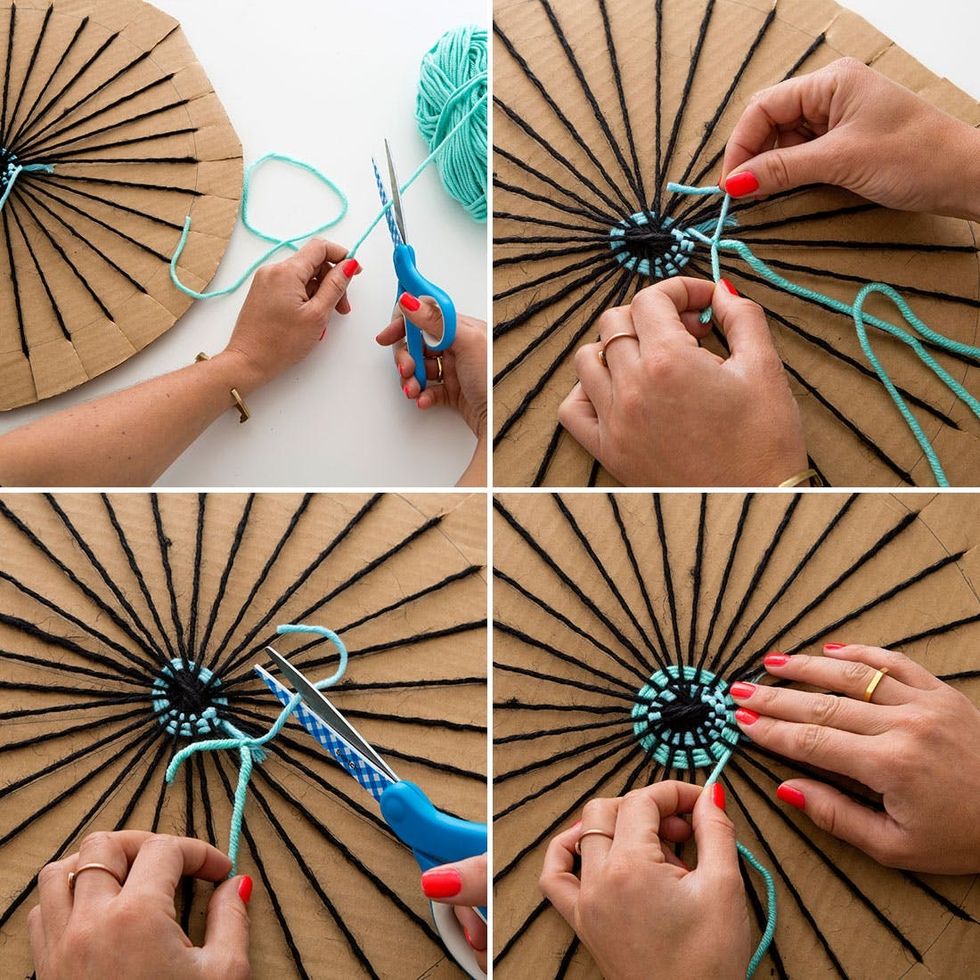
To add a second color, cut a piece of yarn and tie it to the end of the first. Trim the ends and tuck them in so that they are on the bottom side of your weaving. Continue threading the yarn under and over the rope. Every once in a while, you can go under two pieces and that will vary where the rope shows.
<em>Broad City</em>
 Girls. When you finish, tie your last piece of yarn to a section of the weaving.
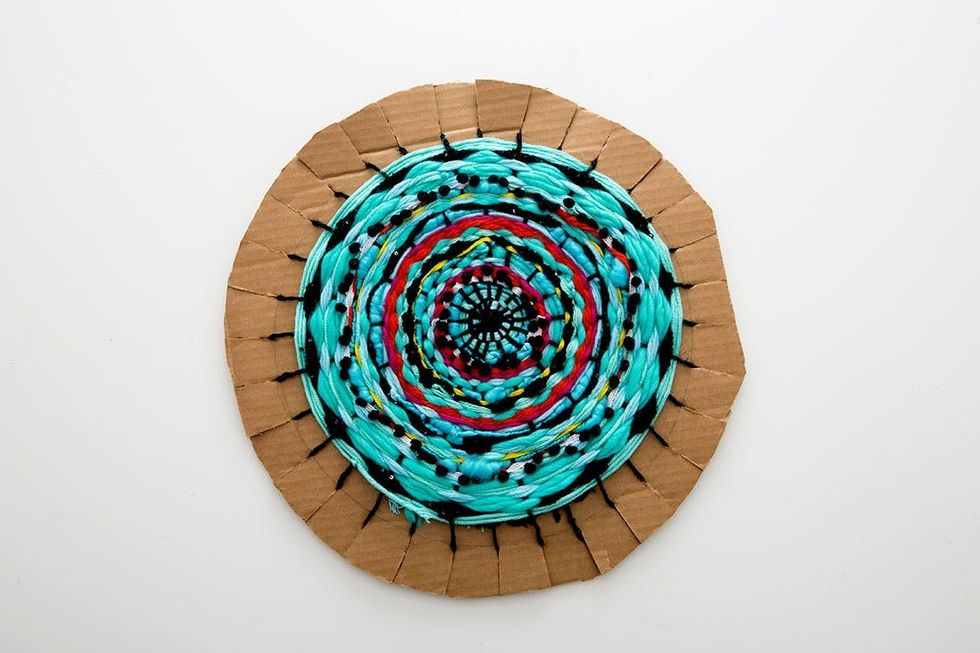
Looking good!
Removing it from the cardboard is really simple. First untie the knot you made at the beginning of the project. Then cut all of the rope and pull it off of the cardboard.
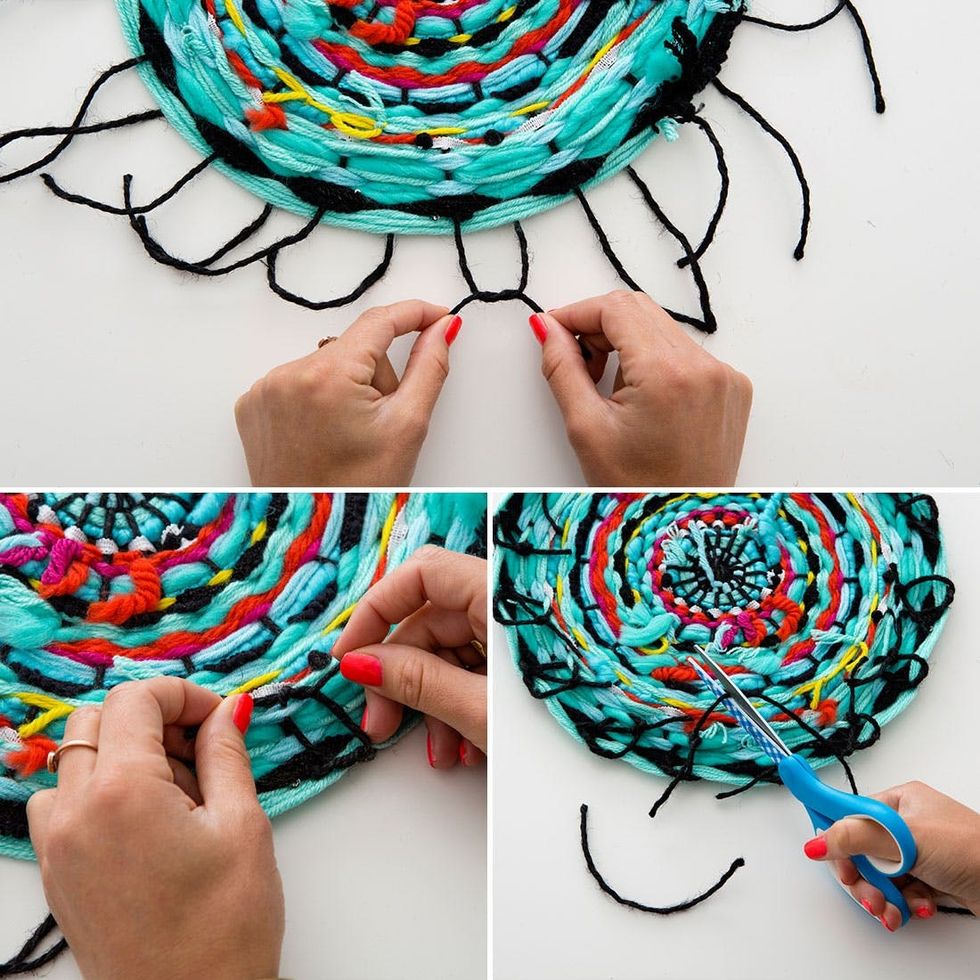
You can add tassels or pom poms to the edge of your mat, but we decided to keep ours clean. To do so, take two loose ends that are next to each other and tie them together. Flip the placemat over and then thread the same ends through a piece of yarn. Tie a second knot and trim the ends.
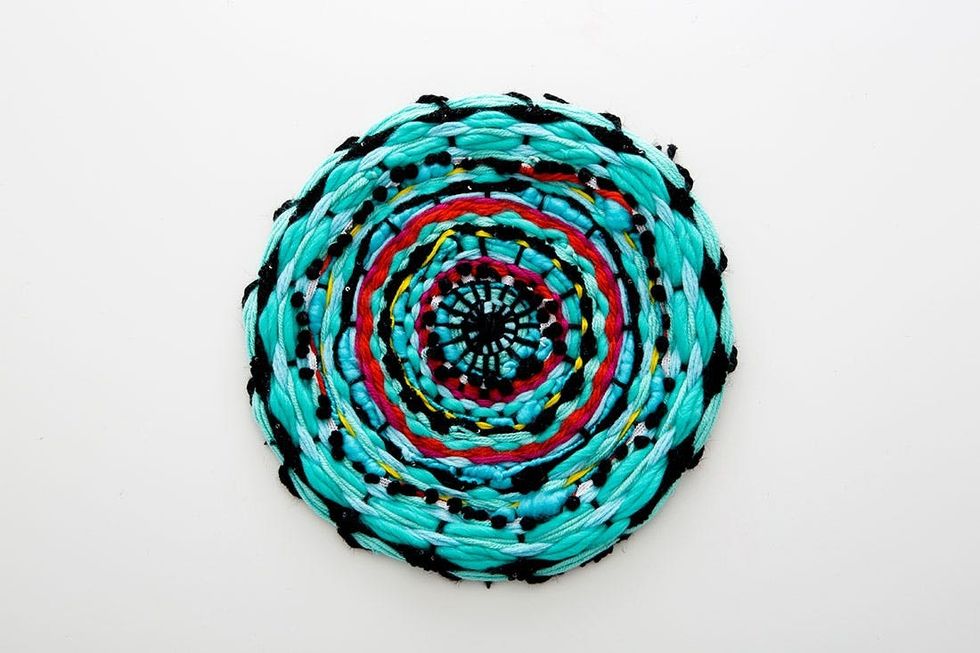
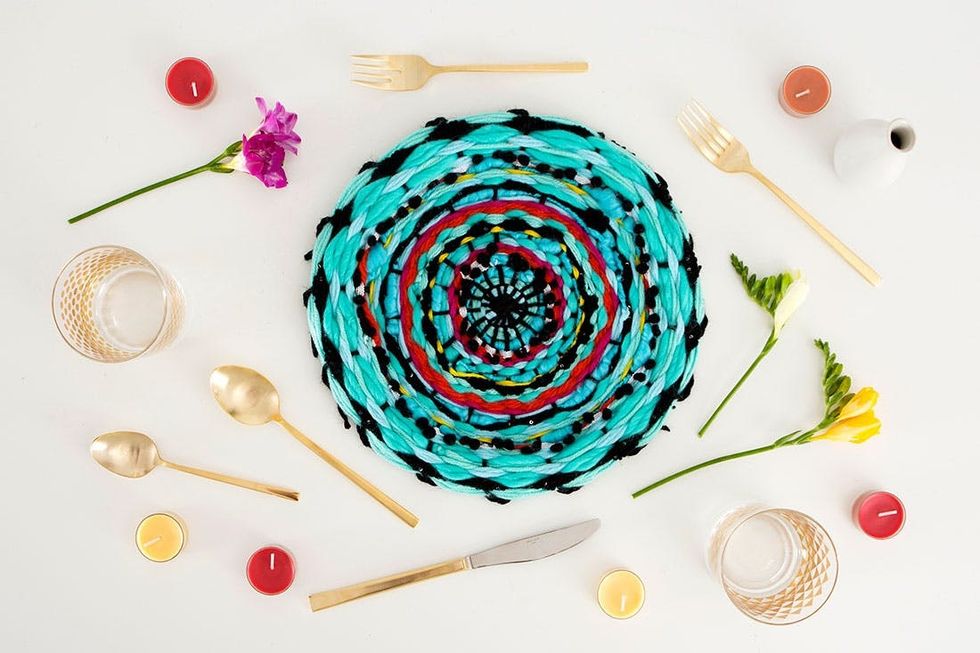
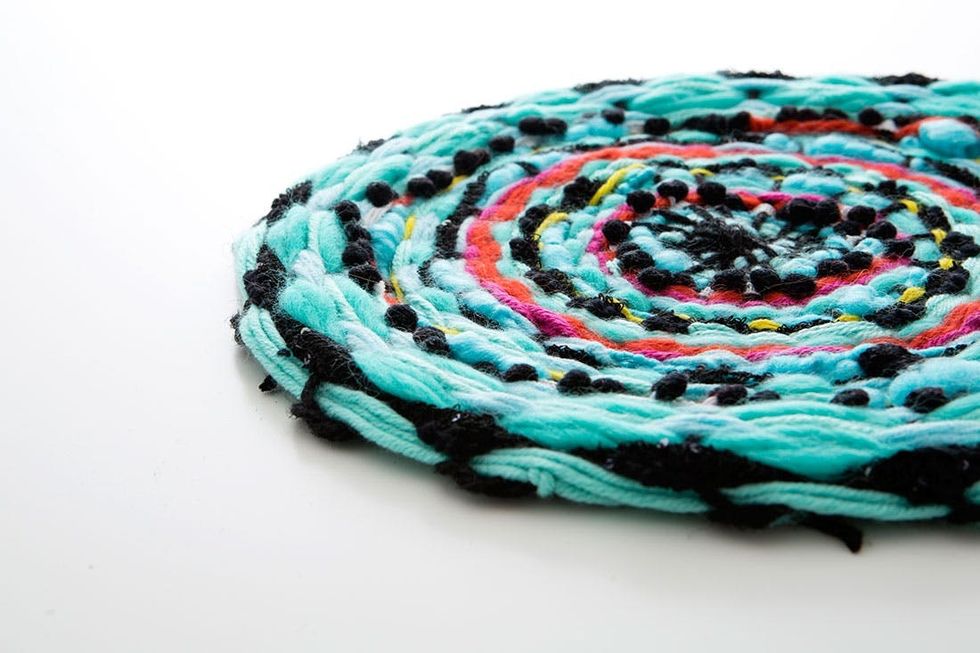
All your hard work paid off! This placemat is so vibrant and beautiful. It’s not just a quick DIY, it’s really a work of art. Here are a few place settings we styled with our new favorite placemat.
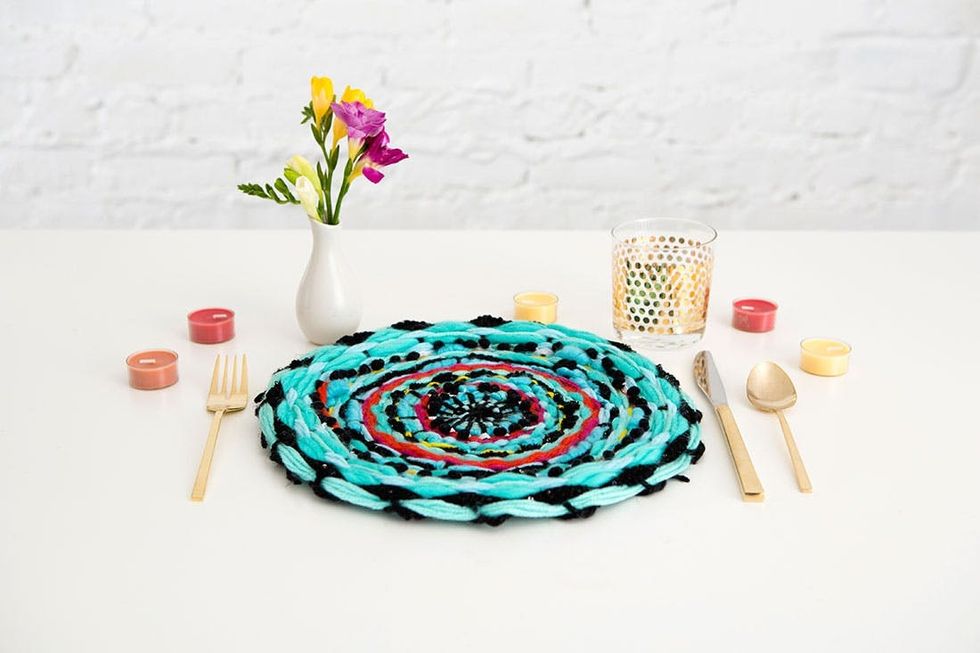
The setting without the plate.
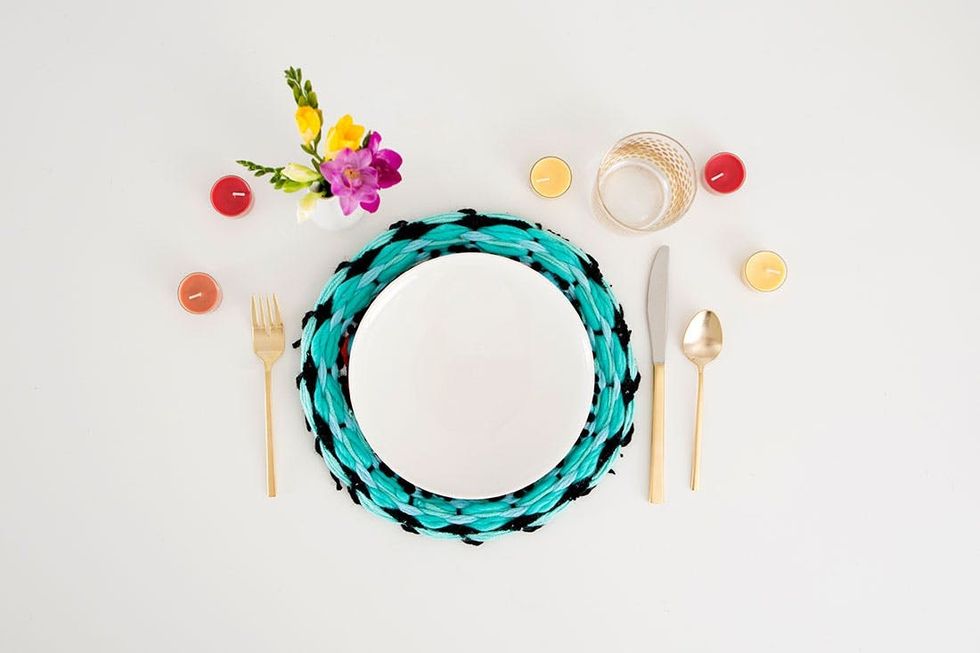
We love how it peeks out the sides of the plate.
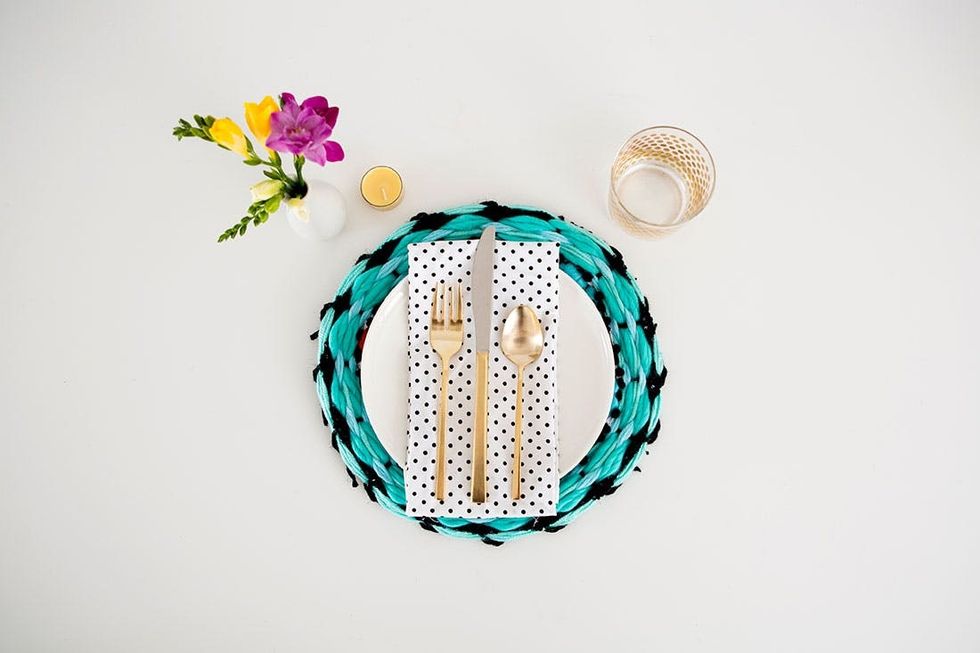
This placemat also works well as a serving mat for tea or a centerpiece with flowers.

Have you made any weaving projects? Tell us about them in the comments!


