This isn’t like a regular embroidered pillow.
Embroider a Pillow for Mom That’s As Cool As She Is

We all know that mom that insists she’s not like everyone else — not like a regular mom. She can hang at all the craziest family gatherings, is the first to tell you about the newest fitness trends and mixes a mean cocktail. Whether the person we’re describing is your mom, aunt or mommy-to-be bestie, you know that any regular Mother’s Day gift just won’t do. This year, surprise her with this DIY embroidered pillow that’s nothing like any embroidery she’s ever seen. It’s not like a regular pillow; it’s a COOL pillow.
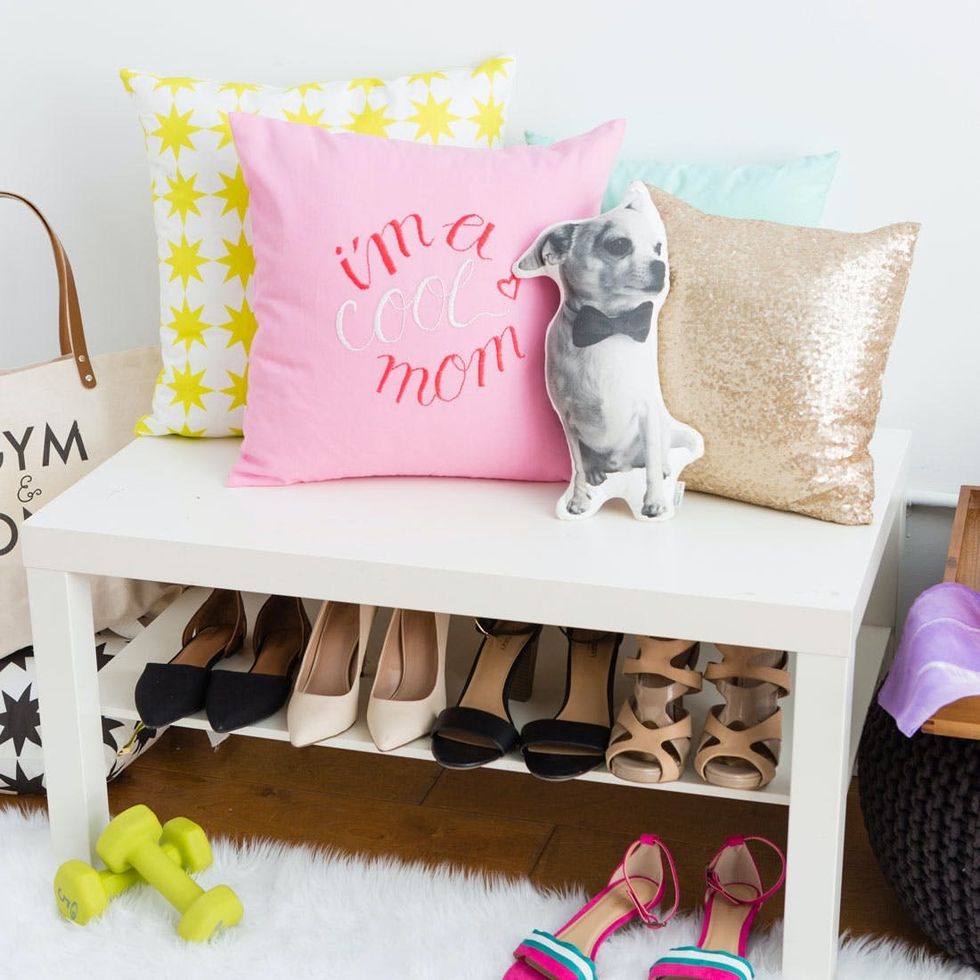
While hearing the word “embroidery” might seem like a big undertaking, never fear. We’ll teach you step-by-step how to put this simple lettered design together. But if you’re curious about learning a whole arsenal of stitches and designs, make sure to check out our Embroidery Online Class and learn from someone who makes a living creating awesome, modern embroidery.
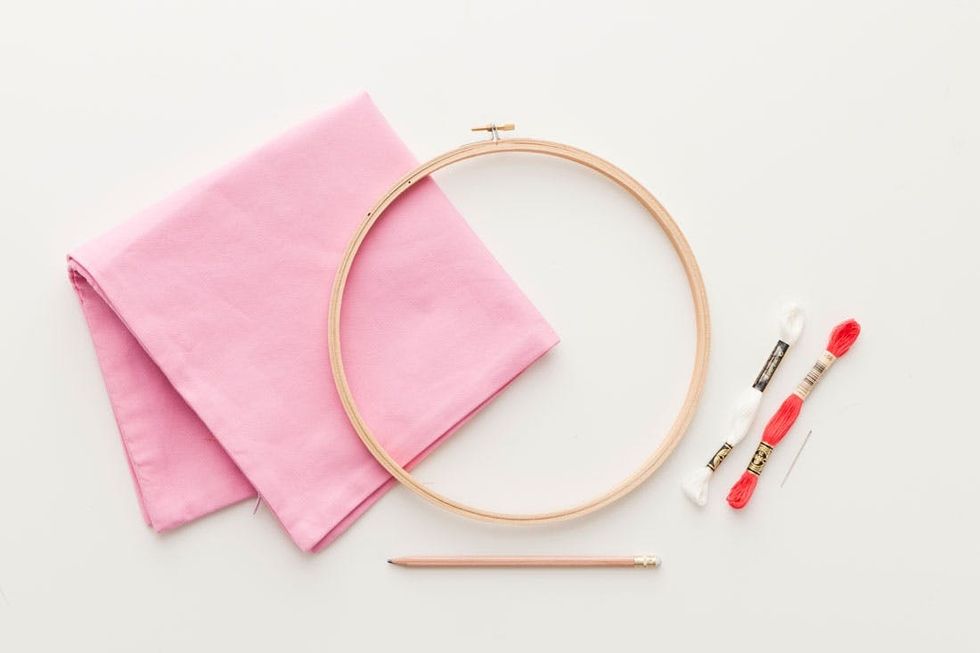
Materials:
— pillow case
— embroidery hoop
— embroidery thread
— embroidery needle
— scissors
— pencil
Instructions:
1. Test out your design in pen on paper.
2. Position your hoop over the middle of your pillowcase and draw your design in pencil inside the circle.
3. Fit your embroidery hoop over one side of your pillowcase, so the inner hoop is actually inside the pillow and tighten it up.
4. Cut a long piece of embroidery floss, thread it onto a needle and tie a knot at one end.
5. Begin stitching from back to front, filling in your pencil guidelines.
6. Continue until you’ve filled in your whole design, then tie a knot on the back side of your pillowcase.
7. Loosen your embroidery hoop and remove the inner and outer rings from your pillowcase.
8. Erase any stray pencil marks and iron away the crease left behind from the embroidery hoop.
9. Slip your pillowcase over a pillow insert, and you’re done!
Grab a plain pillow case and some embroidery supplies and let’s get stitching!
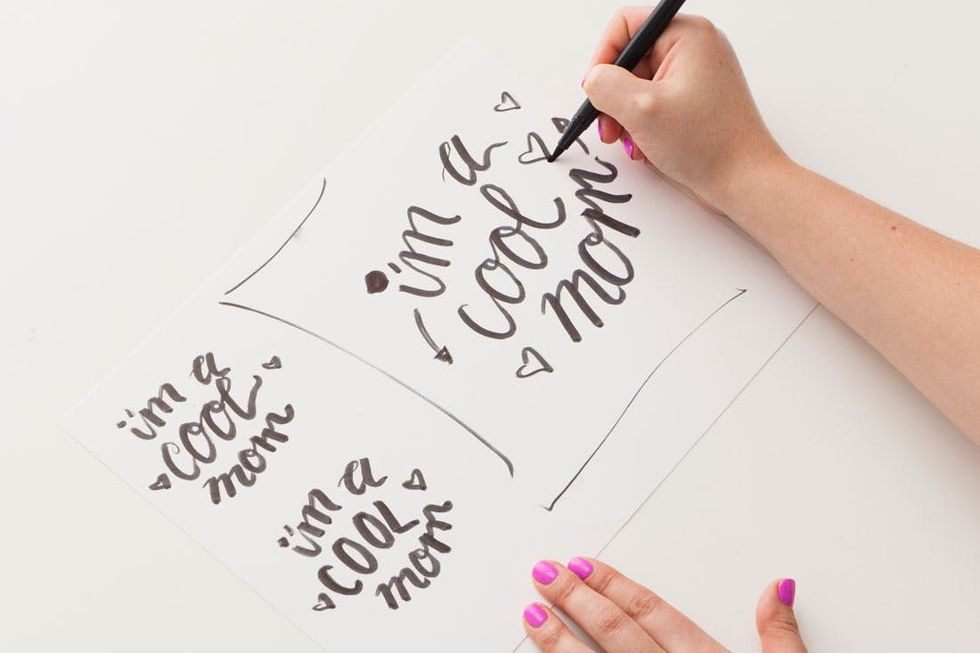
I always like to start a lettering design by playing around with some pen and paper. Draw out your phrase a few different times until you have a design you like.
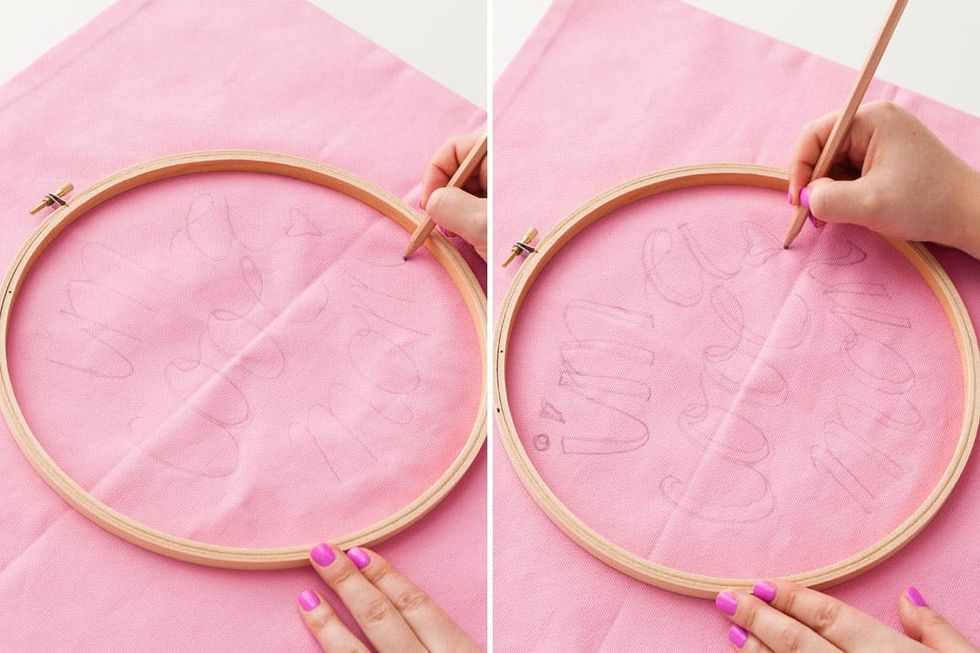
Place your embroidery hoop onto the center of your flat pillow case and draw in your design in pencil. I start with a thin line drawing first and then thicken up the “down strokes” of the letters afterwards.

Once your design is penciled in, separate the two pieces of your embroidery hoop and place the smaller hoop inside the pillow cover.
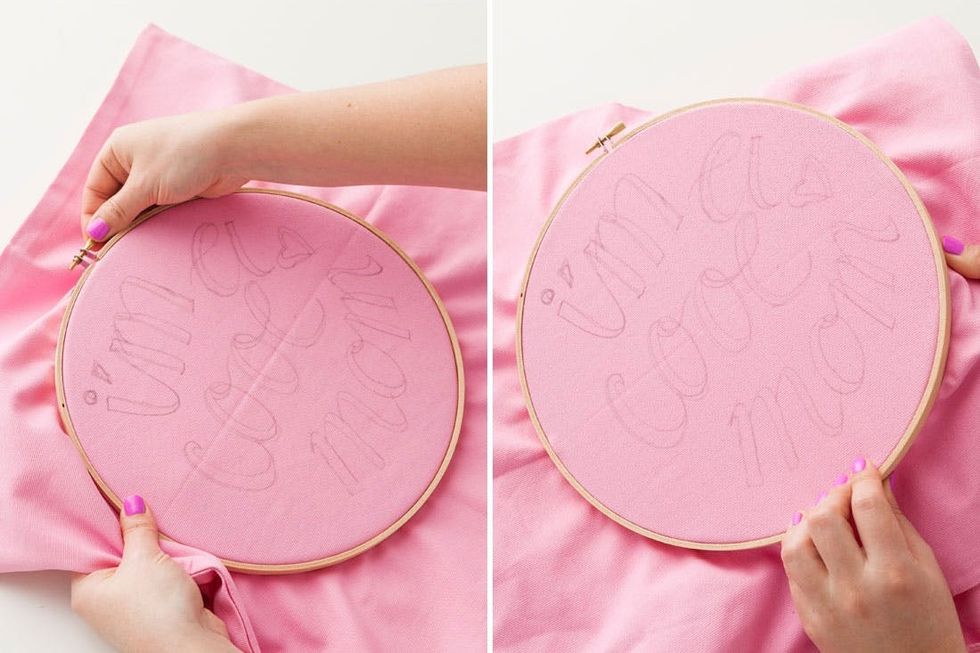
Fit the second, larger hoop on top of the pillowcase and the smaller hoop inside. Tighten the hoop at the top and pull the fabric tight all the way around until it sounds like a drum when you tap it with your hand.
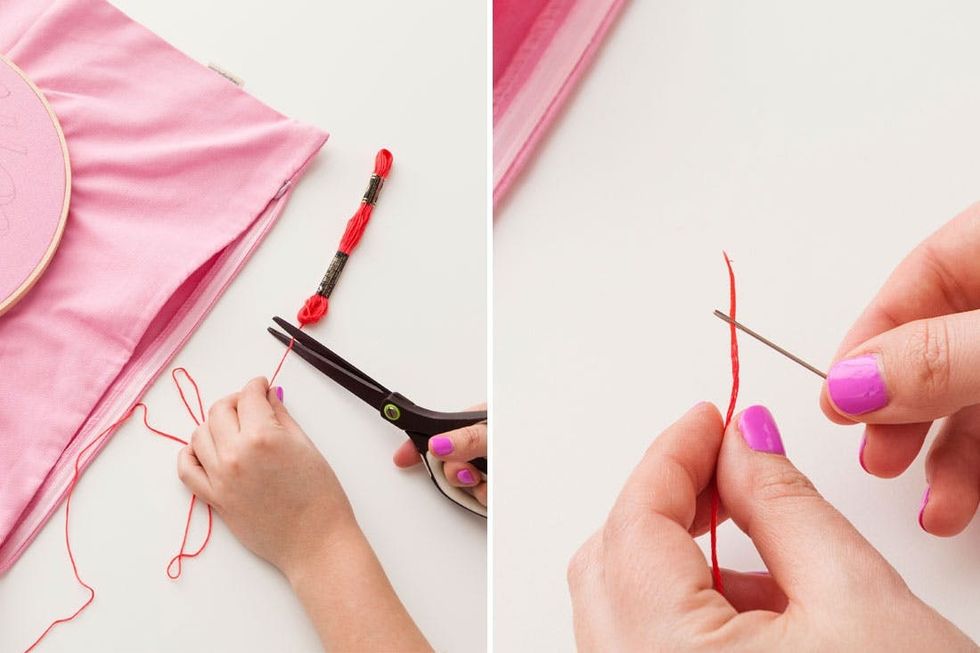
Cut off a long piece of embroidery thread in your first color and thread it through your needle. Then tie a knot at one end.
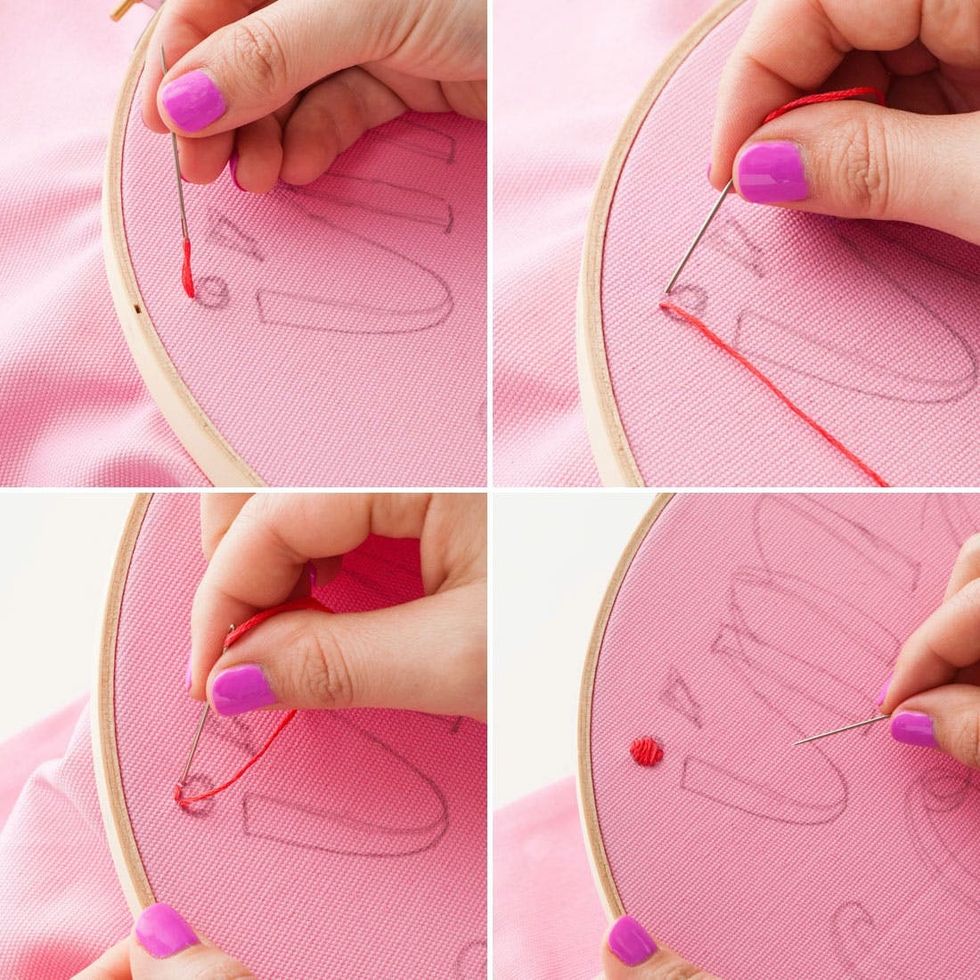
Begin stitching from the back side of the pillow fabric, making sure to put your hand inside the pillowcase so that you don’t accidentally stitch the pillow closed! Continue making stitches from one side of your pencil drawing across to the other side, and work your way down one stitch at a time.
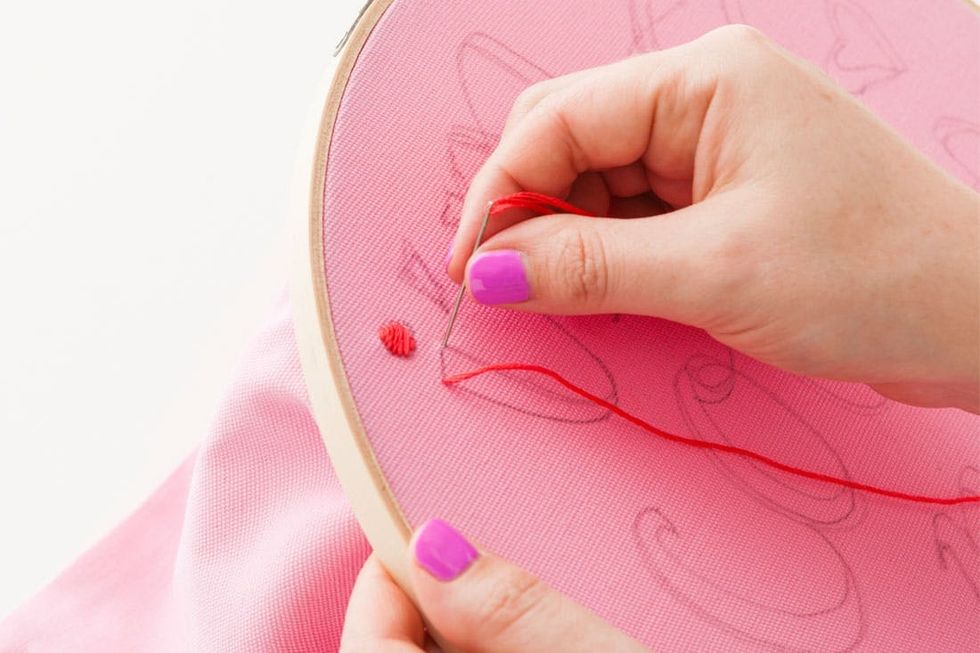
Continue filling in your letters with stitches, moving from one shape to the next on the back side of your fabric. Because this part is fairly easy and repetitive, it provides the perfect opportunity for a background movie marathon (Mean Girls perhaps?), or can be broken up into smaller stitching sessions over a few days. All of a sudden you might feel yourself understanding your grandmother as you stitch away and embrace the fact that some good things just take time.
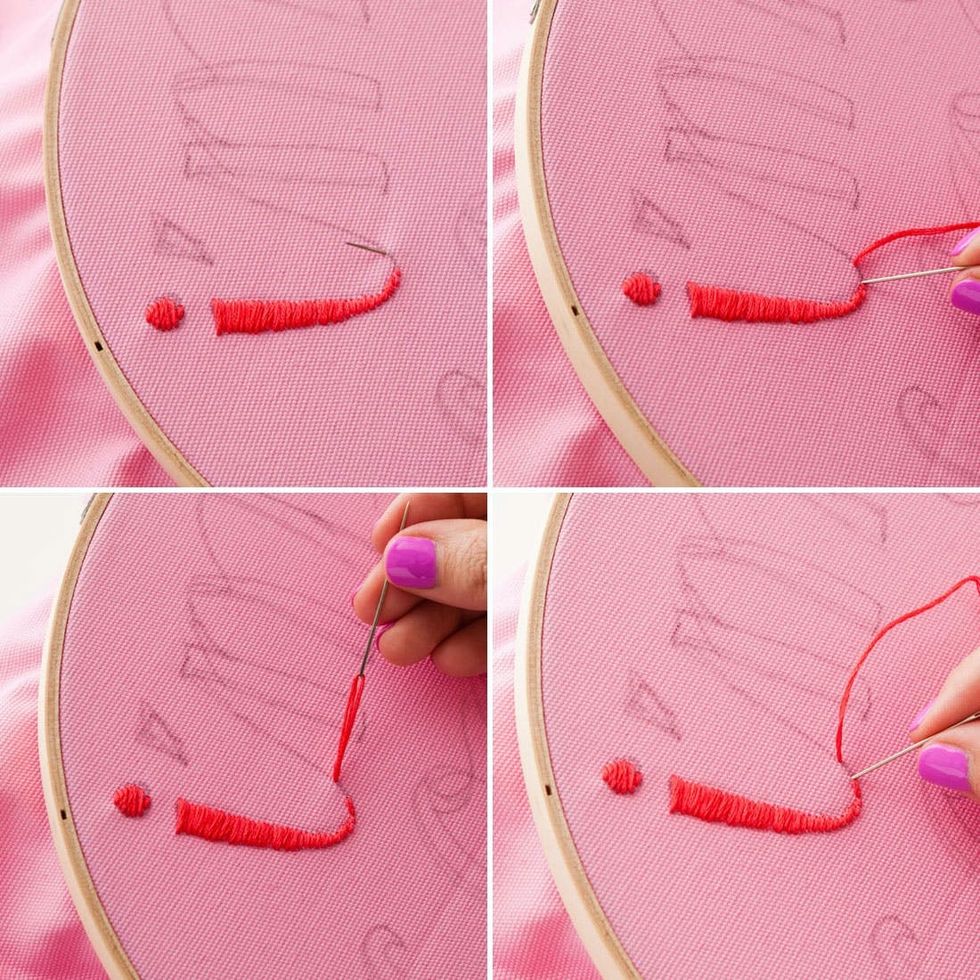
When you reach those skinnier lines in your lettering (or your up strokes), stitch from back to front jumping ahead of your last stitch and then stitching back over that empty space. Repeat until you’ve filled in the whole line.
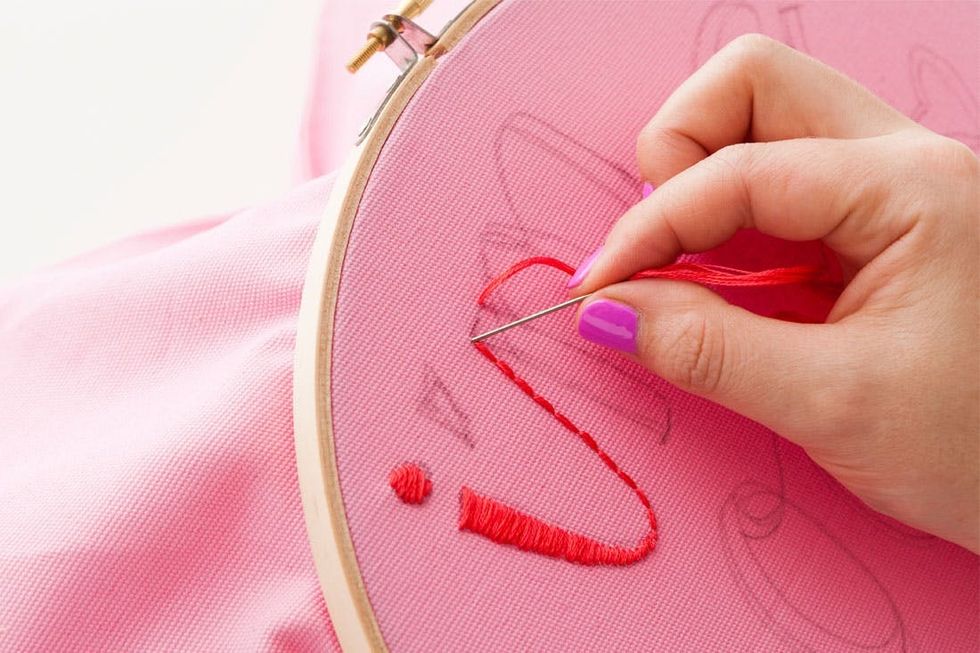
Once you intersect back with another thick section (or down stroke), return to the stitch you used when you first started, filling in your pencil lines from side to side.
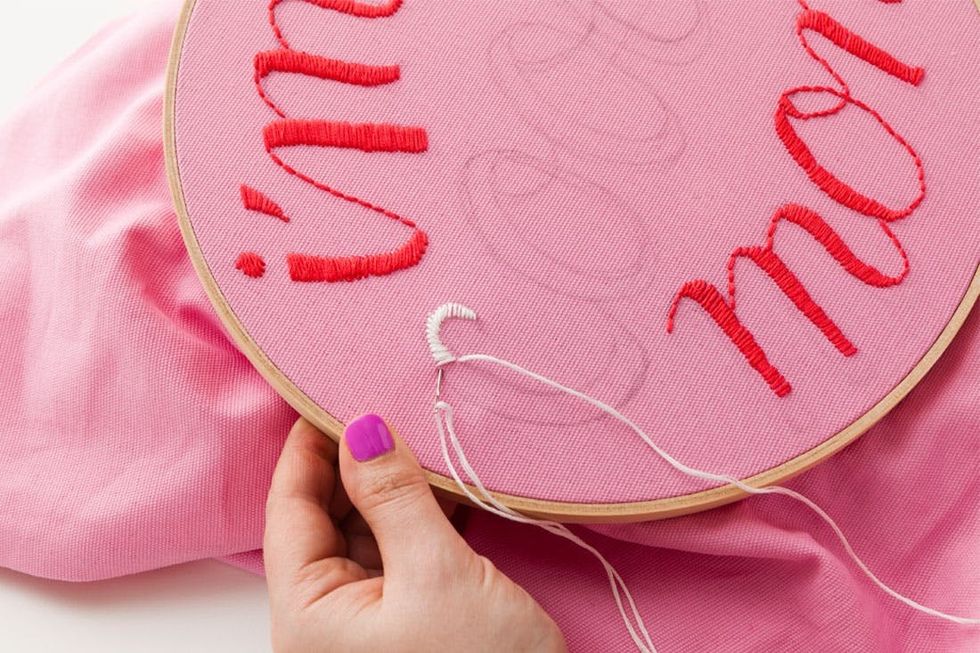
We switched up the color a bit to give it some extra dimension and filled in “cool” with white thread.
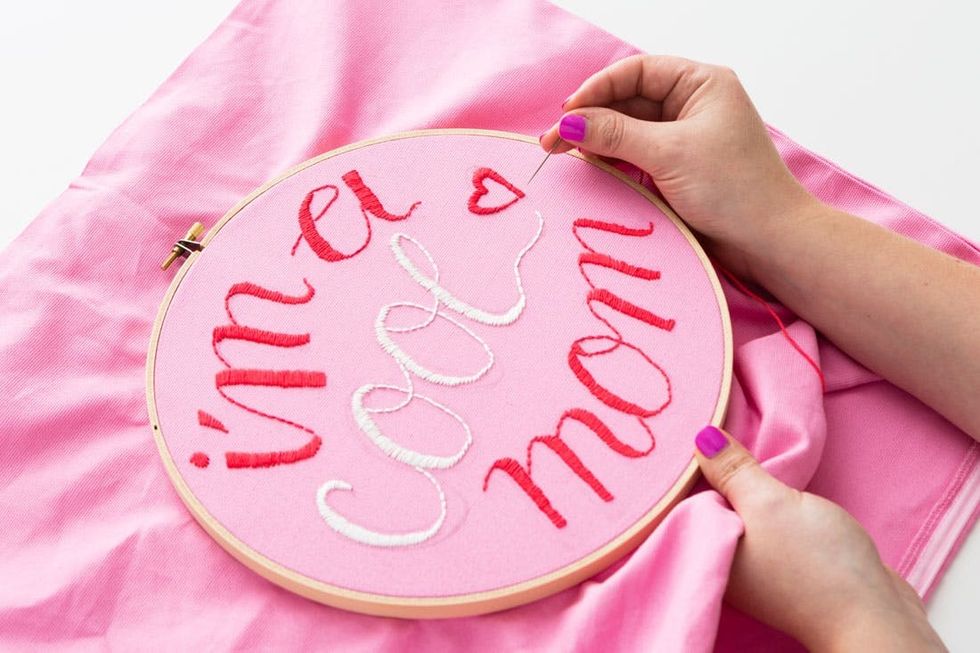
Alright, now that we’re all stitched up, let’s finish off this pillowcase!
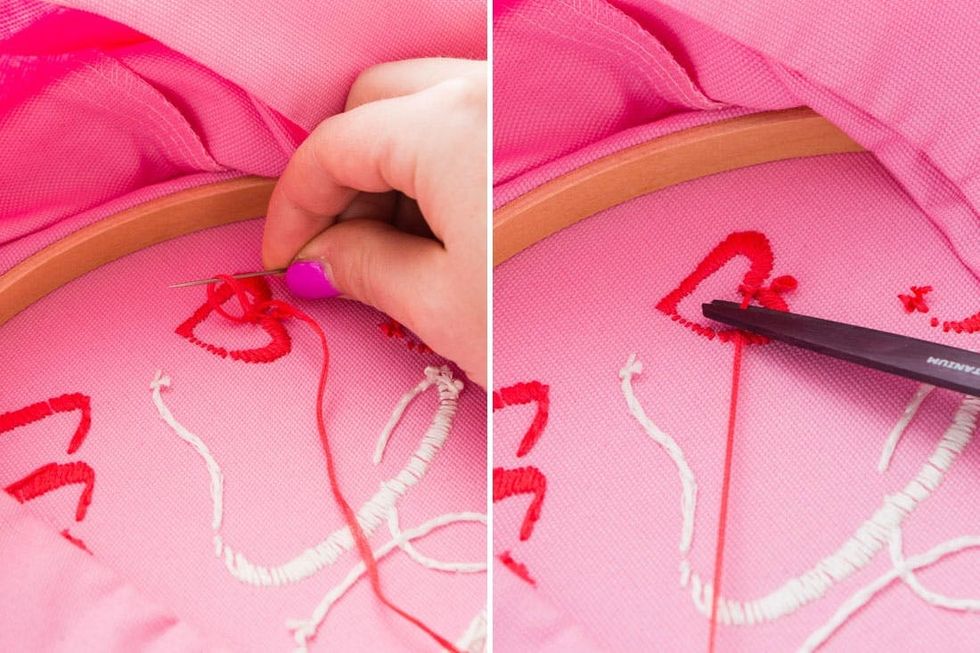
Get into the underside of your stitching and finish it off with a few knots. Trim off any excess thread with scissors.
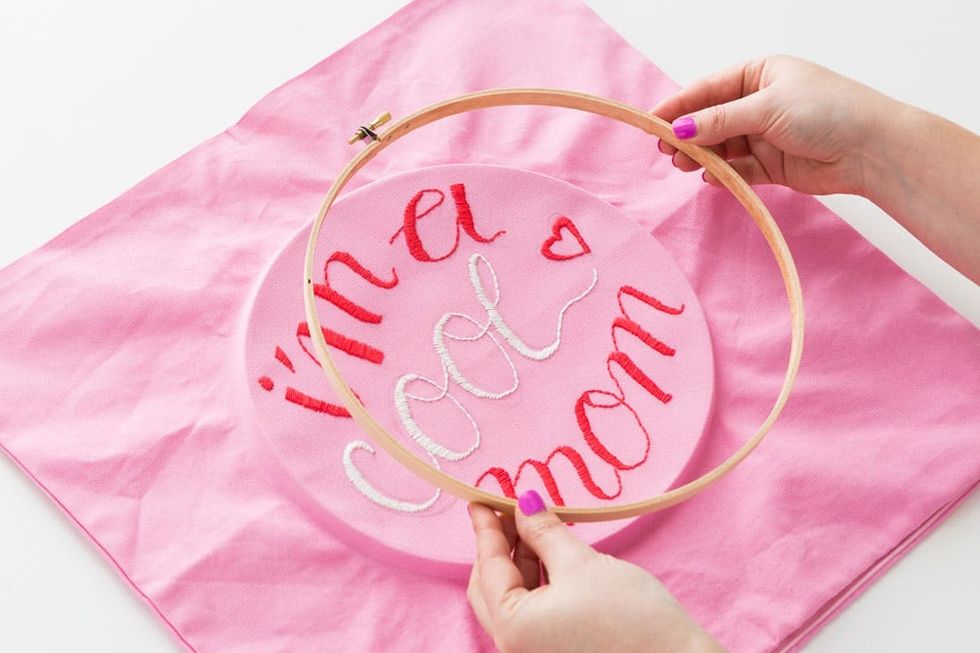
Loosen your embroidery hoop by twisting the screw piece at the top and removing both inner and outer hoops.
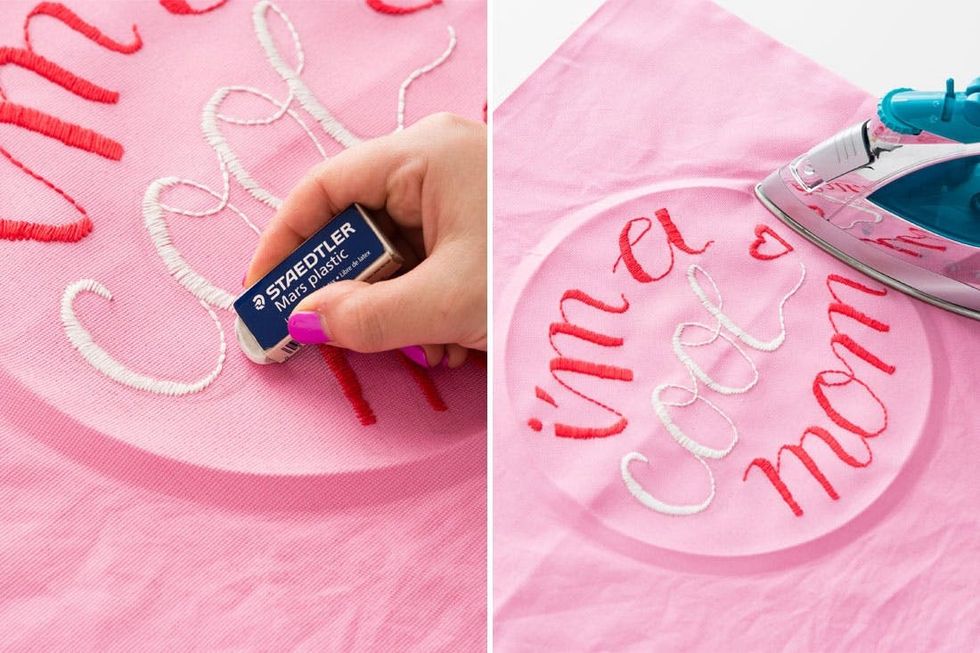
If, like me, you got a little impatient along the way and cheated on your pencil lines (it happens), go ahead and erase those lines away! Then iron out the crease left behind from your embroidery hoop, being careful not to spend too much time with the hot iron directly on top of your stitches.

Fill your pillowcase with a pillow insert, and this awesome pillow is ready to be gifted! We like this “cool mom” already for her shared love of fitness, cocktails and killer shoes! ;)


