Glamp it up in the great outdoors.
11 Must-Haves for a Pinterest-Worthy Glamping Trip
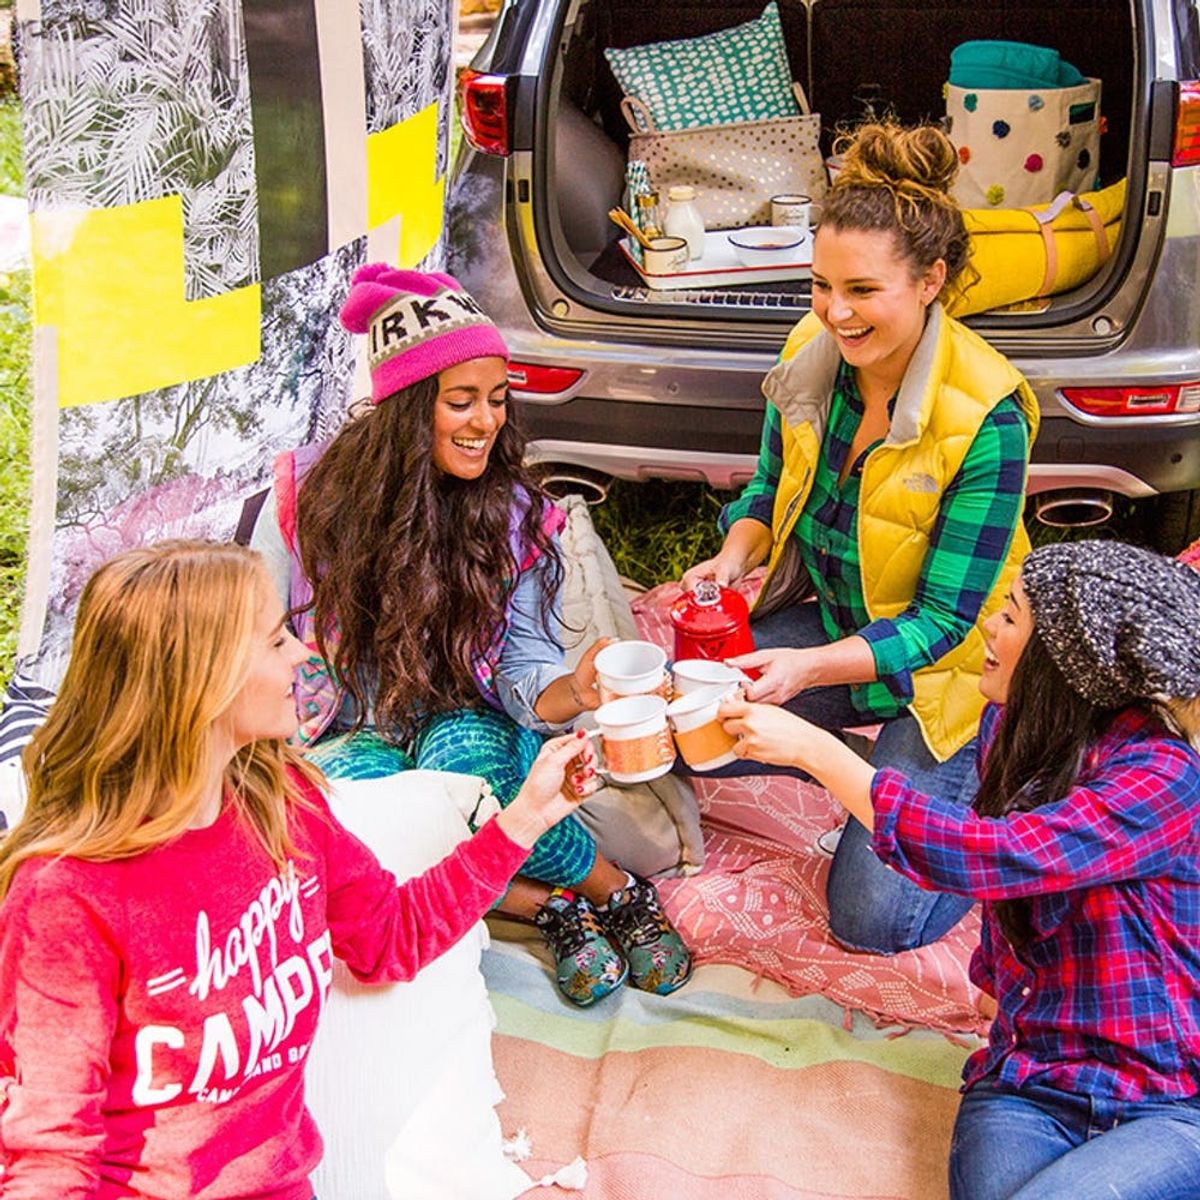
You guys, camping is so old school. In our era of photogenic activities filled with handmade details, it’s all about a decidedly more glamorous form of outdoor slumber: glamping! And wouldn’t you know it — we’re here to serve up 11 glamping essentials for the adventurer in all of us.
here, Executive Creative Director at Brit + Co and seasoned camper extraordinaire. In fact, one of the main reasons my husband and I moved from New York to California five years ago was proximity to the great outdoors and all the amazing places to camp. That’s why I was pretty dang pumped to team up with
 , head north in the Sportage and create the ultimate glamping setup.
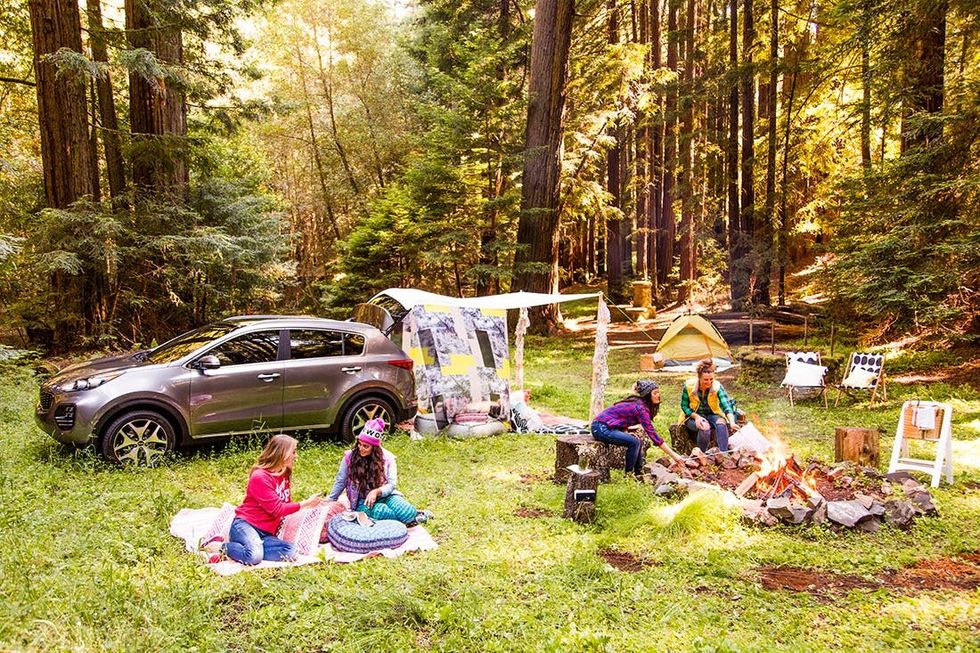
The Kia Sportage is all about adventure, whether planned or impromptu. It’s a great car for those of us who tend to be the planners in our families or group of friends. The spacious trunk makes it easy to haul a couple of tents, sleeping bags and even the epic trunk canopy you see pictured above.
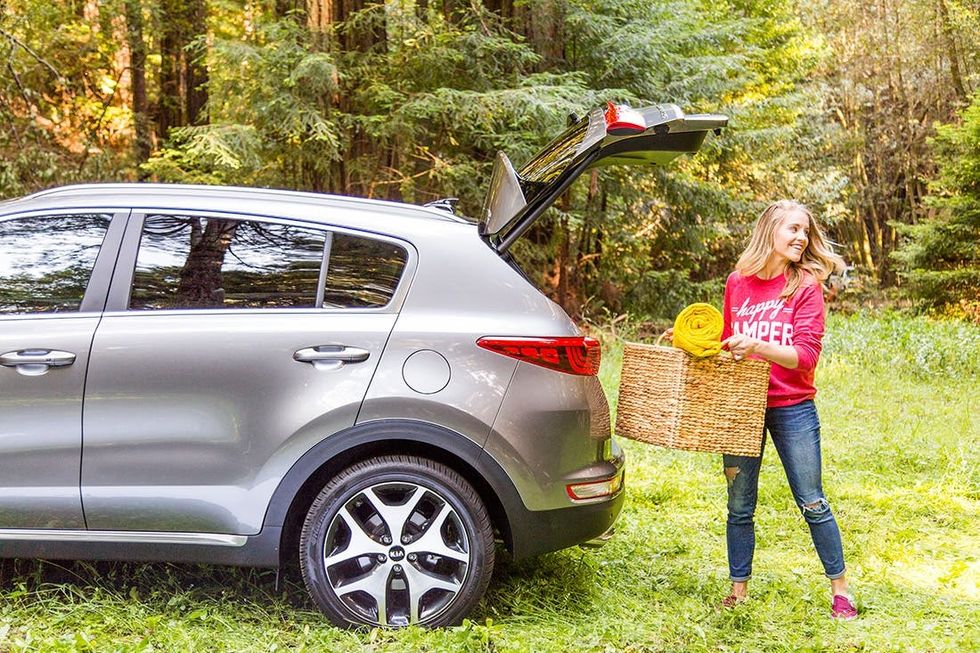
First things first, you’ve gotta score yourself a set of wheels that can haul everything you need — including you and your friends or family. As you may have guessed, we’re partial to the Kia Sportage ;)
A Car That Can Haul Everything You Need (Including You!)

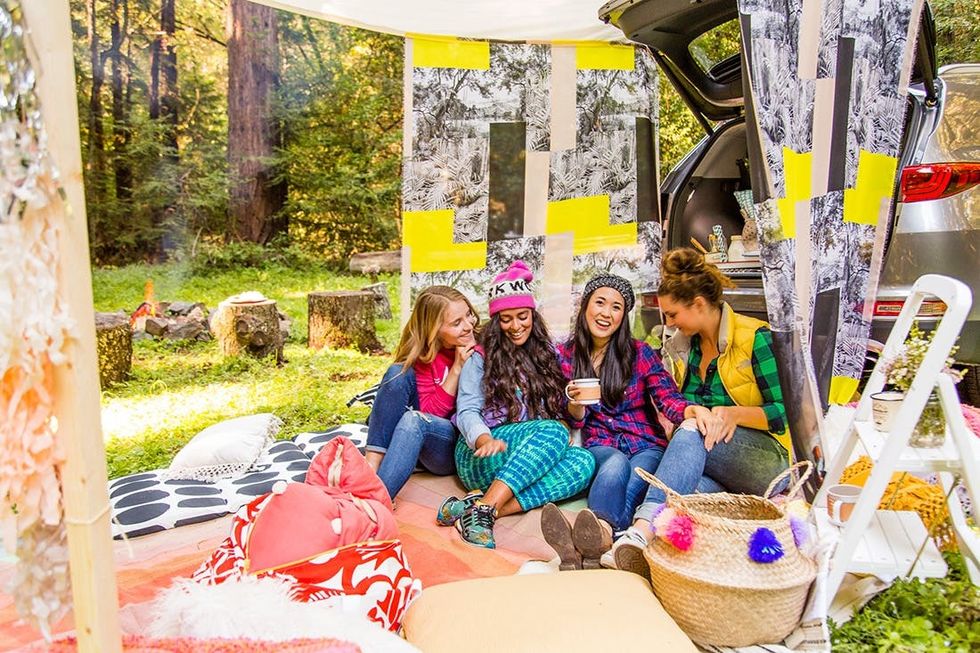
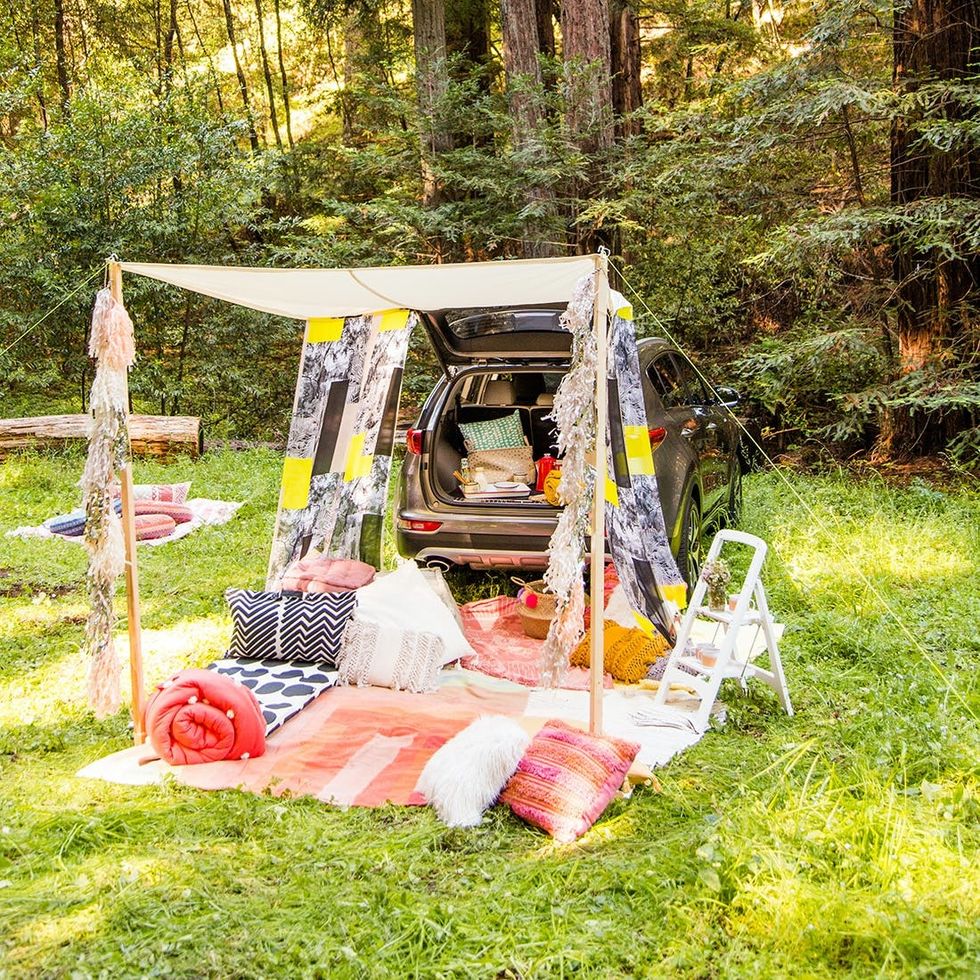
One of the things I’m always frustrated with when camping is that once you get to your campsite, it’s hard to find a hang zone besides inside your tent. And I don’t know about you, but once I’m in my cozy little tent, I am most definitely going to sleep. So we decided to create a chic little outdoor living room built right off the trunk of the Sportage.
This DIY Trunk Canopy (Yes, YOU Can Make This)
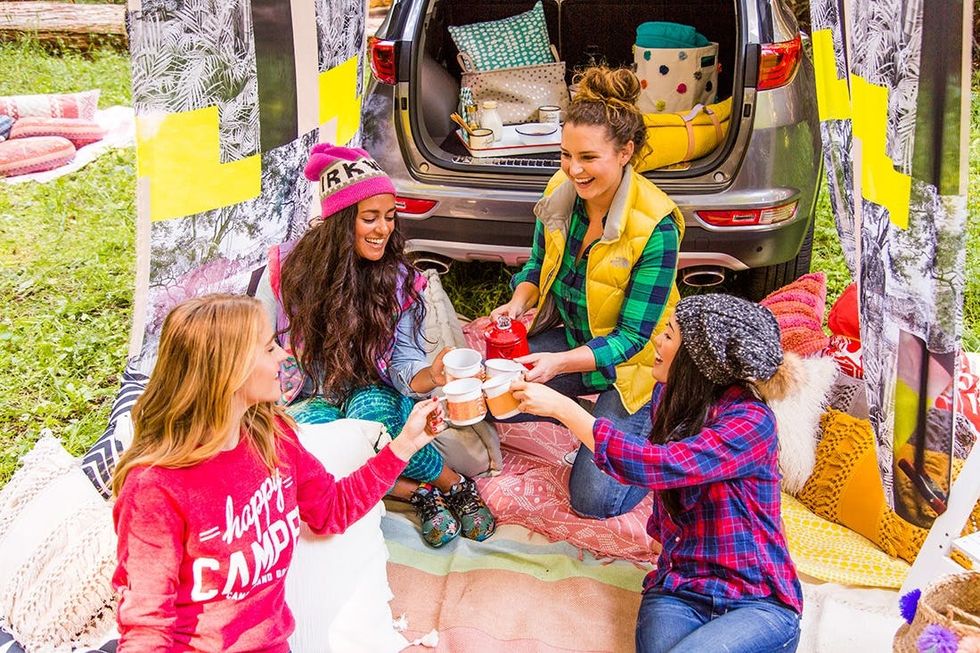
Scroll on to the bottom of this post to get all the DIY details. It’s a doozy, but we promise you can totally make this yourself. Fellow camping pro (and member of the Brit + Co creative team) Anita Yung made this beauty from start to finish and swears it’s easier than it looks! :)
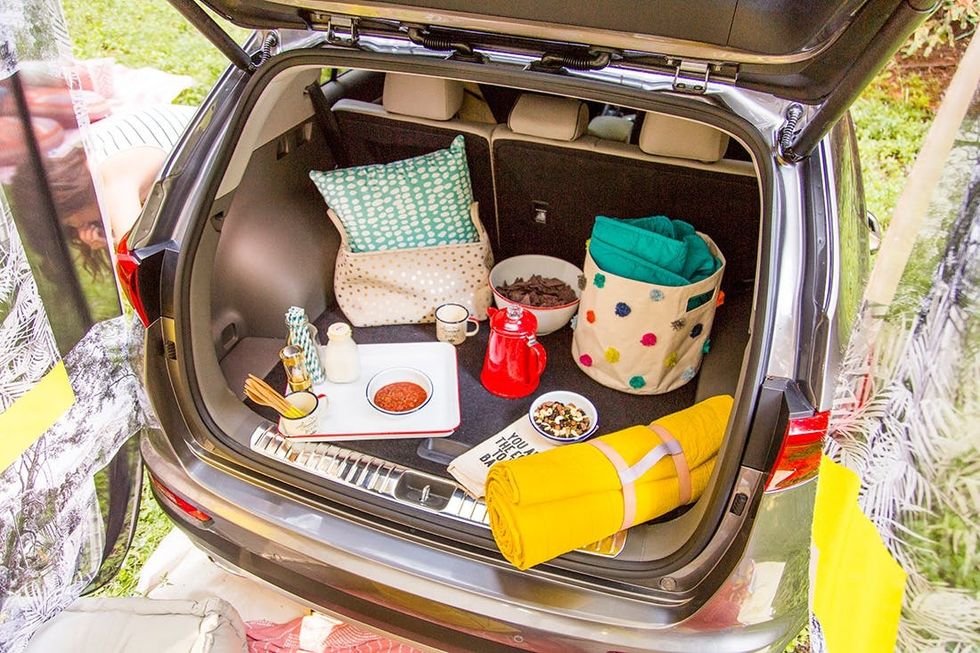
Once you’ve unpacked your setup, use the trunk as a table to house things that you’d like to remain relatively bug-free.
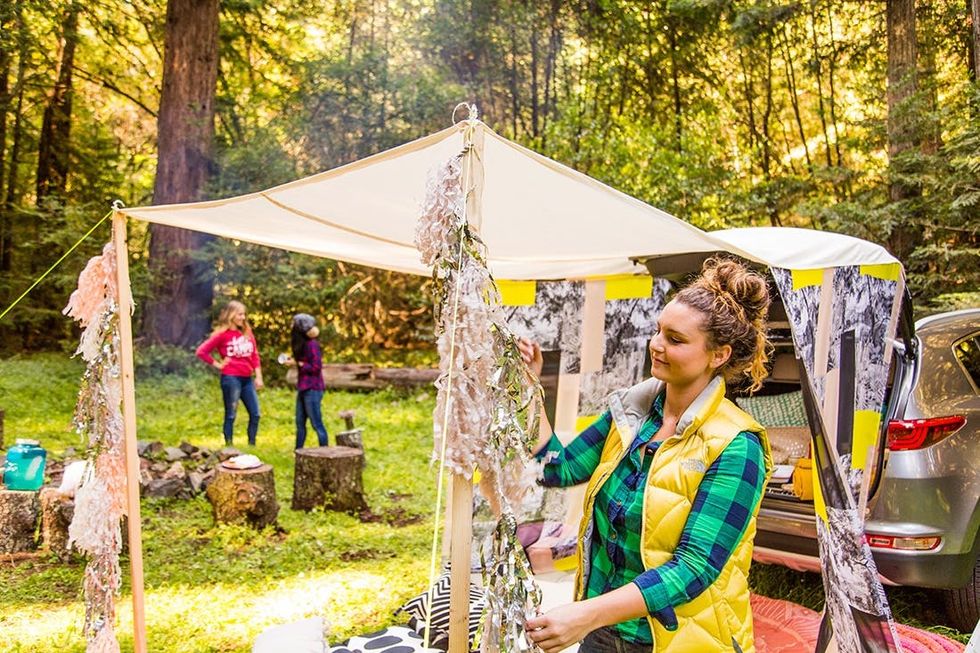
When in interior or exterior design doubt, put a tassel on it. We fell in love with artist Amina Mucciolo’s handmade tassels way back when we hosted our very first Re:Make conference, and we’ve been using them ever since. Once you’ve set up your canopy, add a few tassels for that special bit of sparkle.
Tassels Make Everything Better
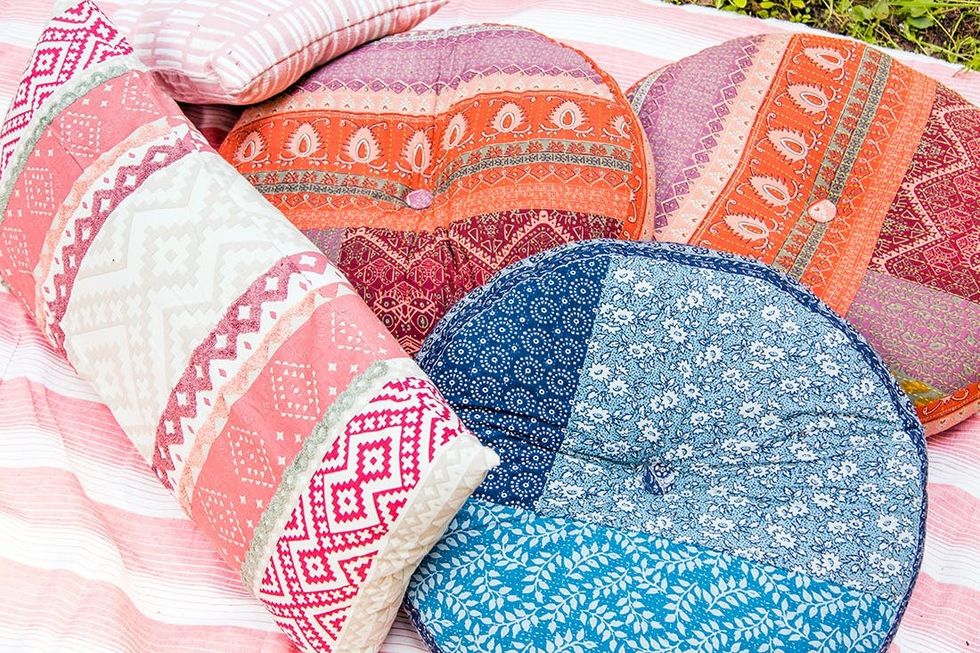
To create a comfy outdoor space, you’ve gotta pile on the pillows, blankets and poufs. Because some of these items may get a little dusty, it’s best to use cotton items that are easy to hand wash or machine wash after your trip.
Plenty of (Washable) Pillows, Blankets and Poufs
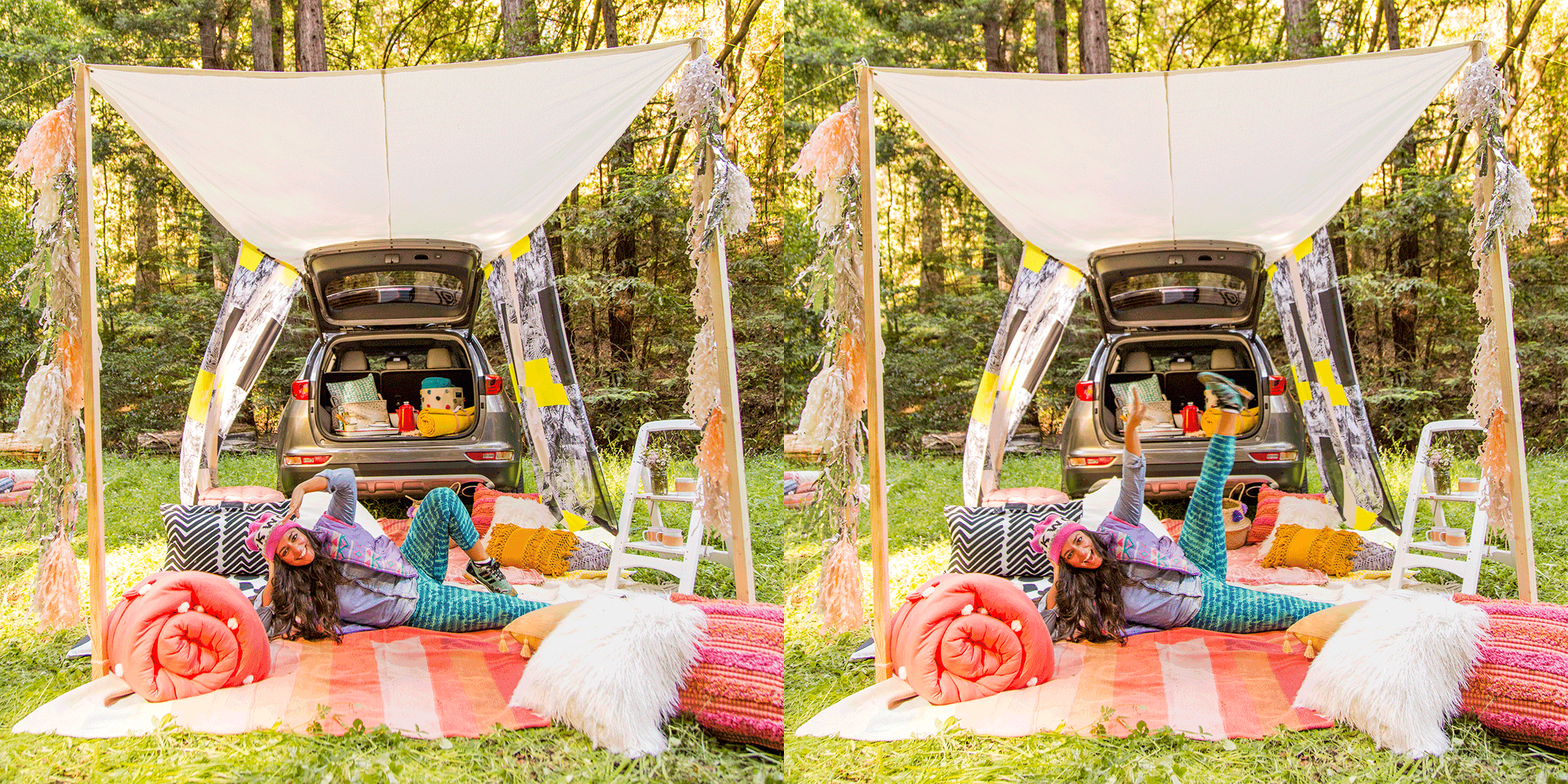
And hey, you can even use this space for a light ‘80s-inspired workout. Or maybe that’s just me…
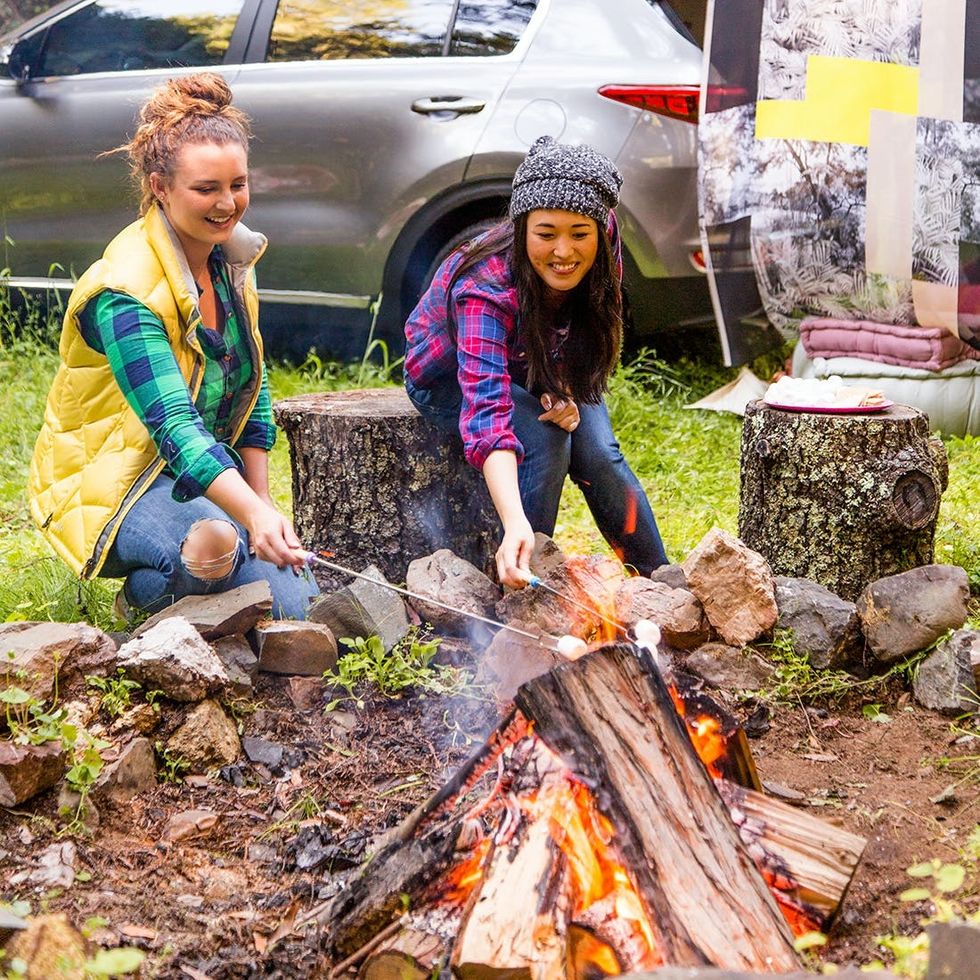
Once you’ve decided to plan a glamping trip, make sure at least one of your friends can tap into their boy or girl scout skills and make a roaring fire. Because you know what happens when you’ve got a nice toasty fire… s’mores, duh!
A Friend Who Knows How to Build a Fire
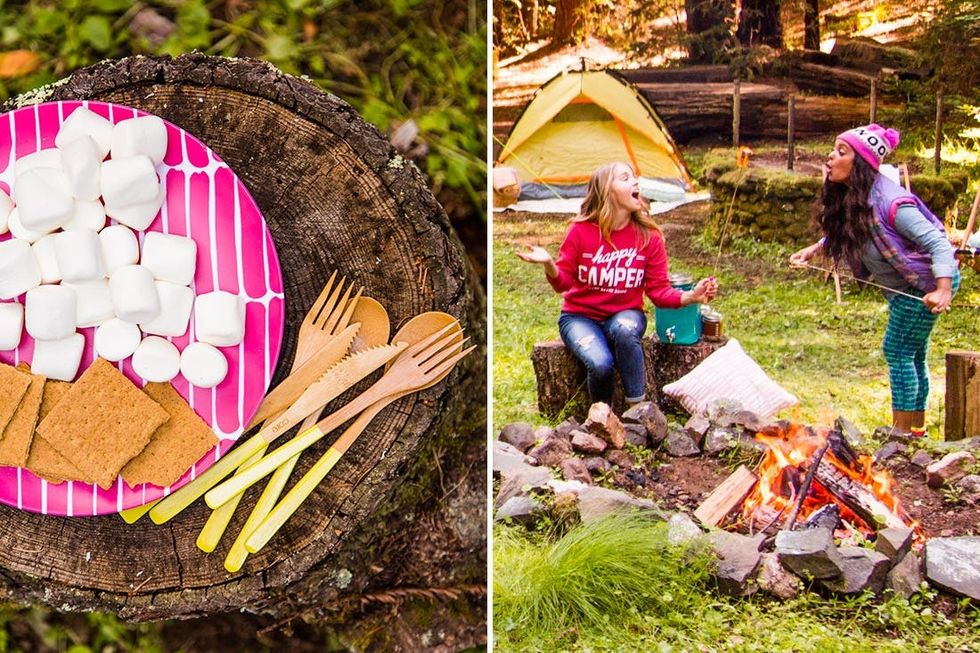
Now we’ve reached the point at which we’d like to wax poetic about our love of graham crackers, chocolate and marshmallows. The way the marshmallow crackles ever so slightly in the fire, that perfectly burnt exterior, the gooey goodness inside — it’s all so darn delicious. Have we gone too far? Or did you stop reading because you need to make some s’mores ASAP?
S’mores Fixin’s

Oh, and we may have eaten the chocolate on the drive to our campsite. But these were still REALLY good. Never underestimate the power of a campfire-toasted marshmallow.
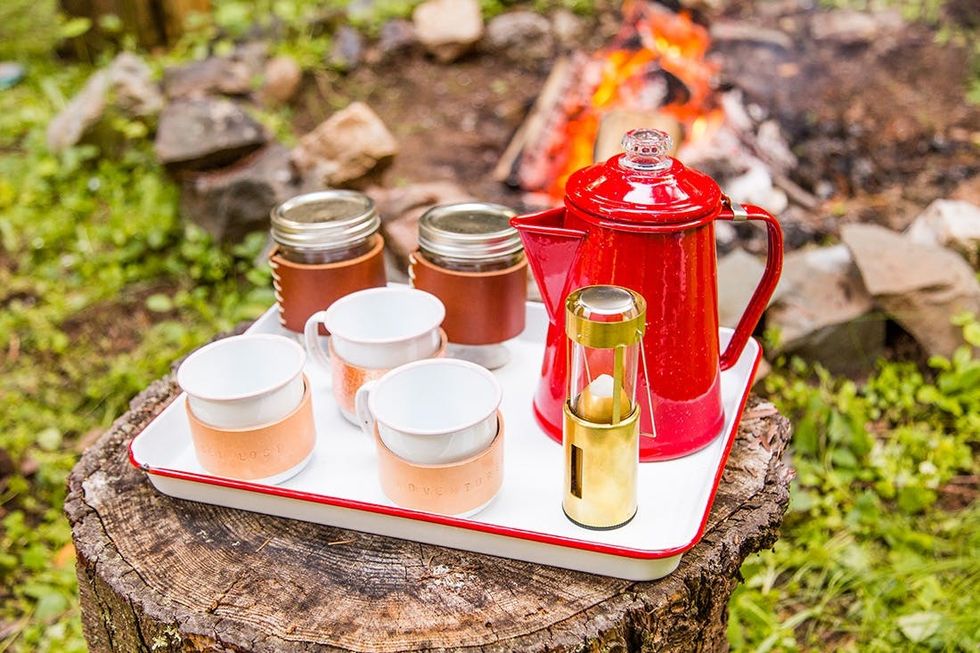
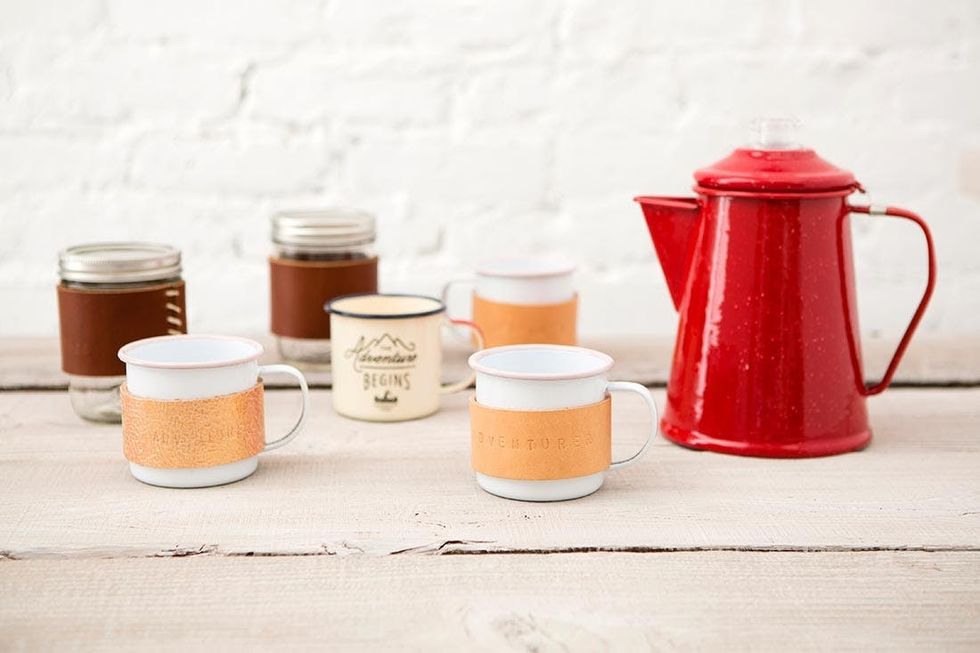
Style out your mason jars and mugs with custom leather sleeves. We created a whole collection of these for our trip, hand-stamped with words like “adventurer” and “explorer.” Scroll to the bottom of this post for the full DIY tutorial.
Leather Mug Sleeves
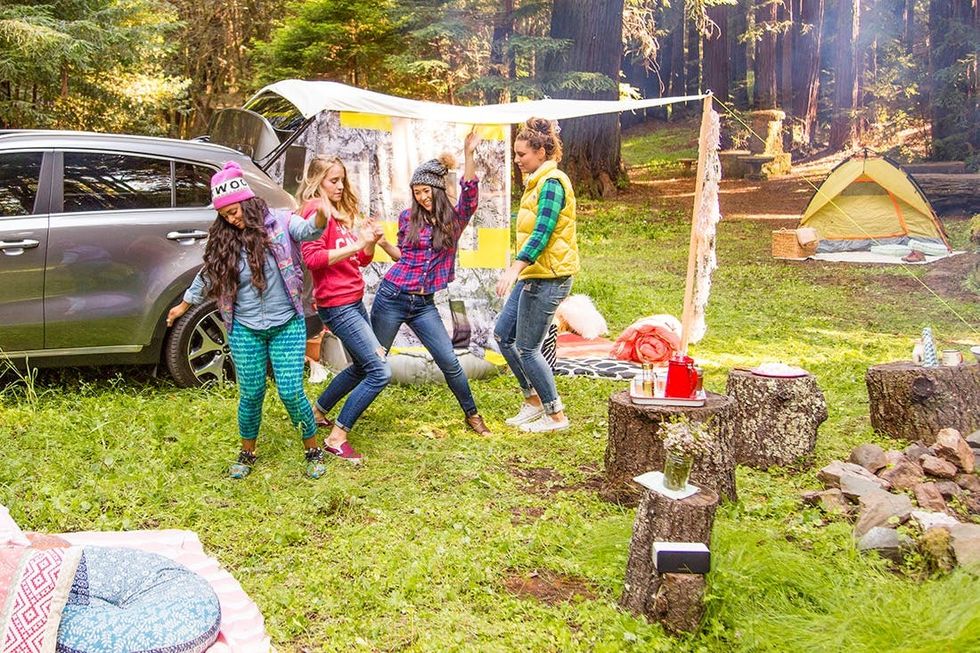
What’s a glamorous adventure in the outdoors without a dance party? Bring a wireless speaker to pump up the jams. And feel free to save our official Glamping Playlist for offline listening. You’re welcome.
Wireless Speaker to Pump Up the Jams
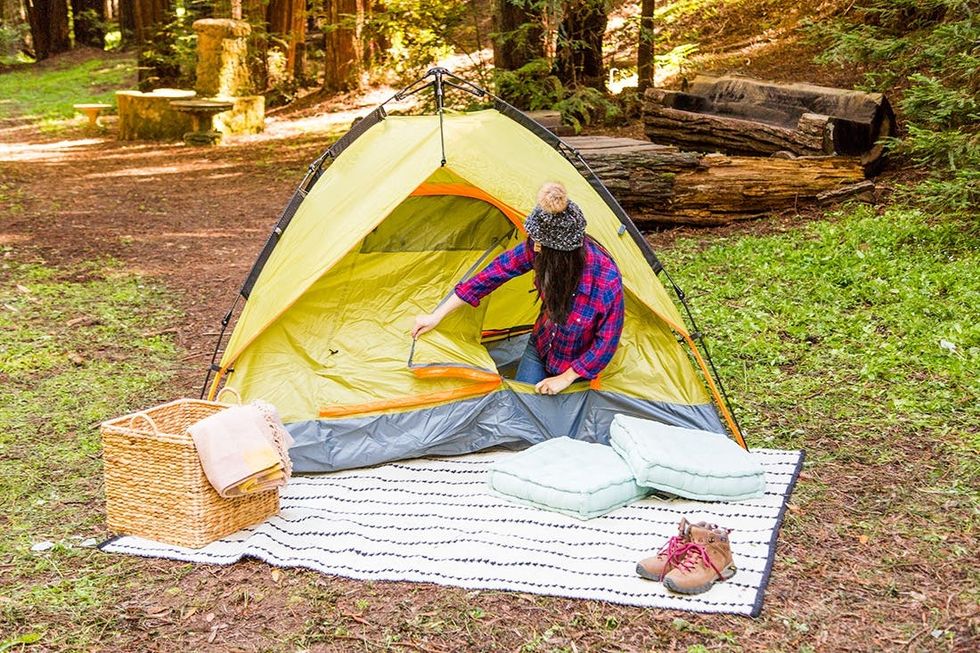
Your tent is your home for the weekend and, like any home, it needs a proper entryway. We brought a woven rug (easy to clean with just a few shakes!) and set it up outside of our tent’s entrance. This is a great place to take off your shoes and relax before heading to bed. Just be sure to roll it up and stow it under your rain cover when you’re ready to turn in for the night.
An Entryway for Your Tent
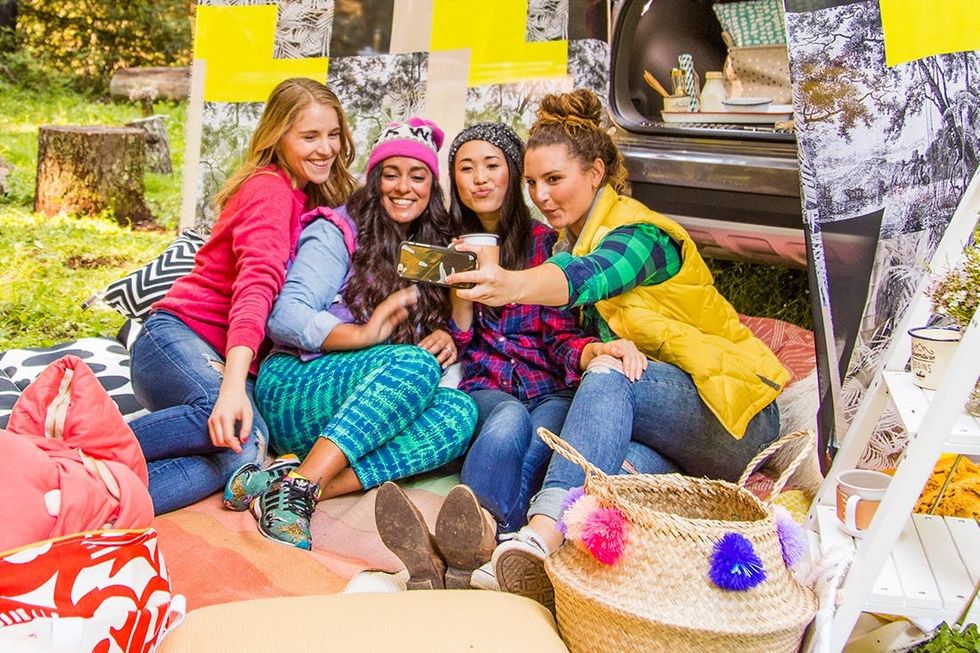
Okay okay, this isn’t exactly an “essential” per se, but it is absolutely something you should be prepared for. It’s these moments that will garner fanfare on all your social networks and will also make you legit laugh-out-loud.
Jumping Photos and Selfies FTW
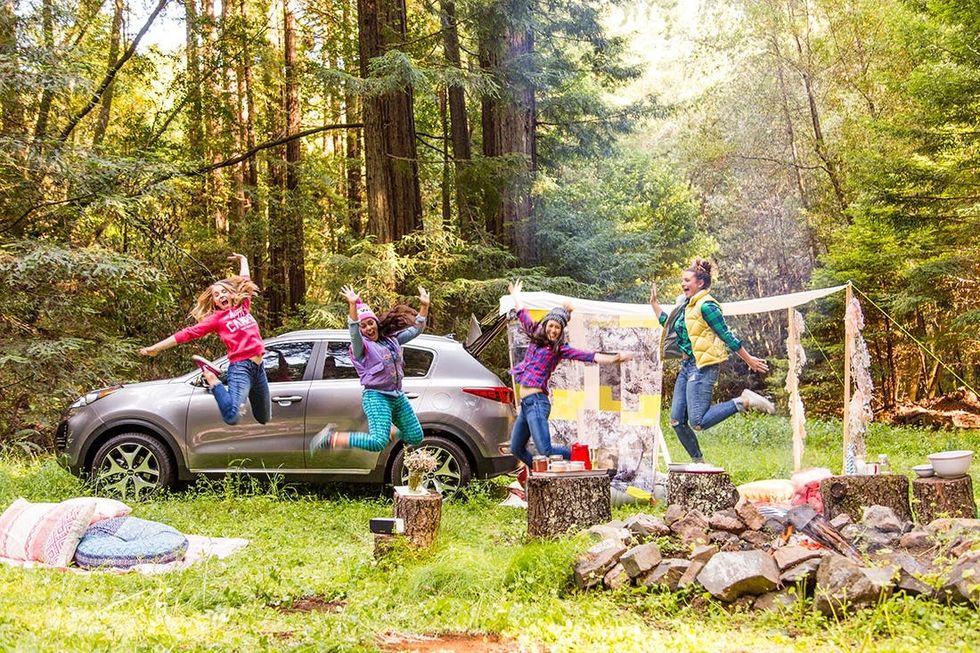
All the jumps!
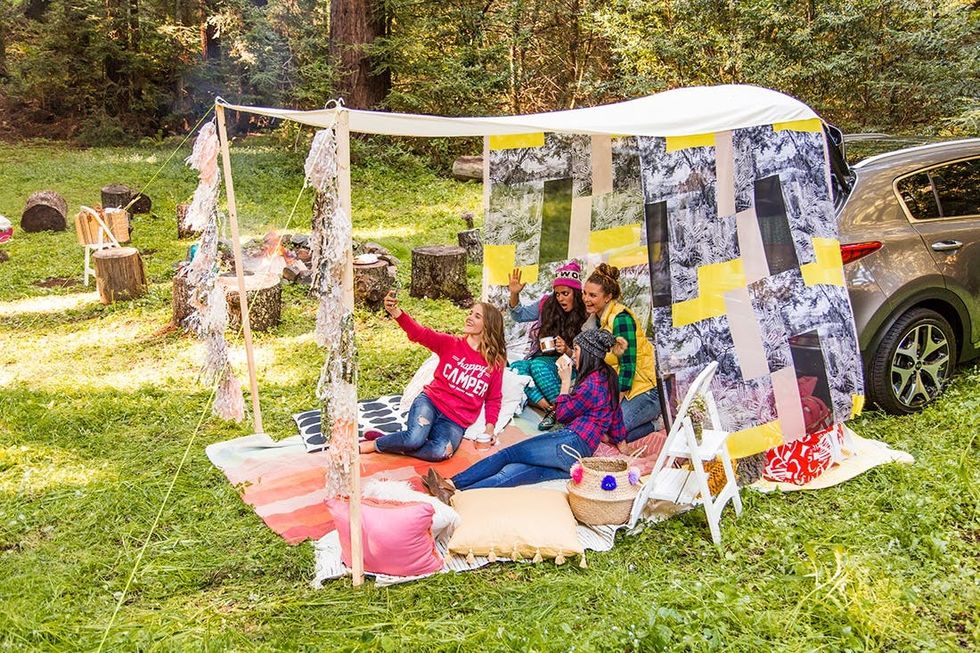
Selfie 101: Don’t forget to angle that camera lens down pleeeease.
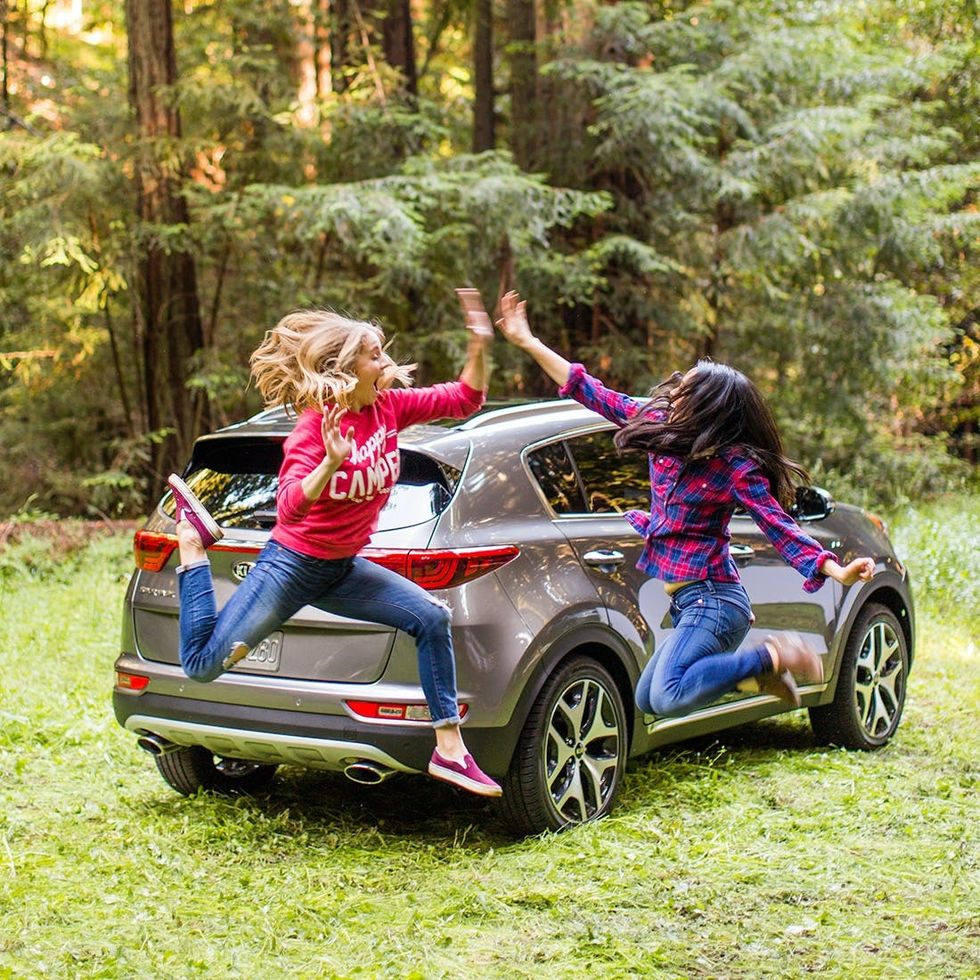
High five *and* in unison jump? Game over — these two won.
Hipcamp
 Hello Scout (a travel app specifically for Cali residents) that will do the work for you. Not that we’re biased, but Northern California really does have a plethora of beautiful places to sleep under the stars.
The Perfect Location
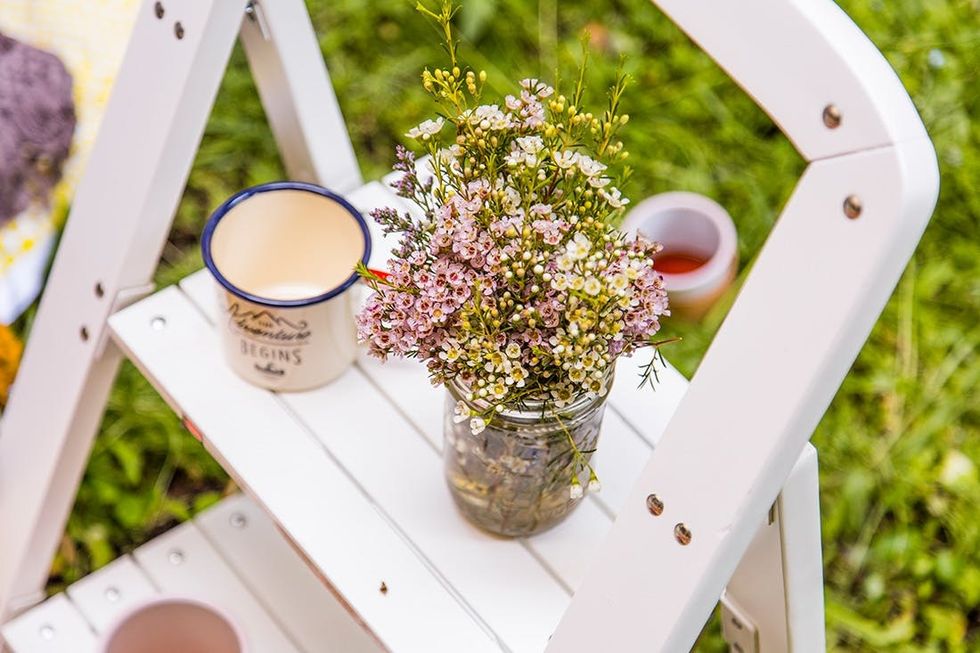
Inspired to set up your own glamping trip? Here are two DIYs to get you two steps closer to a truly Insta-worthy gathering. In the steps below, we’ll show you how to create your own DIY Trunk canopy and a set of hip leather mug sleeves.
Materials:
DIY Roll-Up Trunk Canopy
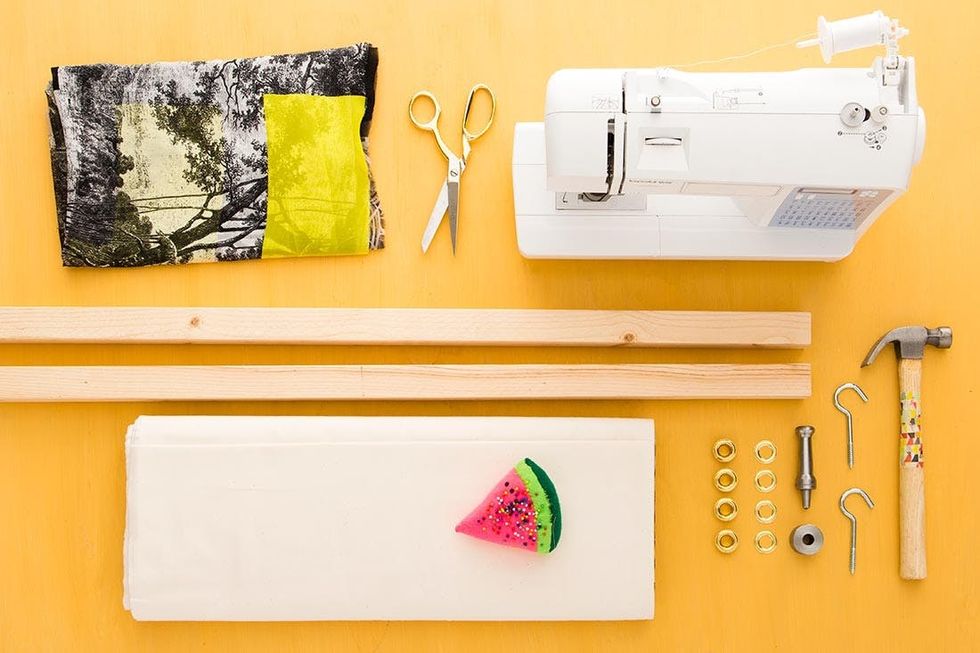
— 7 yards white muslin fabric (for overhead canopy)
— 4-5 yards printed or colored lightweight fabric (for side panels)
— (4) grommets, size 4
— (2) 8-foot wood furring strips
— (2) 1-inch screw hooks
— floral wire
— 2 tent stakes
— mason line (we got bright green for the color!)
Tools:
— sewing machine
— thread
— hammer
— grommet tool, size 4
— fabric scissors
— sewing pins
Instructions:

Attach a screw hook onto one end of each furring strip. Next, cut two pieces of 10.5-foot-long white muslin fabric. Unfold each piece of fabric and lay them flat on top of each other. Pin down one side on the longest length. Run the pinned side through the sewing machine, using a zigzag stitch for sturdiness. Once sewn, unfold the fabric and lay on the ground.

Next, measure the length of the back of your car. Ours was approximately four and a half feet. Along the shorter length of your fabric, measure two and a quarter feet on either side of the stitch you just made (your middle point). This will equal four and a half feet centered in the middle of your fabric and will serve as the part that hooks to the back of your car. If your trunk is not the same length as ours, adjust accordingly.
Have someone help you fold a straight line from your mark to the corner of the other end of your long fabric. This will create a diagonal fold lengthwise. Do this to both sides. Your fabric should now look similar to a wide V shape. Pin along the folds and sew with the same zigzag stitch.
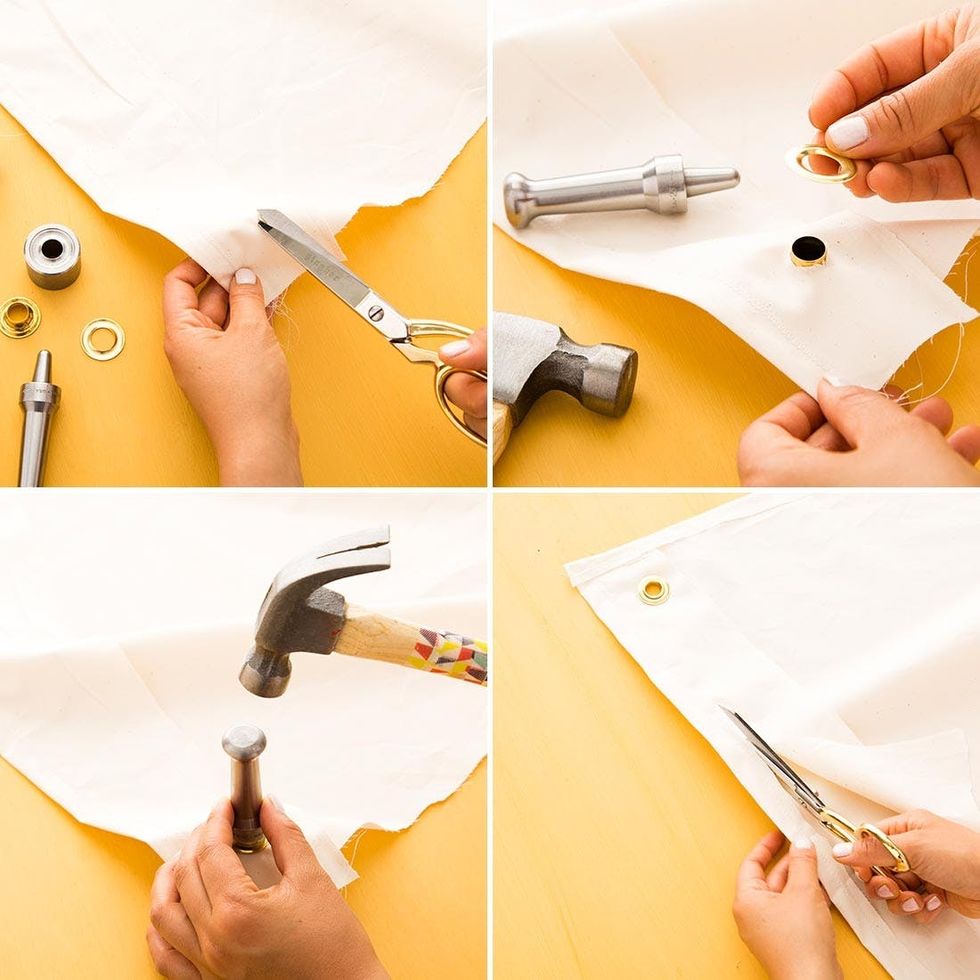
Now onto the grommets! Cut a small X two inches in on all four edges. This leaves enough room to hem any edges that haven’t been hemmed yet. Place the raised grommet piece on the grommet tool, layer your fabric on top and put the other piece on top of the fabric. Set the second part of your grommet tool on top and hammer hard so that your grommet is locked and secured. Repeat on all four corners. Hem all edges of your fabric and trim the excess.
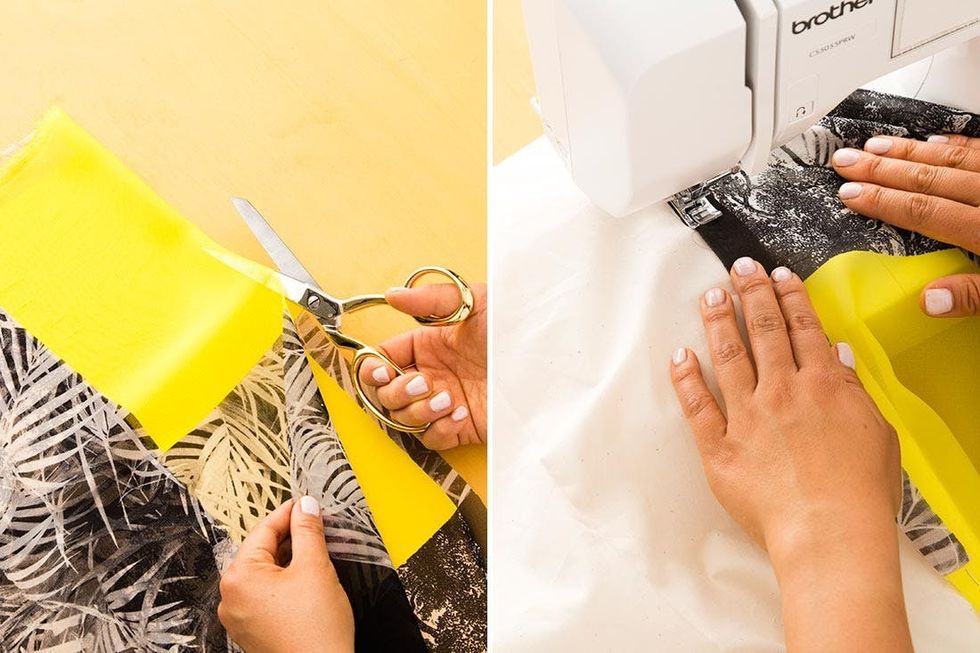
Fold and cut your colored or printed fabric in half. Pin one piece of printed fabric (the shorter end) to the smaller end of your V on the muslin fabric. You will do this on both sides so that the fabric will hang down, creating “walls” on either side of your canopy. Make sure the hem line for both the muslin fabric and the printed fabric are pointed the same way. Sew along the edges where you pinned.
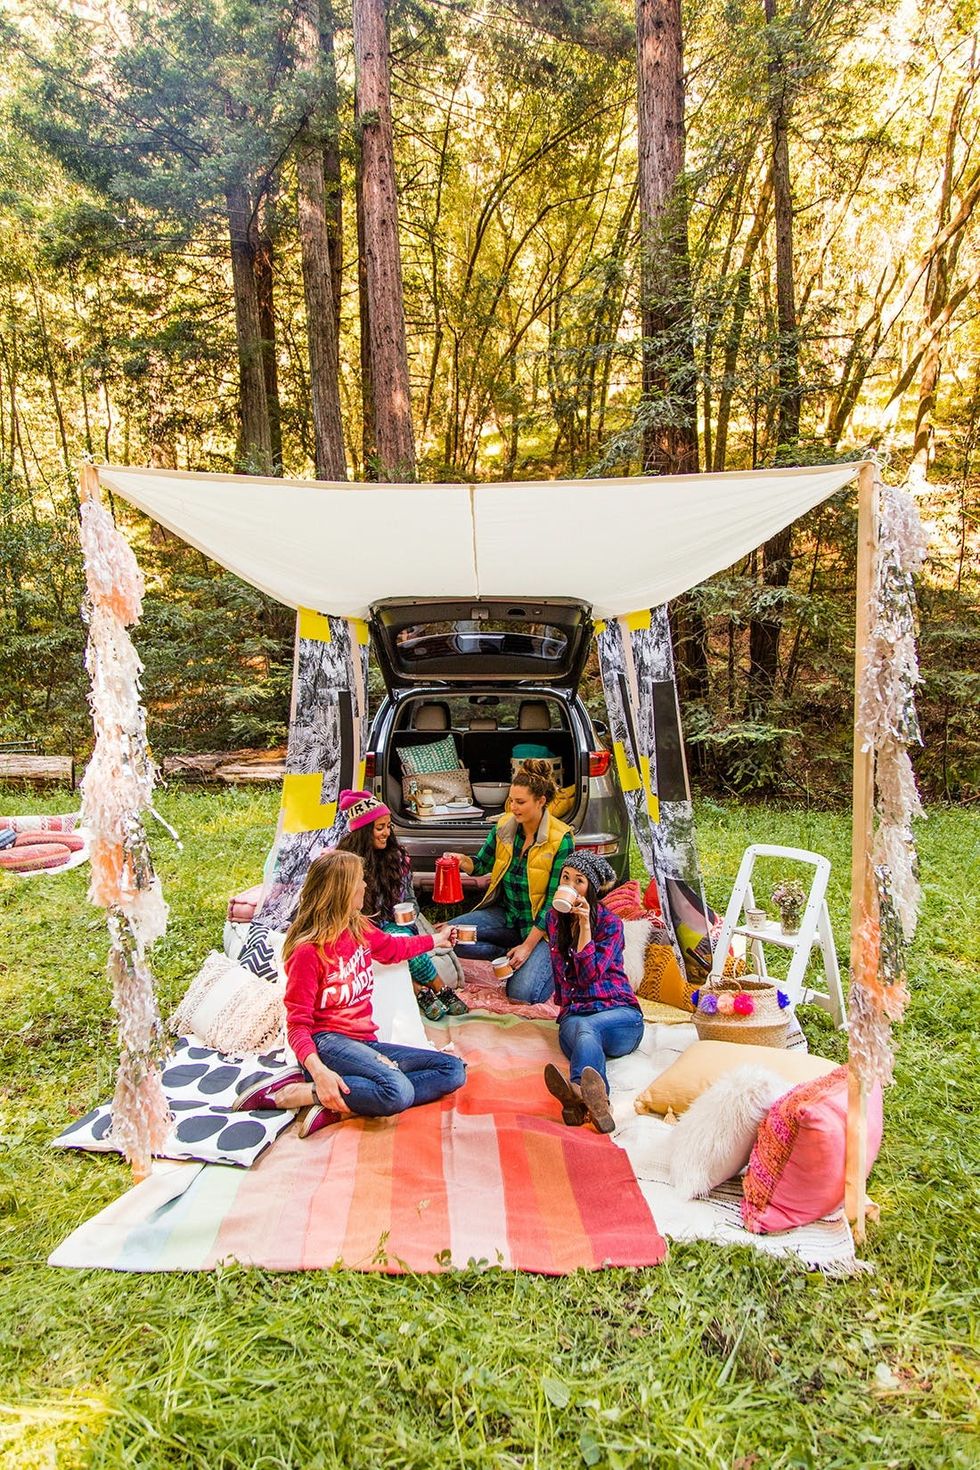
Use floral wire to hook two grommets to the back of the car by attaching them to the trunk door. Hook the other end of your canopy to the screw hooks on your wood furring strips. Have a friend help you dig a small hole. Hook and tie one end of your mason line to the screw hook and stand the wood furring strip upright within the hole. Leverage the pole by tying your mason line to a tent stake and pulling it taut so that the wood furring strip will stand on its own. Repeat this to the other side.
COME. ON. This trunk tent is too good!

Materials and Tools:
DIY Hand-Stamped Leather Sleeves
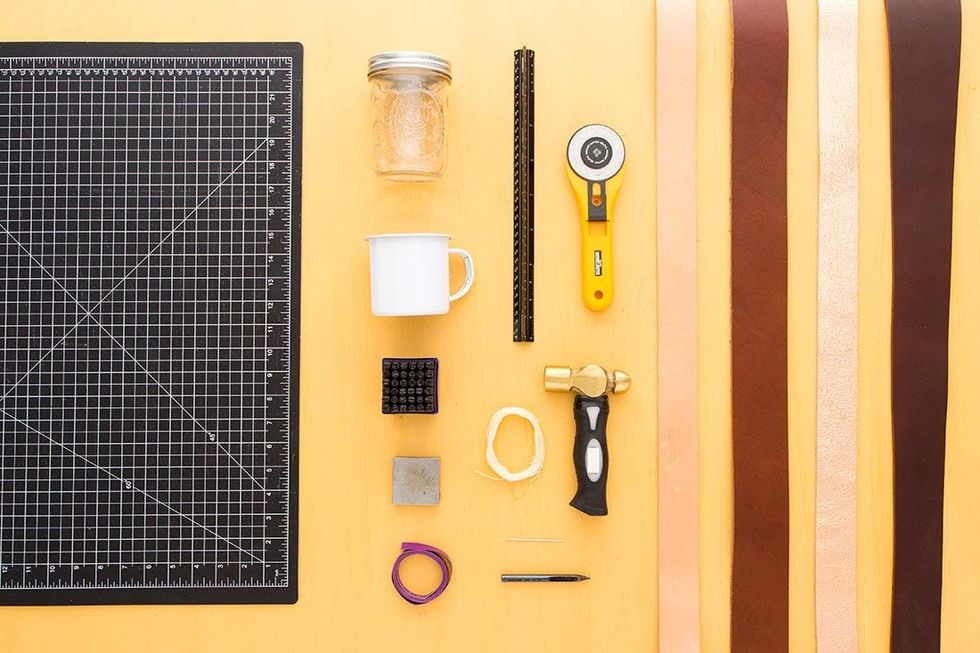
— leather strips
— wax thread
— ruler
— rotary knife or X-ACTO knife
— stamping tool kit
— cutting mat
— needle
— awl
— measuring tape
Now, here are the steps.
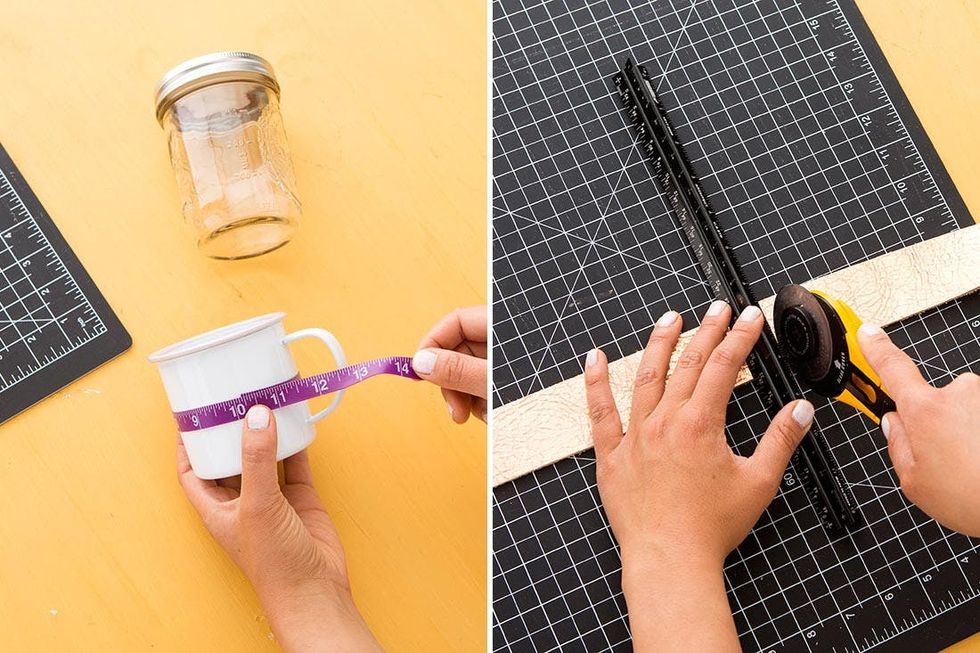
Measure the diameter of your cup with your measuring tape. Cut your leather the length you just measured, using a straight-edge ruler and utility knife.
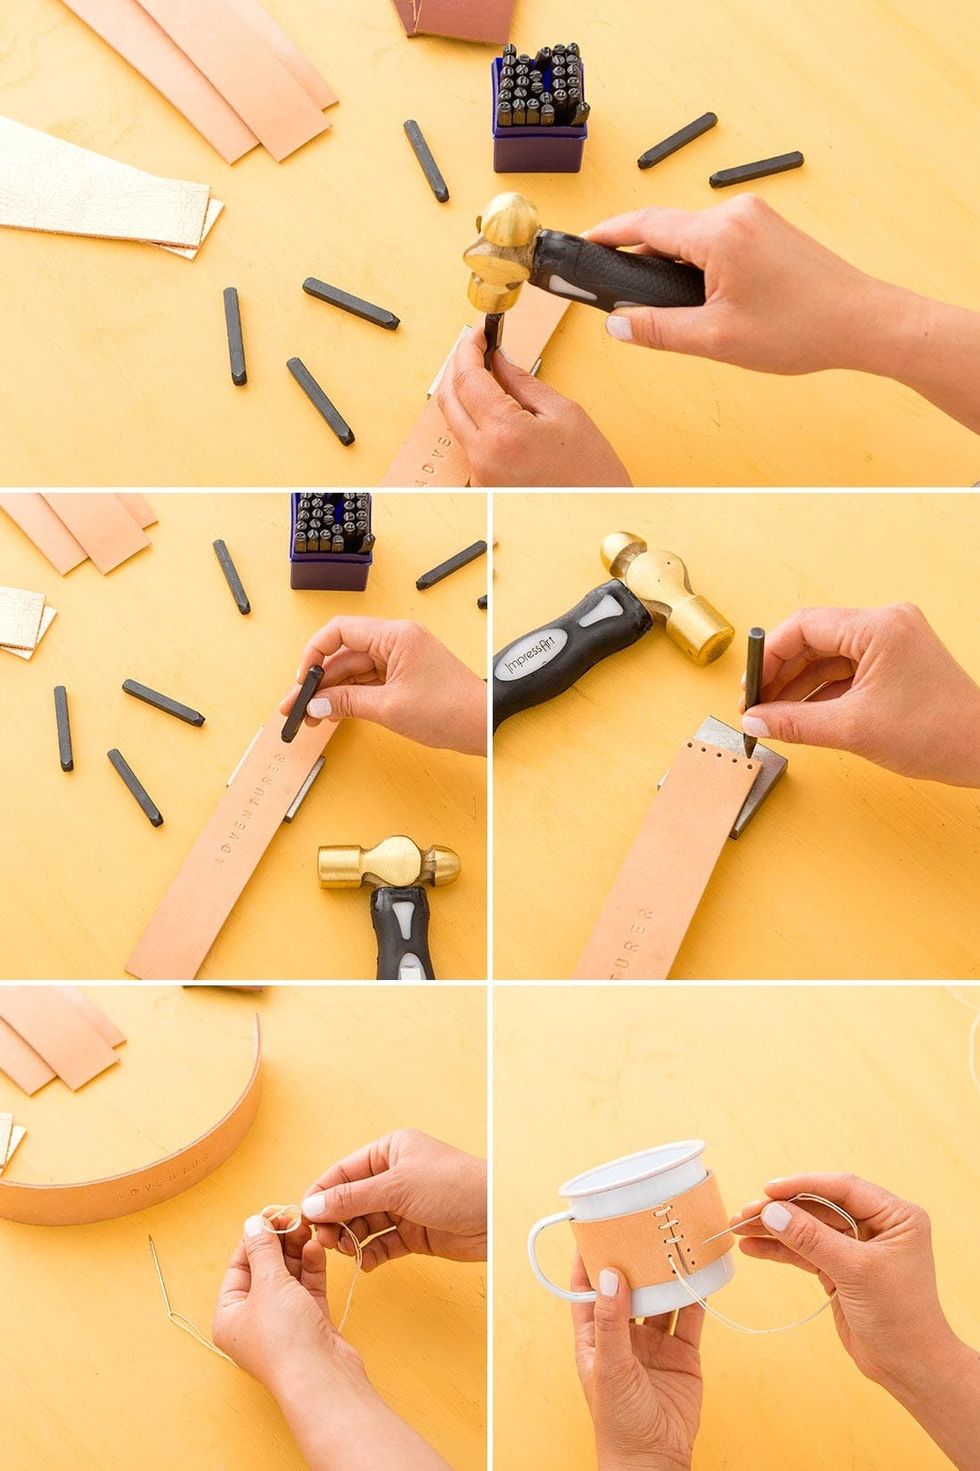
Personalize your leather sleeves by stamping them with your bestie’s name or inspiring words using our Metal Stamping Tool Kit. Next, take your awl and hammer a row of holes a few millimeters from the edge. No need to measure the space between the holes exactly.
String your wax thread through your needle and knot the end. Stitch your cozy on or off the mug for a permanent or removable cozy. String your needle and thread through the backside of your top hole. Connect the ends of your leather by stitching through the top hole on the other side. Pull tight, then move to the second hole on the first side. Repeat this process until you have sewn all the way to the bottom, then make a knot on the backside of the last hole.
These are perfect for coffee mugs, mason jars or any other camping cup that needs a sleeve.
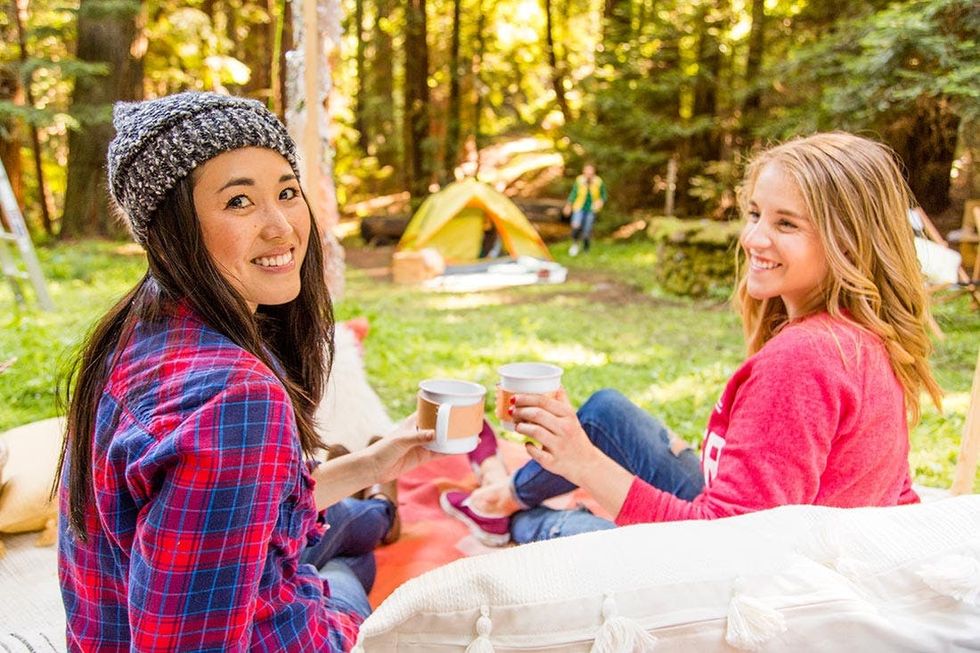
A cup o’ joe on a crisp morning is just what a gal needs to start her day of adventuring. And the stylish cozy makes it that much more cozy ;)


