Remember when you were little and you would sit with your gal pals at a sleepover and braid each other’s hair? Or how about that day when you finally figured out how to braid your OWN hair? That was about as good as the day you took off your training wheels (and we’re still reaching new milestones: we’re proud to say we’ve aced the fishtail, but still have ways to go with these intricate high fashion looks. One day!). Even though we’re not braiding our manes today, we’re using that basic weaving technique to make a matching pair of boldy braided gold chain accessories, and lucky you—chunky chains are totally trending this Spring. Feeling nostalgic now? Just grab our Braided Gold Chain Accessories Kit for $24.99—that’s for both the necklace and bracelet you see here—and braid along with us.
New in the Shop: Braided Chain Accessories Kit!
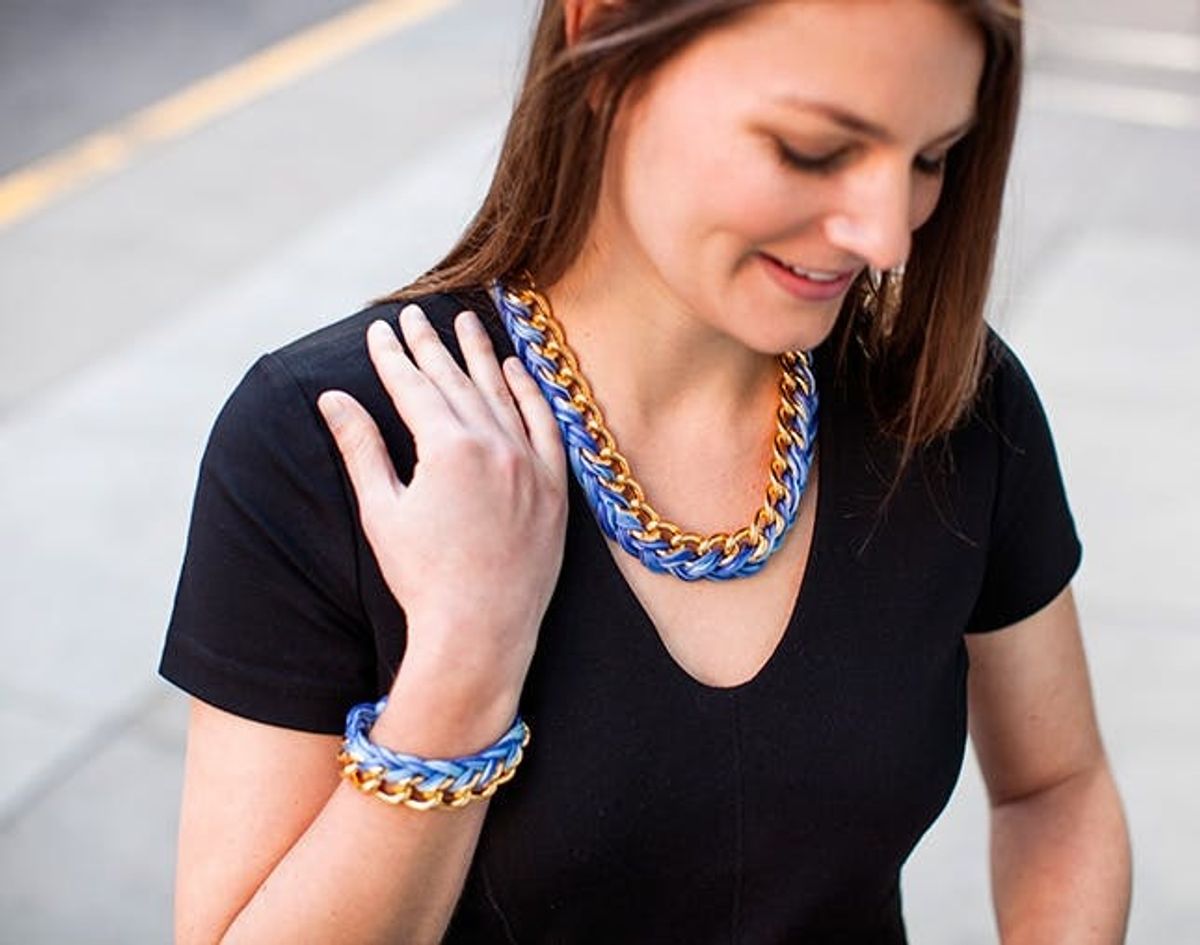
Remember when you were little and you would sit with your gal pals at a sleepover and braid each other’s hair? Or how about that day when you finally figured out how to braid your OWN hair? That was about as good as the day you took off your training wheels (and we’re still reaching new milestones: we’re proud to say we’ve aced the fishtail, but still have ways to go with these intricate high fashion looks. One day!). Even though we’re not braiding our manes today, we’re using that basic weaving technique to make a matching pair of boldy braided gold chain accessories, and lucky you—chunky chains are totally trending this Spring. Feeling nostalgic now? Just grab our Braided Gold Chain Accessories Kit for $24.99—that’s for both the necklace and bracelet you see here—and braid along with us.
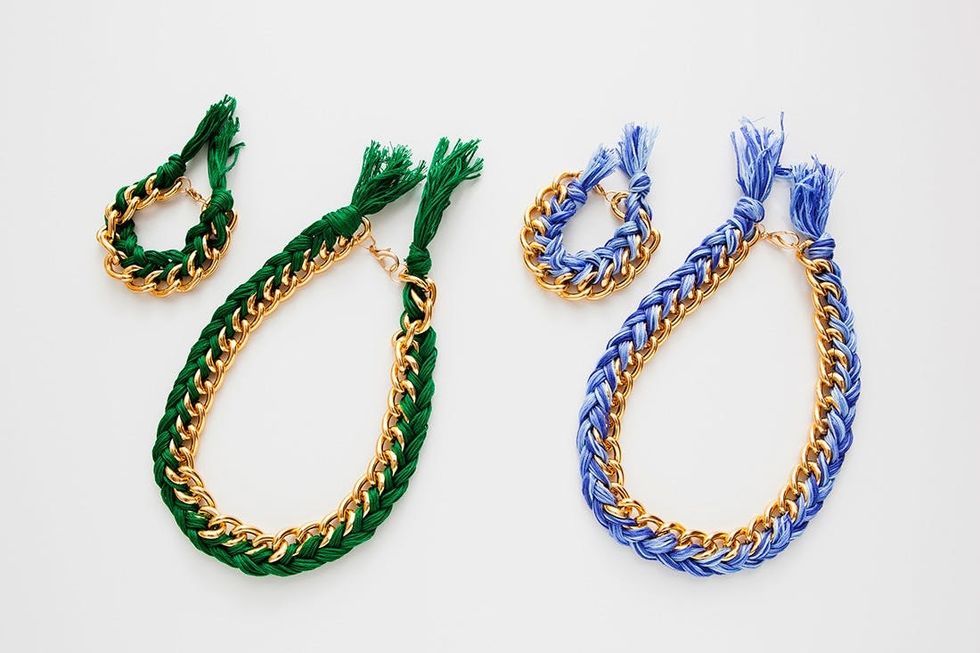
But wait, it gets better: you can totally customize the color of your embroidery floss in the Braided Gold Chain Accessories Kit—choose either a gorgeous emerald green or a beautiful ombre blue, you know, whichever best matches your personal style.
The process to make the necklace and the bracelet with either color of embroidery floss is exactly the same, so we’ll show you how it’s done once to make it easy—here, we’ll make the necklace with ombre blue embroidery floss. Cool? Let’s get started!
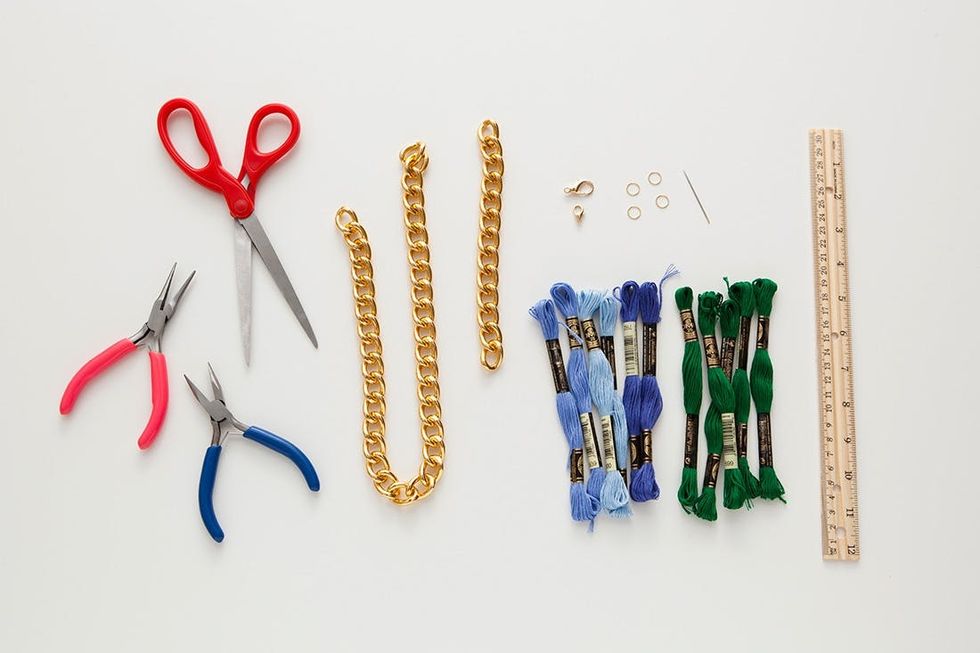
Materials:
– large gold aluminum curb chain (cut to your desired length)
– five to six skeins of embroidery floss per necklace or bracelet
– four 10mm jump rings
– two lobster clasps (a small and a large)
Tools:
– scissors
– two sets of needle nose pliers
– needle
– ruler or measuring tape
Instructions:
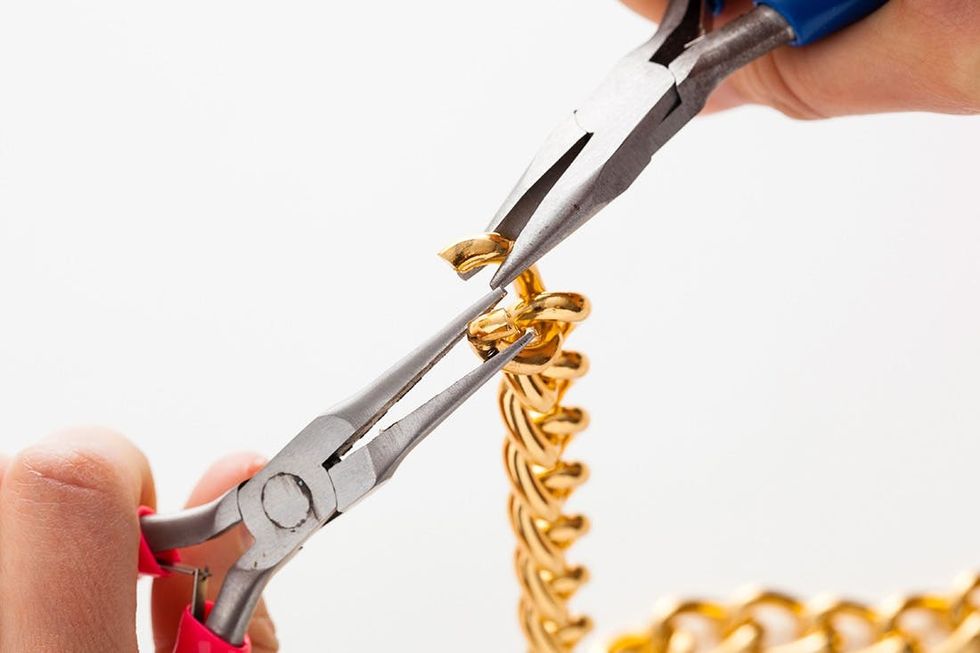
1. Wrap the chain around your neck and wrist and measure to your desired length—we made ours 19 inches long for the necklace and 7 inches long for the bracelet. Then remove links as necessary to adjust to your measurements by twisting them off with needle nose pliers.
2. For the necklace, cut 45 strands of embroidery floss at 36 inches long; for the bracelet 32 strands of embroidery floss at 18 inches long.
3. Using your needle as a guide, thread all of the embroidery floss through the first chain link and tie a knot at the end, leaving the ends so that it looks like a tassel.
4. Separate the floss into three equal parts, then thread one section through the second chain link using the needle as a guide.
5. Braid the floss, threading the sections nearest to the chain through the links.
6. At the end of the necklace, tie the floss to the last chain link and trim the ends, leaving some to act like a matching tassel.
7. Add jump rings to the last chain links using the twisting technique (do not pull the jump ring apart!), then add clasps.
Grab your gold chain and measure the length of your necklace by wrapping it around your neck—ours measured 19 inches. (For the bracelet, wrap the chain around your wrist to fit—ours measured 7 inches). Then remove extra links to match your measurement by twisting them off. We know this part looks intimidating, but you can do it: take both sets of pliers, squeeze tight around the link, then use your superhuman strength to twist it open.
<em>Girls</em>
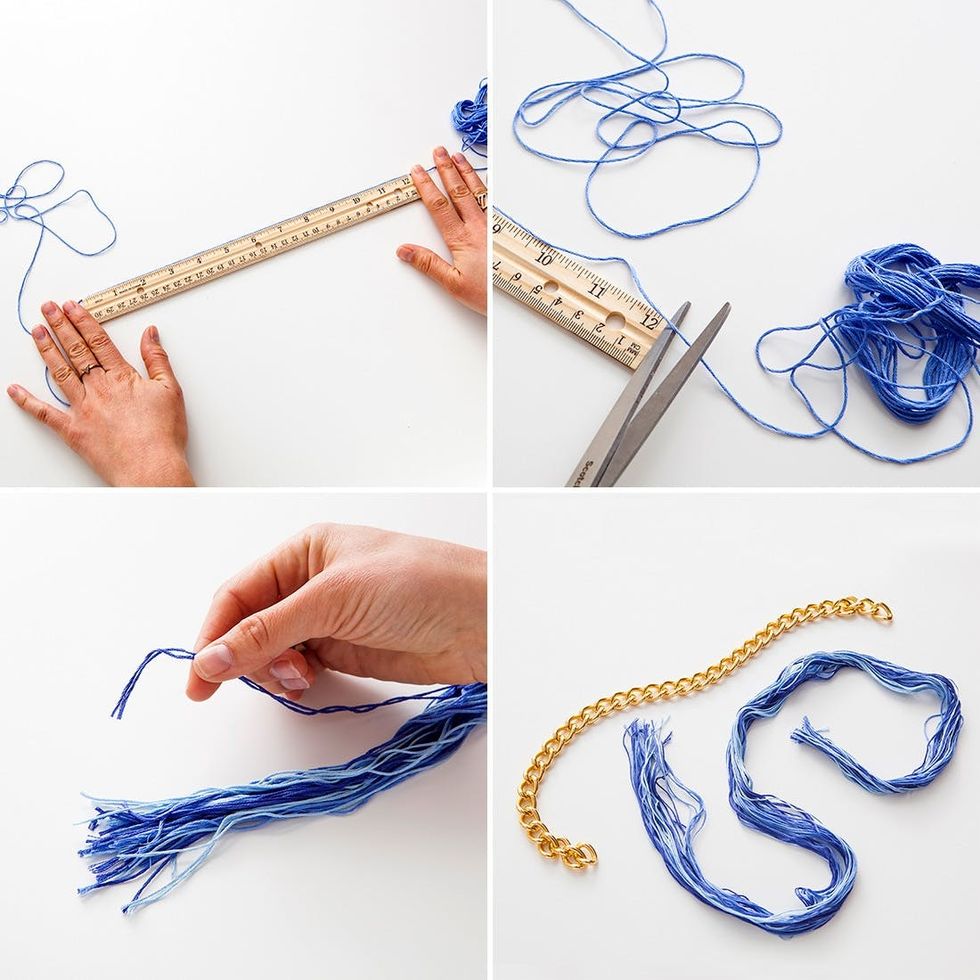 only) and, we’ll be honest, it takes a while. So why not do it in the company of some cool ladies? Make sure each strand is 36 inches long for the necklace (that shrinks to 18 inches long for the bracelet) Get cuttin’!
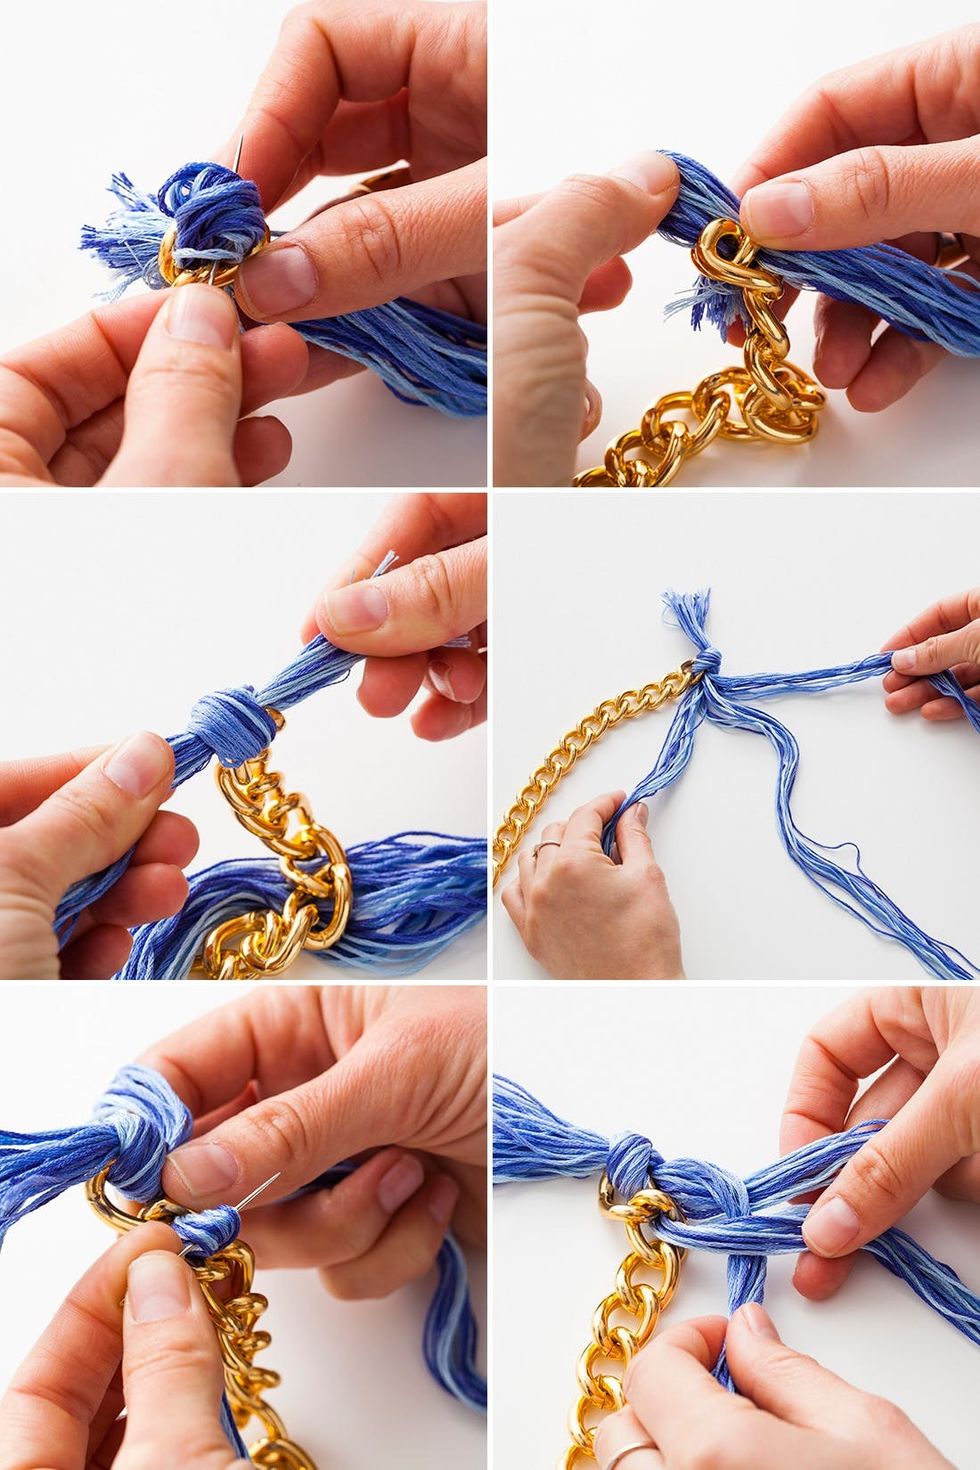
Now that you’ve seen Marny sing all the songs from Rent, it’s time to start braiding. Thread all of your embroidery floss through the first chain—use a needle to make sure you get all the ends completely through—and tie it on sturdily, leaving the excess thread on your knot so it looks like a tassel. Next split the thread into three equal sections, and let the braiding begin! File one strand through the second rung of chain and then cross it over into your braid.
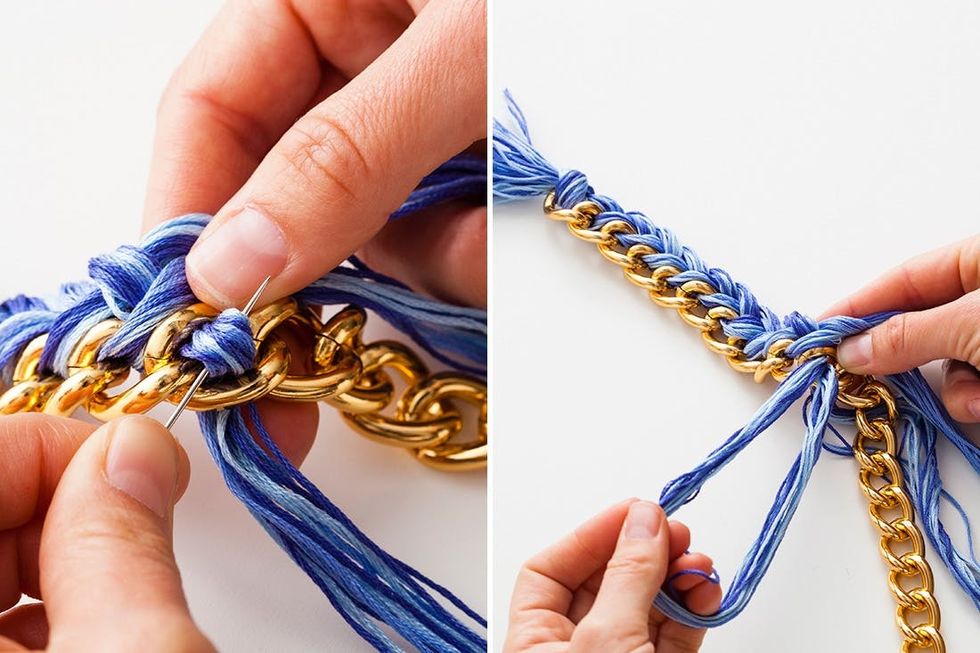
This should feel like riding a bike. You’re making a normal braid, but every time you are on the chain side, you’ll loop that strand through the chain. You got this.
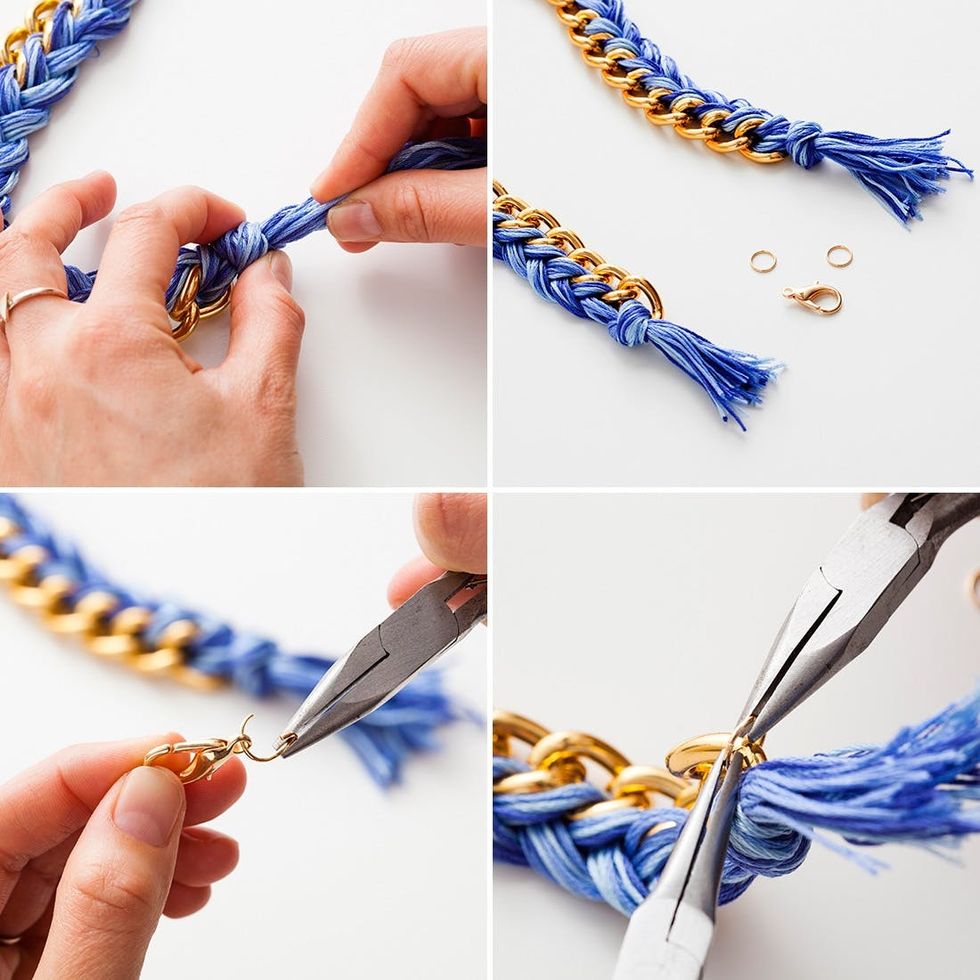
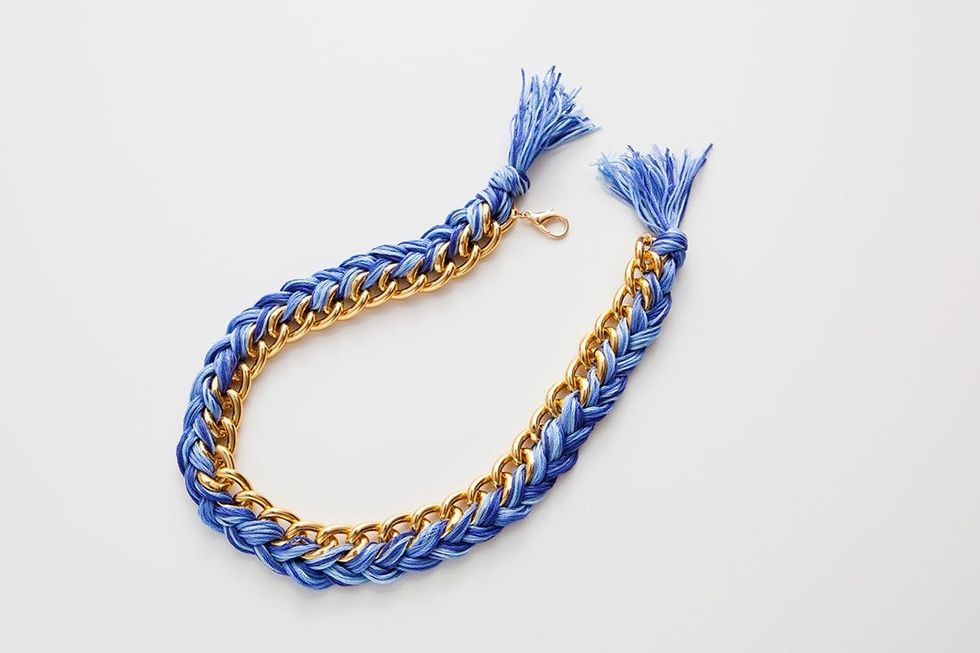
When you’ve reached the end, simply tie a knot and trim it a bit so that the “tassel” matches the other side. All you’ve got left to do is add the hardware! First open up your jump rings. Don’t just pull them apart—twist them open. This helps maintain the integrity of the ring and makes it easier to close. Add one ring to one side, place the clasp on the other ring, and add it to the other side. Close them up and you’ve got yourself a classy braided necklace.
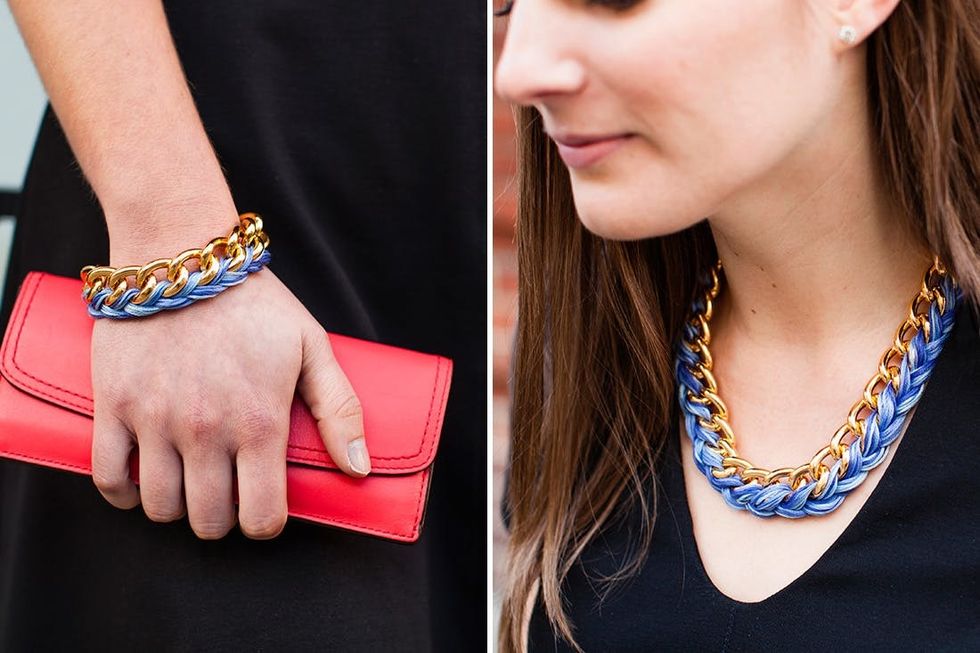
And check out the matching bracelet! It’s seriously a mini version of the necklace. We recommend making the chunky duo in one fell swoop so you can rock them together.
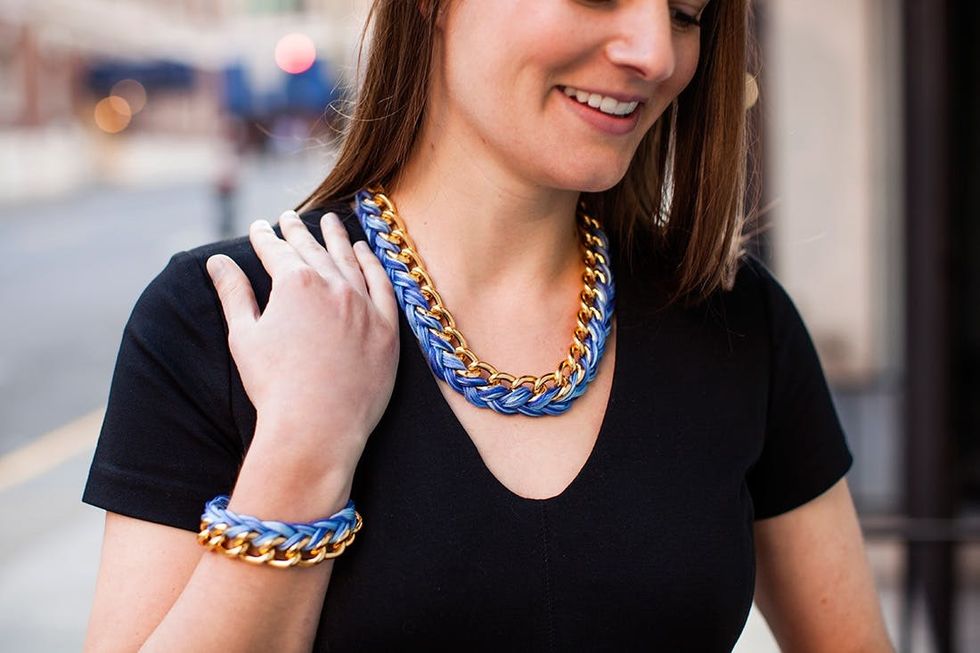
The mix of gold chain and colorful embroidery floss is pretty striking—don’t be surprised if your city’s street style bloggers start to crowd around you like paparazzi. After all, chunky chains are right on trend for Spring. Way to get a jumpstart the season’s must-have accessories!
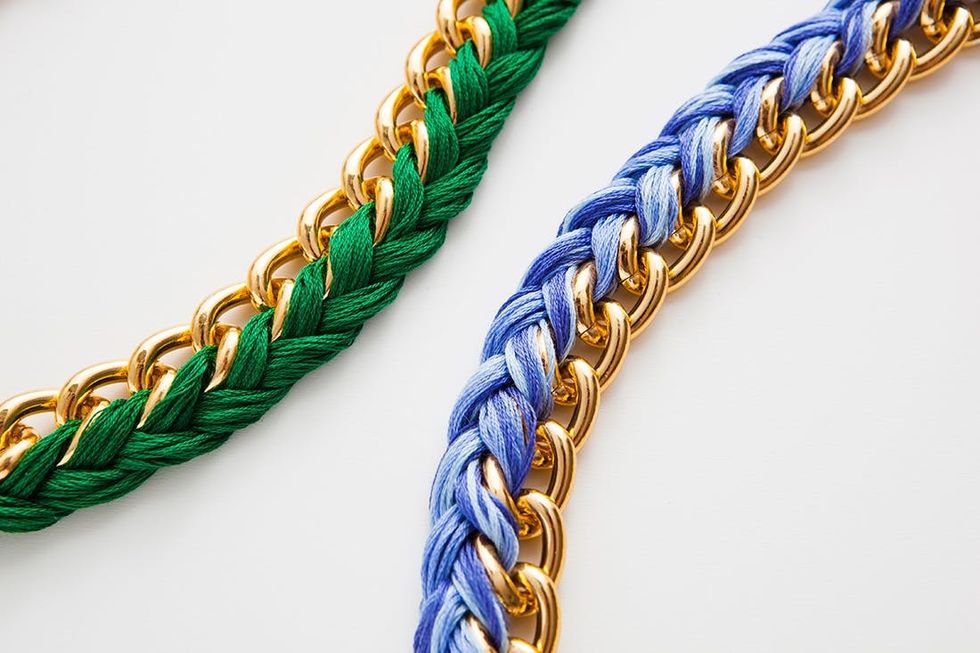
We have to say, we love how both of the colors pop against the gold chain. But more importantly, which would you wear?


