Save the hassle of the trek to the salon (that bridal up-sell is going to slash your beauty budget anyway, girl!), and DIY your altar-ready hairdo, no matter what your strands skill level.
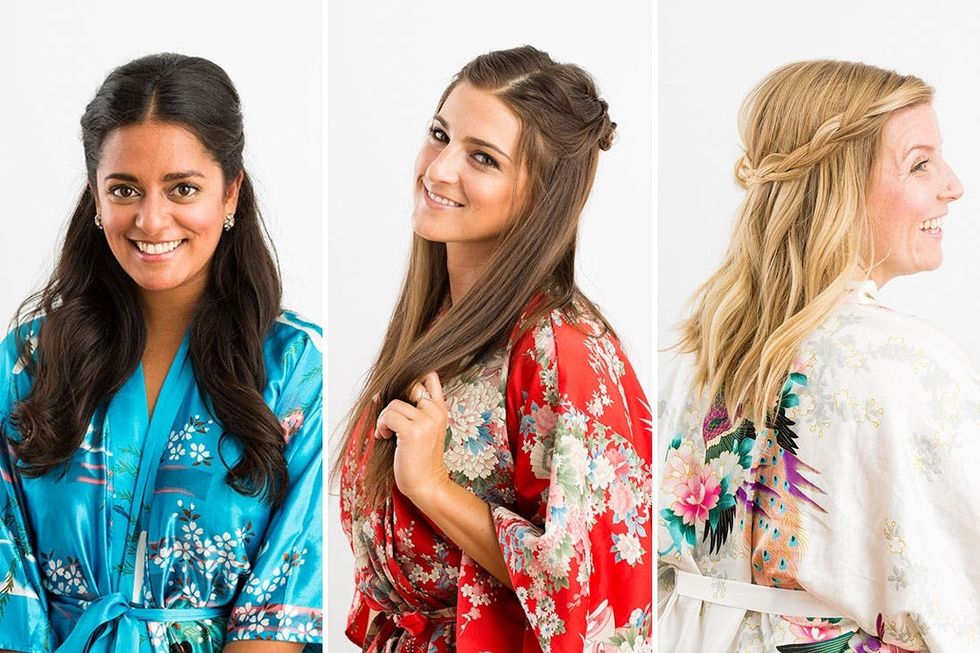
3 Half-Up Bridesmaid Hairdos That Even YOU Can Do
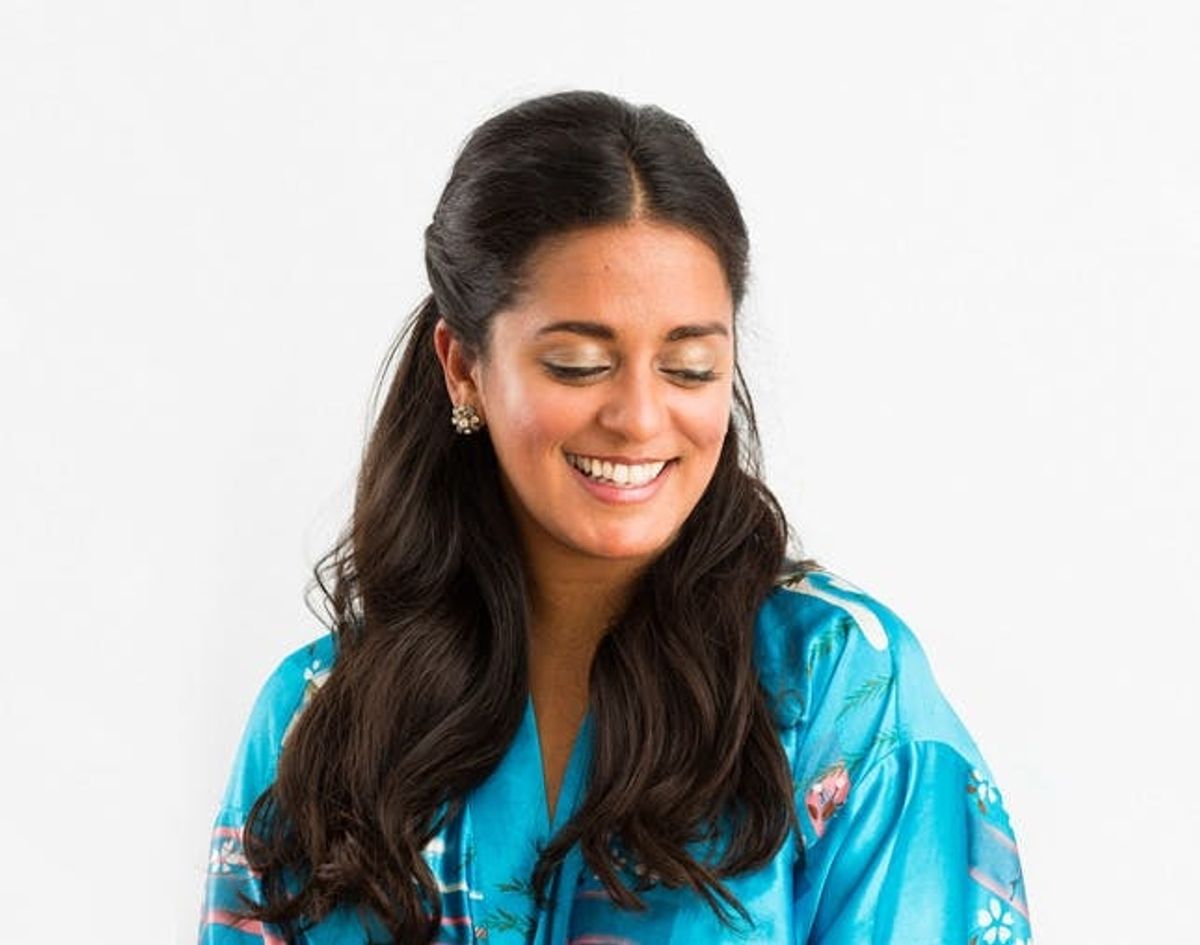
We’re firm believers that some wedding traditions don’t hold up at modern nuptials, especially ones concerning YOU, bridesmaids! And while most babes in any given bridal party have largely axed the main offender — matching dresses on every girl — there’s another wedding rule we’d like to give all bridesmaids permission to break, and it’s that you need a professional blowout on the big day.
Real talk: You just don’t. Save the hassle of the trek to the salon (that bridal up-sell is going to slash your beauty budget anyway, girl!), and DIY your altar-ready hairdo, no matter what your strands skill level. Whether you’re a whiz with a curling iron and can of aerosol or you just learned how to set a bobby pin, we’ve got a chic half-up hairstyle that you can *actually* complete on your bestie’s wedding day. So toss on your kimono — it’s time to style yourself out!
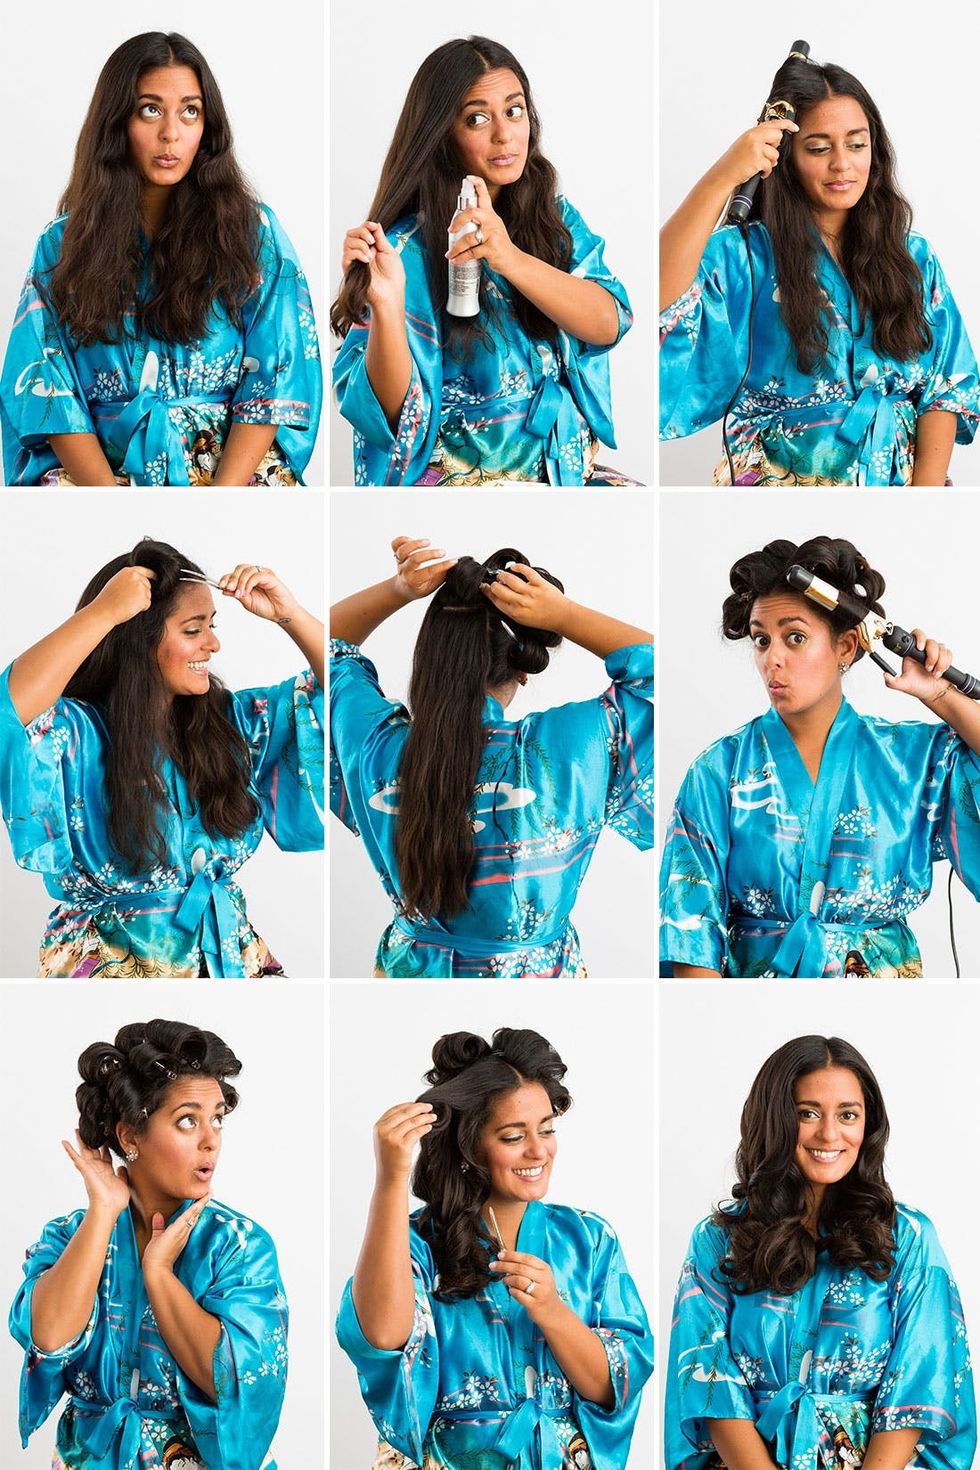
1. Pick up a 1.5-2-inch section of hair from the front-side portion of your head and add a heat-protecting spray like Kenra Platinum Hot Spray ($20).
Advanced: Pomp + Pin Curls

2. Now curl the same section with whatever size barrel curling iron you prefer.
3. Remove the curling iron and pin the curl into place with a duckbill clip.
4. Keep going until your entire head is covered in curlers. Let your curls set for a good 30 minutes to help them last longer.
5. Remove all the clips.
6. Run your fingers through your hair to smooth out and shape your curls.
7. Now back comb the crown of your hair.
8. Gently smooth the top down without loosing all the volume you just worked in.
9. Separate the two sides of your hair and create a pomp with the back section of your hair. Secure the pomp with bobby pins.
10. Twist back the front sections of your hair toward the back of your head and secure with bobby pins. Repeat on the other side of your head.
11. To finish, pick up the ends of the hair that you pinned back and create small pin curls. Secure with bobby pins.
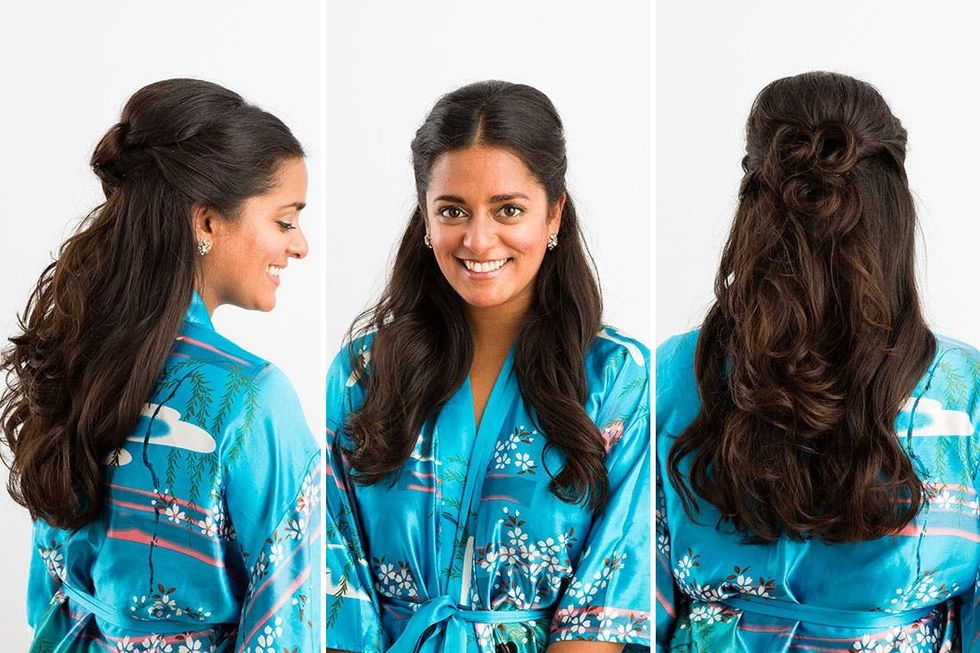
12. Once you’ve made enough pin curls to cover up the bobby pins, give your hair a quick spray with your favorite hairspray, we love Kenra 25 ($45 for a two-pack).
This look is all about the details, and those extra special steps like taking the time to set your curls and creating finishing-touch pin curls helped build a beyond-polished hairdo. This vintage-inspired look is super fancy, perfect for formal weddings or the easiest way to dress up your shorter hemline.
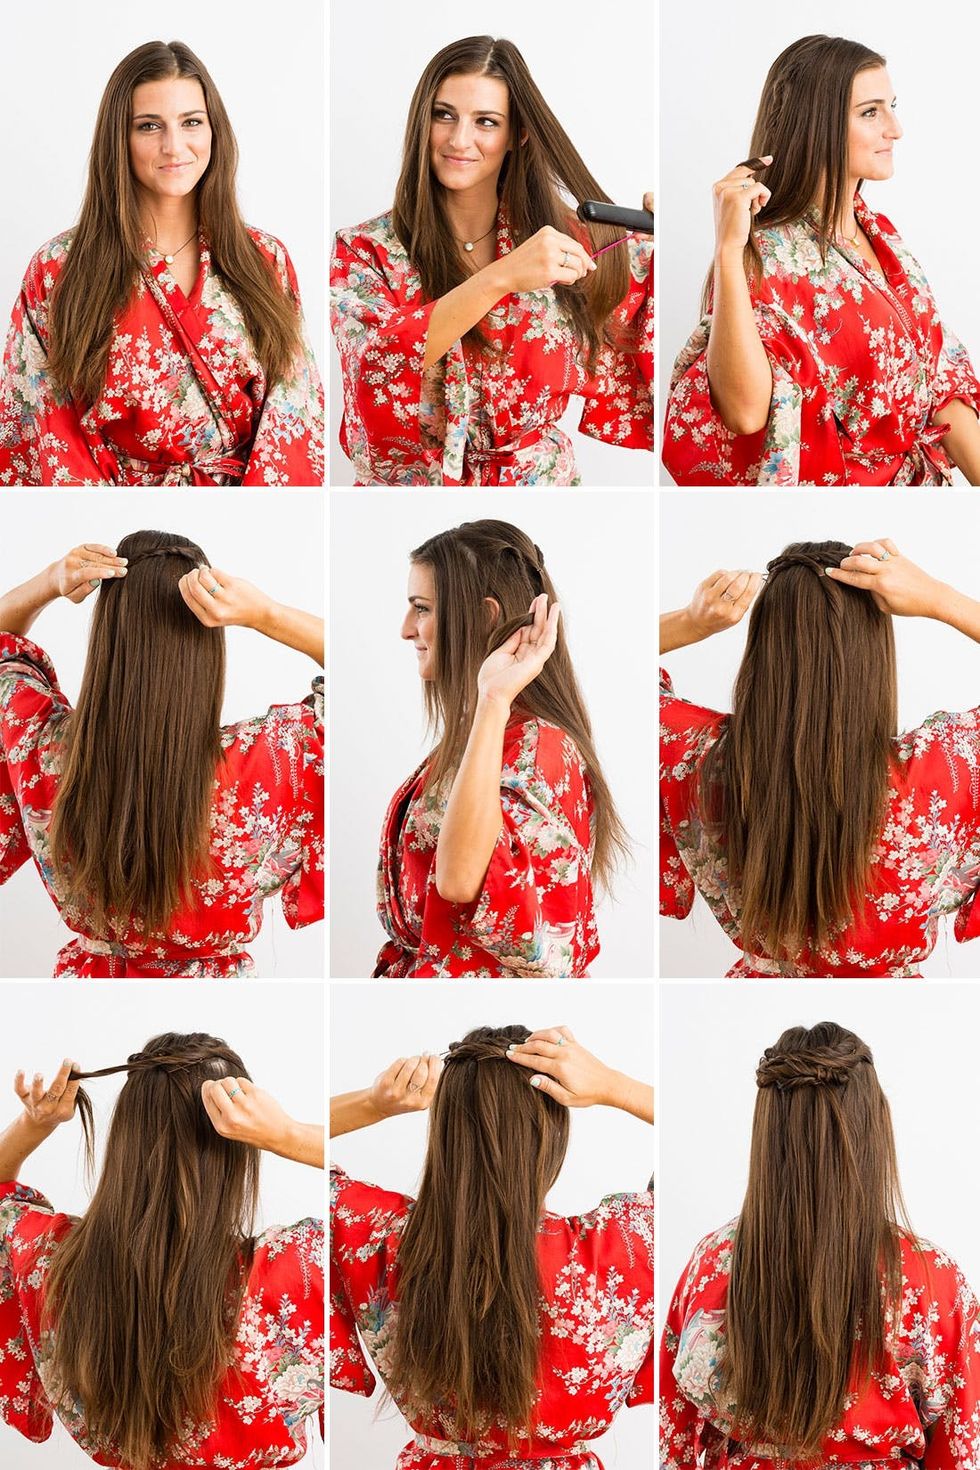
1. Flat iron all of your hair.
Intermediate: Straight Twisted Crown
2. Pick up a piece of hair from one side of your head, just a little behind your ear, and twist it toward the back center of your head.
3. Secure the twisted strand with a couple bobby pins.
4. Repeat on the opposite side of your head and secure it on the other side so that both twisted strands cross over one another.
5. Keep twisting loose ends of the pinned strands, crossing them over one another and pinning them in place to create a crown effect.
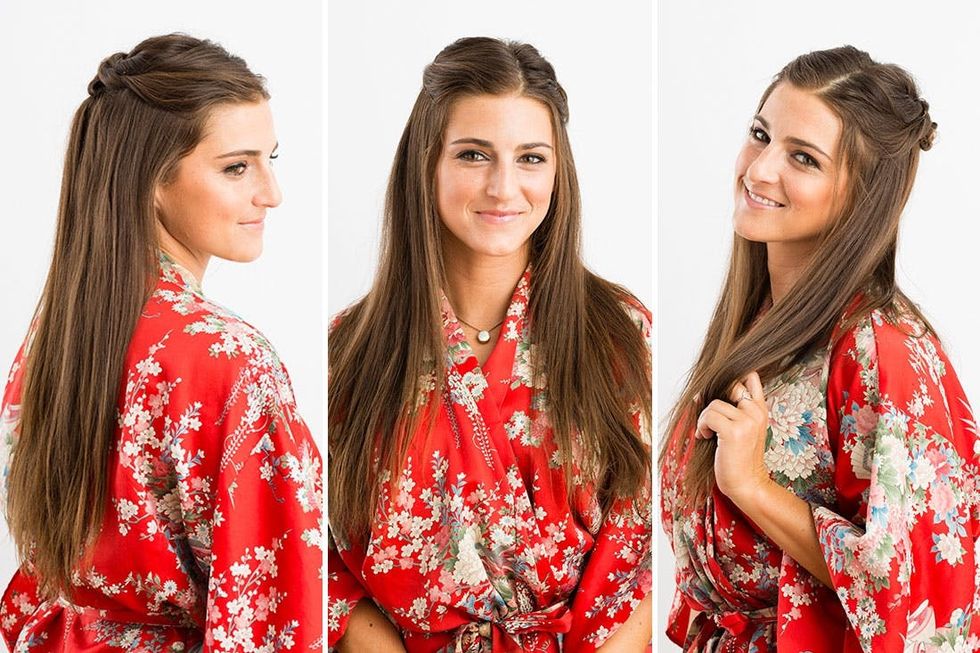
While the twisted crown makes your mane look ethereal without weighing it down like a traditional crown braid would, it’s no secret that you’re long, pin-straight hair is the star of this half-up hairdo. This sweet look would surely soften any modern silhouettes or look darling paired with a fit-and-flare. Just get ready for your locks to ROCK at the reception!

1. To give your hair some extra texture, add some waves throughout your hair with a curling iron.
Easy: Wavy Back Braid
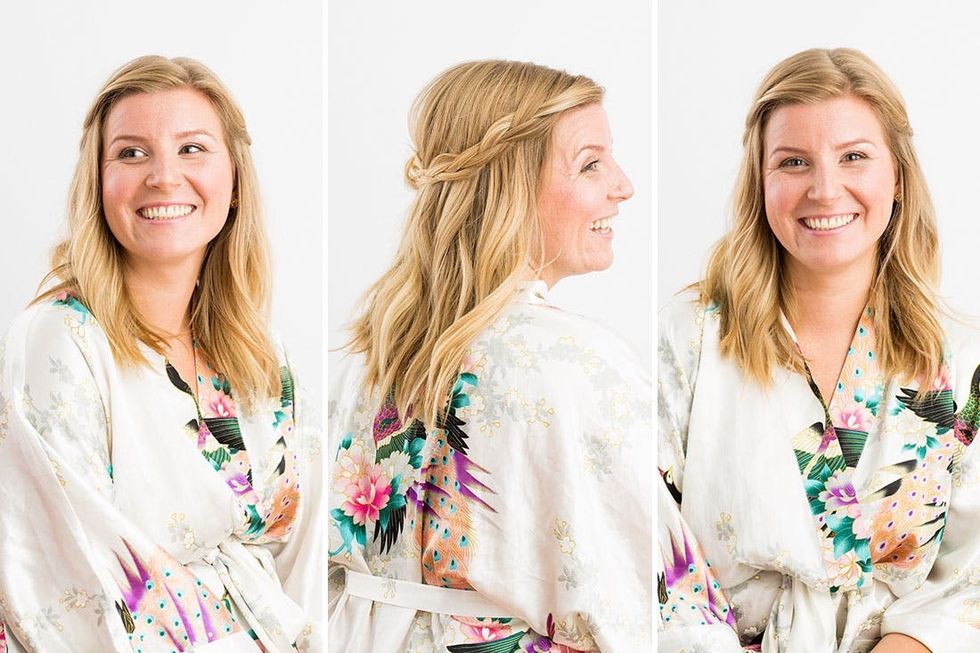
2. Scrunch the curls to mess them up a little.
3. Braid one side of your hair and pin in place with a bobby pin.
4. Gently pull apart the braid for a loser finish.
5. Braid and loosen the other side.
6. Weave pieces of hair into the braides to help disguise the pins and add a little more texture.
Feeling pretty savvy about DIY hairstyling after acing that easy tutorial, huh bridesmaid? That’s just where we want you — and you should be totally pumped. Did you ever think a basic braid could take on such a boho-glam vibe with this little effort? Make this easy hairstyle your go-to for outdoor weddings — those waves will look even more gorg when they’re *actually* windswept.


